Have you ever noticed how some dishes completely dominate Instagram feeds while others, even a chef’s signature creation, barely get any engagement? This isn’t random. Professional food photographers understand that certain foods have built-in visual advantages and mastering the psychology behind high-performing pics of food that actually drive restaurant revenue in Singapore is what separates viral posts from ignored ones. They are naturally photogenic, making them the perfect food for photography. But the secret isn’t just to cook these specific dishes; it’s to understand why they photograph so well.
This guide is for the food blogger who just recently started and the seasoned restaurant owner looking to boost their marketing. Once you understand the principles that make a dish photogenic, you can apply all this information to make any meal camera-ready. Grasping these qualities is the most important thing you can do to create eye catching images that make people want to eat and help you develop your own style in food photography, whether you’re working with a professional like Food Photographer Studio or shooting on your own.
The Best Friend of Every Food Photographer: Naturally Photogenic Dishes
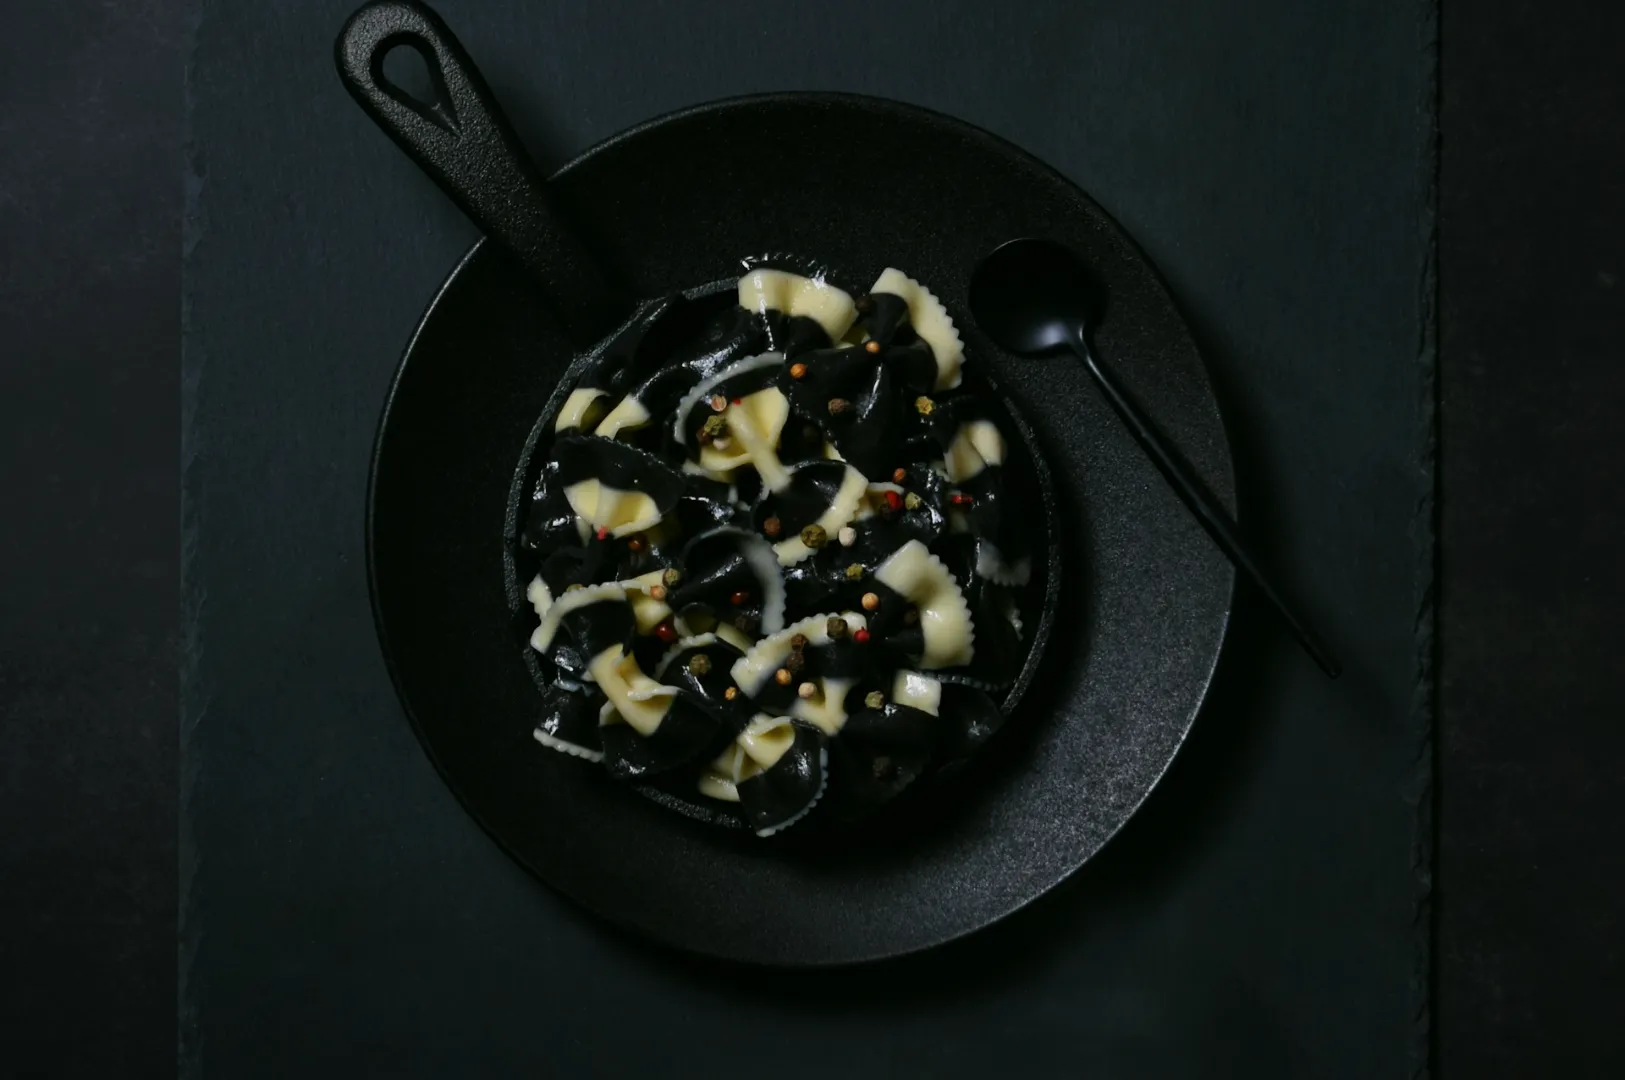
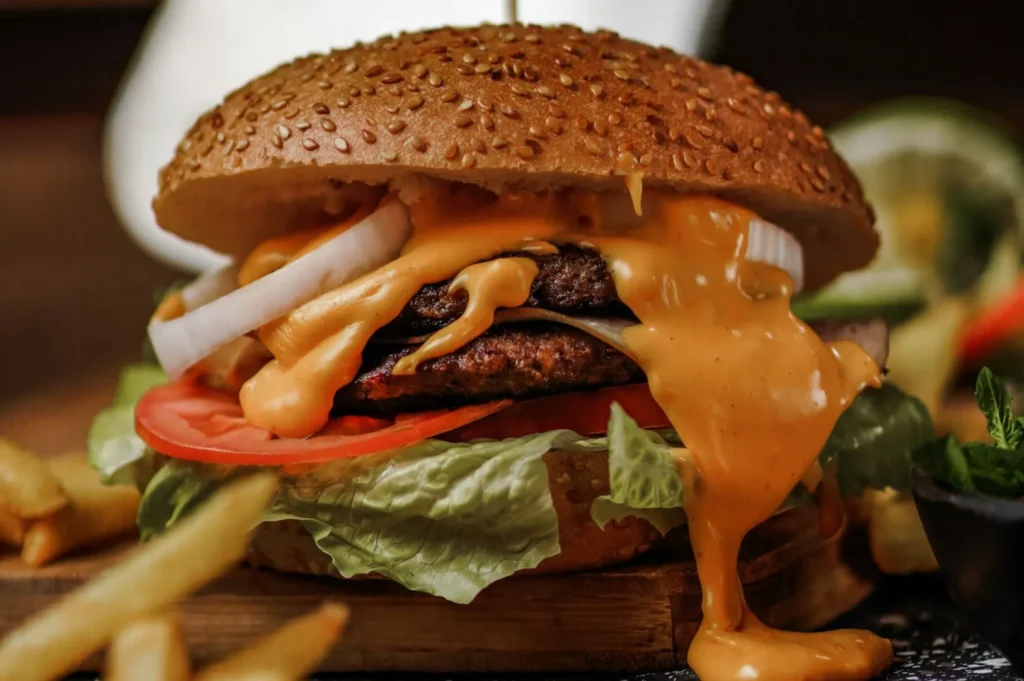
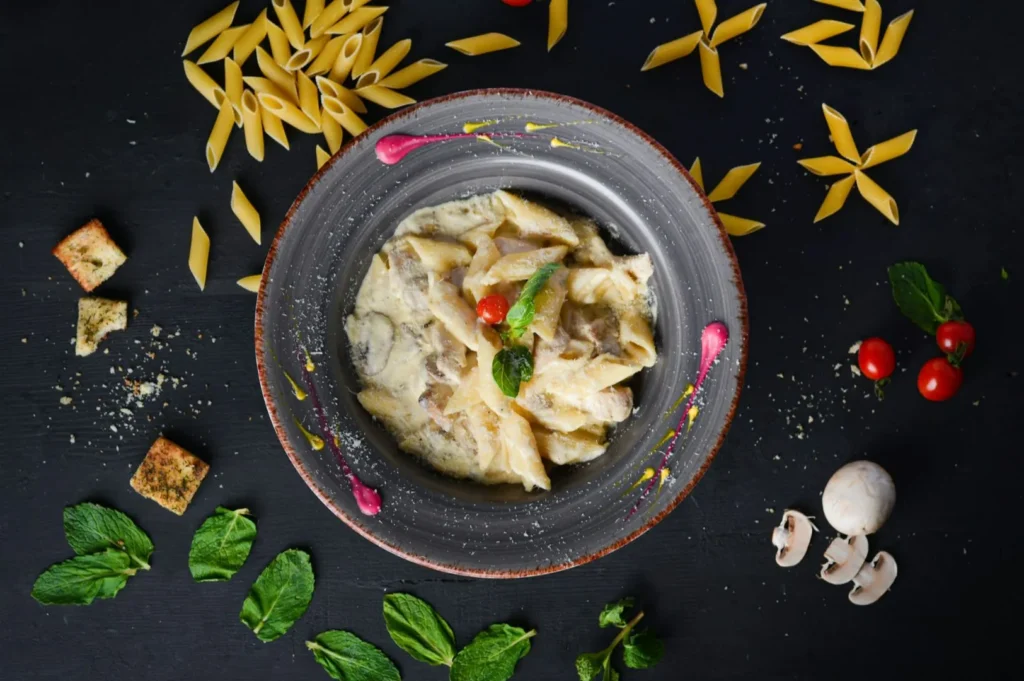
As a professional food photographer, I know some dishes are a gift to shoot. These foods are the best friend of any photographer because they do half the work for you. Burgers, with their layers, create height and interesting textures that catch the light beautifully. Pasta offers movement, from glossy sauce to dynamic fork twirls. Smoothie bowls are perfect for vibrant overhead shots, with colorful bases and toppings creating strong visual appeal.
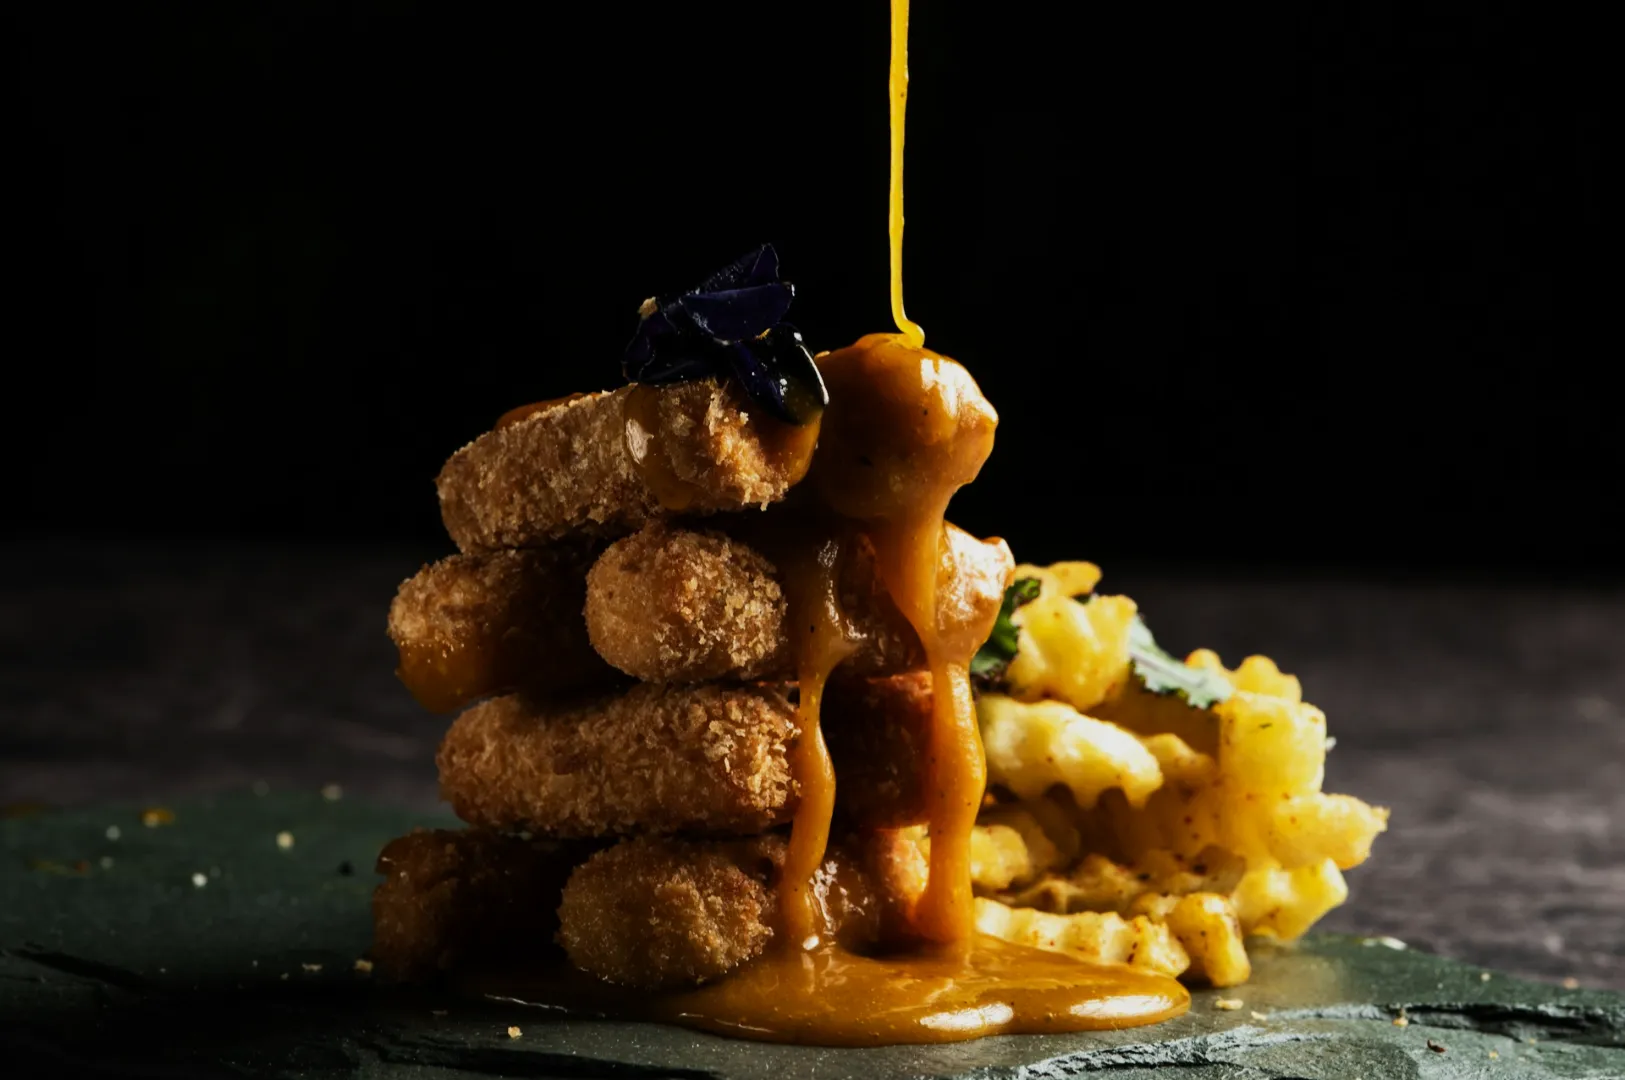
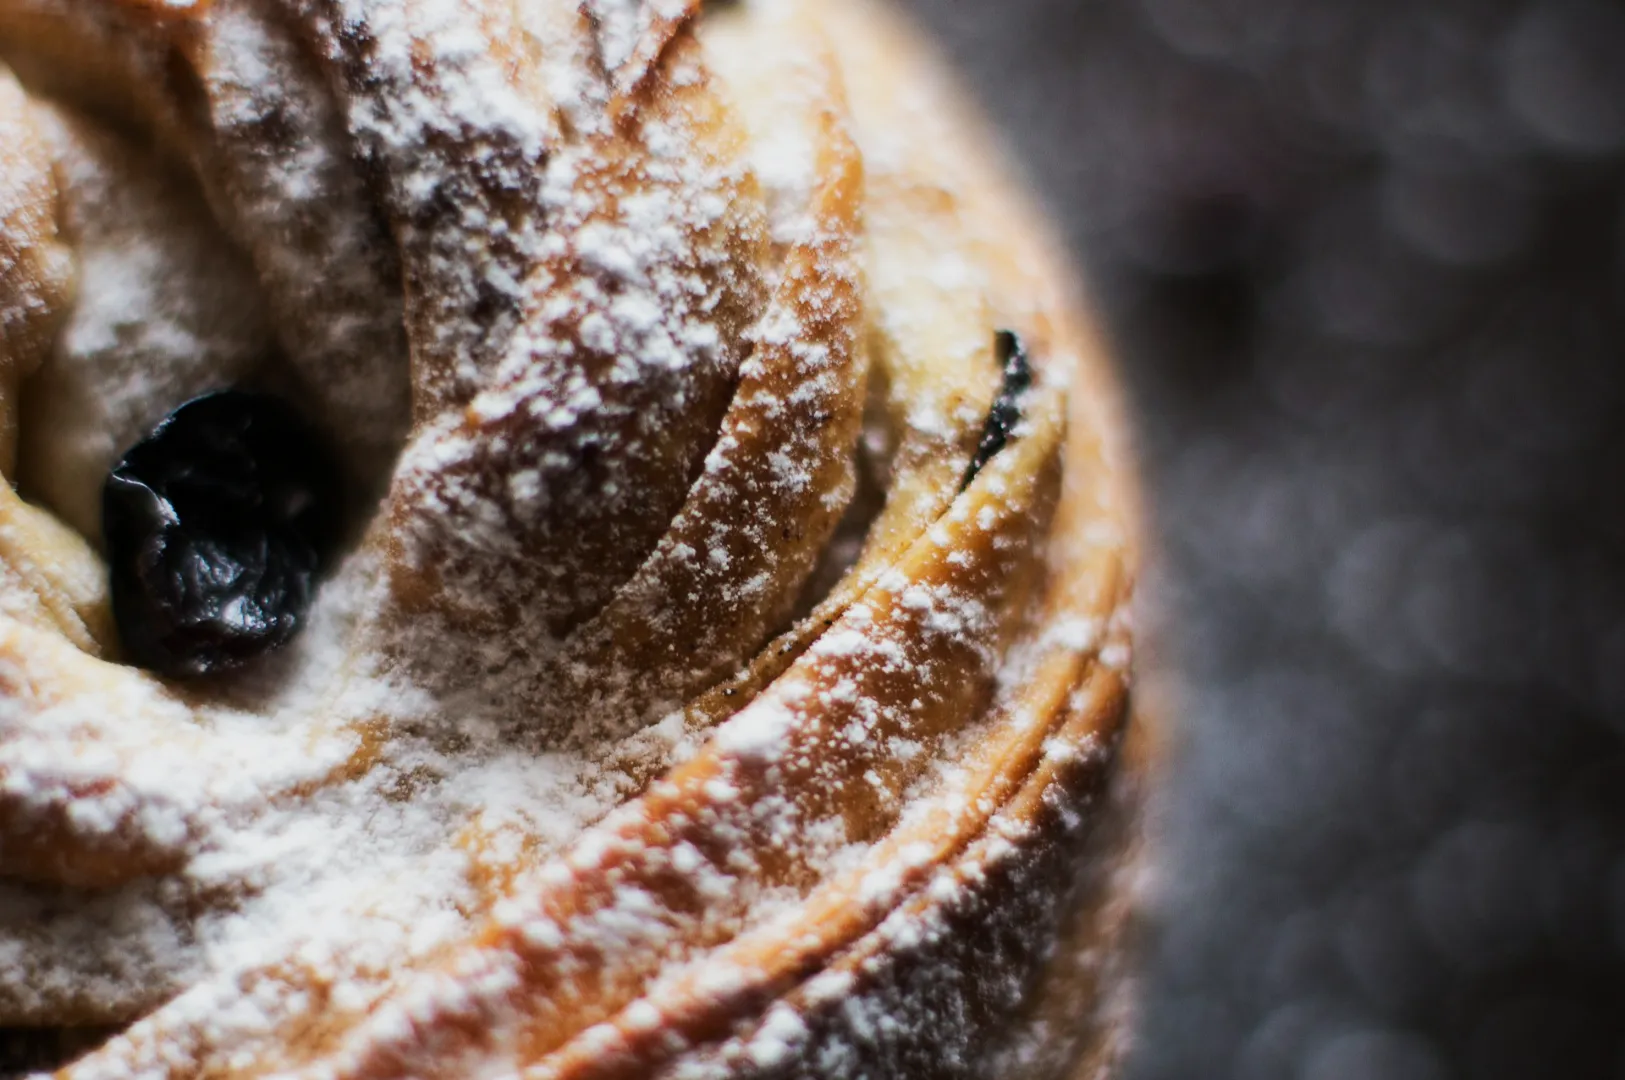
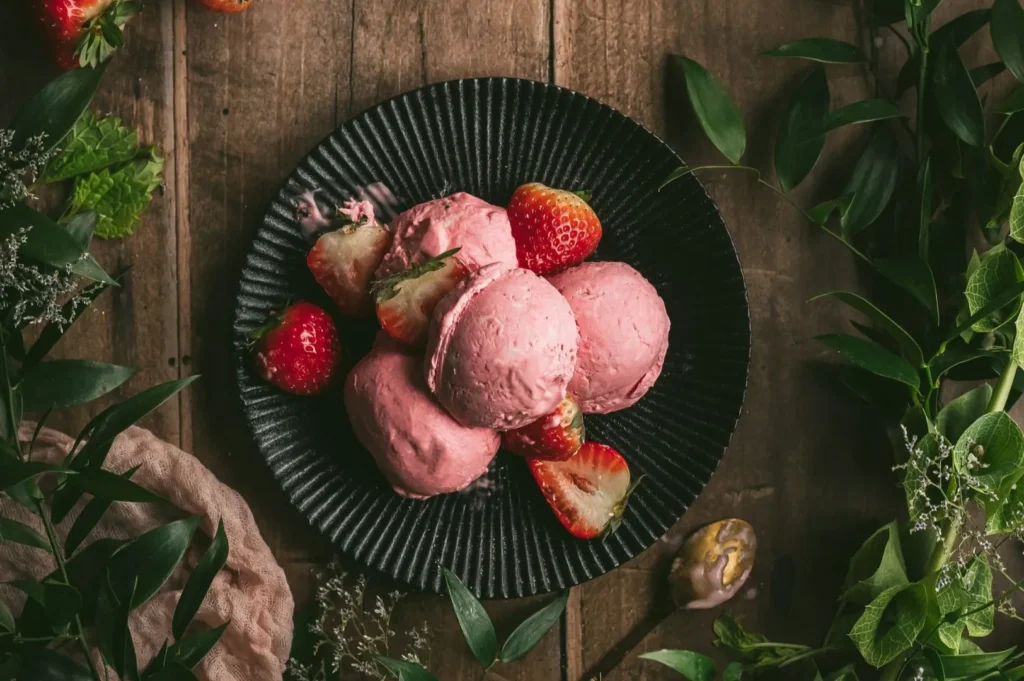
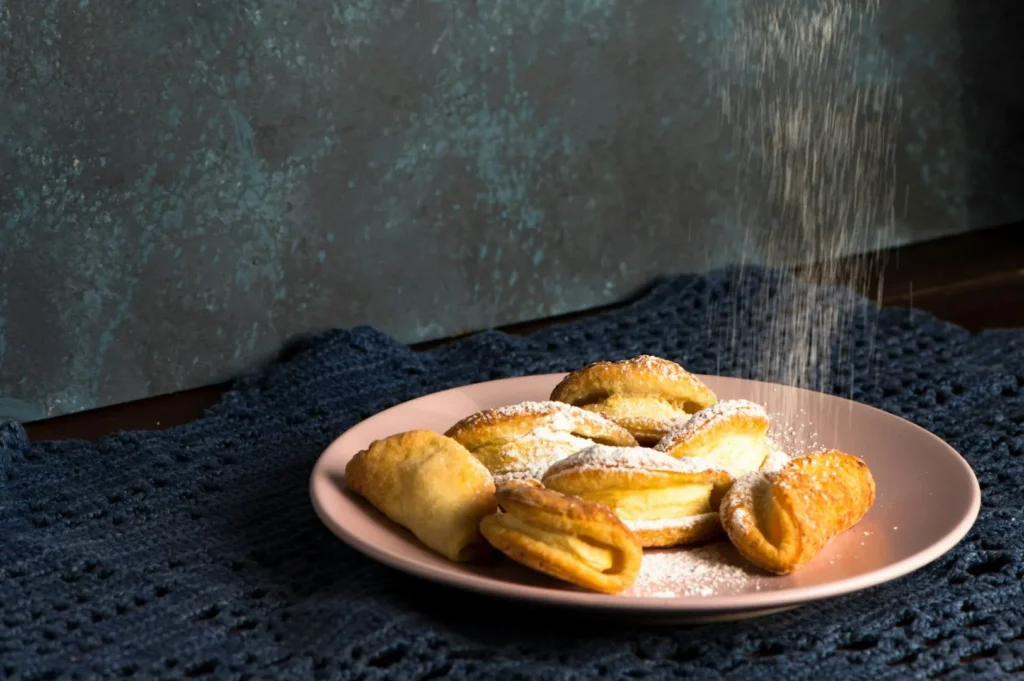
Artisan desserts, with dramatic layers and delicate garnishes, shine on clean white plates. A steaming bowl of Ramen combines steam, chopsticks, and rich broth reflections for more depth, all in one frame. Cocktails bring vibrant color and elegant glassware, making them great for background blur. Charcuterie boards teach composition with varied textures and shapes, often styled on rustic wooden boards, tapping into sharing culture. Each dish highlights key principles of good food photography.
Understanding Visual Appeal: The Camera Angle and Light Principles
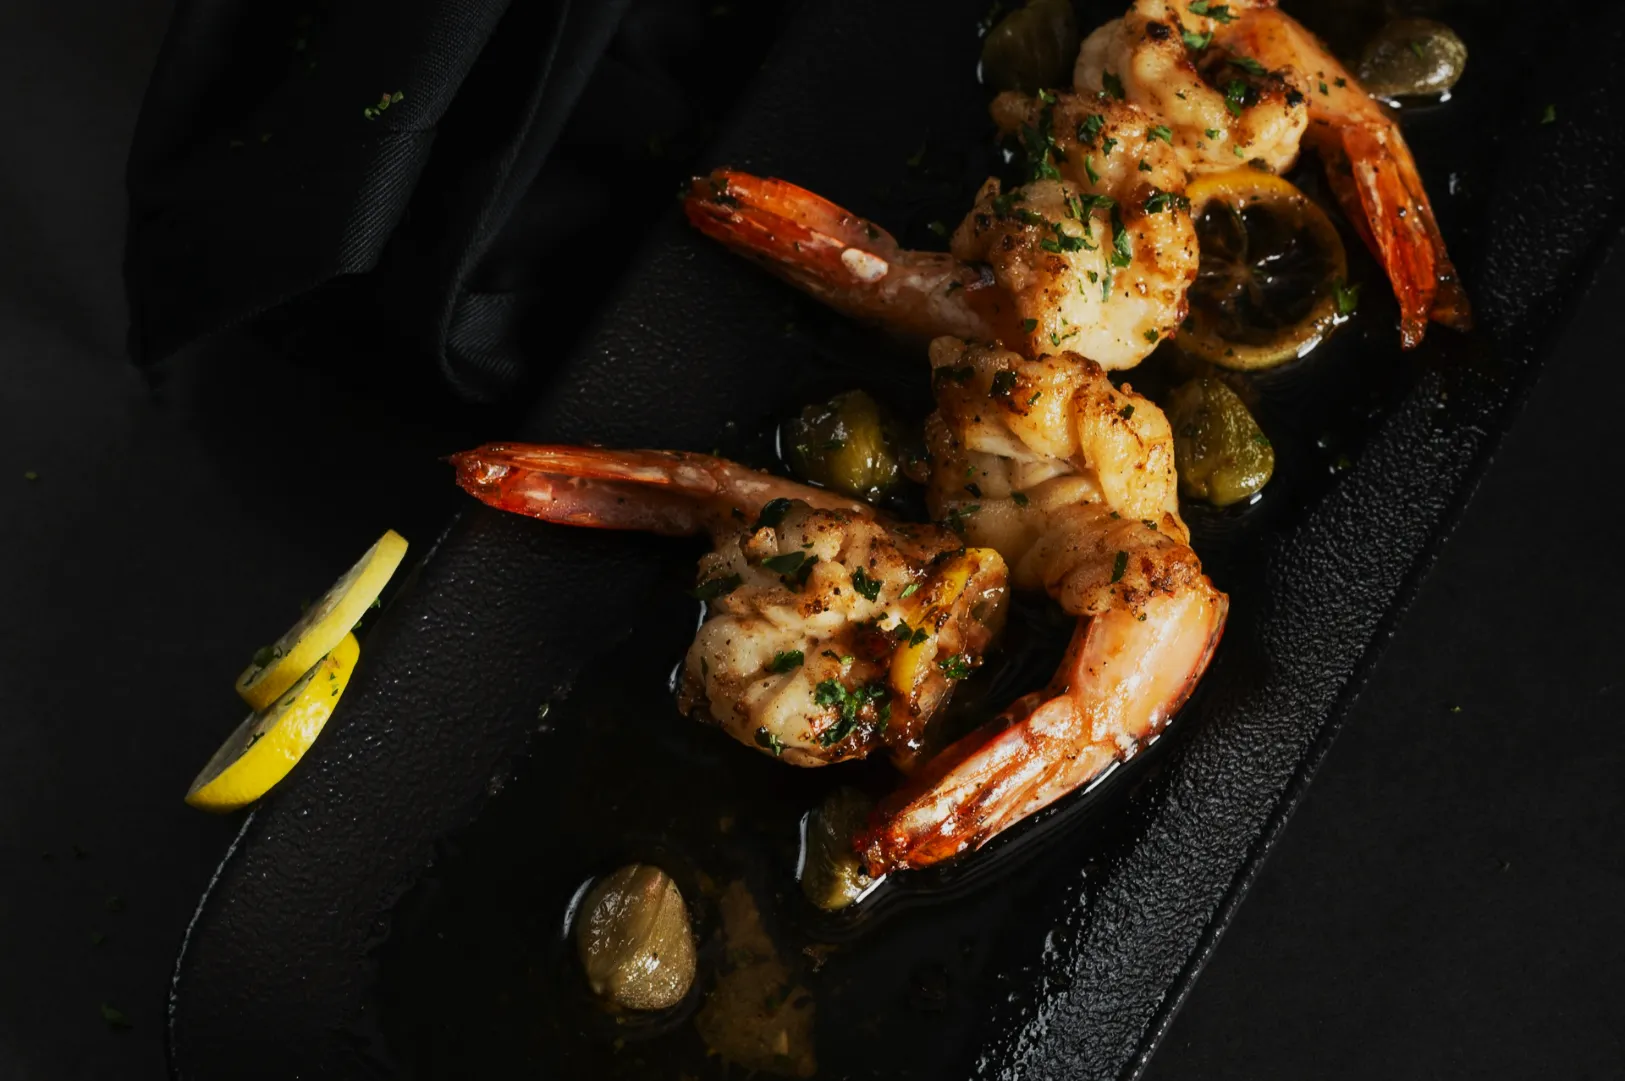
What makes these foods so photogenic? It comes down to key visual principles: height and layers add depth, vibrant color contrast makes images pop, and varied textures (smooth, rough, crunchy, soft) boost appeal. Glossy surfaces catch light, signaling freshness and flavor.
Natural light is your most powerful tool. Shots by a window on a sunny day beat harsh artificial lighting. Window light is soft and directional, making a huge difference. Use bounce light (reflecting light with a white card or napkin) to brighten dark areas and soften shadows.
Camera angle is crucial. Avoid shooting everything from the same angle; experiment to find what works. Faster shutter speed prevents camera shake in low light. Correct white balance keeps colors accurate, avoiding yellow or blue tints. A shallow depth of field keeps the main subject sharp while creating a beautiful background blur. These tips make sense for both professional photographers and beginners alike.
Food Photos in Singapore: Local Favorites and Photography Challenges
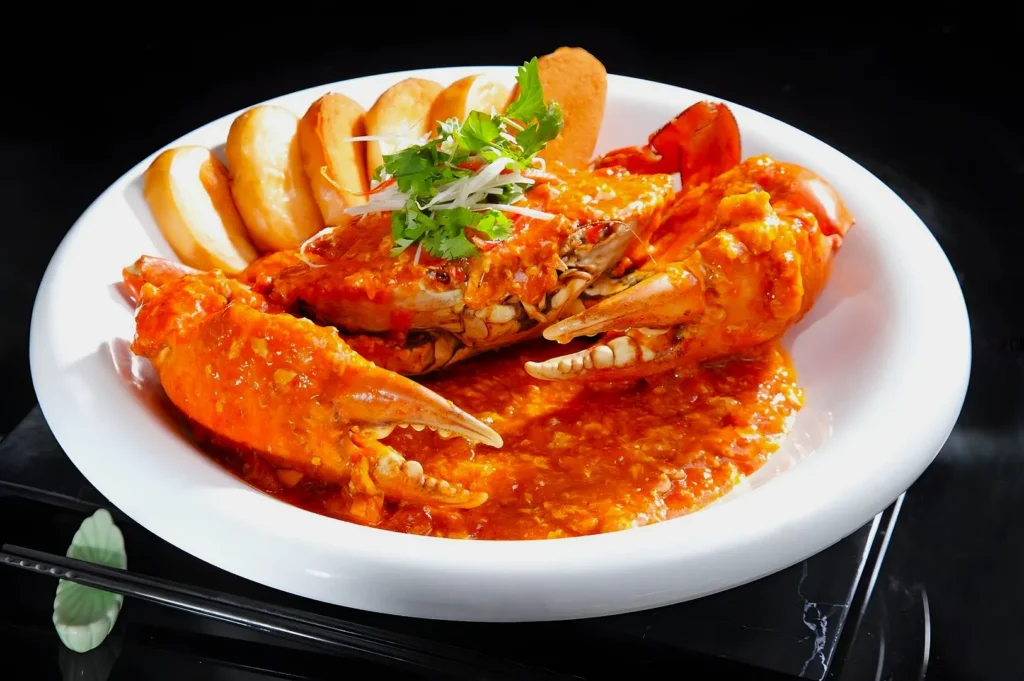
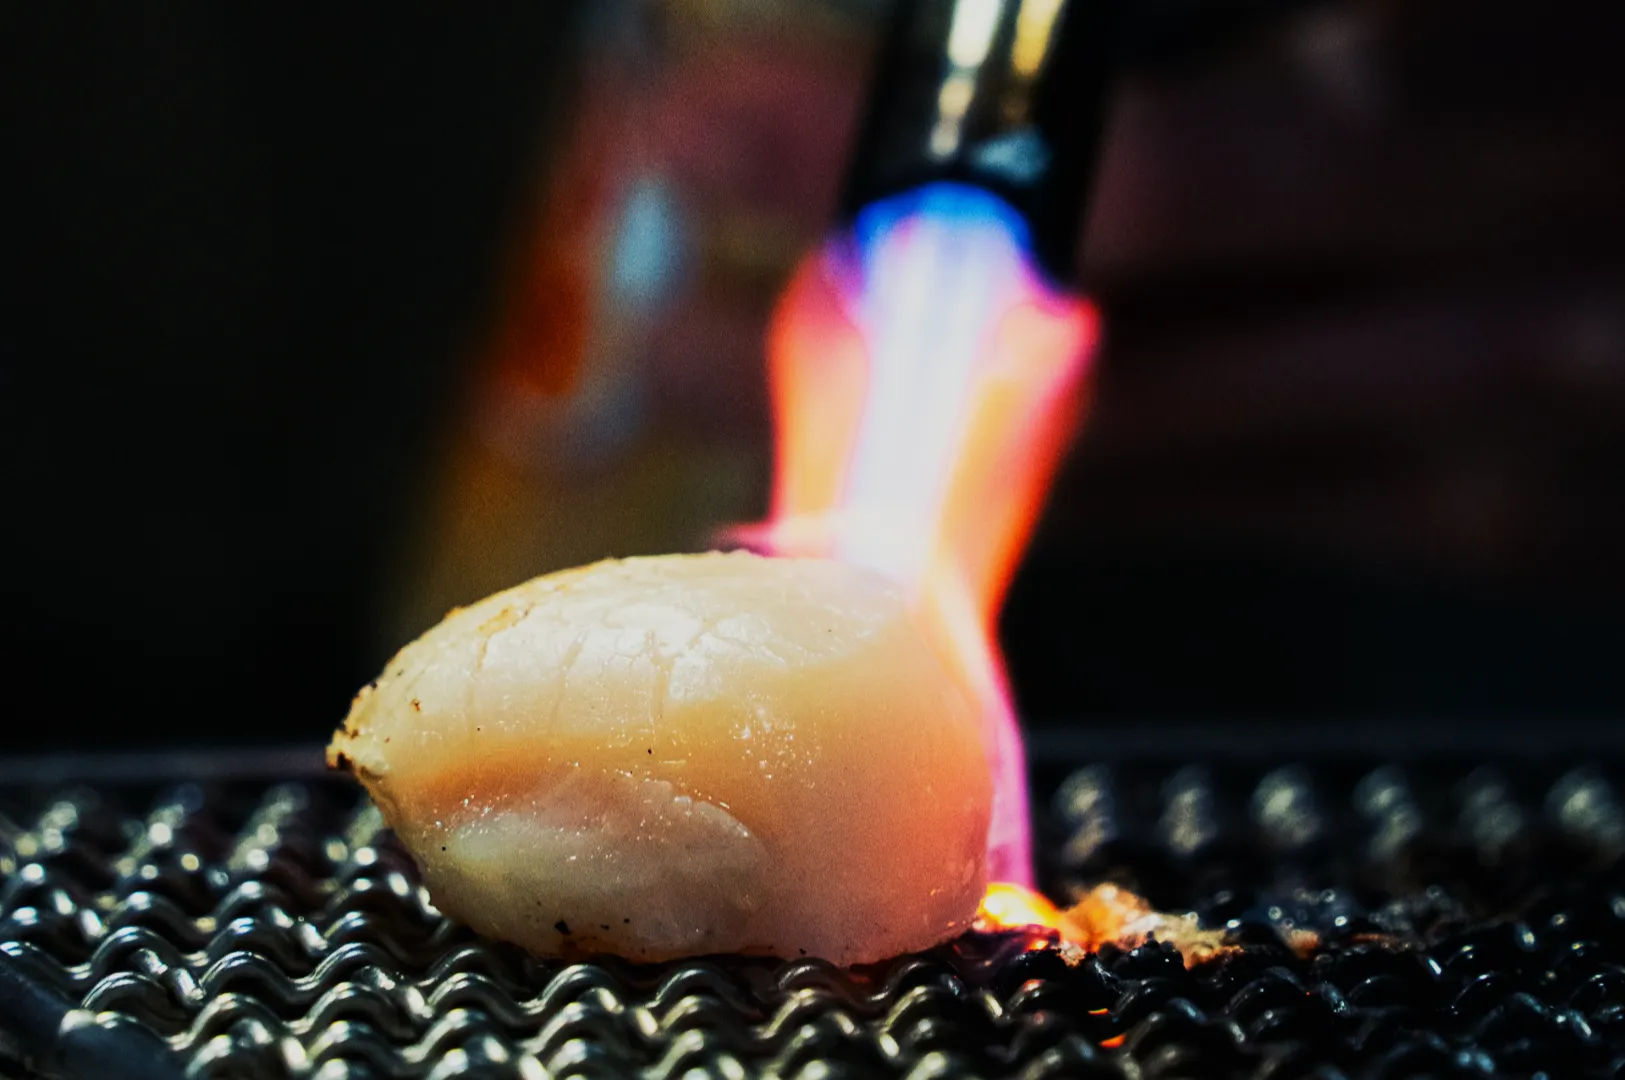
Applying these principles to Singaporean food shows why some dishes dominate Instagram. Chili Crab’s glossy red sauce is highly photogenic. Laksa’s rich colors, layered ingredients, and steam create great photos. Chicken Rice is more challenging due to its monochromatic, flat presentation, needing clever camera settings and negative space use. Char Kway Teow’s dark tones require more light and advanced styling to avoid looking like an undefined mass. Satay is moderately photogenic with repetitive patterns and grilling action potential.
Singapore’s environment adds photography challenges. Harsh tropical light often forces indoor shoots with artificial lighting. Tight hawker center spaces demand creative setups. The goal is authentic food images, not overly styled shots. Great tips from local food blogs or photographers emphasize adapting Western techniques to Singapore cuisine while keeping cultural authenticity.
Food Photography Tips: Shooting Challenging Dishes
Every food photographer faces difficult dishes. For monochromatic foods like porridge or soups, create contrast using colorful backgrounds, bright garnishes, or classic white plates. Use dramatic natural light with strong shadows and bounce light to reveal subtle textures.
For flat presentations, an overhead camera angle works best. Create visual patterns and use negative space to focus attention. Dark foods require more light; increase exposure with minor camera adjustments. Adding highlights with extra light and contrasting plate colors makes a huge difference.
For messy foods, embrace authenticity. Capture cooking action and style with purpose without over-cleaning. A food photographer considers every camera angle, selects a focus point, and adapts technique. Low cost solutions like window light positioning or spraying cold water for a fresh sheen are accessible to all. Always compare two photos side-by-side to develop your own style.
Food Styling Secrets: Transforming Any Dish for the Camera
Good food styling can transform any dish into a photogenic star. The first step is to analyze your signature dish’s visual characteristics. What are its strengths and weaknesses? From there, you can make food styling adjustments that enhance its appeal while respecting its identity. The plating modifications must make sense for photography but also for the meal itself.
When developing a new menu, consider how the right food for photography will look through the camera lens and how it will compose when captured in one frame. The important aspect is maintaining the dish’s essence. We have found great info and helpful resources showing advanced styling techniques. Using wooden boards adds a rustic, warm appeal. Learning to manage shiny surfaces helps control distracting reflections. Creating interesting textures through a thoughtful sprinkle of garnish can elevate a simple plate. This process is fun and provides essential information for anyone looking to improve their pictures.
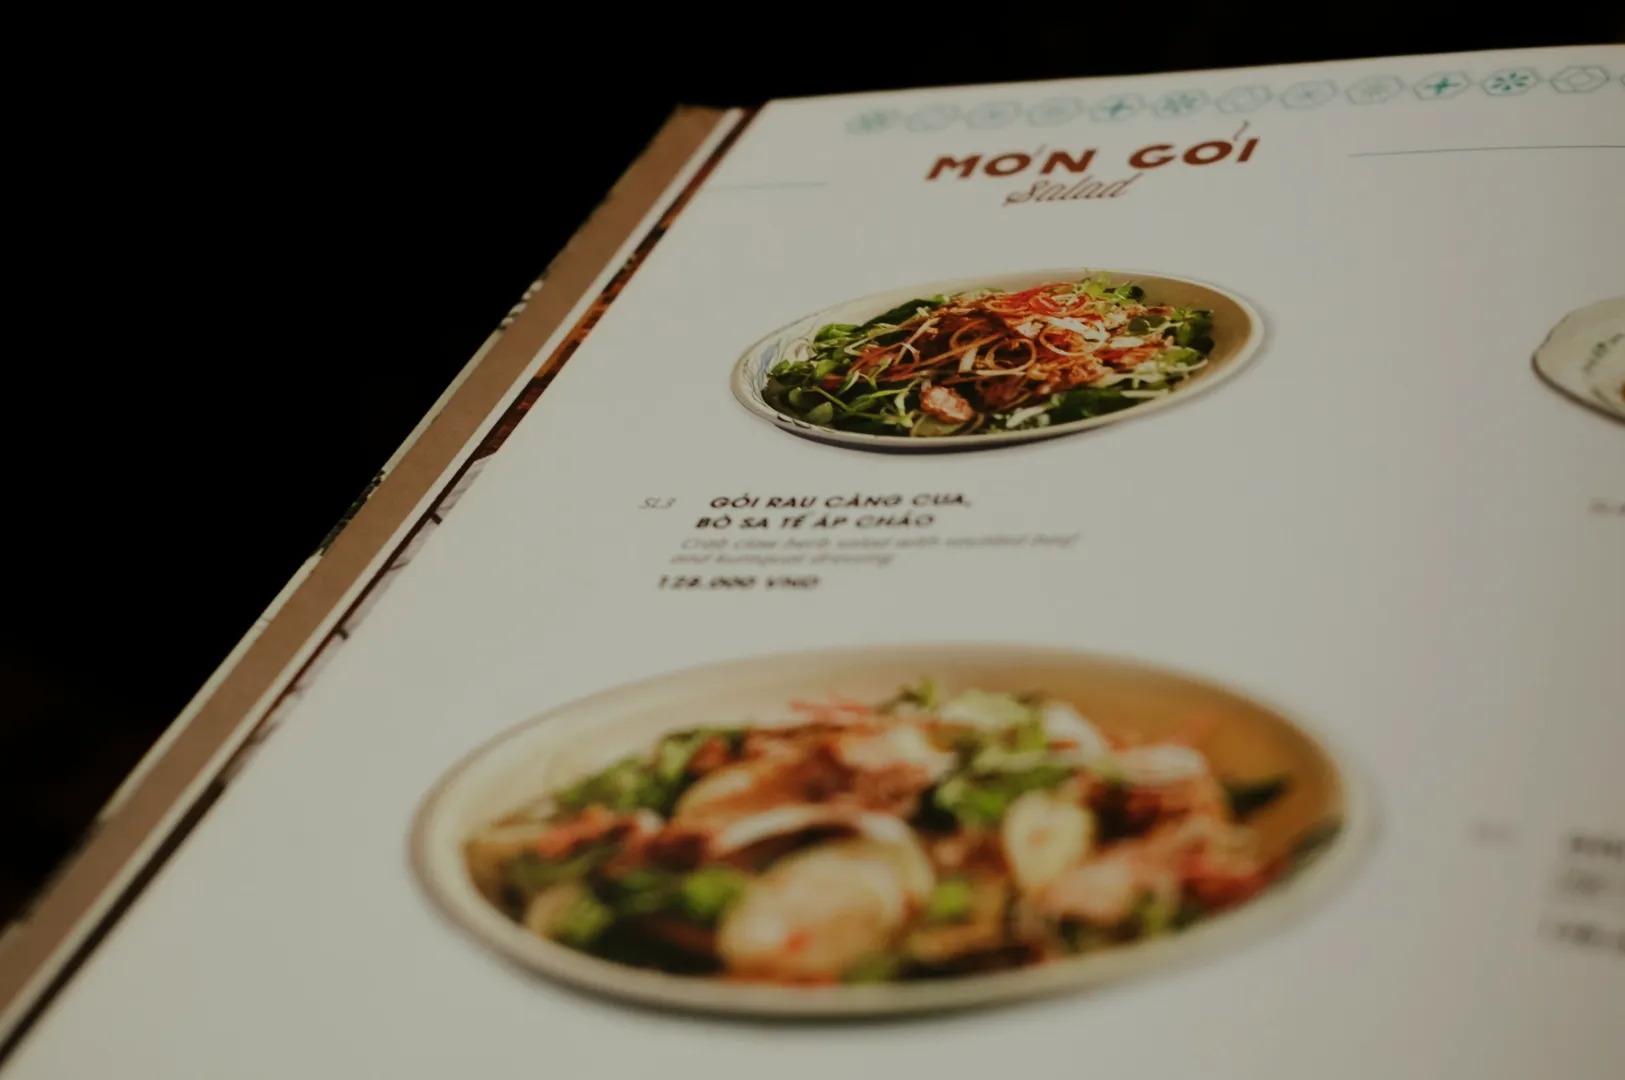
The Menu Photography Strategy
When it comes to menu photography, strategy is key. Not every dish needs a professional glamour shot. Prioritize high-margin items or signature dishes for professional photography investment. A great idea is to shoot multiple dishes in one session to ensure a consistent style across all food photos. This makes a huge difference for your food blog or restaurant’s brand image.
A professional photographer will help you build a comprehensive shot list and approach the shoot with a cohesive vision. This is different from snapping a photo of a single dish. The goal is to create a visual library that represents your entire brand. Remember that your images have a life cycle. Refresh them as your menu evolves or with seasonal changes. Following great tips from successful Singapore restaurants can provide a blueprint for organizing your photography resources and creating a powerful, visually-driven menu.
Great Blog Resources and Learning from a Great Photographer
For continued learning, explore online resources. Many a helpful blog post or online tutorial shares tips from professional photographers. Study what makes a great photographer—it’s not just their gear, but their eye for detail and composition. Follow Singapore-based food photographers on social media for inspiration and to develop your own style.
At some point, DIY photography reaches its limits. Professional services become essential for hero dishes, major campaigns, or when you need absolute brand consistency. The great info in this article provides a starting point, but a professional photographer brings years of experience. Finding a photographer whose style matches your brand vision is crucial. Remember, while your camera, lens, and light setup matter, the most important thing is mastering the fundamental principles. A great friend and photographer once told me that great photos come from a great idea, not just great gear.
Conclusion
The key insight is simple: understanding which food for photography naturally excels helps you make smarter decisions about your menu, plating, and marketing. Every dish can be beautiful with the right technique and food styling, though some require more work. This process becomes easier with practice, especially when you master natural light, your camera angle, shutter speed, and creating visual appeal through negative space and interesting textures.
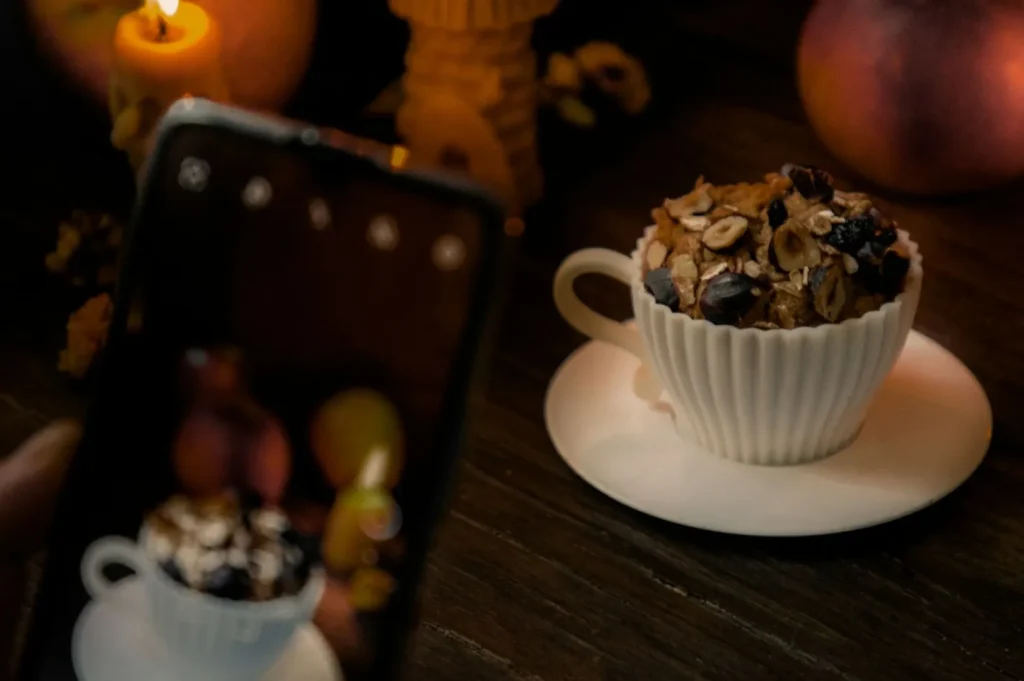
For example, adjusting your shutter speed can prevent camera shake and capture sharper images, even in low light. These tips make sense and will deliver results whether you’re using an expensive camera or a smartphone. Even minor adjustments can make a huge difference for those who have recently started. As you experiment and refine your approach, your unique style will emerge, turning every meal into a captivating subject worth capturing.
By applying these principles, you’ll create stunning food photos that showcase the life, vibrancy, and personality of your cuisine, setting your food blog or portfolio apart with a professional touch and engaging visual storytelling.