Running an F&B business in Singapore already means juggling a hundred moving parts. So, yes. Doing food styling DIY and taking your own food photos for social posts, menus, or delivery platforms can be a smart, budget-friendly habit.
But here’s what we see all the time: the dish is genuinely delicious, the taste is on point, the recipe is solid… and the photo still doesn’t sell it. Not because your food isn’t good BUT because small styling choices quietly change how the viewer feel about the main dish.
The good news: you don’t need a food stylist on retainer to improve. You just need a few repeatable fixes that make your food look more appetising, more honest and more premium without turning it into a fantasy. Below are five common mistakes plus helpful tips you can apply immediately.
If you’re building your photography workflow from scratch, our DIY guide for Singapore F&B walks you through setup, light, angles, and quick routines.
Mistake 1: Food Styling DIY Without Respecting Light
Harsh ceiling lights, mixed lighting and dim corners are the fastest way to make food photography look “off.” Yellow casts make soups look muddy, blue casts make meat look grey, and strong overhead shadows flatten texture.
Why it matters for food styling
Light is what reveals texture, colour, and shape. It’s also how you create depth. Great styling can still fail if the lighting makes the final dish look tired.
Fix: Build your setup around window light
Use natural light first. A window is still the best tool most restaurants already have.
Try side light to add texture (crispy edges, glossy sauces, cheese pull) and back light for steam or drinks.
If the light is too harsh, soften it with a sheer curtain. If you need extra interest in shadows, place a board opposite the window to control contrast.
Quick win: Set up your “shoot corner” once, then reuse it. You’ll spend less time fighting light and more time making food look good.
Mistake 2: Food Styling That Overcrowds the Frame
We get it. You want to show “all the things.” The bowl, the sides, the drink, extra garnish, props, a hand reaching in, maybe a second plate… but the image ends up messy.
Why it matters for food photos
Clutter makes the main dish feel less special. On a phone screen, the viewer doesn’t know where to focus so they move on.
Fix: Use negative space like a pro
Choose small plates or a small bowl when it helps your dish fill the frame cleanly.
Keep props minimal: one spoon, one napkin, one glass only if it makes sense to the story.
Add a human element only when it supports the moment (a hand lifting noodles, a friend’s fork going in). Otherwise, it can distract.
Rule we use: If a prop doesn’t add interest or improve the composition, remove it.
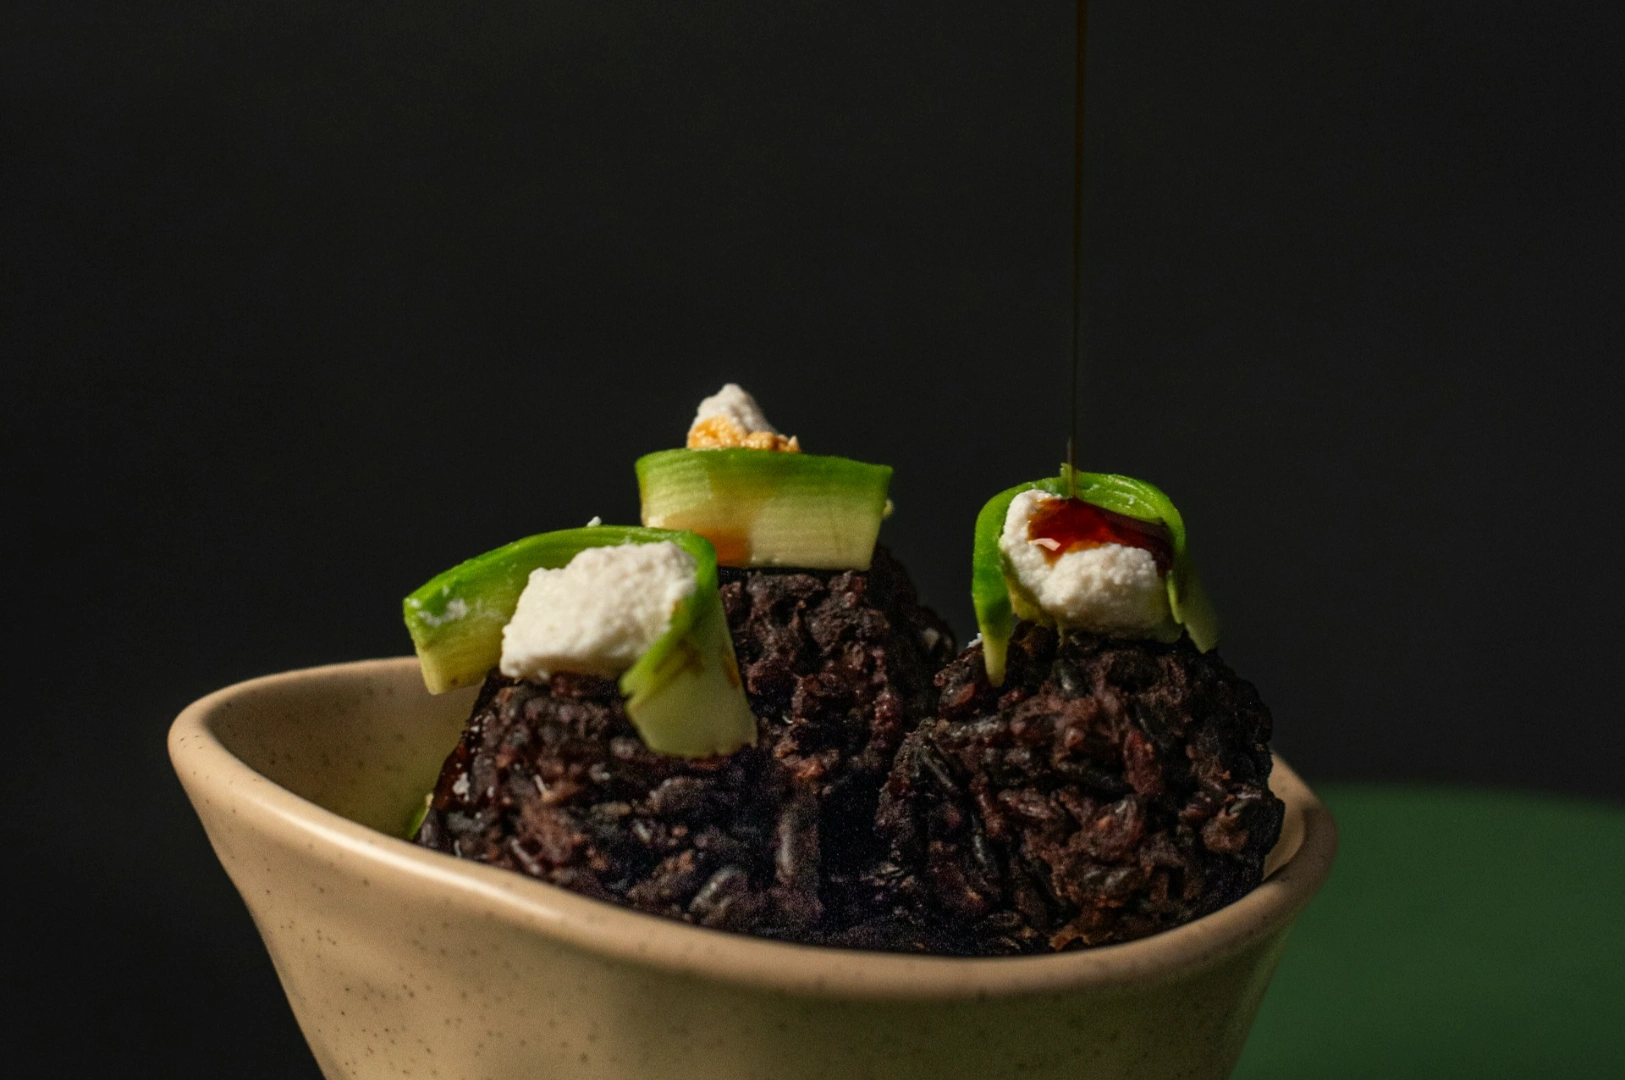
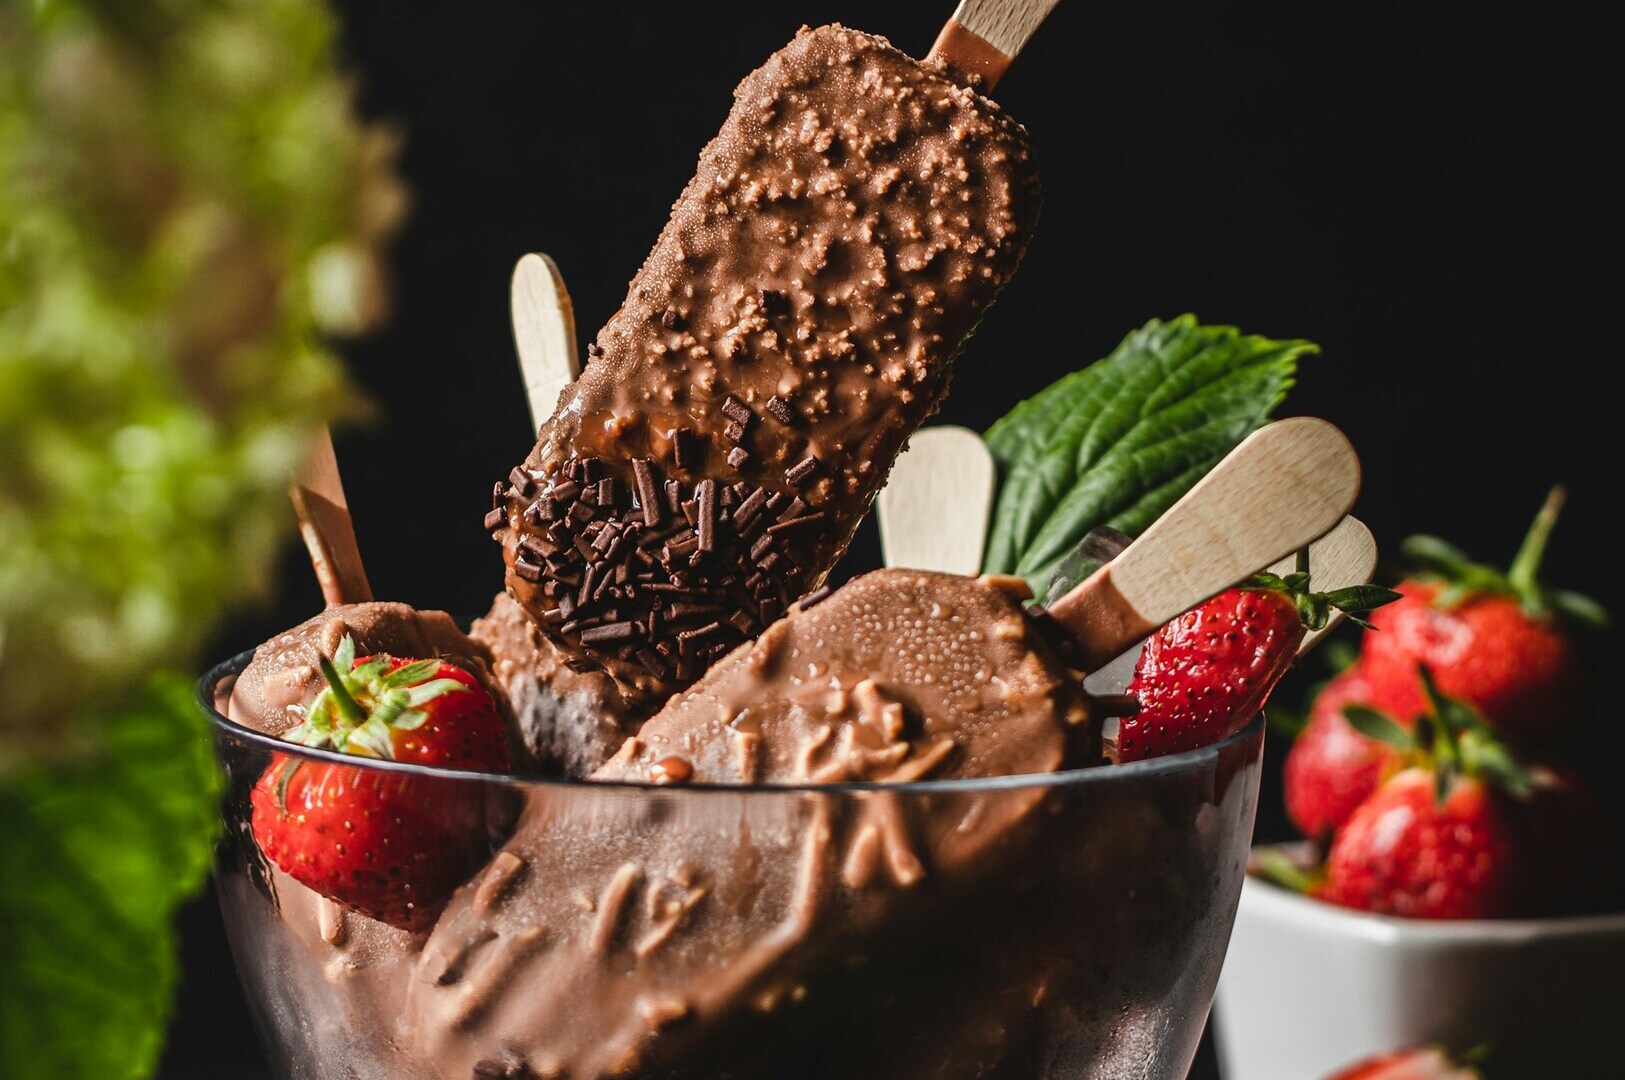
Mistake 3: Food Photography That Ignores Colour and “Food Look”
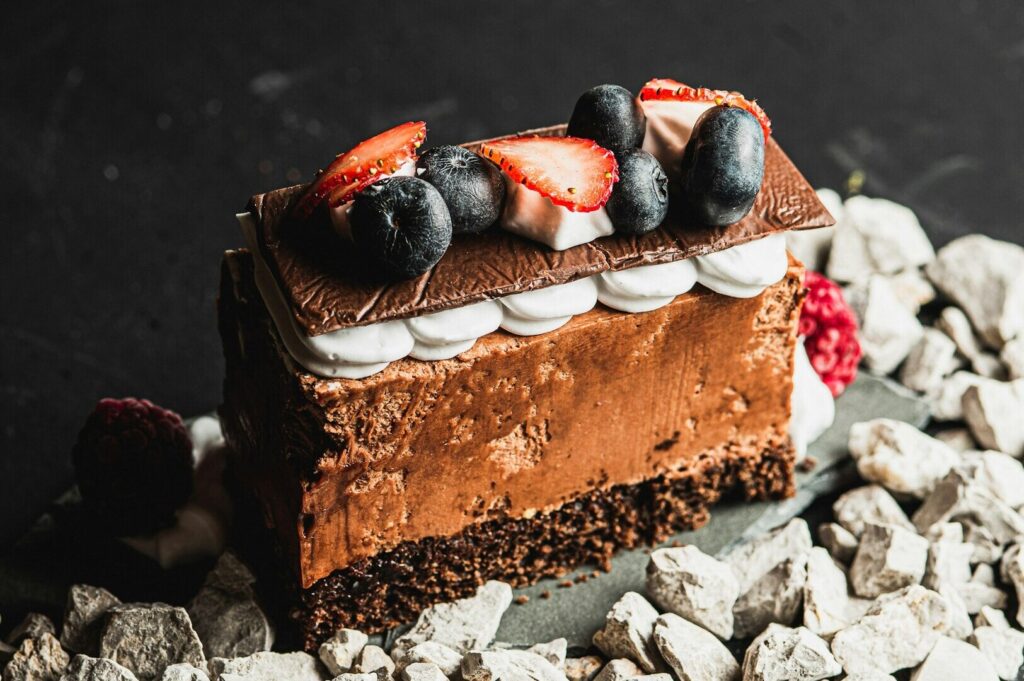
Some dishes disappear into the plate. Example: brown stew on a brown table, soup in a dark bowl with no contrast or salad on a green plate where nothing pops.
Why it matters
Colour is appetite. Contrast helps the dish read instantly, especially for certain foods with similar tones (gravy dishes, braised meats, dark sauces).
Fix: Use simple colour logic
Put darker foods on lighter plates. Light foods can look premium on darker surfaces.
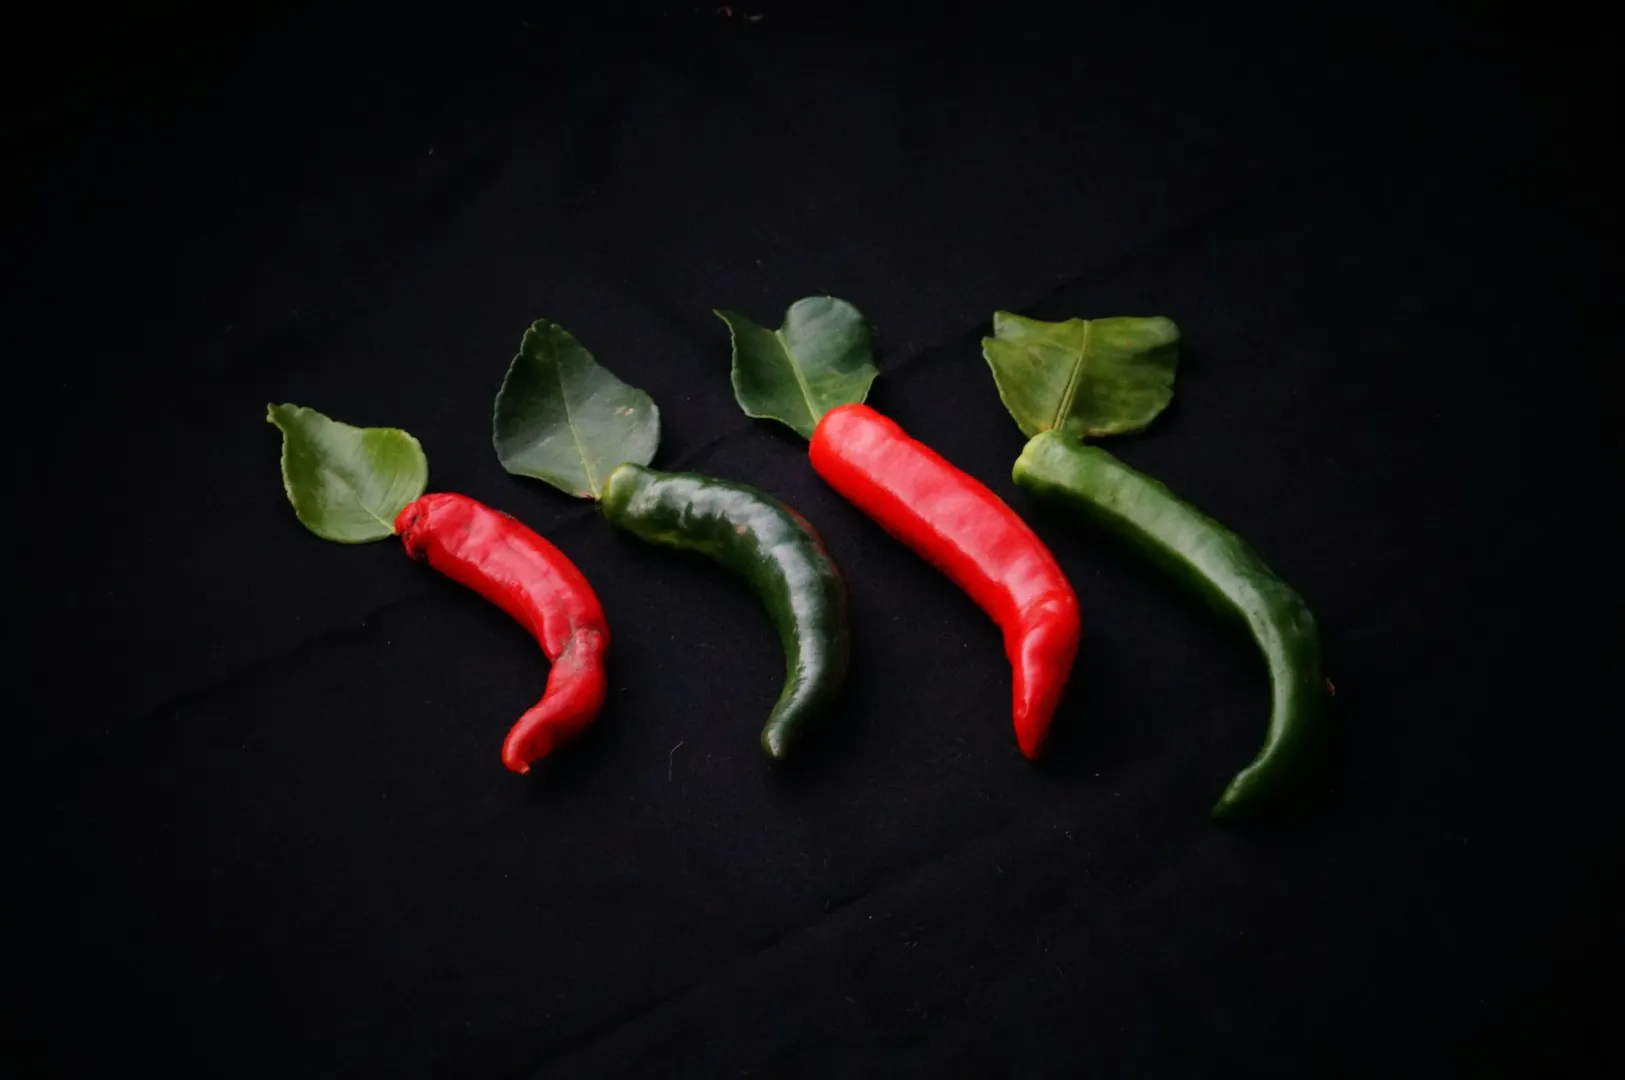
Add small colour accents that are true to the dish: fresh herbs, chilli oil, citrus, pickles.
Keep your background neutral so your fresh ingredients look alive, not filtered.
Extra tip: If you sell smoothie bowls, your topping colours are the hero. Don’t bury them in a patterned bowl but choose something plain and let the fruit do the work.
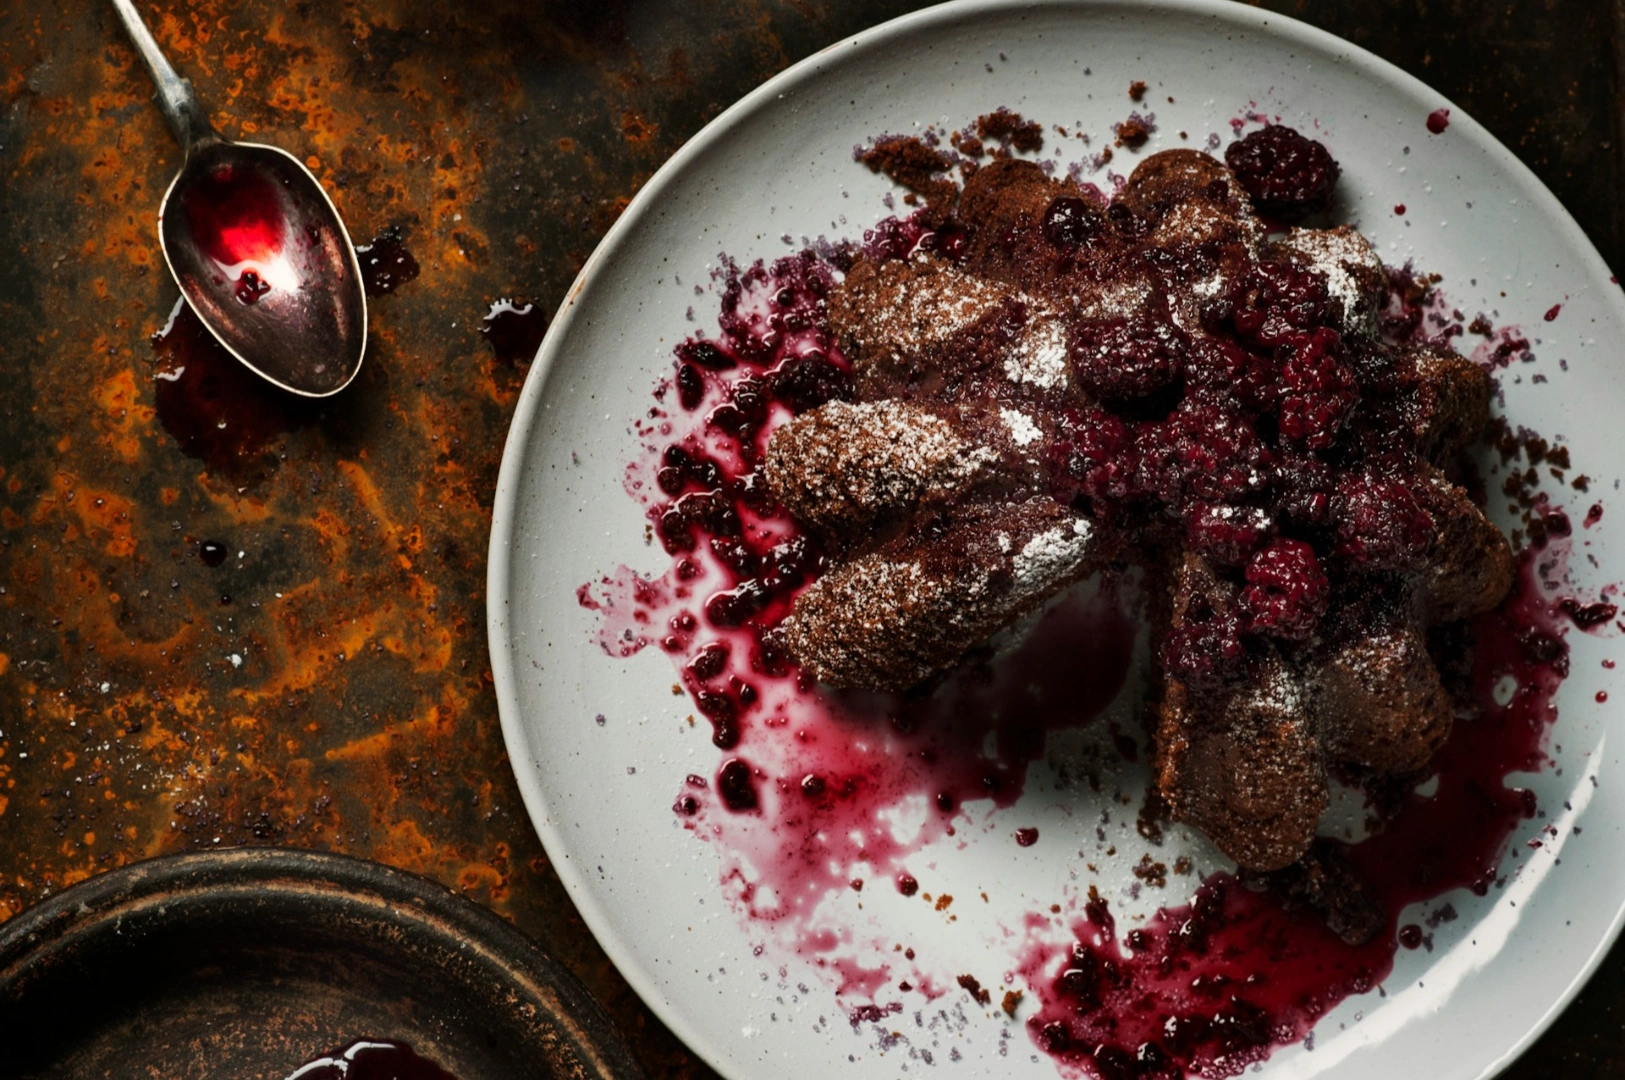
Mistake 4: Styling Food That’s Past Its Best
You’re adjusting the camera, moving props, changing angles… and suddenly the dish looks tired. Cheese starts to set, steam disappears, greens droop and melted ice cream turns into a shiny puddle.
Why it matters
Freshness is visual. A dish that looks cold or stale won’t trigger appetite—even if it tastes amazing.
Fix: Prep first, plate last
Set the surface, props, and lighting before the dish arrives.
Keep a spray bottle of cold water to revive greens and fresh herbs. A light mist can bring veggies back to life.
Do test shots with a “stand-in” plate (especially for complex bowls), then swap in the real final dish for the hero.
When you need fake ice
For drinks, real ice melts fast under light. If you’re photographing mocktails or cold beverages for a campaign, consider fake ice for stability. It’s a tool (not a trick) when you need the drink to look consistent for multiple shots.
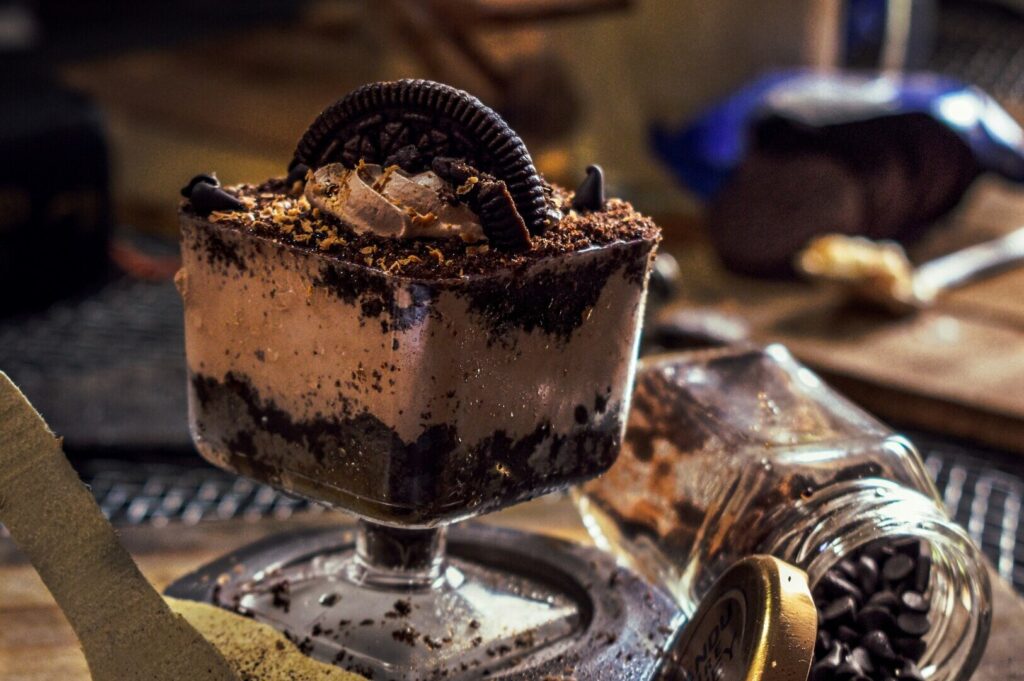
Mistake 5: Food Stylist-Level Props… But Inconsistent
DIY shoots often use whatever is on hand: mismatched plates, scratched cutlery, shiny bowls that reflect light, random backgrounds. If you run a fancy restaurant, this can accidentally cheapen your brand.
Why it matters
Props are part of food styling. They signal quality before anyone reads your menu. Consistency also builds recognition: your feed starts to feel “like you.”
Fix: Build a small prop kit you actually use
Start with 4-6 basics: neutral matte plates, one darker plate, simple bowls, one wooden board, and a neutral cloth.
For soups and noodles, keep shallow bowls available. Deep bowls hide ingredients and reduce impact.
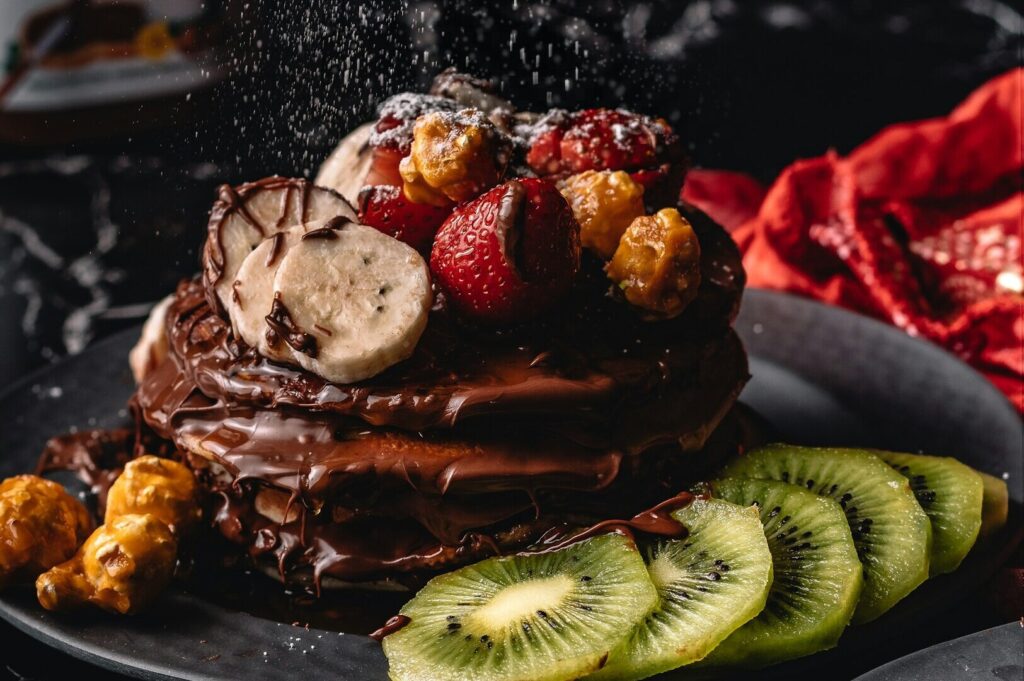
For desserts, keep powdered sugar on standby for a quick final touch (use lightly, and only if it fits the dish).
Don’t overbuy. A small, intentional kit used repeatedly is better than a cupboard of random props.
Food Styling Tips That Make a Great Post Faster
If you’re short on time (which is most days), here are quick wins that improve almost any shoot:
Add an additional layer: a board under the bowl, a napkin edge, a small side plate. It creates depth without clutter.
Show different shapes: one tight hero shot, one wider scene shot, one detail shot (cheese, herbs, texture).
Edit lightly: use editing software to correct brightness and colour, not to rebuild reality. If customers feel misled, trust drops fast.
Conclusion: Better Food Styling Skills Without Overcomplicating It
Strong food styling DIY is really about discipline: light, clarity, freshness, and props that support the dish. Fix those five and your food photography improves immediately without needing expensive gear or a full-time food stylist.
Start small: choose one dish this week, embrace the fun and creative process, and experiment with ideas to improve the light and simplify the scene. Photographing food at its peak freshness is the perfect way to build real food styling skills over time. If you want a simple checklist you can follow each shoot, start here.
And when the stakes are higher (menu revamps, rebranding, flagship launches), that’s when working with a food photographer (and, when needed, a team of many professional food stylists) can save time and elevate consistency.
Ready to level up your visuals? Explore our work at Food Photographer Studio and see how professional styling and photography can support your next campaign.