If you are running a restaurant, you do not need a complicated workflow to get decent edits. You need something you can repeat between service, staff briefings, and supplier calls.
The iPhone editing tools are more capable than most teams realise. They are not perfect, but they are fast, and speed matters for daily content.
This article shows a practical iPhone-only approach. For the full framework behind these choices, refer back to our main guide on the editing process that keeps dishes believable, not filtered.
Start With Two Decisions: Platform And Mood
Before editing, decide:
- Where is this going? Instagram, Google, delivery menu, website?
- Should it feel bright and clean, or warm and intimate?
If you do not decide, your edits will drift.
The iPhone Editing Order That Works
1) Crop And Straighten
Do this first. Fix tilted tables and awkward framing early.
2) Adjust Exposure
Use “Exposure” and “Brilliance” gently. Brilliance can lift detail, but too much makes food look flat.
3) Fix Warmth
Use “Warmth” to correct yellow restaurant lighting. A small move can rescue rice, tofu, and plate edges.
4) Add Contrast Lightly
A touch of contrast gives shape back. Too much makes sauce and shadows harsh.
5) Use Definition Carefully
“Definition” can bring out texture, but it is easy to overdo. Stop the moment the food starts looking dry.
6) Finish With Highlights And Shadows
Pull highlights down if plates blow out. Lift shadows a touch if ingredients disappear.
That is enough for most posts.
The Quick Test Before You Save
Zoom in and ask:
- does the food still look edible, not over-processed?
- do whites look neutral?
- do greens look alive?
If yes, stop editing. The most common mistake is editing past the point of improvement.
When iPhone Edits Start To Struggle
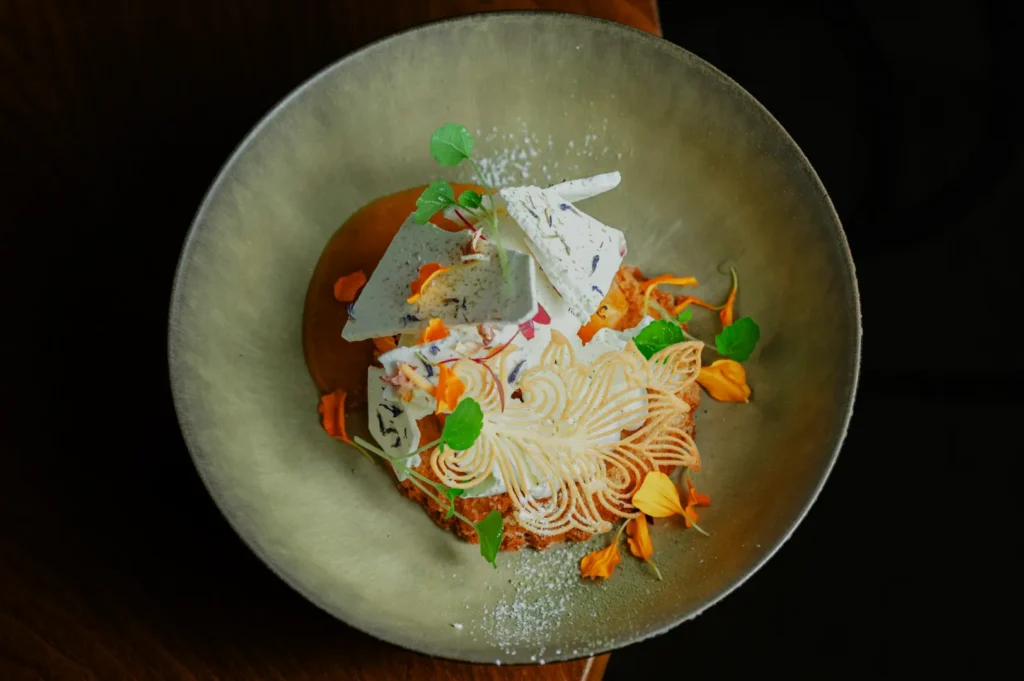
iPhone edits struggle when:
- lighting is very mixed
- the photo is very underexposed
- you need consistency across a full menu set
That is when teams either move to Lightroom Mobile, or they outsource the high-stakes set to a professional team.
If you want daily iPhone content to sit nicely beside professional menu images, you can also set a consistent “house look” with our help. We often build a simple style guide so your team’s phone photos do not clash with your brand assets on the website.
You can see the difference consistency makes by browsing Food Photographer Studio.
Simple Edits Win When They Are Repeatable
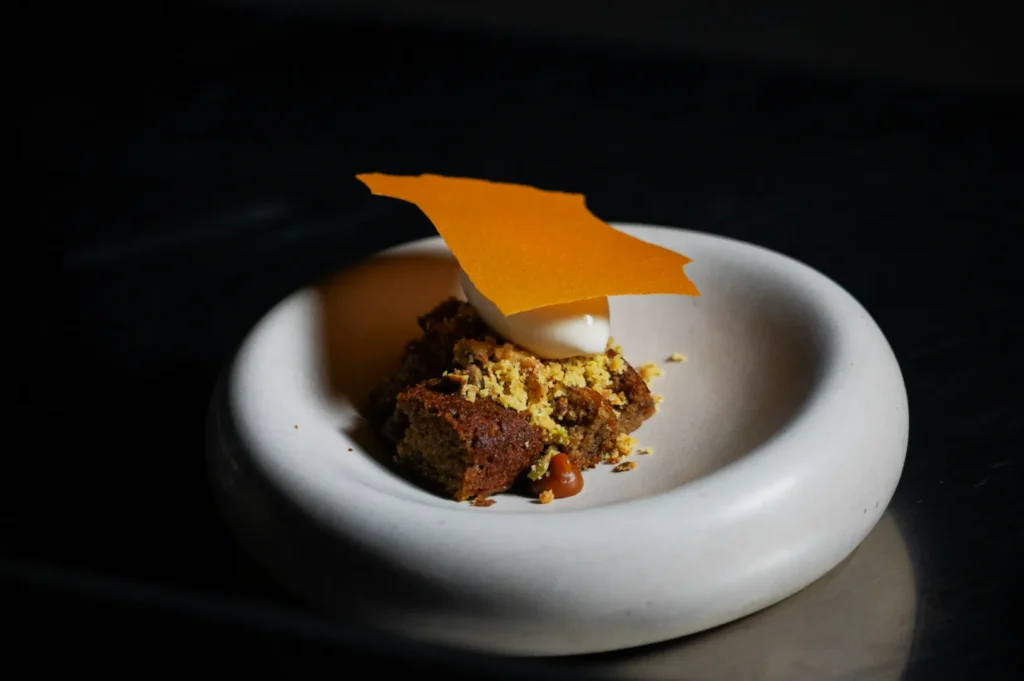
You do not need to be a photo editor. You need a repeatable routine.
Crop, exposure, warmth, light contrast, light definition, then stop. When your team edits this way consistently, your food looks more trustworthy. And in Singapore, trust is what gets people to order.