Shooting close up food images exposes the limits of your gear incredibly fast. You will quickly notice issues with focus accuracy, camera shake, and light control. Building the right macro food photography equipment kit saves you from endless frustration on set.
You do not need to buy every expensive gadget available to get stunning results. We will cover what gear matters most, what you can skip, and a sensible upgrade order. These recommendations are specifically designed for Singapore F&B teams dealing with real world constraints.
What "Macro" Really Means for Gear Choices
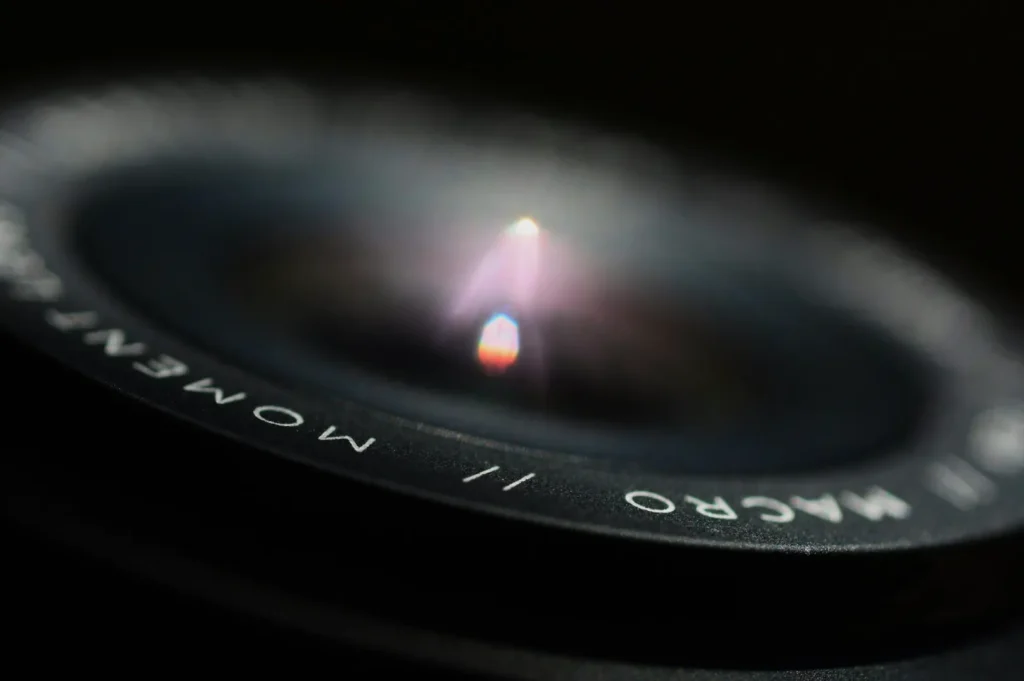
Understanding the technical definition of macro changes how you shop for close-up food photography gear. A true 1:1 macro lens captures the subject at its actual life size on the camera sensor. Standard lenses simply cannot focus close enough to achieve this level of magnification.
Your working distance is just as important as your magnification power. This is the physical space between your lens and the plate of food. A good working distance keeps your lens safe from hot steam and prevents the camera from casting ugly shadows. It also stops your gear from blocking your carefully placed studio lights.
In Singapore cafes and hawker settings, tight tables demand quick setup needs. You rarely have room for massive light stands or bulky camera rigs. The best principle to remember is to prioritise stability and working distance before chasing more magnification.
Macro Lens Options for Food
Choosing the right macro lens for food photography dictates how you interact with the dish. The 60mm class of lenses is incredibly popular for cropped sensor cameras. These are lightweight and perfect for shooting top down flat lays in cramped café spaces.
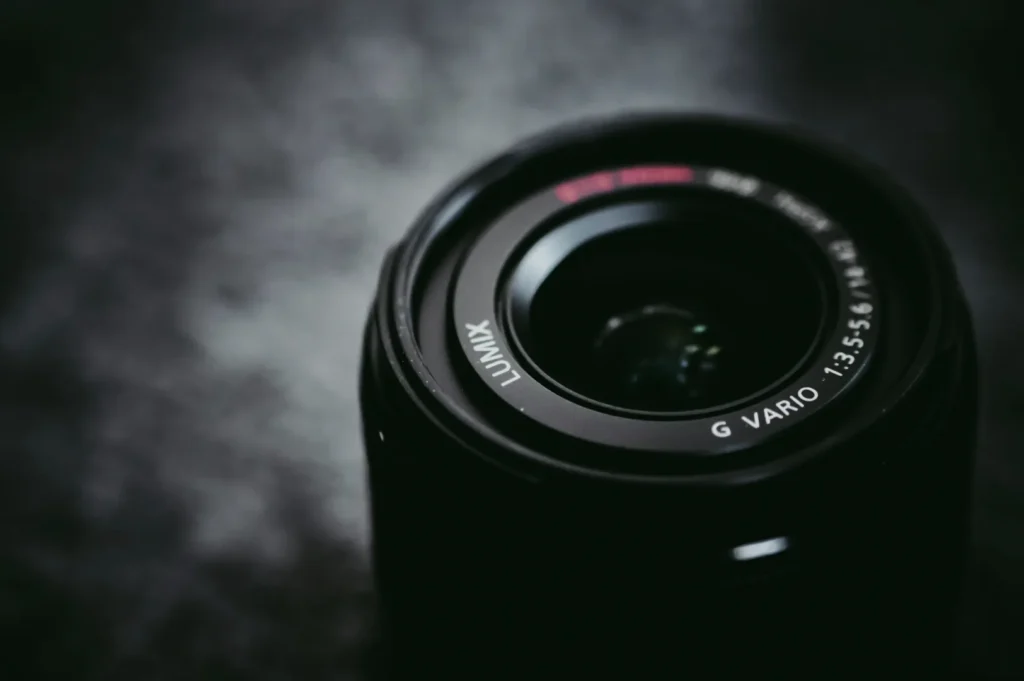
The 90/100/105mm class is the absolute industry standard for full frame cameras. These longer focal lengths provide excellent working distance and beautiful background compression. They give you plenty of space to light a messy plate of chili crab without getting sauce on the glass.
You must always weigh practical trade-offs when making your choice. Longer lenses offer beautiful bokeh but are much harder for handheld shooting in dark restaurants. If a new lens is out of budget, consider simple close up alternatives like extension tubes or close up filters. A standard telephoto lens paired with a heavy digital crop can also work for social media posting.
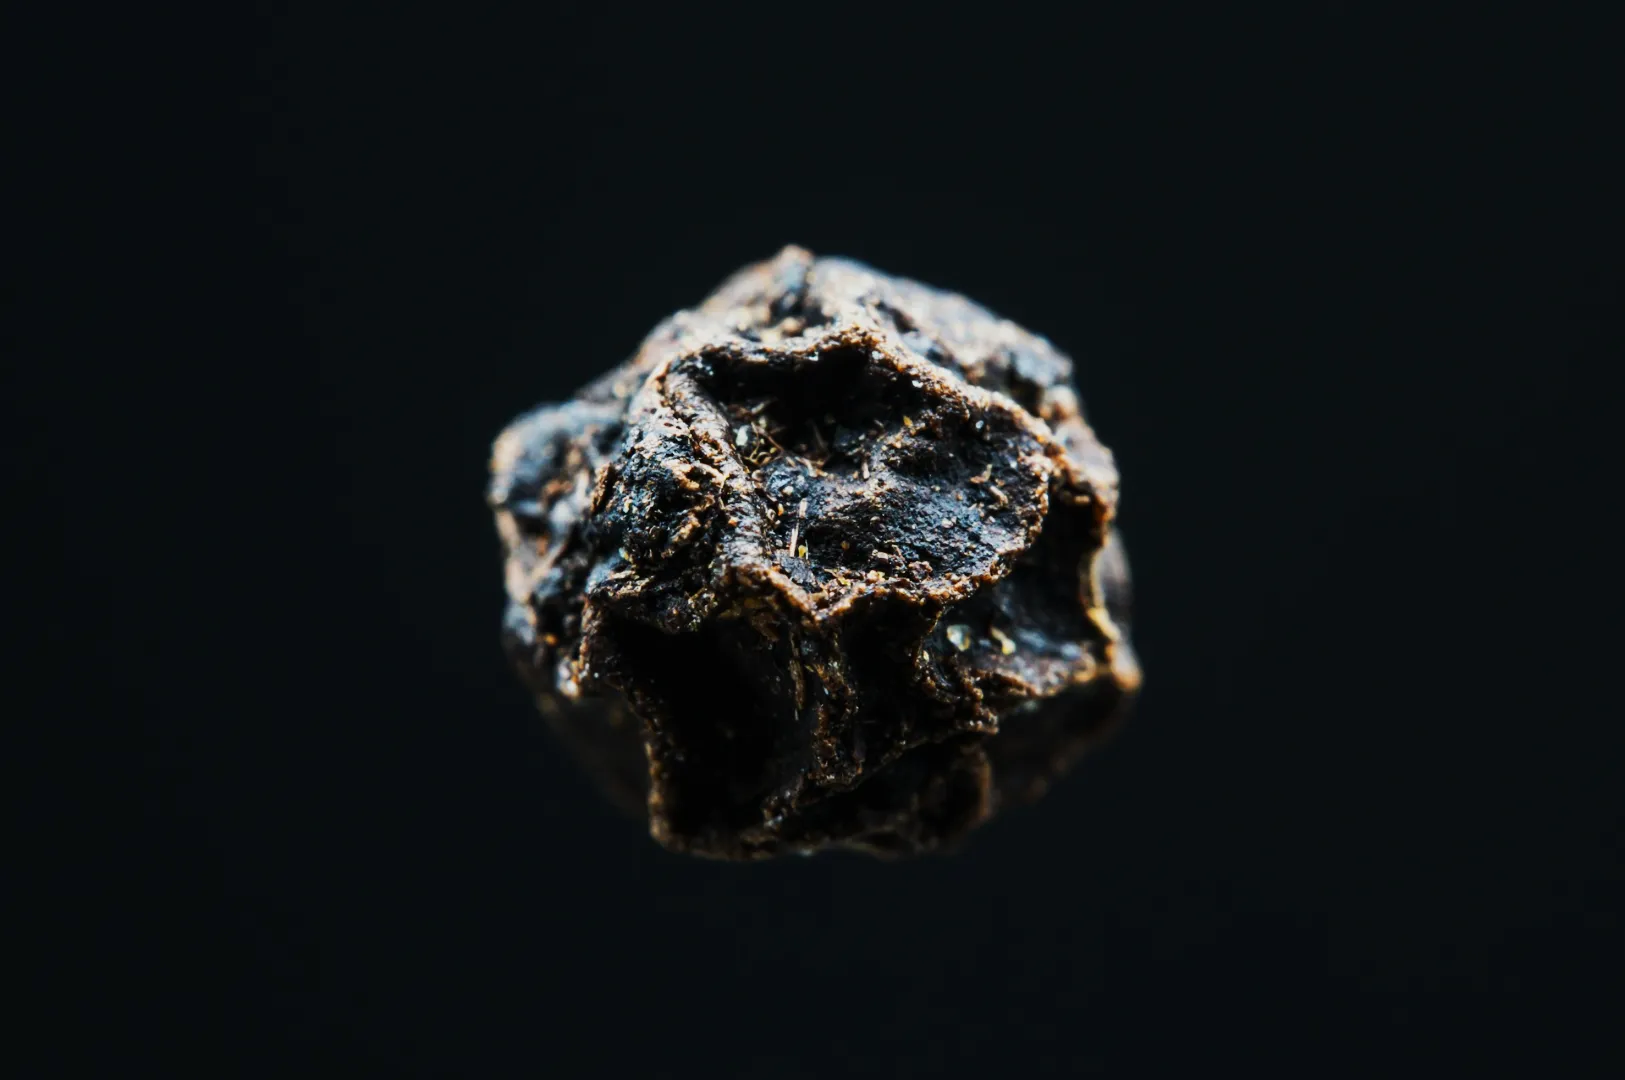
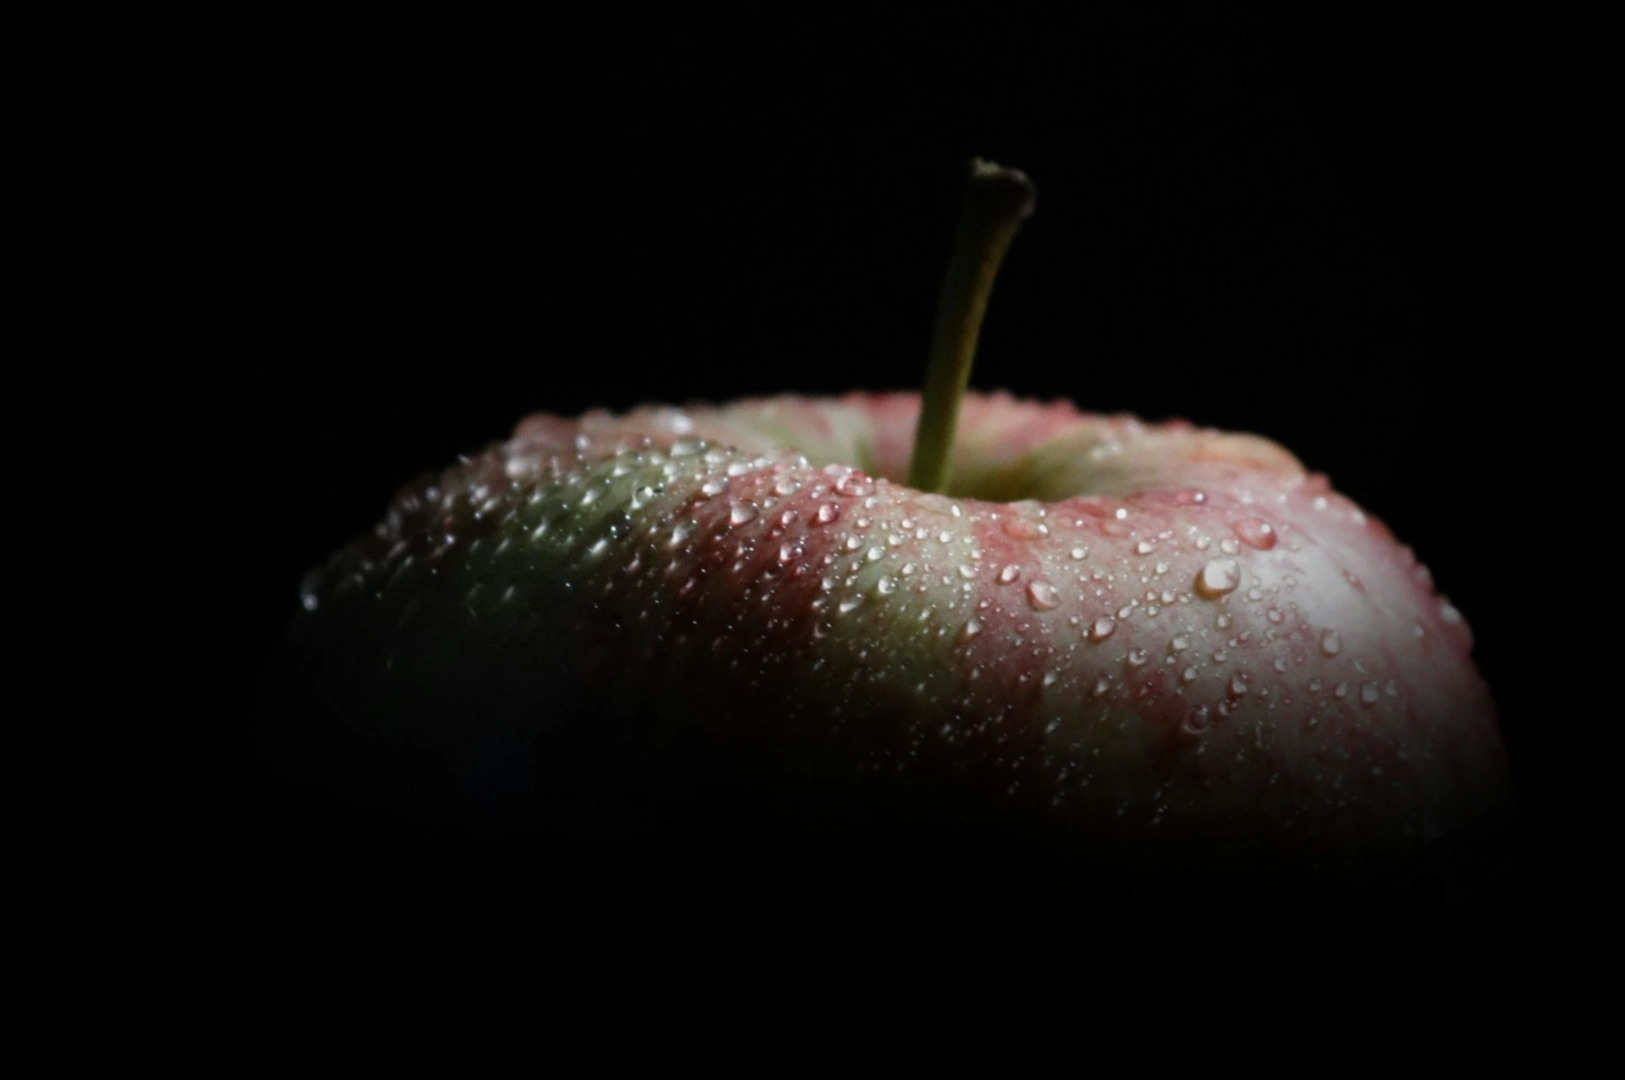
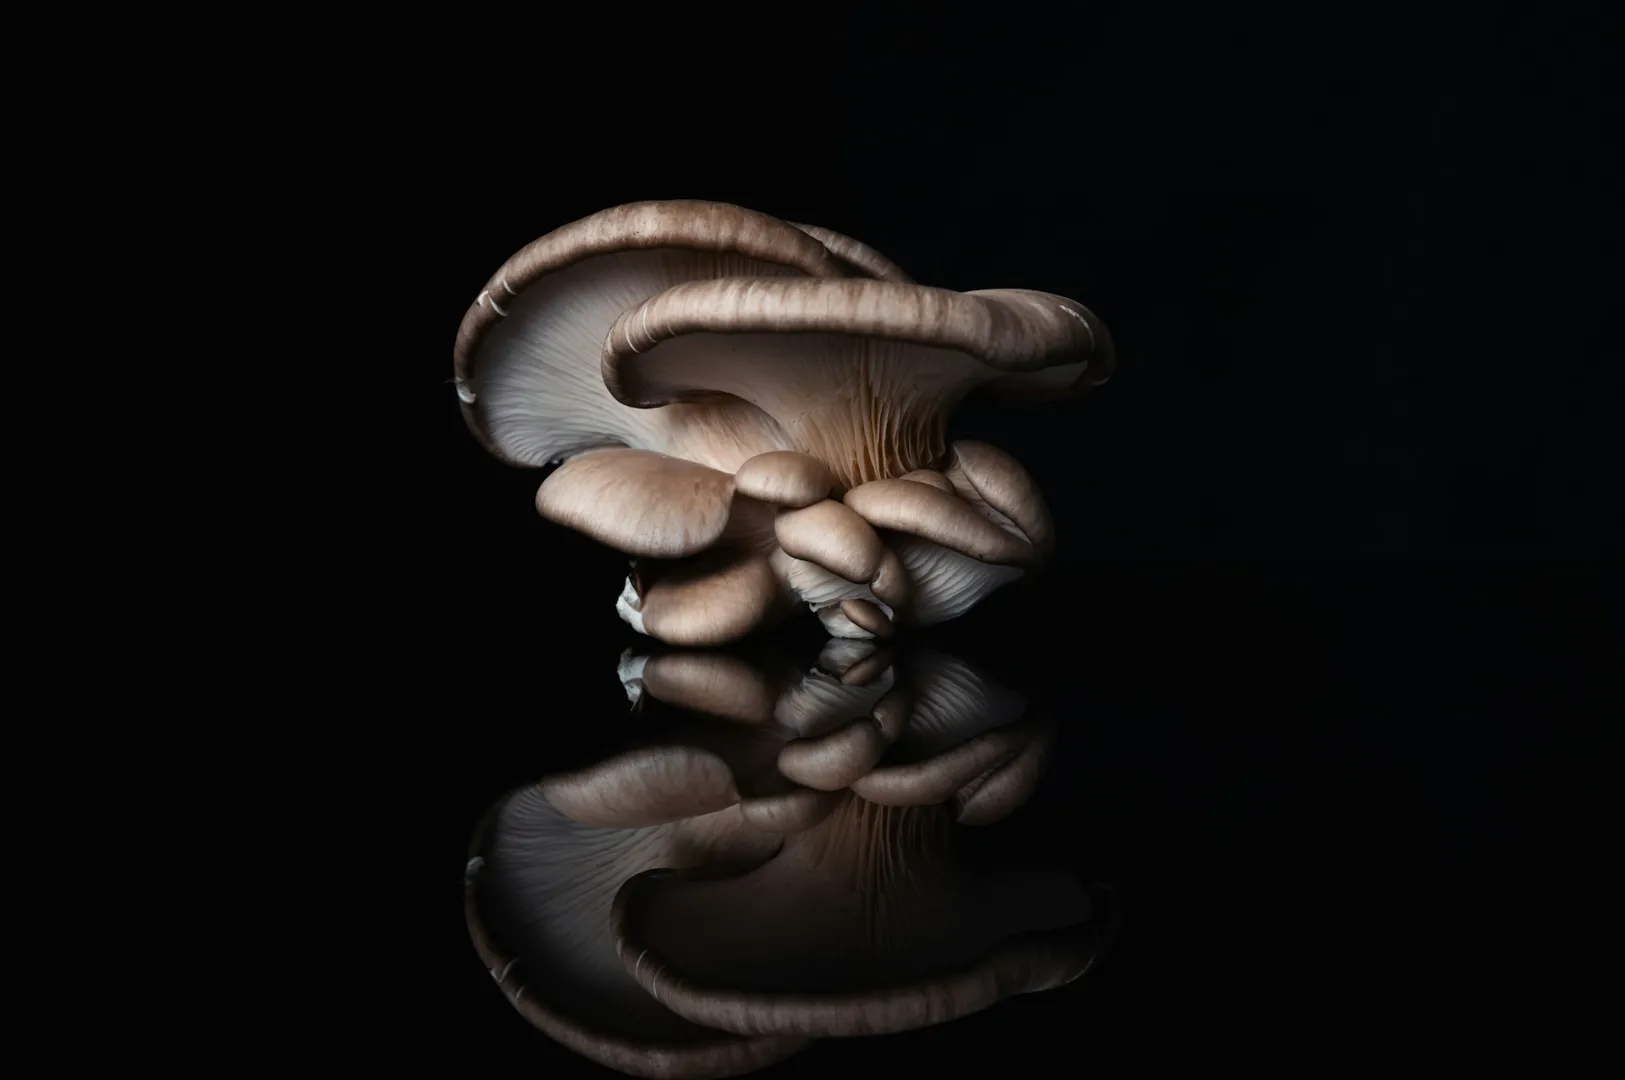
These lenses beautifully capture the rough surface texture of morning kaya toast. They also render the rich, oily details of dark chili crab sauce perfectly.
What to check before buying your macro lens for food photography:
- Correct camera mount compatibility
- Reliable AF performance in low light
- Minimum focus distance specifications
- Built in image stabilization
- Overall weight for balancing on small stands
Stabilisation: Tripods, Mini Stands, and Supports
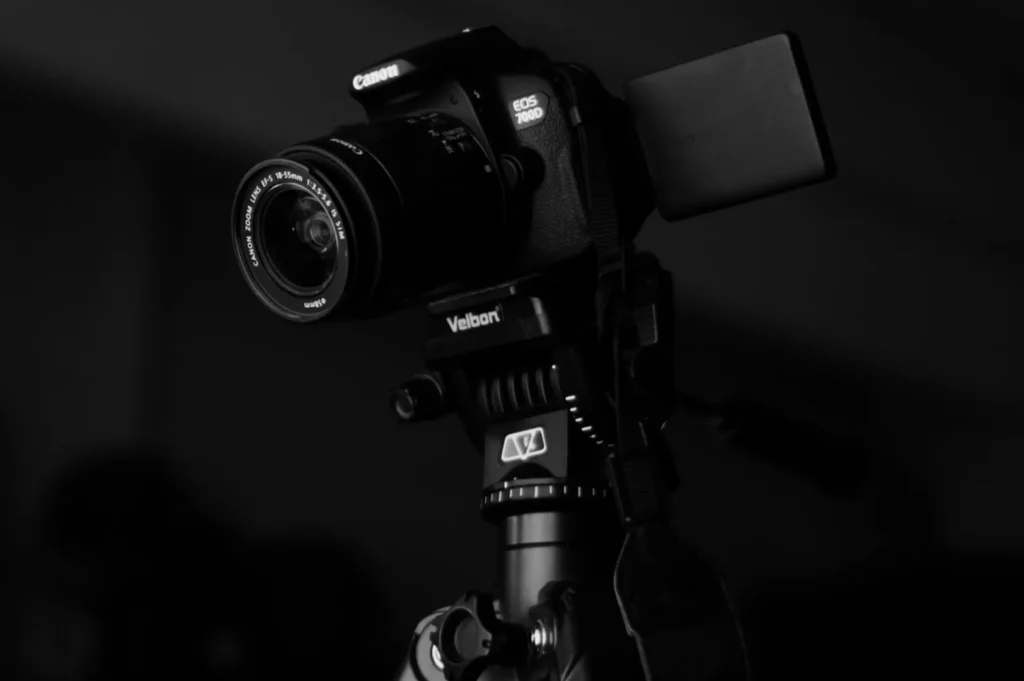
When you magnify your food, you also magnify every tiny vibration from your hands. Handholding works fine in bright daylight but fails completely in dim restaurant environments. A simple shutter speed rule of thumb for macro is to shoot at 1/125s or faster when not using a stand.
A dedicated tripod for macro shots is non-negotiable for achieving true professional sharpness. You need a model with excellent low angle capability to shoot dynamic side profiles of tall burgers. The legs and head must be completely stable to prevent micro vibrations from blurring the frame. Easy micro adjustments and a quick release plate that is actually fast to use will save you hours of setup time.
Mini tripod and table clamp options are lifesavers for cafes and hawker settings. They allow you to mount your camera directly to a table when floor space is zero.
- Do this: Use a heavy table clamp when shooting on a wobbly marble table at a busy kopitiam.
- Avoid this: Do not use flimsy plastic tripods on a tight two-top in a cafe, as they will easily tip over and ruin your shot.
Focusing Tools That Save Time
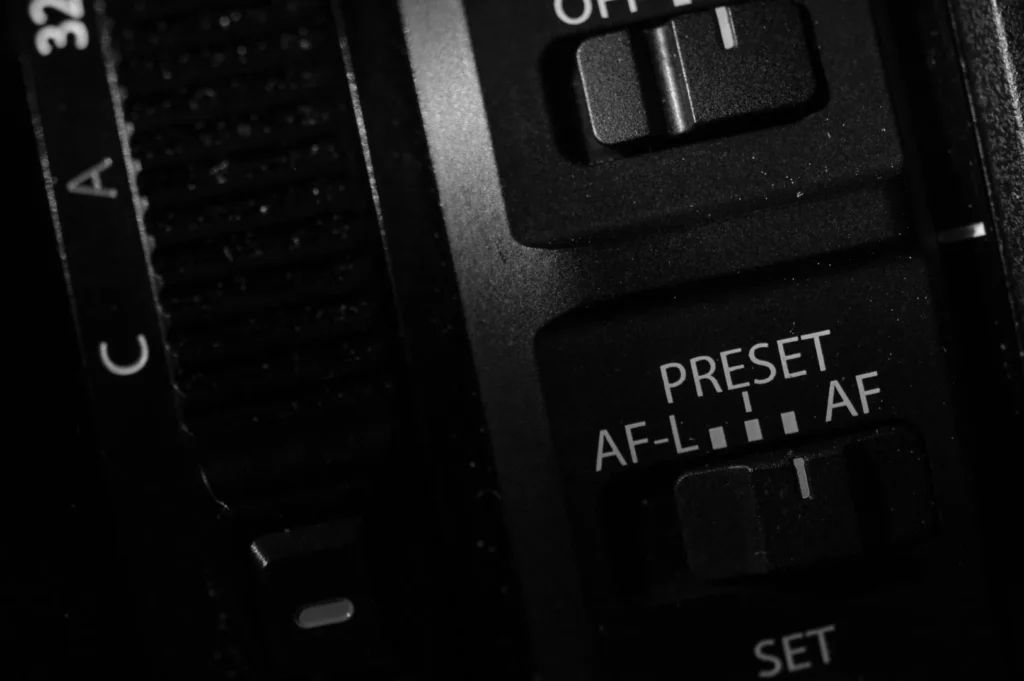
Achieving perfect focus is the hardest part of close up culinary photography. You will constantly debate between using manual focus versus single-point AF for your macro work. Autofocus is great for speed, but manual focus guarantees you highlight the exact crumb you want.
Focus peaking and live view magnification are incredible digital tools built into modern cameras. Focus peaking highlights the sharpest edges of your frame with bright colors so you know exactly what is in focus. Live view magnification lets you zoom in on the screen to check the texture of a Kueh before clicking the shutter.
Back button focus moves the autofocus function to a button on the back of your camera. This stops the camera from refocusing every single time you press the shutter button down. Focus rails are highly specialized tools that physically slide your camera forward in microscopic increments. They are helpful for complex focus stacking but are completely overkill for simple F&B social content.
Small Light Control Tools
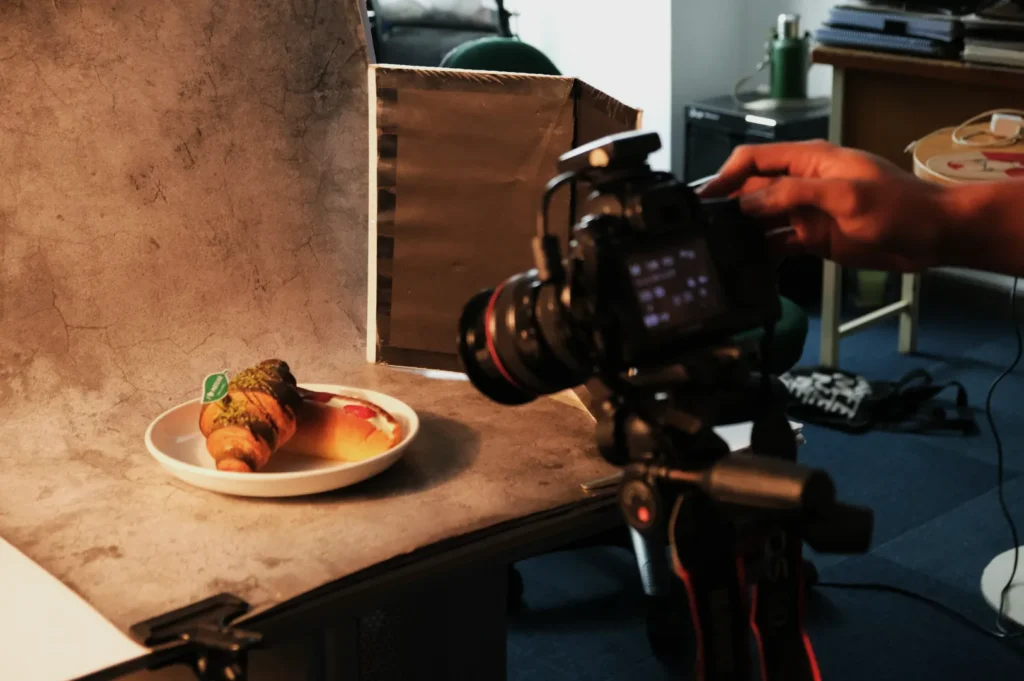
Making your light softer and more controllable is vital in small spaces. Your macro food photography equipment must include tools that manipulate light without taking up floor space. A small softbox attached to an LED light provides beautiful, consistent illumination.
You can also use diffusion fabric or a simple sheer curtain to soften harsh window sunlight. Reflectors bounce light back into the dark shadows of your dish. A simple white card provides a gentle, natural fill light. A silver reflector adds a much punchier, higher contrast pop of light.
Flags and negative fill are used to block light and deepen shadows for dramatic effect. A small black card or a piece of black cloth works perfectly for this technique. In Singapore, you frequently battle mixed tungsten and daylight alongside highly reflective stainless steel tables.
- Do this: Use a black foam board to block unwanted room reflections from hitting glossy char siew.
- Avoid this: Do not blast a bare flash directly onto oily sauces, as it creates ugly, pure white hotspots.
Styling and Maintenance Items for Clean Close-Ups
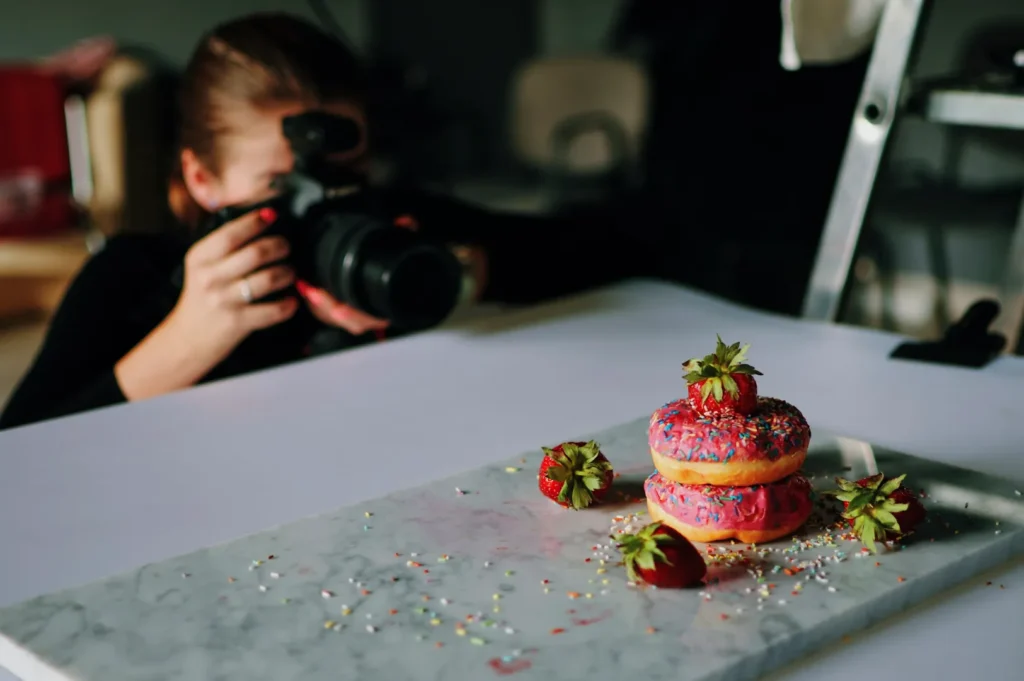
Small styling tools make your macro shots look incredibly professional and deliberate. When you shoot close ups, every stray crumb and fingerprint becomes a massive distraction.
Your styling kit should include:
- Microfiber cloths for wiping plates and glass
- Cotton buds for cleaning tiny sauce drips
- Tweezers for placing delicate herbs perfectly
- Small brushes for sweeping away unwanted crumbs
You must practice strict oil control for managing shine on roasted meats. Condensation control for iced drinks is equally important in our humid Singapore climate. Quick touch ups between frames ensure the food looks fresh throughout the entire shoot. Always keep these tools food safe and realistic for fast paced service environments.
A Simple "Starter Kit" vs "Nice-to-Have" List
Building your kit slowly prevents you from wasting money on gear you do not actually need.
Your minimum viable starter kit should include:
- A dedicated 60mm or 90mm macro lens
- A sturdy tabletop tripod
- A collapsible reflector and diffusion disc
- A basic styling kit with tweezers and cotton buds
Your nice to have list for consistency and speed includes:
- A continuous LED light with a small softbox
- A full size tripod with a horizontal center column
- A wireless camera tethering cable
We recommend buying a good lens and tripod first, then slowly adding lighting gear as your skills improve.
- Do this: Build DIY bounce cards using cheap foam board from a local craft store.
- Avoid this: Do not buy cheap, flimsy macro accessories that break after one busy restaurant shoot.
Conclusion
Your lens choice, camera stability, focus aids, and light control tools make the biggest difference in your final image. We encourage repeating the same small equipment setup for consistency across your entire menu or content series.
Investing in the right macro food photography equipment guarantees your culinary creations always look their absolute best. For a deeper dive into styling and shooting, check out our guide on detailed food texture photography to perfect your technique.