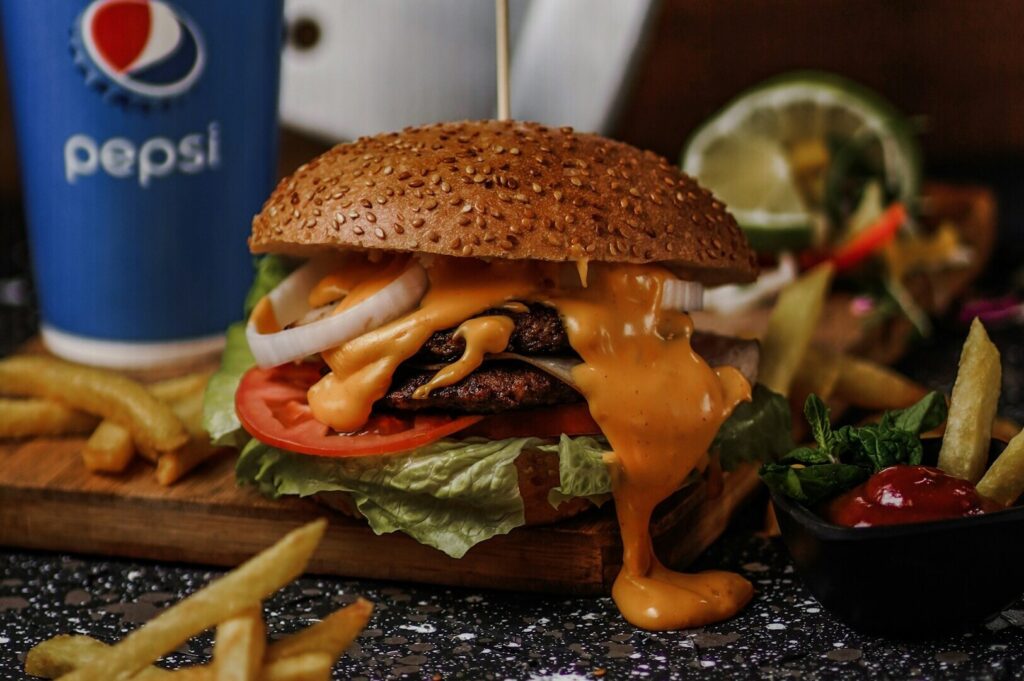
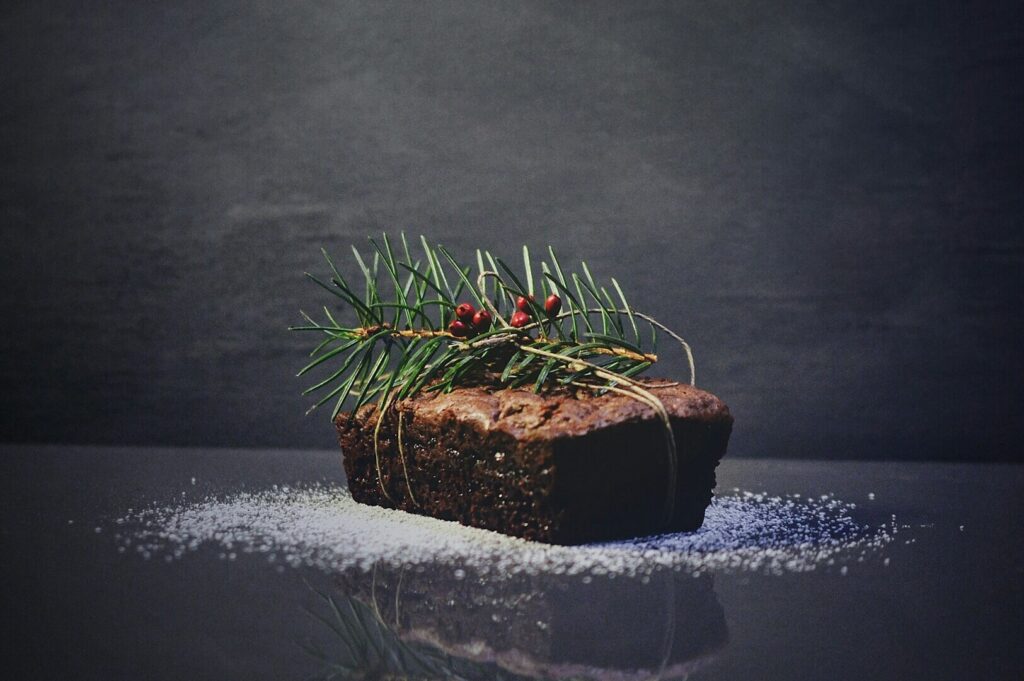
Imagine two photos of the exact same dish: a classic Singaporean Chicken Rice. In the first, the chicken looks pale and flat against a stark white plate. The rice is a shapeless mound. The chilli sauce turns into a dull, dark red blob. It’s edible, but barely inviting.
In the second, the chicken skin catches natural light with a gentle sheen. The rice looks fluffy, with distinct grains. The chilli looks vibrant and textured, like it has a real bite. The difference isn’t the camera or an expensive lens, but the intent behind the image: something that defines what photography is meant to communicate.
For Singapore F&B teams, photographing food well is rarely about breaking out “pro” gear; it’s about knowing what makes a dish look worth ordering in our multi-ethnic market. Visual cues are powerful. They’re also culturally specific. The same plating and styling can feel “generous” to one audience and “messy” to another. That’s why good food photography starts with context, not equipment.
Adding a unique style to your food photos while maintaining strong visual definition makes them stand out and keeps your audience engaged.The most important thing is to have fun while experimenting with different tips and techniques that bring out the best in each dish.
Understanding The Art of Photographing Food vs Food Photography
There’s a huge difference between taking photos and creating food photos that drive orders. A camera can record details, but it can’t decide what matters in the frame. That’s your job.
A good food photographer (or a well-trained in-house team) focuses on three things before touching camera settings:
What’s the main subject? (the chicken skin, the sauce, the garnish, the steam)
What should the viewer feel? (comfort, luxury, freshness, indulgence)
What needs to be true to the dish? (portion, colour, texture, “heat” cues)
When those decisions are right, even a phone can deliver great shots. When they’re wrong, even a studio camera produces a forgettable image.
Food Styling: The Abundance vs Minimalism Code
One of the biggest “hidden codes” in Singapore food photography is abundance versus minimalism. What looks premium to one diner can look stingy to another.
In many Chinese dining contexts, abundance signals generosity and value. If you’re styling food for zi char, hotpot, or family-style sharing, a plate that looks too sparse can feel “not worth it.” A claypot tofu that looks like it’s bubbling and full at the rim makes sense visually. It signals comfort and satisfaction.
But for modern cafés and Japanese-influenced concepts, minimalism reads as control and refinement. Here, negative space becomes a feature, not a lack. A single slice of cake on a large ceramic plate can feel more expensive because the frame looks deliberate.
Practical contrast: Old Airport Road vs a café hero shot
Think about styling two dishes in two worlds:
Economy rice (cai png): You want variety and volume. A lower camera angle helps show height, and you style so each ingredient is visible.
Truffle fries: You keep it restrained. A few fries “spilling” is fine, but you still control the mess. The parmesan texture becomes the star (yes, even a touch of grated cheese can add visual interest if it’s placed with intention).
The point isn’t that one approach is better. The point is that food styling must match the concept. All the rules of composition won’t save a photo if the styling contradicts the audience’s expectations.
Natural Light: Your Best Friend, If You Use It Right
In Singapore, natural light is often your best friend but only when it’s controlled. Harsh midday sun creates hard shadows and blown highlights. Mixed restaurant lighting can mess up colour and make food look off.
Here’s the practical approach for good food photography:
Shoot near a window with bright, indirect light.
Avoid overhead lighting that creates unflattering shine.
If you’re short on light, add more light with a simple diffuser or bounce card rather than pushing ISO too high (grain + noise ruins texture fast).
This also reduces the risk of camera shake. In low light, your shutter slows down, and even steady hands can blur a dish. A faster shutter speed or a stable surface makes a huge difference.
Food Photography Composition: Make Appetite Obvious
Food photography composition isn’t decoration. It’s decision-making. It tells the viewer what to look at and why it matters.
Start with the basics:
One frame, one message. Don’t make people hunt.
Use negative space to give the main dish room to breathe.
Avoid repeating the same angle for every dish. Consistency is good, but variety keeps the feed alive.
Overhead shot vs 45-degree angle
An overhead shot is clean and reliable, especially for delivery platforms. It shows ingredients clearly and reduces confusion on small screens.
But when you need texture (crispy prata layers, fluffy rice, glossy sauce) use a 45-degree camera angle. It gives more depth and makes beautiful texture easier to see.
If you want the dish to feel tactile, let texture do the talking.
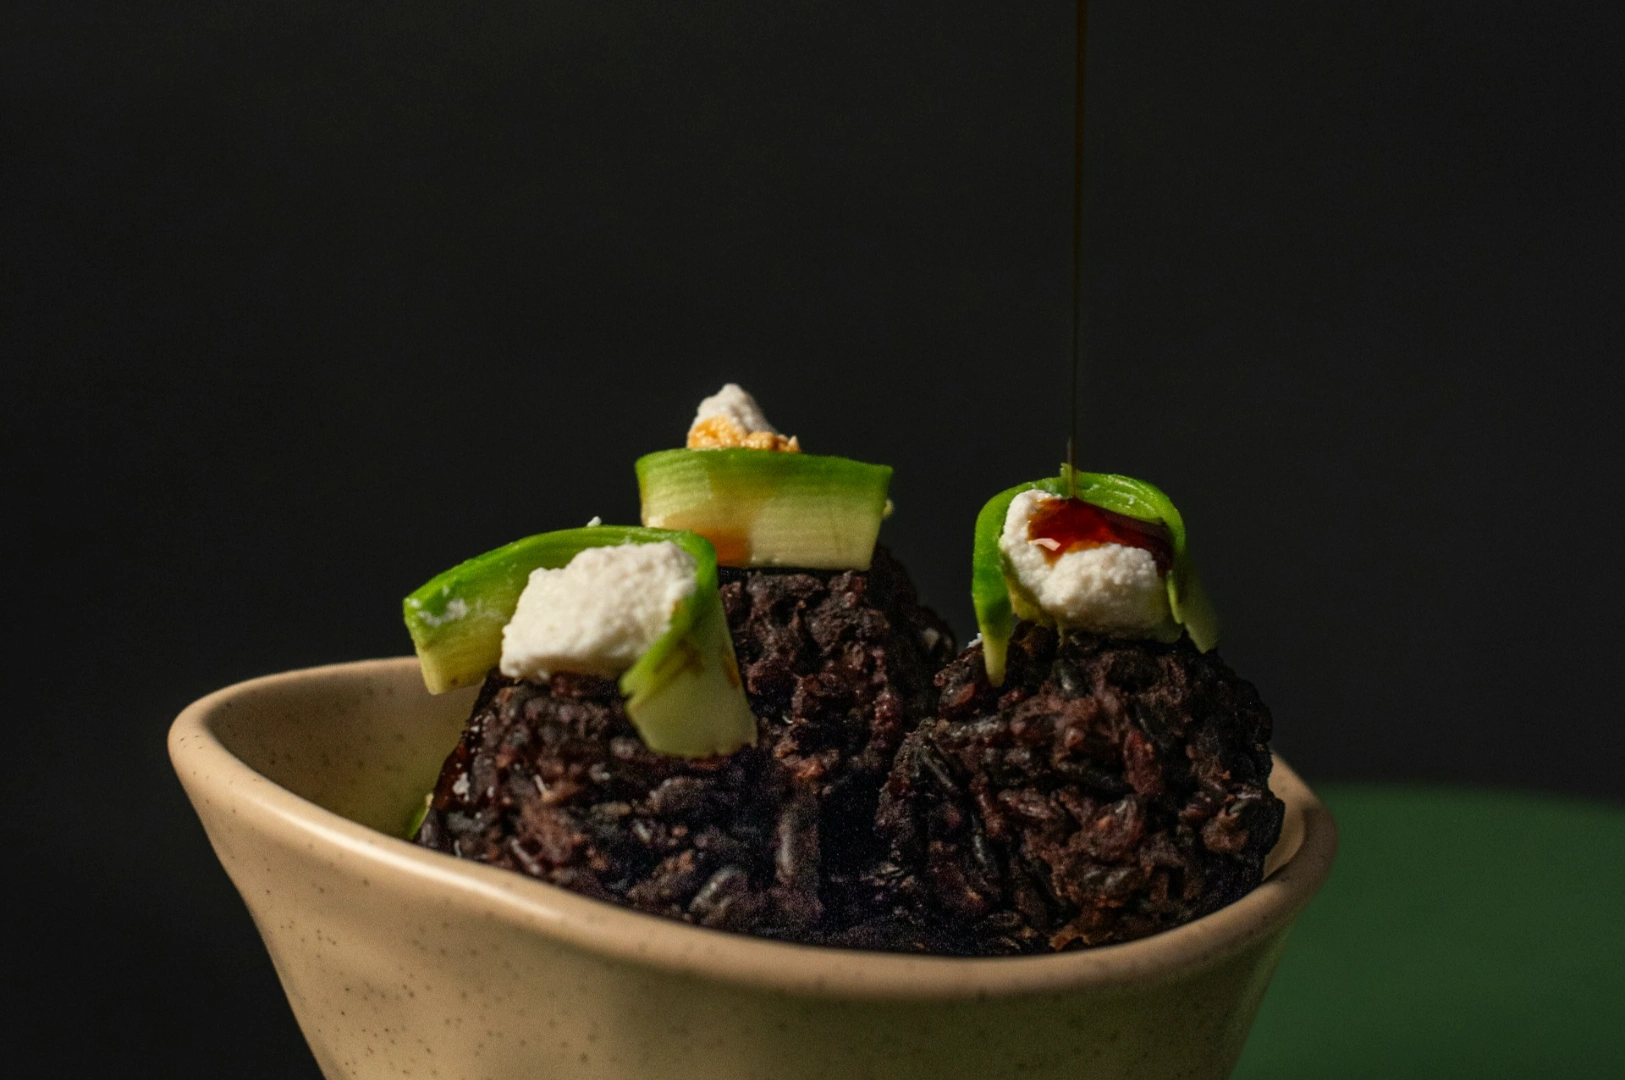
Gloss, Steam, and Freshness: The Signals That Matter
Freshness is currency here. But “fresh” doesn’t look the same for every dish.
Gloss and oil sheen
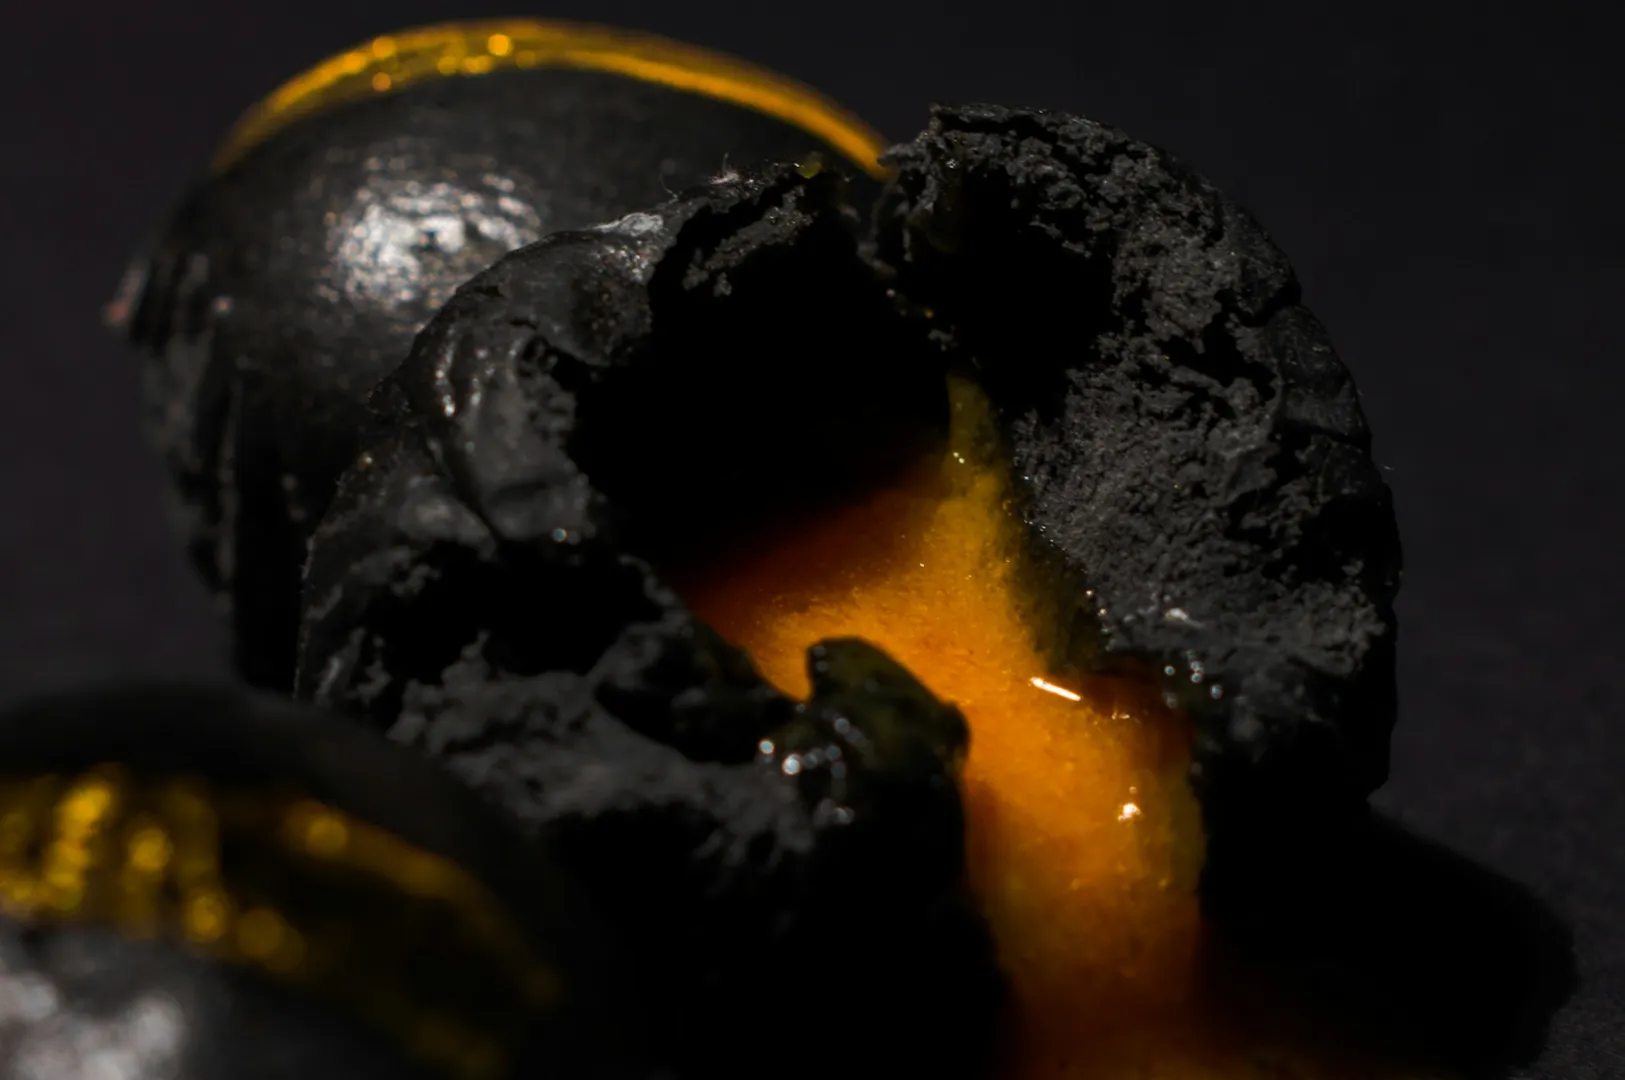
For some cuisines, gloss reads as flavour. Think curries, rendang, chilli crab. A controlled oil sheen can make the food look rich and aromatic. Too much gloss, though, turns into “greasy.” The trick is light placement, not extra oil.
Steam
Steam is extremely important for certain local dishes. A Char Kway Teow without any life looks cold. A soup without a hint of heat looks like it’s been sitting. Steam adds urgency: eat this now.
You usually need a darker background and side/back lighting to make steam visible. It’s a small detail that creates big appetite.
Condensation
For drinks, a dry glass in our humidity looks wrong. A little mist of cold water can help. Some stylists use longer-lasting mixes, but even a quick spray can add that “fresh from the fridge” cue.
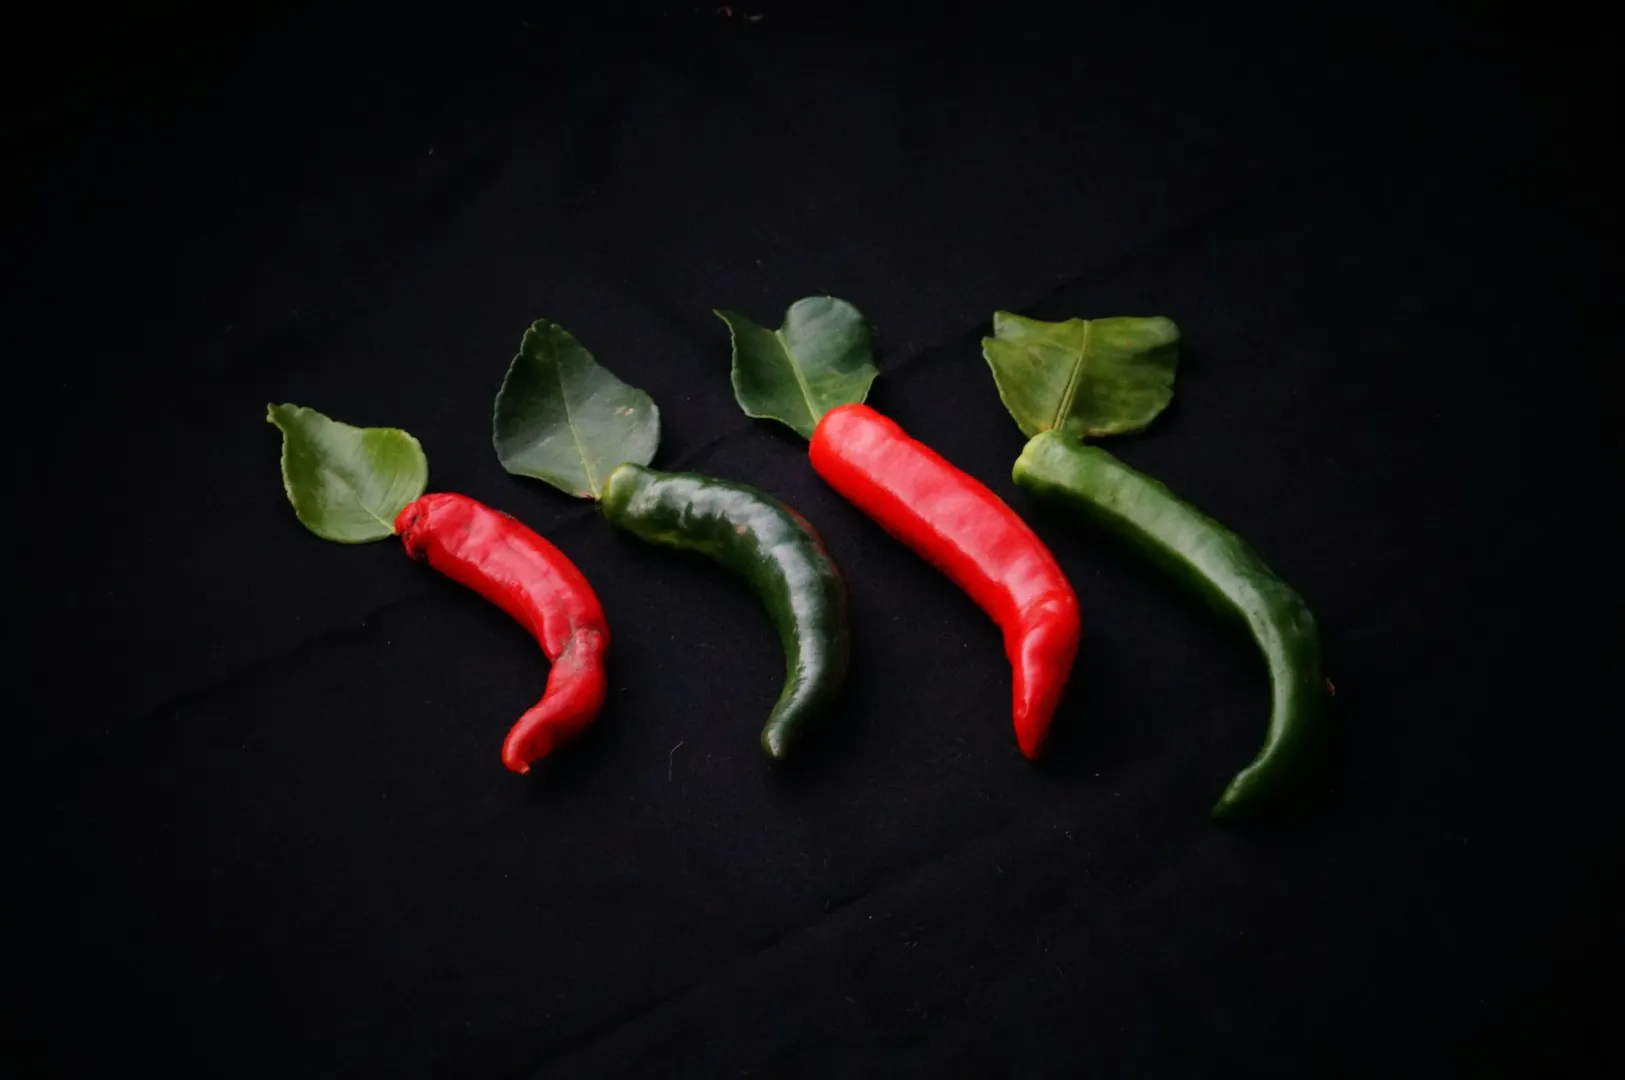
Green herbs
Green herbs are a universal freshness marker, but only when they look alive. Add herbs at the last second. Wilted garnish kills visual appeal instantly.
Better Composition Through Texture and Background Blur
Texture is flavour you can see. It’s also what separates a basic snap from an interesting photo.
To make texture eye catching:
Light from the side to reveal ridges and crisp edges.
Use selective focus so your main subject is sharp and the rest falls away.
Create a gentle background blur (shallow depth) to isolate what matters.
A shallow depth look isn’t only for “fancy” photography. It helps your dish pop, especially when the background is busy.
Food Props and Surfaces: Make Context Work for You
Props are supporting actors. They can elevate a dish or confuse the story.
Food props that add meaning
Claypot, enamelware, classic bowls: heritage, warmth, everyday comfort
Marble or stone: modern, premium, clean
Wooden boards: rustic, approachable, bakery-friendly
The key is to choose props that match the cuisine and concept. A banana leaf can be perfect for nasi lemak or thosai, but it might feel random for Cantonese steamed fish.
Surfaces matter
Your surface sets the tone before the dish even appears. A messy background creates friction. A calm background creates appetite.
Platform Styling: One Dish, Different Requirements
Styling should change depending on where the photo will live.
Food delivery apps: Clarity wins. Minimal props. The dish must be instantly readable. Overhead shots often work best.
Instagram: Bold framing, strong contrast, tighter crops. You’re fighting a fast scroll.
Google Business Profile: Trust-building. Include environment. Show reality, not just the plate.
Print menus: Technical perfection matters. High ISO noise and soft focus show up fast in print.
A good food photography strategy accepts that one image cannot do everything.
White Balance and Colour: Keep It Honest
Colour tells diners what the dish will taste like. When colour is wrong, people hesitate.
Get white balance right so whites stay clean (bee hoon, rice, chicken).
Avoid heavy filters that shift food into unnatural tones.
Watch mixed lighting. Warm restaurant lights + daylight can create weird colour casts.
If your colours aren’t consistent, your brand identity feels inconsistent too.
Professional Food Stylists vs DIY Styling: What Actually Helps
You don’t need a full-time team of food stylists to improve your daily content. But you do need a repeatable system.
What works at low cost:
Choose one best light spot and use it all the time.
Keep a small prop kit (two plates, two linens, one board).
Style one hero dish per category, then build the rest around it.
When it’s time for a major shoot (menu revamp, launch campaign, website overhaul) that’s when professional photographers and experienced stylists make sense. Not because they own better gear, but because they can execute consistently across many dishes without losing realism.
Conclusion
Photographing food right isn’t about chasing the newest lens. It’s about food styling, cultural context, and the practical cues that create appetite: steam, gloss, herbs, texture, and clean composition. Once the styling decisions are right, technical choices like shutter speed and white balance become support tools, not the main event.
If you’ve recently started photographing your menu, focus on one improvement at a time: better natural light, cleaner backgrounds, or more intentional angles. Developing your own style as a food photographer will help you create great photos that truly stand out. Remember, becoming a great photographer is about mastering these essentials, not just owning expensive gear.
Understanding cultural codes is one thing. Consistently executing good food photography that resonates with Singapore’s diverse market is another. Explore our culturally-informed food photography services at https://foodphotographerstudio.com.sg/.