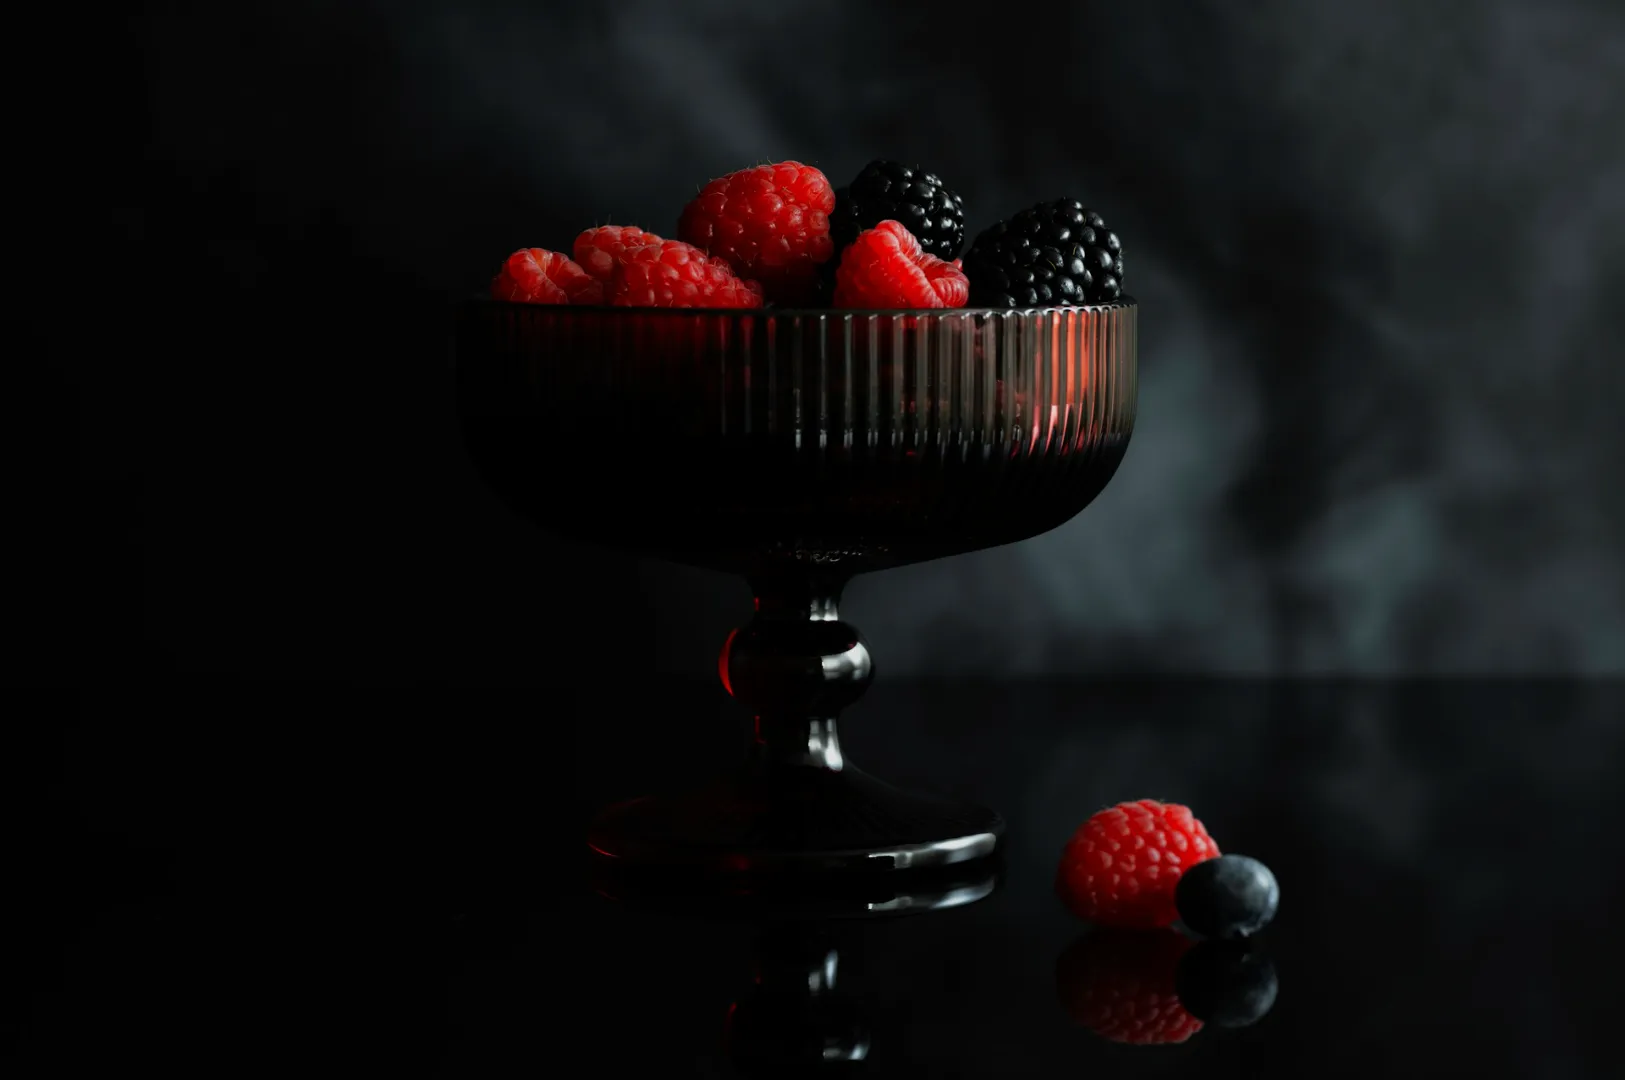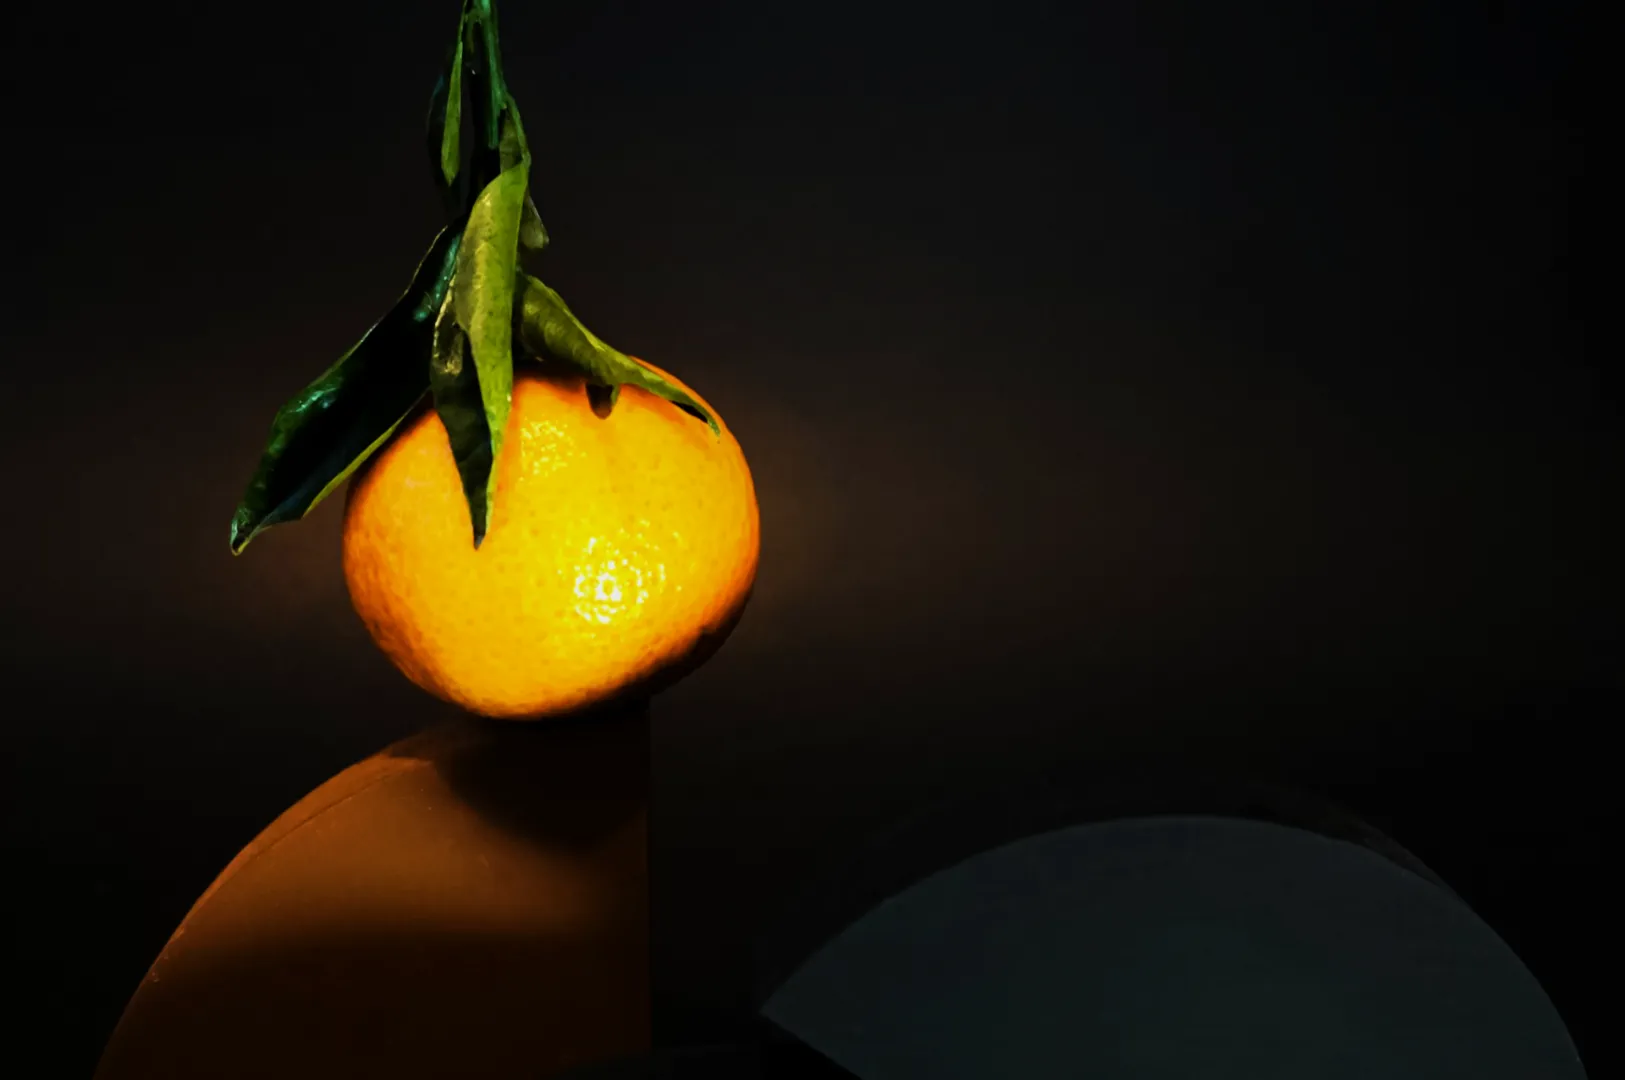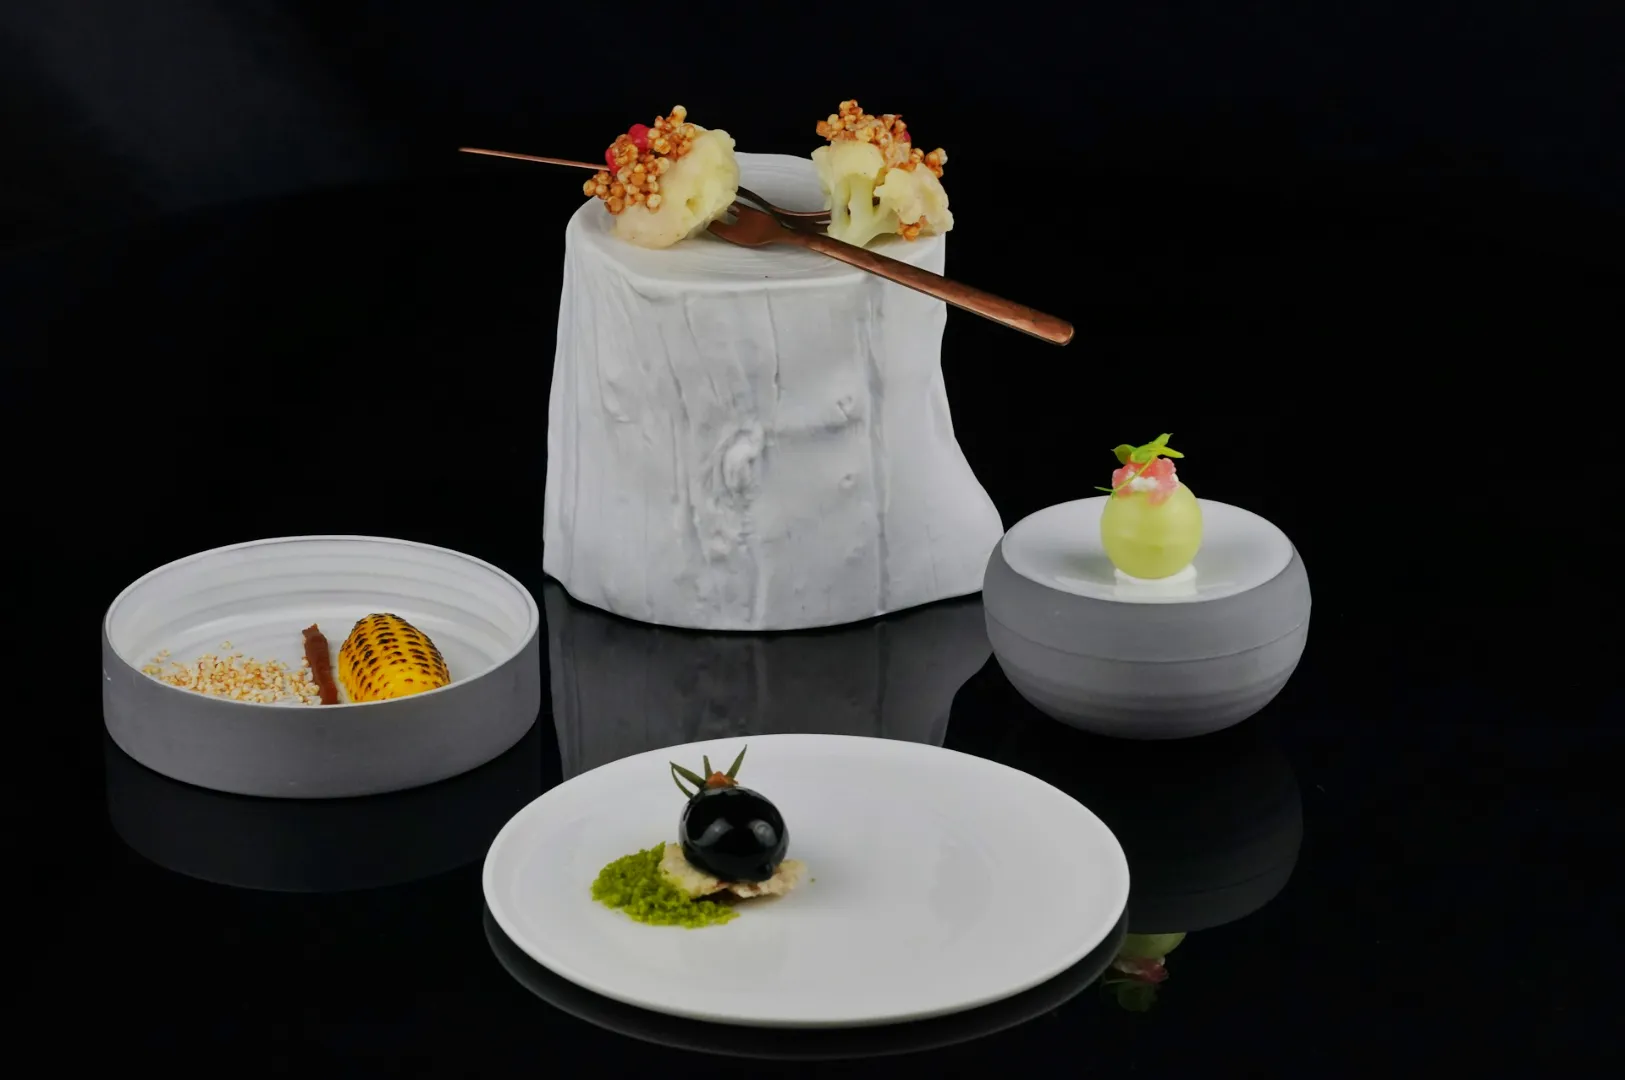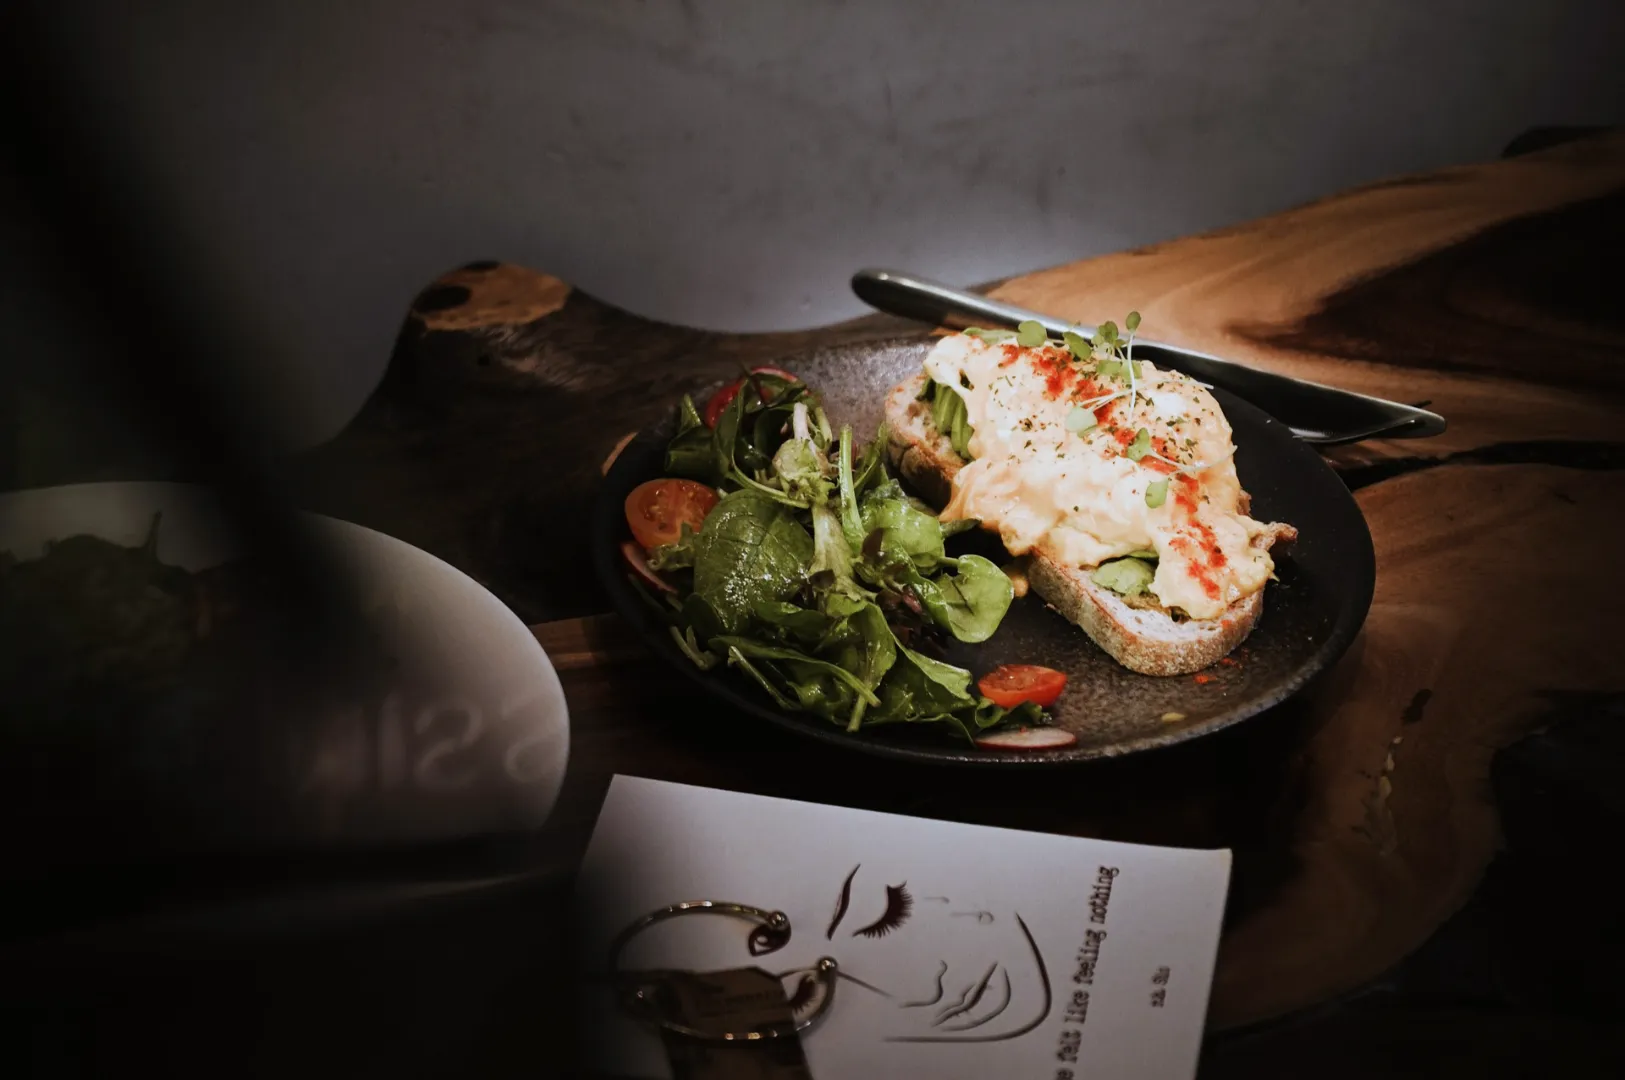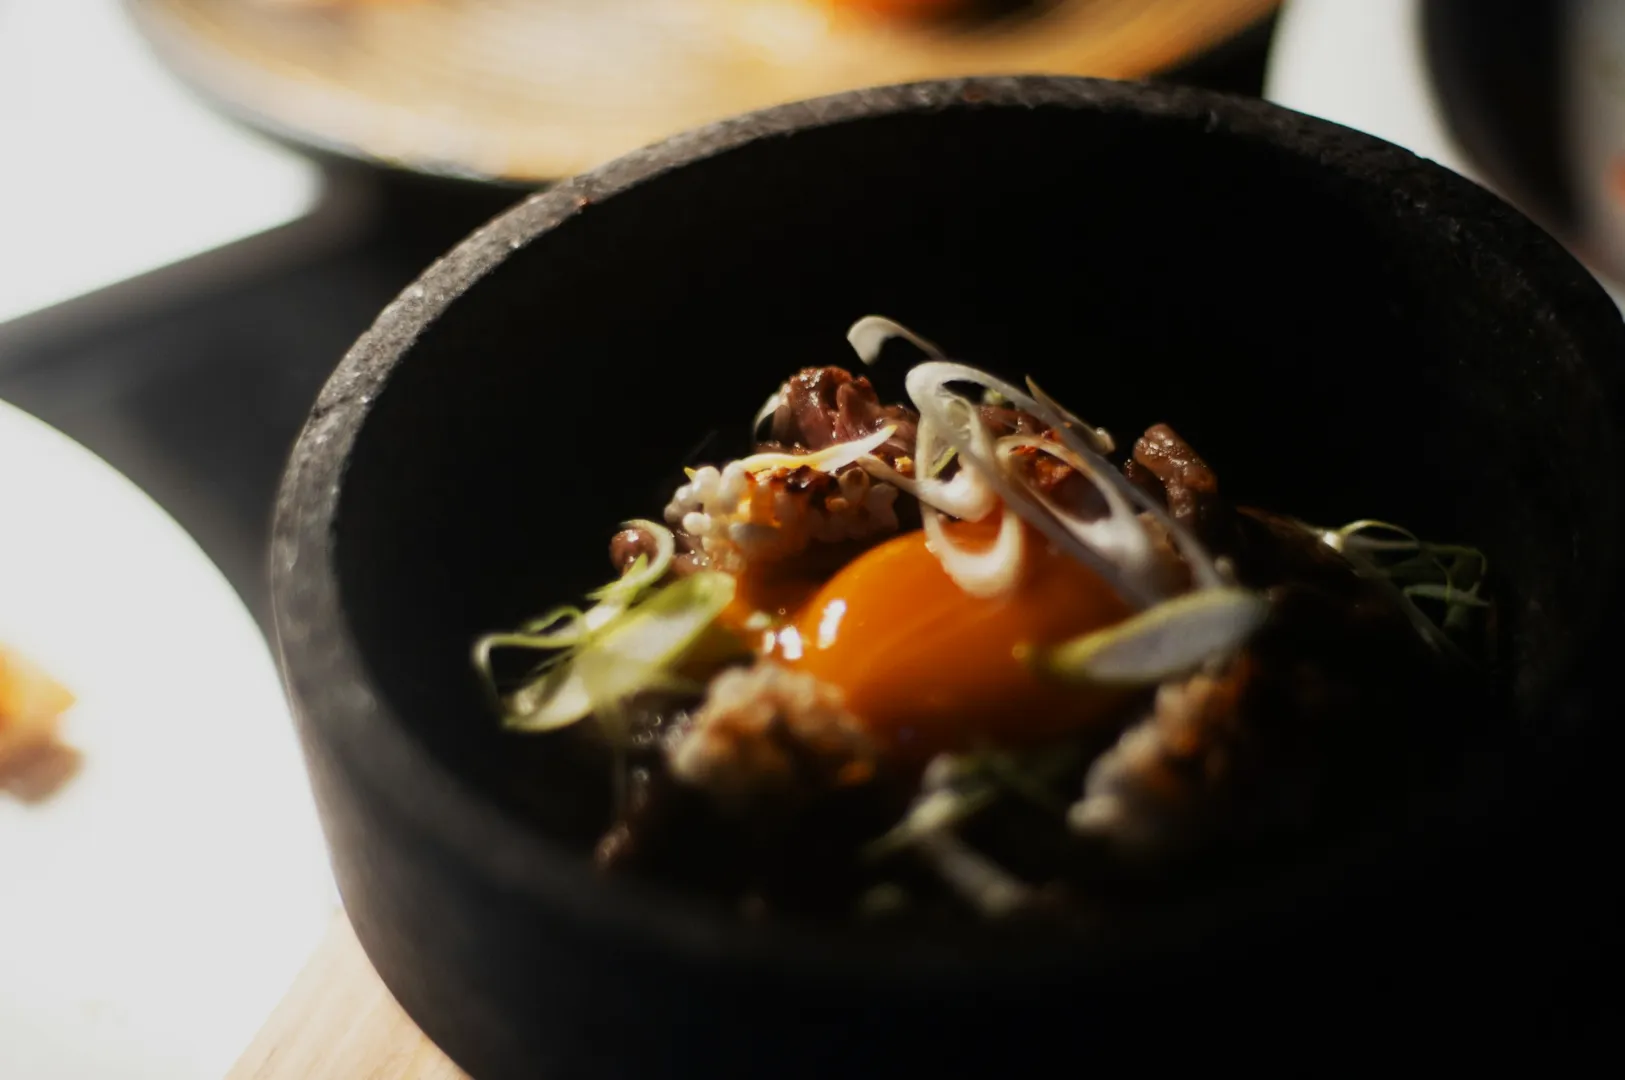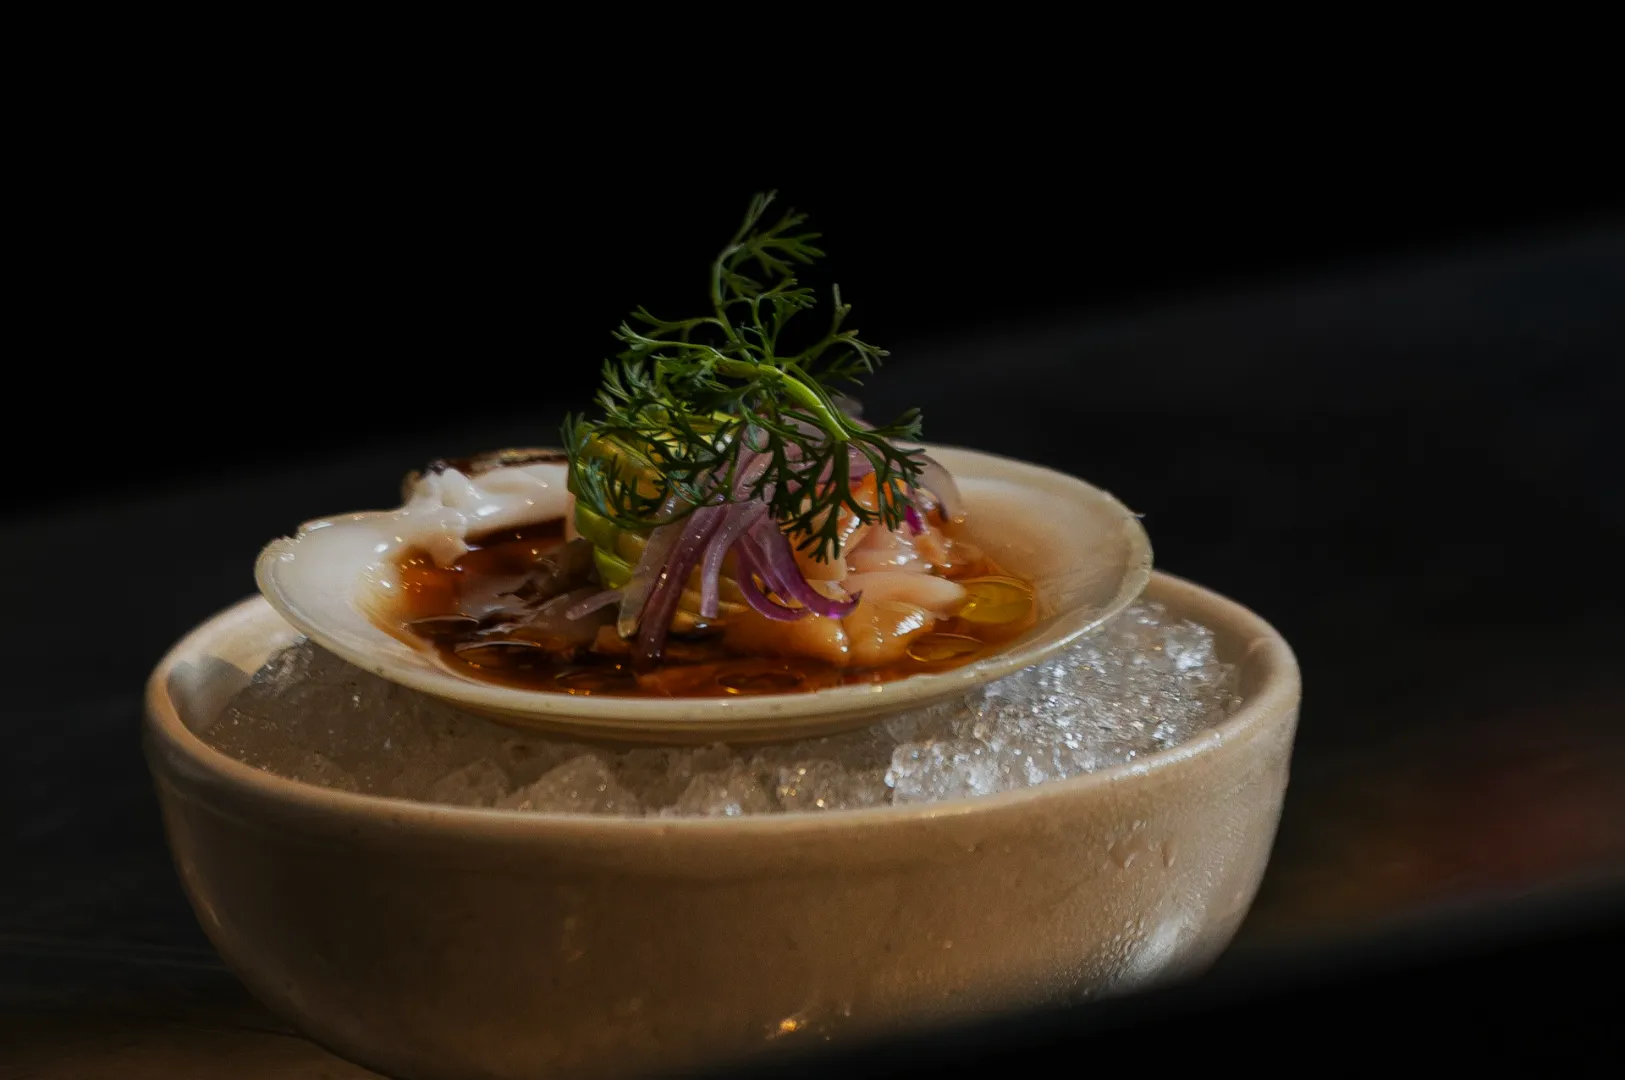
Shiny food is supposed to look delicious. It is the gleam on roast chicken skin, the reflective surface of curry, the lacquered glaze on char siu, the glossy broth of ramen.
Then you take a photo and your hero dish gets hit with that ugly white patch right across the centre. Suddenly the sauce looks “burnt out”, the soup looks like a mirror, and the plate looks like it belongs in a bathroom showroom.
If you are trying to photograph shiny food in Singapore, this happens a lot. We deal with mixed lighting all the time: warm downlights, cool kitchen LEDs, window light bouncing off glass, and shiny tabletops that throw reflections right back into the camera.
The good news is simple. Glare is rarely a “food problem”. It is almost always a light problem. Once you understand what the surface is reflecting, glare becomes one of the fastest things to fix. If you want a broader system beyond glare control, start from our core food photography tips guide.
What Glare Actually Is (And Why Sauces Get It Worst)
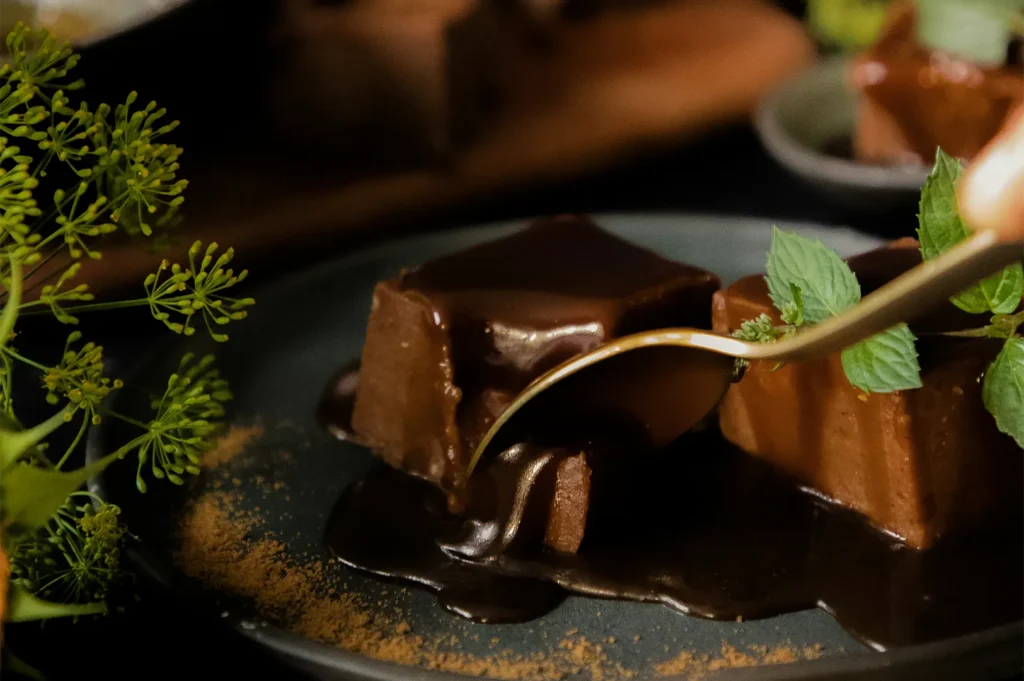
Glare is a specular highlight. It is a bright reflection of a light source bouncing off a shiny surface into your lens.
Sauces, broth, glazed meats, oily noodles, and glossy plates behave like small mirrors. They reflect whatever is above them or in front of them. If the light source is small and harsh (like a downlight), the reflection becomes a hard white hot spot. If the light source is big and front-on (like a window behind you), the reflection becomes a wide washed sheen.
One line to remember: If you can see the light source in the food, the camera can too.
Step 1: Diagnose Your Glare in 10 Seconds
Before you start “fixing”, figure out what kind of glare you have. The solution depends on it.
Hard hot spots (small bright white patches)
Usually from small, harsh sources: ceiling downlights, bare LEDs, phone flash, direct sun.
Wide washed highlights (big pale sheen)
Usually from a large source placed too front-on: a big window behind you, a soft light pointed straight at the dish.
Plate glare (food looks fine, plate looks like glass)
Common with glossy white plates under warm downlights. The plate reflects the ceiling, not the food.
Once you know the type, you stop guessing and start controlling.
Step 2: Turn Off the Wrong Lights First
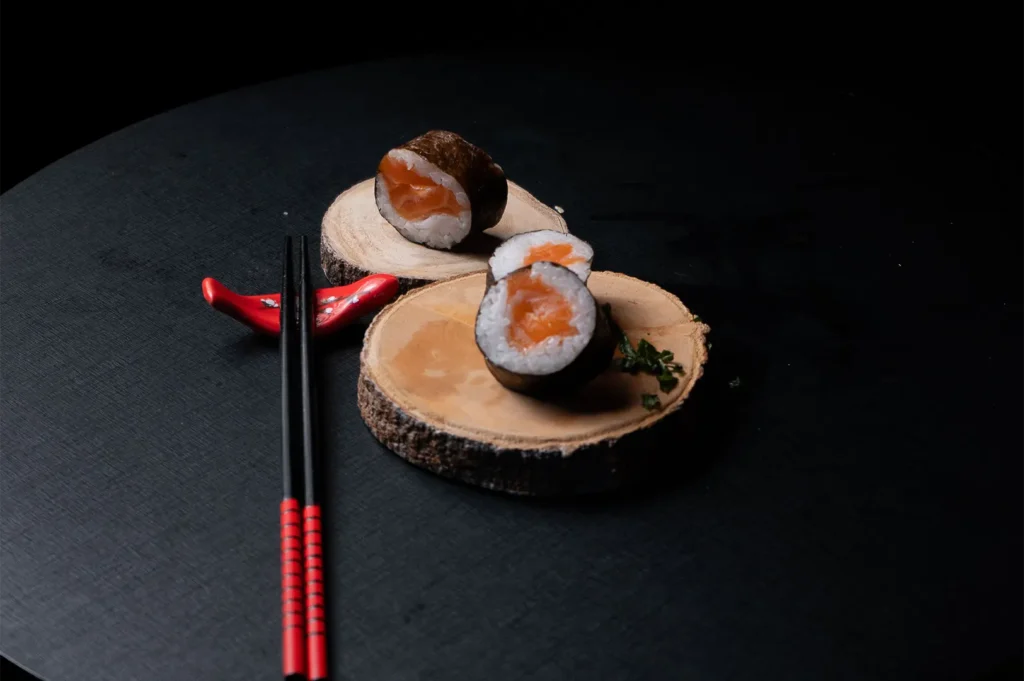
If you are shooting inside a restaurant, overhead lights are the usual culprit. Downlights create glare from directly above, which hits broth and plates at the worst possible angle.
Fast wins that work during service:
- Turn off the downlights nearest your shooting table (if you can).
- Move one table closer to a window or a cleaner light source.
- Block the downlight if you cannot switch it off. A menu board, a piece of card, or even a clean tray held above the dish can cut the reflection.
This one step alone often removes the random white patches that make food look “oily but not in a good way”.
Step 3: Make the Light Source Bigger (So the Shine Looks Intentional)
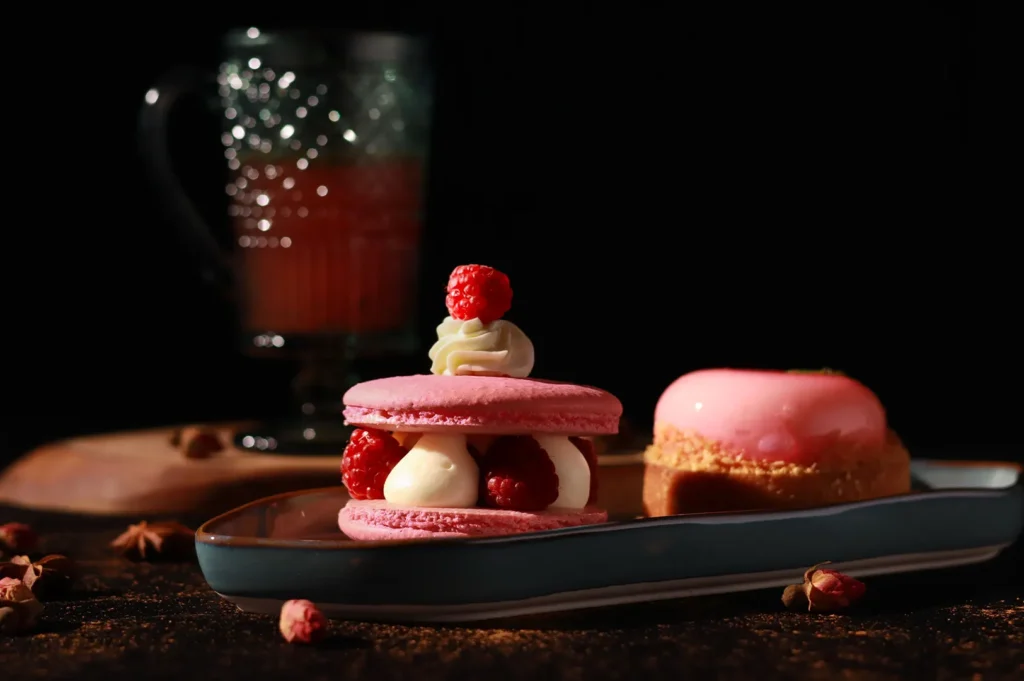
Small lights create harsh glare. Bigger lights create smoother highlights that look appetising.
If You Are Using Window Light
- Avoid direct sun. Go for indirect window light.
- Diffuse it. A sheer curtain works. Baking paper taped to glass can work too, but be sensible and do not leave it there permanently.
- Pull the dish slightly away from the window. The light becomes softer and the reflection spreads out.
If You Are Using Artificial Light
- Add diffusion: a softbox, umbrella, or diffusion sheet.
- Bring the light closer and diffuse it more. A closer, larger source produces prettier shine than a small light placed far away.
A simple mental model: the bigger the light, the prettier the shine.
Step 4: Change the Angle, Not the Food
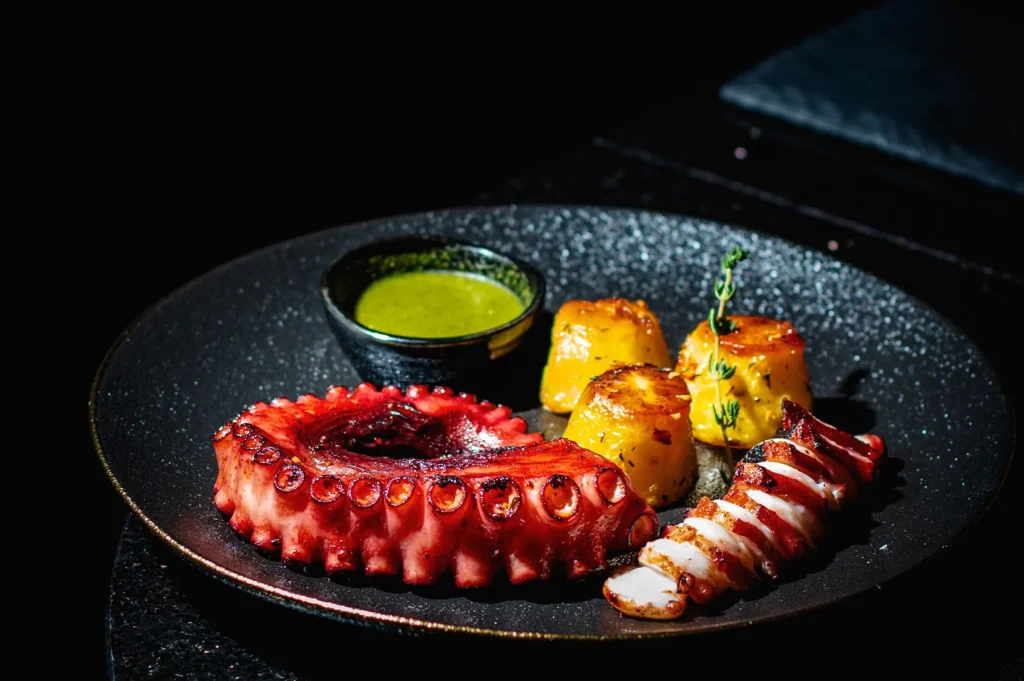
A lot of people try to “fix” glare by blotting sauce or changing the dish. That usually creates a new problem, like dry-looking food.
Instead, change the geometry:
- Move the light slightly more to the side.
- Raise or lower the light.
- Shift your camera angle a little left or right.
Even a small shift can move the reflection off the centre of the dish. You still want shine. You just want it placed where it helps texture, not where it wipes it out.
A practical starting setup for glossy dishes:
- Place the main light about 45 degrees to the side of the dish.
- Keep the camera slightly off-centre, not directly facing the light.
- Adjust until the highlight sits on an edge or curve, not across the middle.
Step 5: Use Flags to Cut Reflections (The Pro Trick That Works Fast)
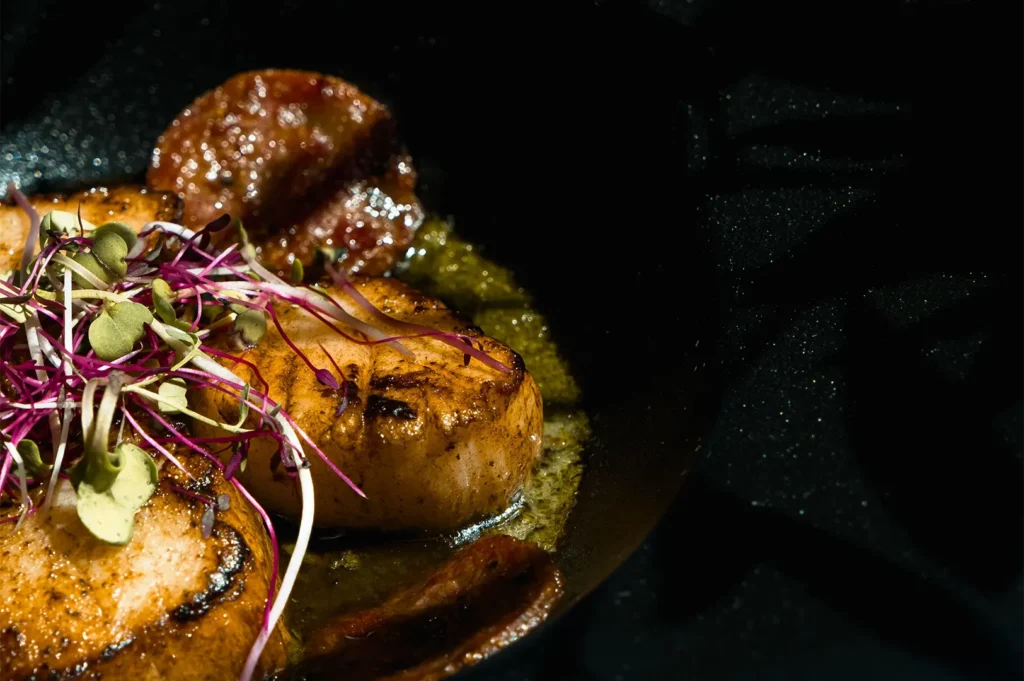
In professional shoots, we shape reflections with flags. A flag is simply something dark that blocks unwanted light and removes glare.
You can use:
- black foam board
- a dark menu folder
- a black cloth draped over a chair
- a clean black tray
Place the flag where the reflection is coming from. You will literally see the hot spot shrink or disappear.
This works especially well for:
- glossy soup surfaces
- shiny plates
- sauces reflecting ceiling lights
If you have never used flags before, try it once. You will get it immediately.
Dish-Specific Fixes That Work in Singapore Kitchens
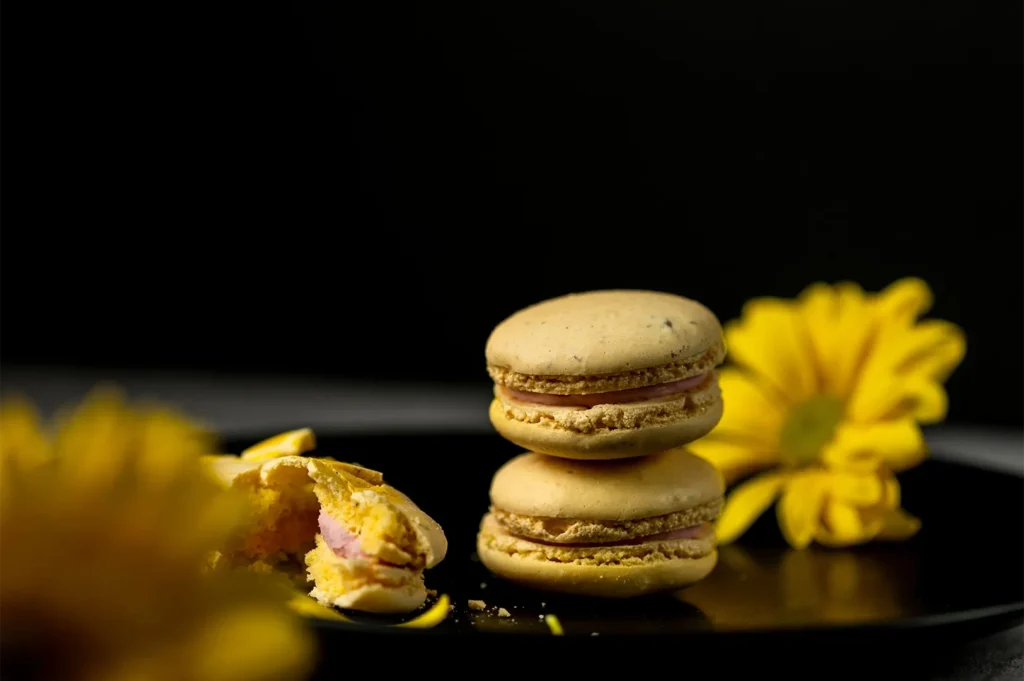
Sauces and Glazes (Char Siu, Soy Glaze, Thick Curry)
- Side-light the dish, not front-light.
- Diffuse the light to avoid sharp streaks.
- If the glaze looks uneven, do small touch-ups with a brush, but do not flood it. Controlled shine looks expensive. Wet shine looks careless.
Broth and Soup (Laksa, Ramen, Bak Kut Teh)
Broth is basically a mirror.
Try this:
- Use side light or slight backlight, not overhead.
- Angle the bowl slightly so the reflection moves away from the centre.
- Break the surface with ingredients. Herbs, noodles, tofu, oil droplets placed intentionally add texture, which makes the broth feel alive.
A flat broth looks like a mirror. A broth with texture reads hot and fresh.
Plates and Bowls
If the plate glare is the problem:
- Switch to matte plates when possible.
- Avoid glossy rims.
- Use a flag to block ceiling reflections.
- Move the plate slightly so the reflection lands outside your crop.
Sometimes the best fix is the simplest one: choose a plate that photographs better.
What to Fix in Editing (And What Not to Touch)
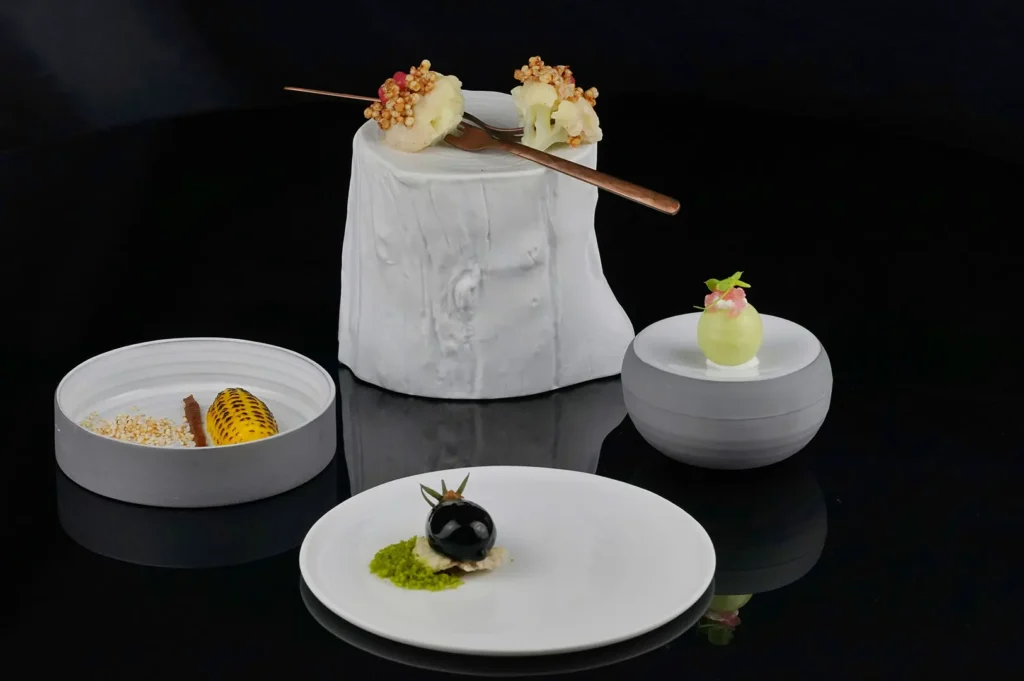
Yes, you can reduce highlights in post. But if your glare is blown out (pure white with no detail), editing cannot bring back what the camera never captured.
Use editing for:
- Slight highlight control
- Small colour correction (especially under mixed warm and cool lighting)
- Keeping whites clean, so plates do not look yellow
Avoid editing that:
- Removes all shine (food starts looking dry)
- Turns broth into a flat orange or brown block
- Creates a “plastic” look that diners do not trust
The goal is not zero reflection. The goal is readable shine.
The Real Goal: Keep the Shine, Lose the Distraction
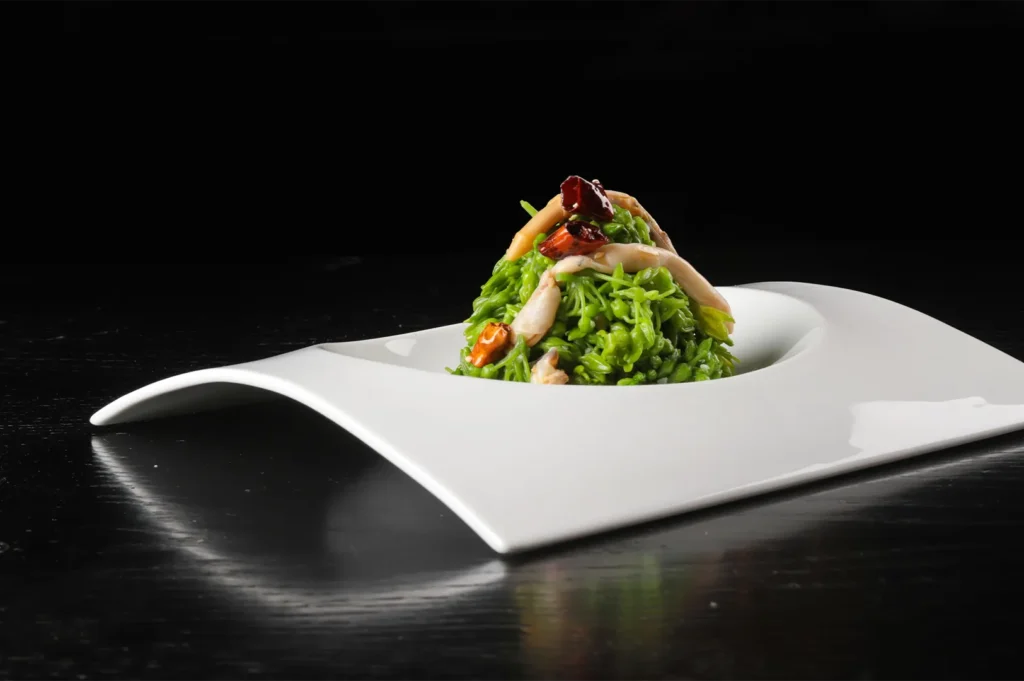
Shine is part of appetite. It signals warmth, richness, moisture, and freshness. Your job is to make shine look intentional:
- Highlight texture without wiping it out
- Keep the main subject readable
- Control reflections so the dish stays the hero
If your team is shooting daily content in real restaurant lighting, glare control will improve your photos faster than buying a new camera. And when you need a full menu set that stays consistent across glossy dishes, broths, and reflective plates, this is the kind of detail work Food Photographer Studio handles every day, quietly and repeatably, so your visuals stay credible across every platform.