In Singapore’s vibrant and fiercely competitive F&B world, capturing a diner’s attention takes more than just a standard picture of a plate. We are experiencing a visual revolution, and the secret weapon behind it is macro photography. This incredible technique brings a whole new level of detail to food photography, allowing us to capture the mouth-watering textures and hidden elements that make a dish truly irresistible.
For restaurant owners, café operators, and F&B managers, understanding this shift is crucial. It changes how customers perceive your brand before they even step through your doors. In this guide, we will explore why getting up close is changing the game and how you can master macro photography techniques for food to elevate your marketing. Let’s dive into the fascinating world of macro and see how it can transform your visual storytelling.
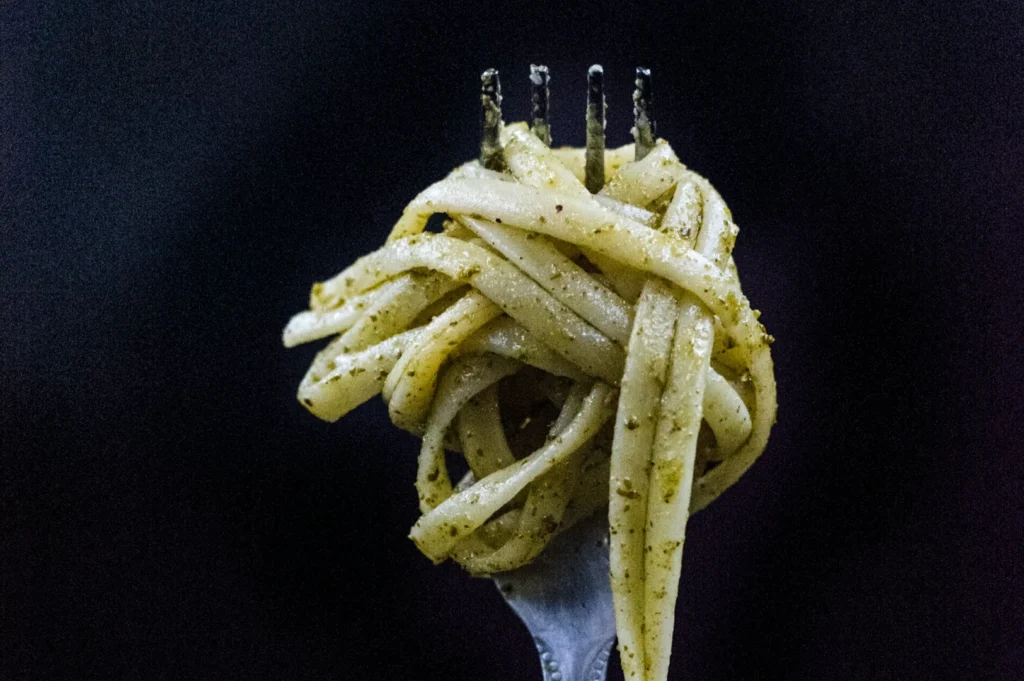
What Makes Macro Photography Different in Food Photography
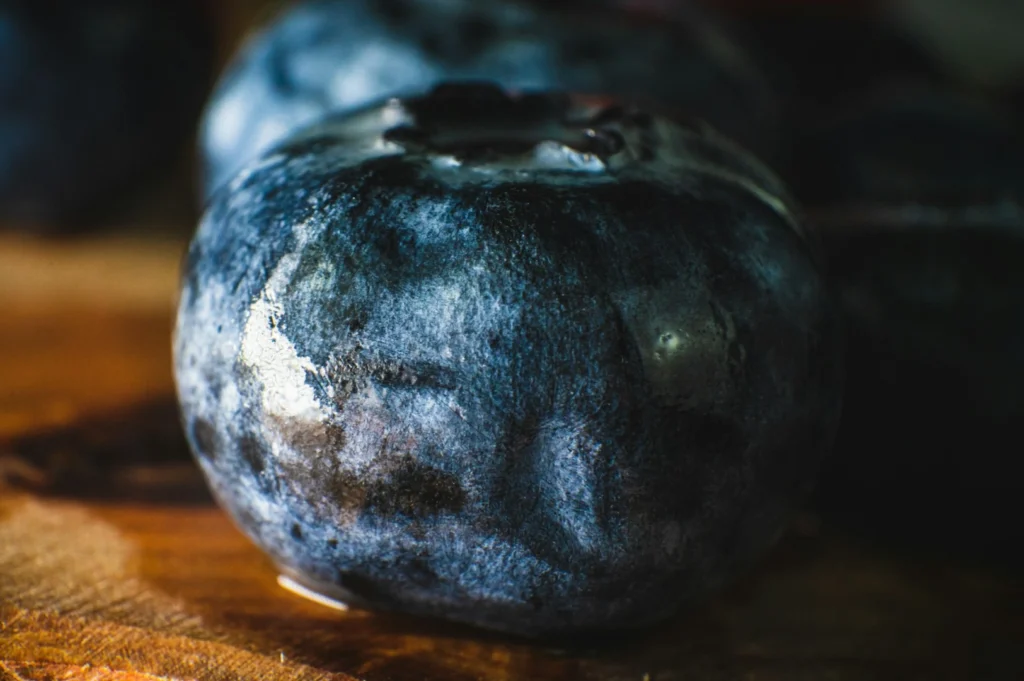
When we talk about macro photography, we aren’t just talking about zooming in. True macro work revolves around magnification. Specifically, it involves shooting at a 1:1 magnification ratio, which means the subject appears life size on the camera’s sensor. If a coffee bean is one centimeter long in real life, it takes up exactly one centimeter on the sensor.
Moving Beyond the Standard Close Up
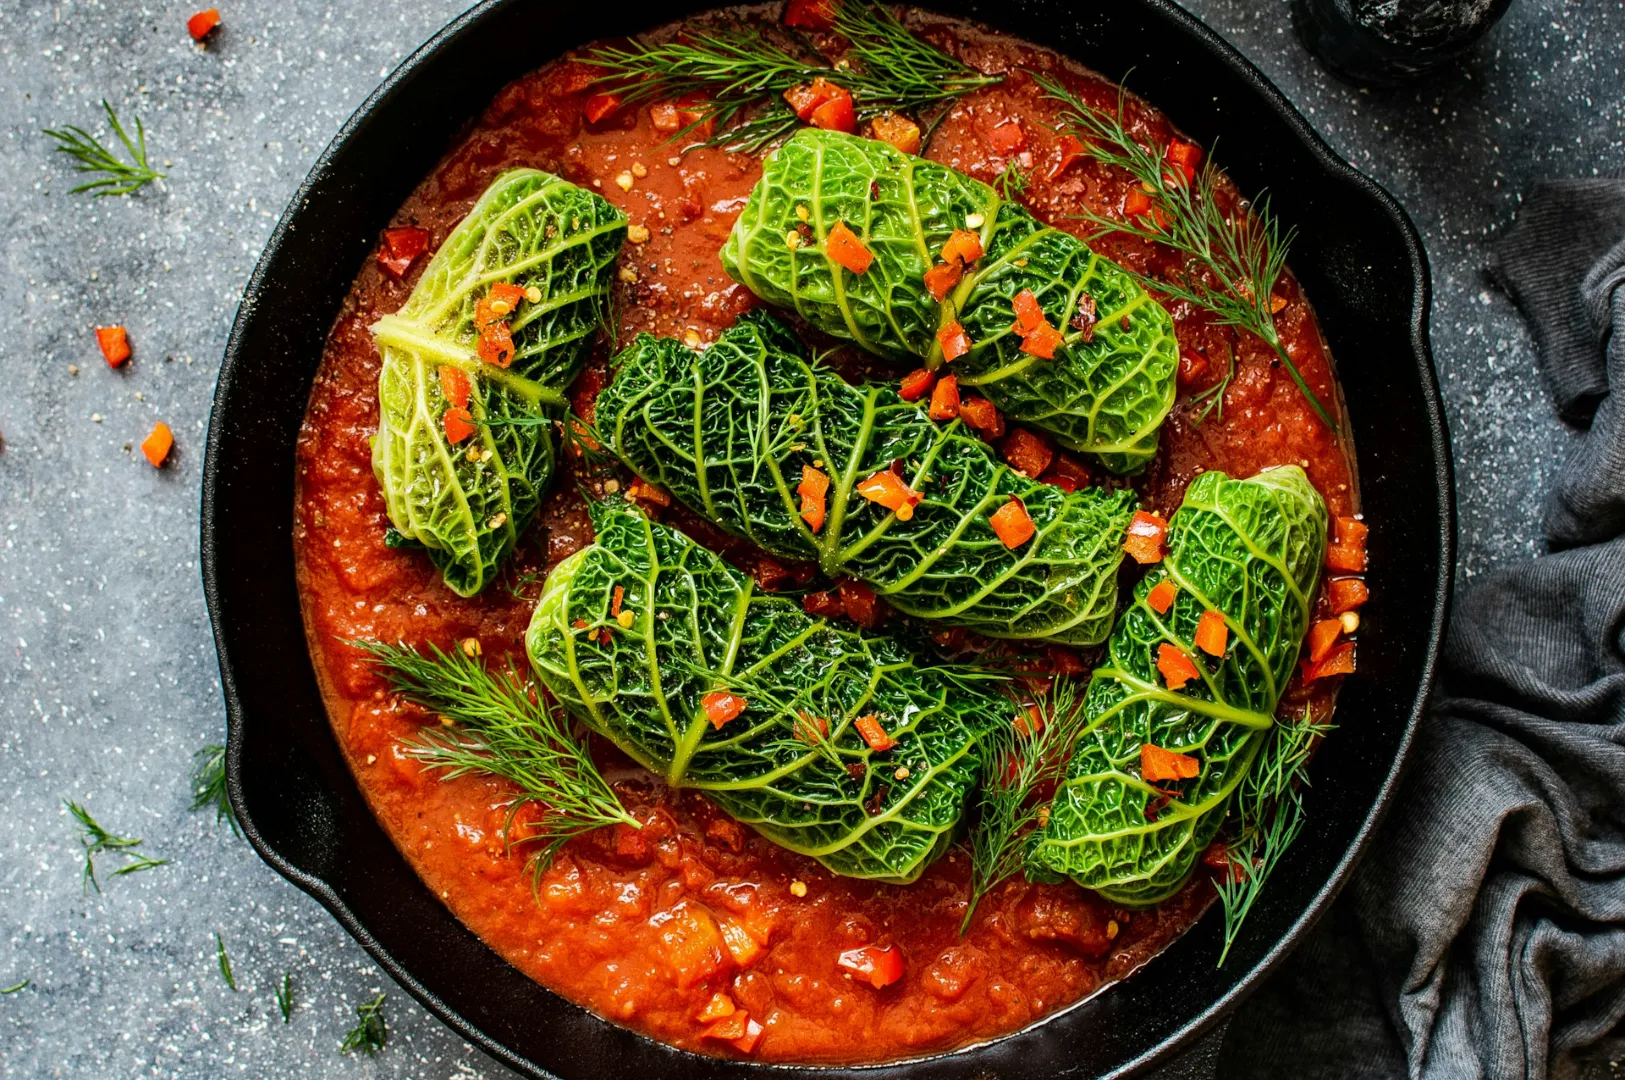
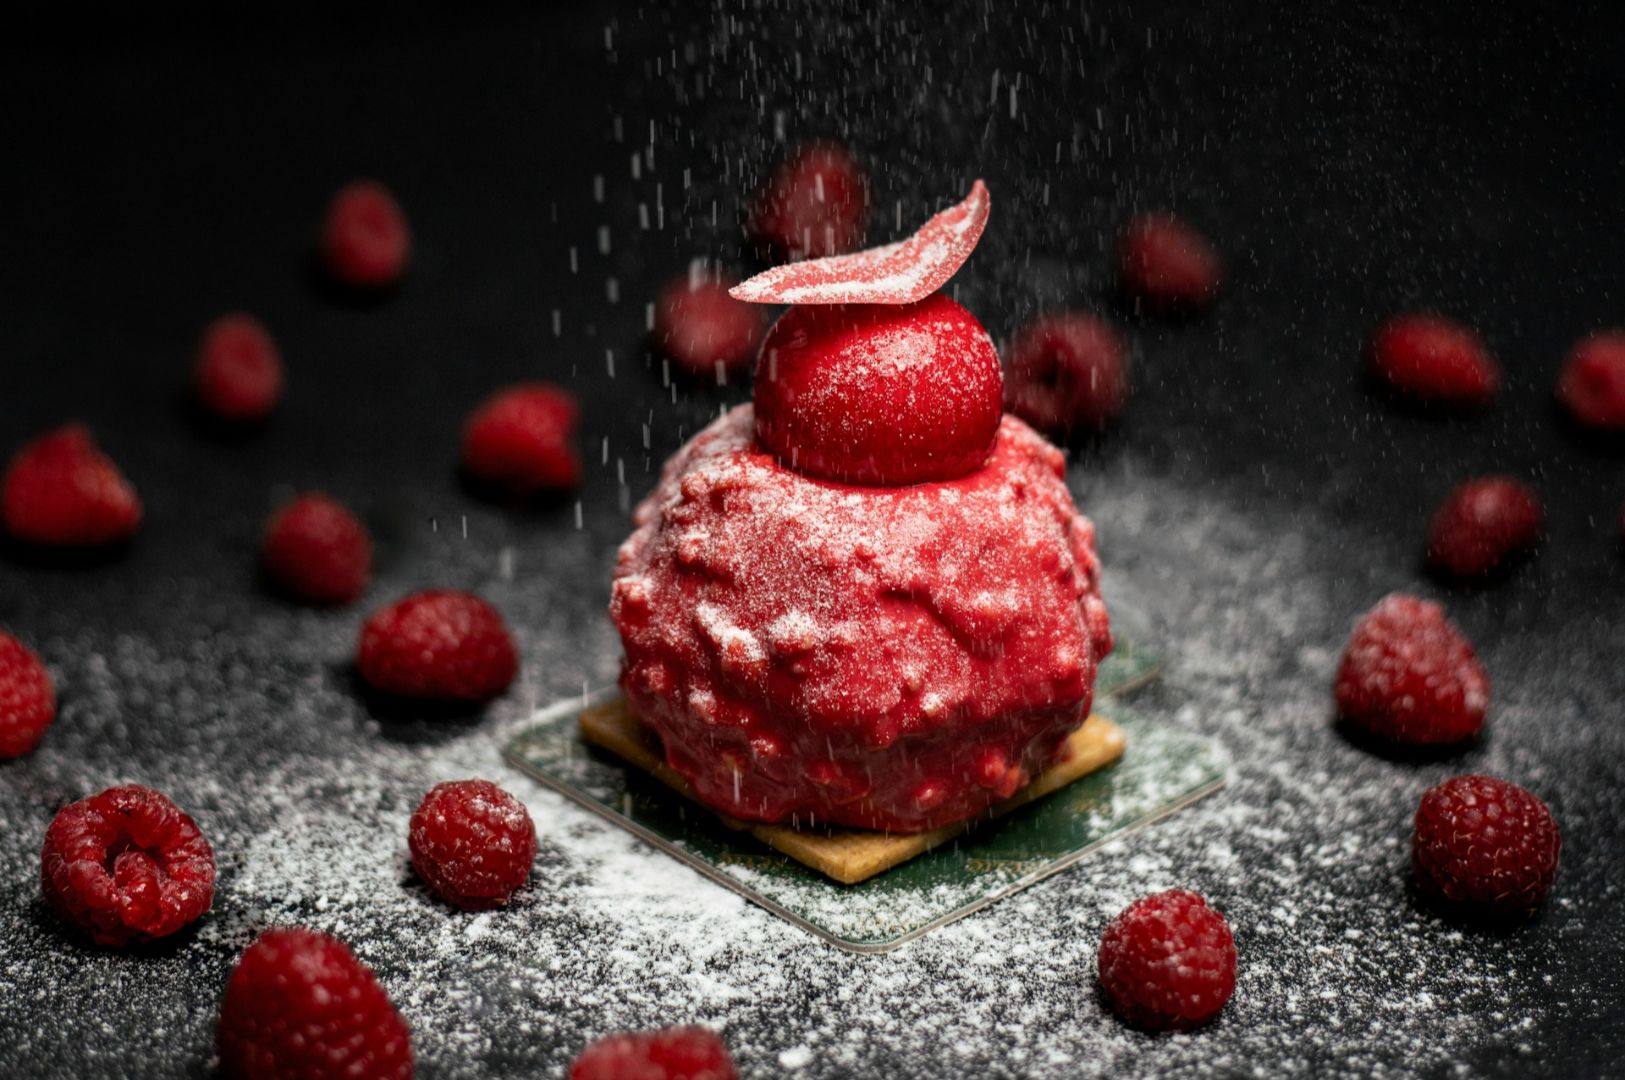
A regular close up might show you a nice slice of cake, but a macro image dives deeper. It reveals the tiny, glistening sugar crystals, the moist crumb of the sponge, and the delicate air pockets in the frosting. These are the invisible details that trigger an immediate craving.
By showcasing a subject at its actual size or larger, macro photography completely transforms customer perception. It takes an ordinary food image and turns it into an immersive, sensory experience that makes viewers feel like they can almost taste the dish.
The Equipment Behind Stunning Images: Dedicated Macro Lens vs. Alternatives
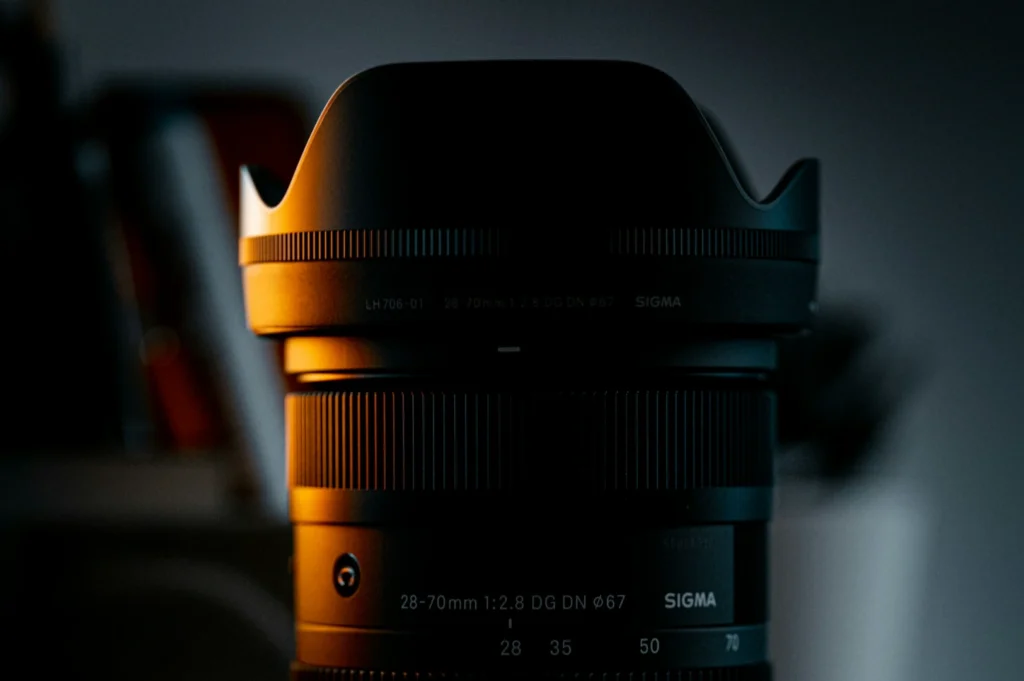
The tools you use make a huge difference in the final result. Capturing stunning images requires gear specifically designed to handle extreme details.
The Power of a True Macro Lens
In professional food photography, a dedicated macro lens is the gold standard. Unlike most lenses, which have a limit on how close you can get, a macro lens is engineered to focus just inches away from the food while still maintaining a sharp maximum focus distance for regular shots. The focal length you choose (often 90mm or 100mm) allows you to stay far enough back to avoid blocking your light, while still making small subjects appear the same size or even a subject larger in the frame.
Using an Extension Tube or Reversing Ring
If you don’t have a dedicated lens, there are alternatives. An extension tube fits between your camera body and your lens, pushing the glass further from the sensor to increase magnification. Another budget-friendly option is a reversing ring, which lets you mount your lens backward to achieve a macro effect. While these tools are great for experimenting with small objects, they often sacrifice some sharpness and light control compared to specialized lenses.
Exploring the Tilt Shift Lens and Other Tools
Some photographers also use a tilt shift lens to control the plane of focus meticulously. Whatever you choose, remember that while most cameras can handle these attachments, investing in proper glass makes capturing tiny subjects much easier and yields far better results.
Technical Mastery: Why Professional Photographers Control Every Detail
Shooting at such high magnification means that every tiny movement or setting choice is amplified. This is why professional photographers take total control over their camera settings.
Mastering Shutter Speed and Aperture
When you are this close to your food, camera shake becomes your biggest enemy. To combat this, managing your shutter speed is an important aspect of the process. If you need to use a slower shutter speed to let in more light, mounting your camera on a sturdy tripod is absolutely essential.
Your aperture controls the depth in your shot. A wide aperture creates a shallow depth of field, keeping just a single crumb or drop of sauce in sharp focus while melting the rest into a soft blur. Conversely, a narrow aperture provides deep depth, keeping more of your macro subjects crisp.
Fine-Tuning Exposure and Focus
Professional photographers carefully adjust exposure and white balance to ensure the food looks natural and appetizing. The process of finding the perfect focus requires careful planning. Autofocus often struggles at these distances, so manually dialing in the focus ensures the macro photograph highlights exactly what you want the viewer to see.
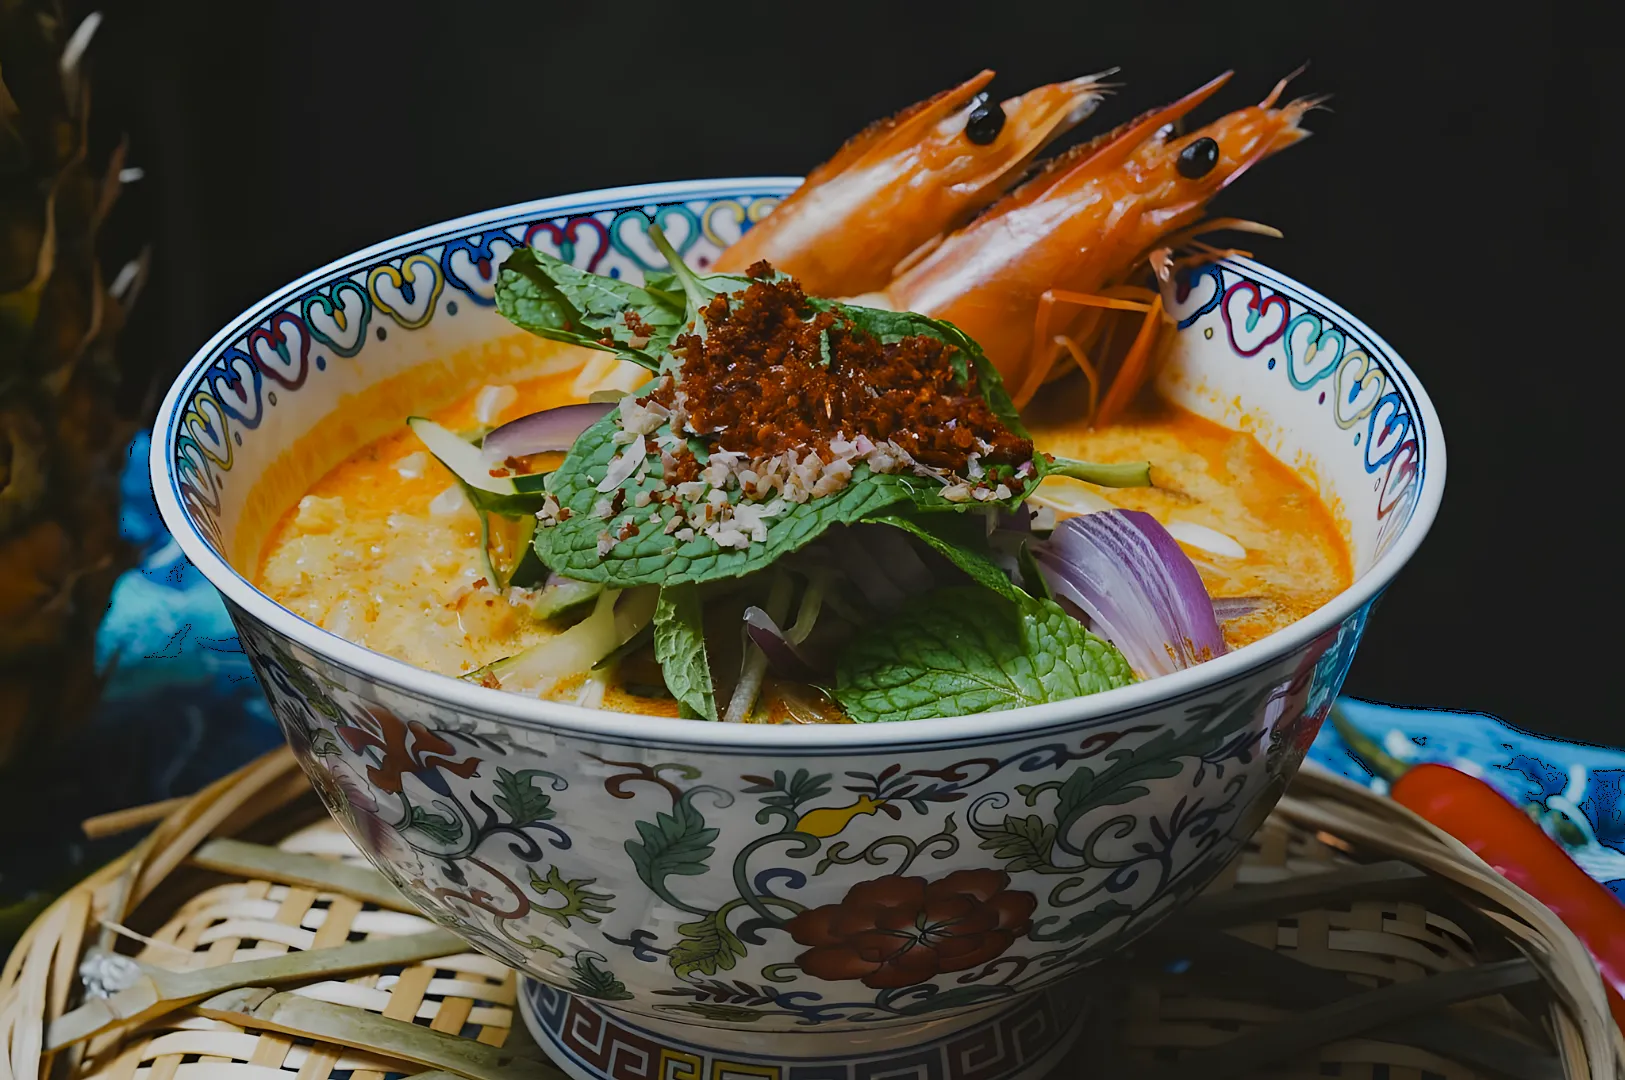
Lighting Strategies: Artificial Lighting and Natural Light
Lighting is the heartbeat of any photograph, but in macro shooting, it dictates the entire mood and texture of the food.
Why Artificial Lighting Matters
While natural light from a window is beautiful, artificial lighting gives you absolute consistency. When you are shooting macro photos, the lens is often so close to the subject that it casts unwanted shadows. Using artificial sources allows you to control exactly where the light falls, highlighting the moisture on a piece of roasted meat or the glossy sheen of a sauce.
Highlighting Taste and Texture
A popular tool for this is a ring flash, which mounts directly to the front of the lens to provide bright, even illumination without harsh shadows. The way light wraps around the food serves as a reference point for the viewer’s eye, drawing attention to the most appetizing parts of the frame. Balancing your light sources ensures that every detail contributes to the overall taste appeal of your macro shots.
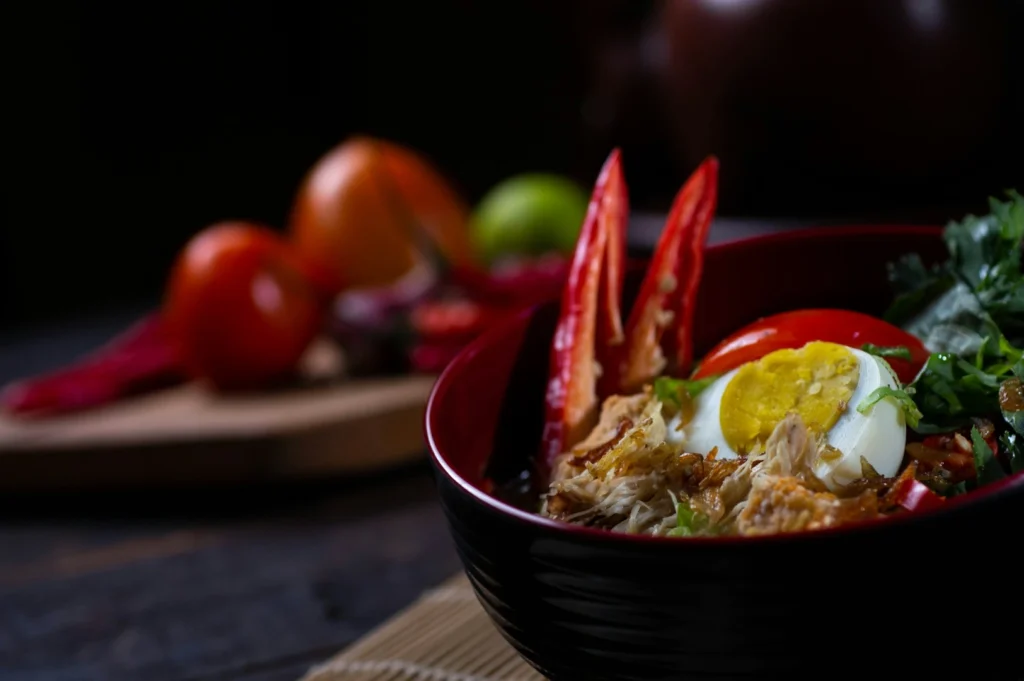
Composition Techniques: Using Negative Space and Camera Angle
Just because you are shooting close doesn’t mean you should ignore the rest of the frame. Great composition is what turns a good macro shot into a compelling photograph.
The Magic of Negative Space
When you fill the entire frame with a single texture, it can sometimes feel overwhelming. Using negative space (the empty areas around your main subject) gives the eye a place to rest. It creates balance and draws even more attention to the intricate details of the food.
Choosing the Right Camera Angle
Your camera angle completely changes the story of the picture. Shooting straight down might highlight the geometry of a sliced fruit, while shooting at a low 45-degree angle can emphasize the towering, fluffy layers of a soufflé.
Crafting a Good Background
A good background shouldn’t distract from the food. Even when blurred, the colors and tones behind your subject matter. Choosing backgrounds that contrast with your food creates more depth and makes the dish pop. Every element must be specifically designed to enhance the shot and create a seamless visual flow.
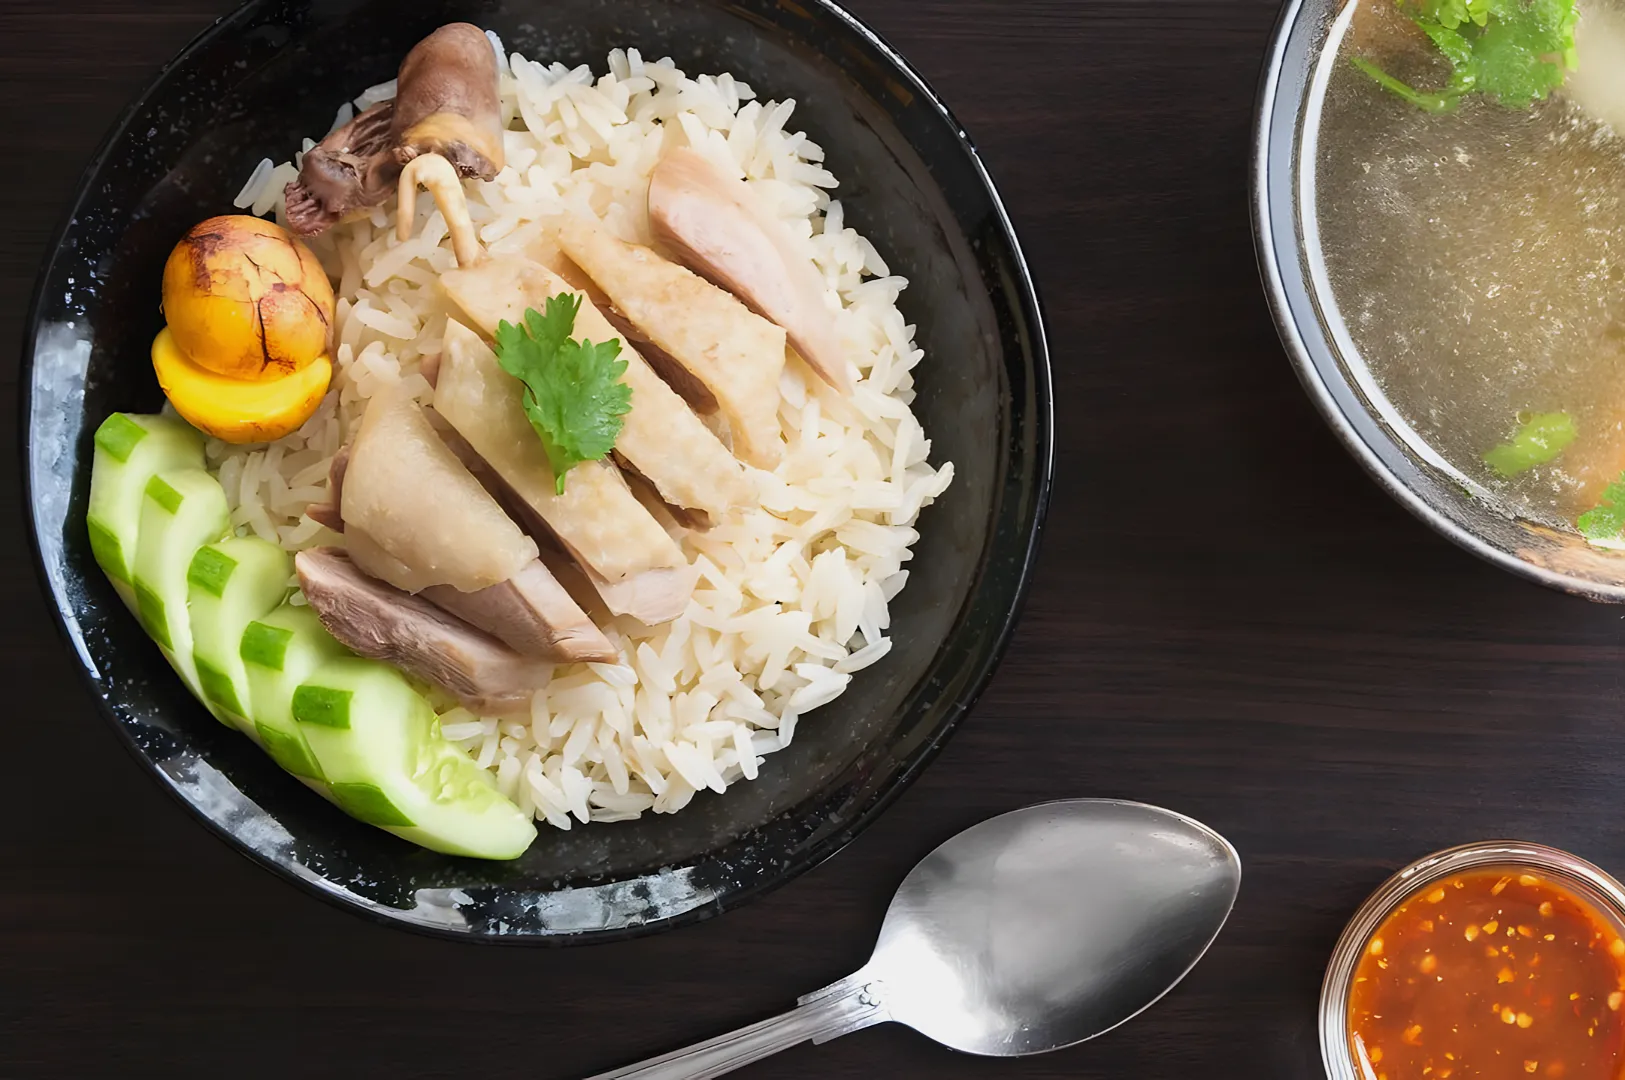
Real-World Applications: How a Food Photographer Works
In Singapore’s diverse and dynamic F&B market, a skilled food photographer uses macro photography to celebrate local cuisine.
Think about a plate of Char Kway Teow. A standard photo shows a pile of noodles. A macro photo captures the glistening, smoky oil clinging to a single piece of lap cheong, the charred edges of the flat rice noodles, and the vibrant pop of a fresh cockle.
Consider a classic Kaya Toast. Macro photography brings the real life texture of the charcoal-toasted bread to the forefront, showing the exact moment the cold slab of butter begins to melt into the sweet, textured kaya spread.
These images do more than just document food; they act as a powerful idea generator for your marketing. They stop social media scrollers in their tracks and directly influence dining decisions by bridging the gap between a digital photo and a tangible, mouth-watering reality.
Refining Macro Photos with Post-Processing
The final step in creating breathtaking macro images happens after the camera is put away. Using software like Adobe Photoshop is essential for bringing out the absolute best in your macro photos.
In the editing process, we carefully enhance contrast to make textures pop and tweak the color balance to ensure the food looks exactly as it does in real life. The goal is to optimize the image without losing the authentic detail that makes the dish special. Proper post-processing ensures the final image is polished, professional, and ready to drive hungry customers to your business.
The Future of Food Photography and Macro Photography in Singapore
Macro photography has undeniably transformed how we showcase food. By revealing a world of hidden details, it allows Singapore’s F&B businesses to capture the true essence, quality, and life of their culinary creations. Detailed, immersive food photography is no longer just a trend—it is the new standard for standing out in a crowded market.
We highly encourage restaurant owners and café operators to explore this powerful visual approach. While experimenting with macro photography can be rewarding, professional food photography services can help you achieve stunning results faster. At Food Photographer Studio, we specialize in capturing the intricate details that make your dishes irresistible.
Ready to make your menu unforgettable? Visit Food Photographers Studio today and let our expert photographers bring your culinary vision to life.