Ever noticed how a perfectly sharp, up-close shot of glistening chili crab sauce instantly makes your mouth water, while a slightly blurry close-up of the same dish just looks messy? In today’s highly visual digital landscape, these visual missteps are more than just technical errors; they directly impact how customers perceive your restaurant. Unfortunately, these common mistakes in macro photography are costing Singapore F&B businesses valuable customer engagement every single day.
Macro photography is a technically demanding genre. It requires precision, patience, and a solid understanding of how cameras behave at extremely close range. When executed well, it showcases the premium quality of your ingredients. When done poorly, it makes even the most delicious meal look unappetizing.
In this guide, we are going to break down the 7 common mistakes in macro photography that we frequently see in the local F&B scene. Whether you are shooting with a smartphone or a professional setup, even experienced macro photographers make these errors. Let’s dive in so you can start capturing your culinary creations flawlessly.
7 Common Mistakes in Macro Photography Every F&B Business Should Avoid
Mistake #1: Shooting Wide Open Without Understanding Depth of Field
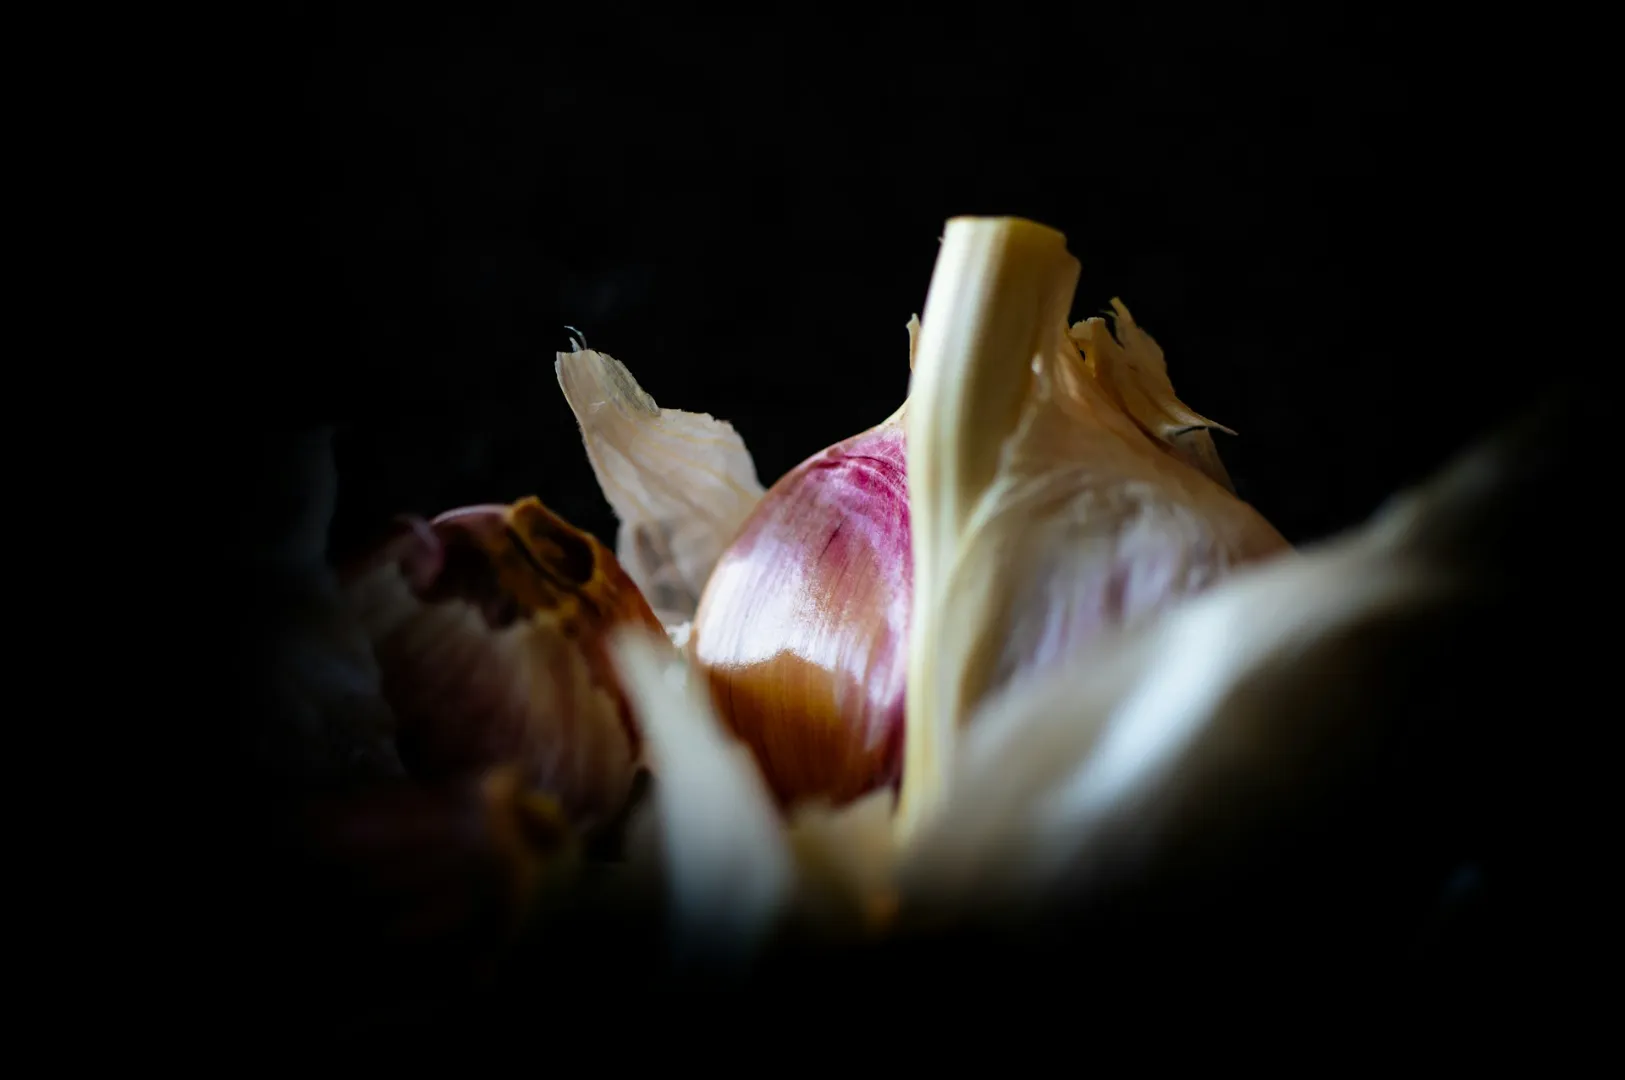
Many food business owners love that dreamy, blurred background look, so they naturally shoot wide open. However, using a wide aperture (like f/1.8 or f/2.8) creates massive problems in macro work. Because you are so close to your subject, a large aperture makes your depth of field razor-thin.
At such close distances, this shallow depth prevents you from getting enough depth to keep the entire subject in focus. For instance, if you focus on the front edge of a laksa prawn, the back edge will completely blur out, confusing the viewer’s eye.
The reproduction ratio of your lens dramatically shifts the focal plane. To get a sharp subject from front to back, you must use smaller apertures, like f/8 or f/11. Stopping down your aperture provides the deep depth necessary to show off the intricate textures of your food. Understanding your aperture settings is the absolute key to achieving proper depth and clarity.
Mistake #2: Camera Shake from Improper Technique
When you are shooting macro at high magnifications, every tiny vibration is amplified. The slightest movement can completely ruin your image, leading to a soft, out-of-focus final result. This camera shake is one of the most frustrating hurdles when photographing food up close.
There is a direct relationship between your shutter speed and the camera’s position. Because macro work often requires smaller apertures (letting in less light), the camera automatically compensates by using slower shutter speeds. If you are holding the camera by hand, the camera sensor will capture your natural body movement during these slower exposures, especially at close focusing distances.
The solution is simple but often ignored: you need a tripod. A sturdy tripod stabilizes the camera’s position, completely eliminating human movement. Combine this with faster camera settings or a two-second shutter delay, and your shooting macro experience will instantly improve, resulting in crisp, professional-quality textures.
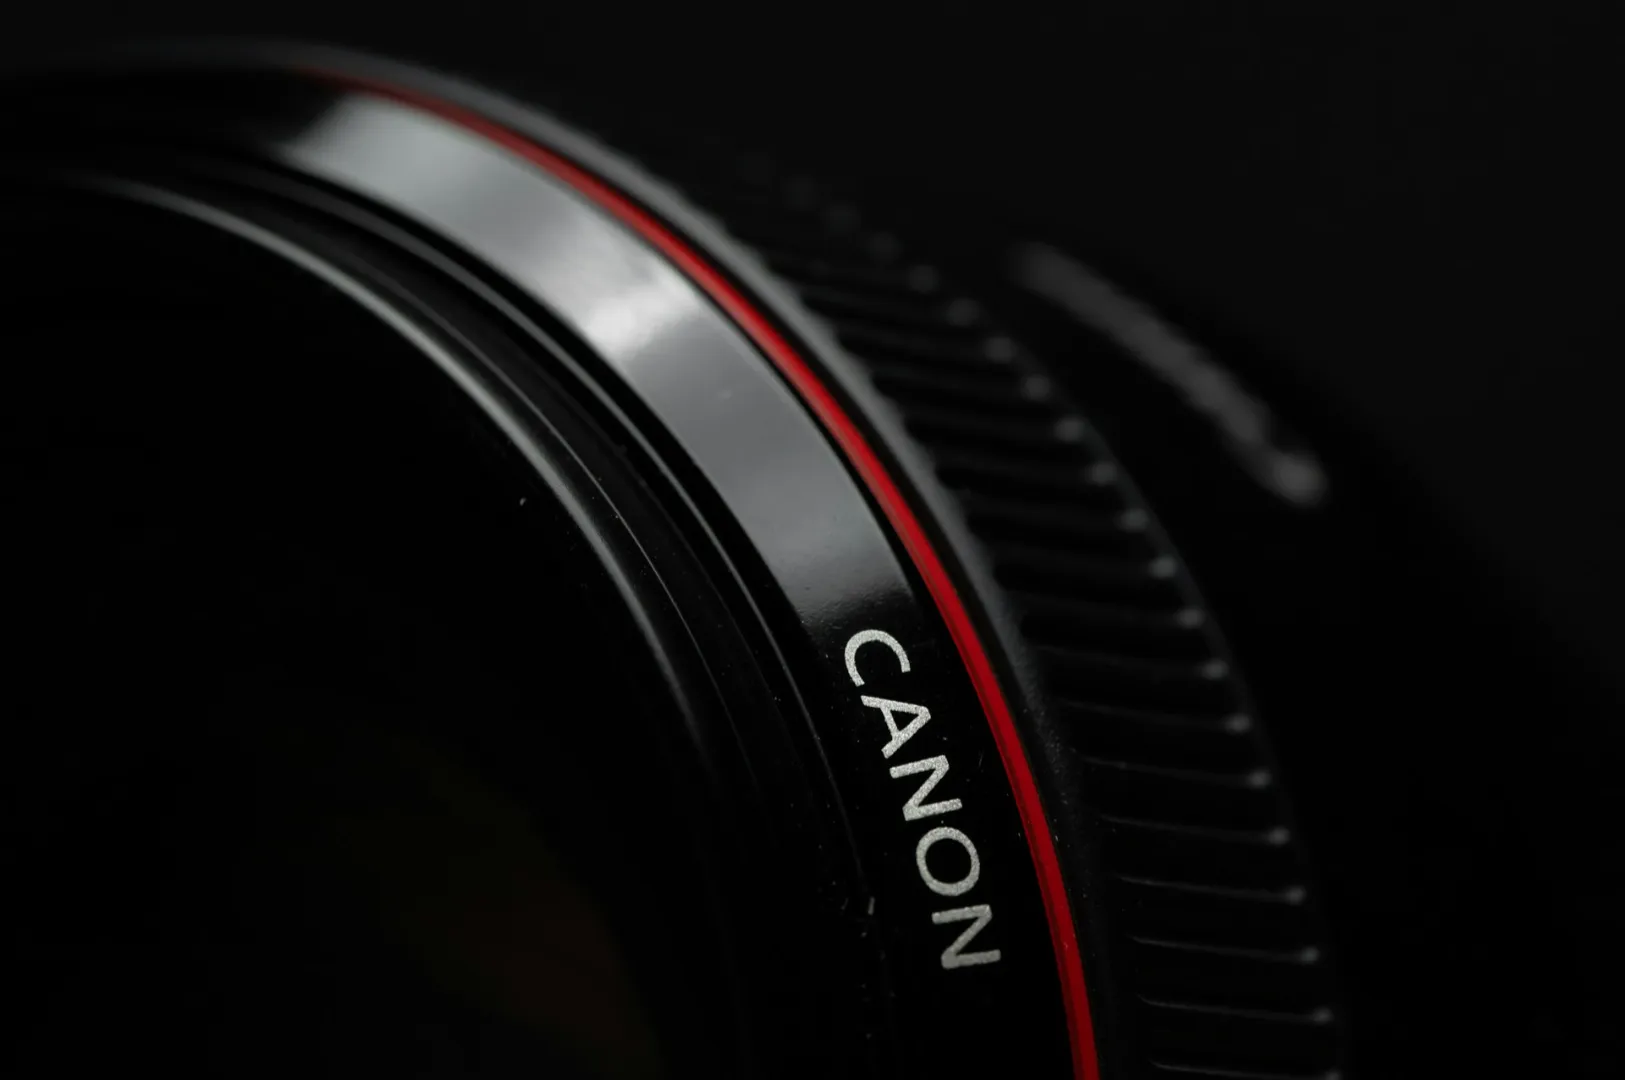
Mistake #3: Using Close Up Filters Instead of a Dedicated Macro Lens
In an attempt to save money, many F&B marketers rely on cheap close up filters or extension tubes to turn their standard lenses into macro tools. While extension tubes can work in a pinch, close up filters act like a magnifying glass placed over your lens, severely degrading your image quality and introducing unwanted color fringing.
A dedicated macro lens is specifically designed for this exact purpose. Regular lenses cannot achieve a 1:1 life size reproduction ratio. Many macro lenses differ significantly in their optical design, allowing them to capture stunning close up shots with edge-to-edge sharpness.
When choosing a macro lens, pay attention to the focal length. A shorter focal length means you have to get physically closer to the dish, which might block your light source. A longer focal length (like 90mm or 100mm) gives you a comfortable maximum focus distance, providing room to light the food properly. Most cameras simply cannot produce professional macro photograph results without these specialized lenses.
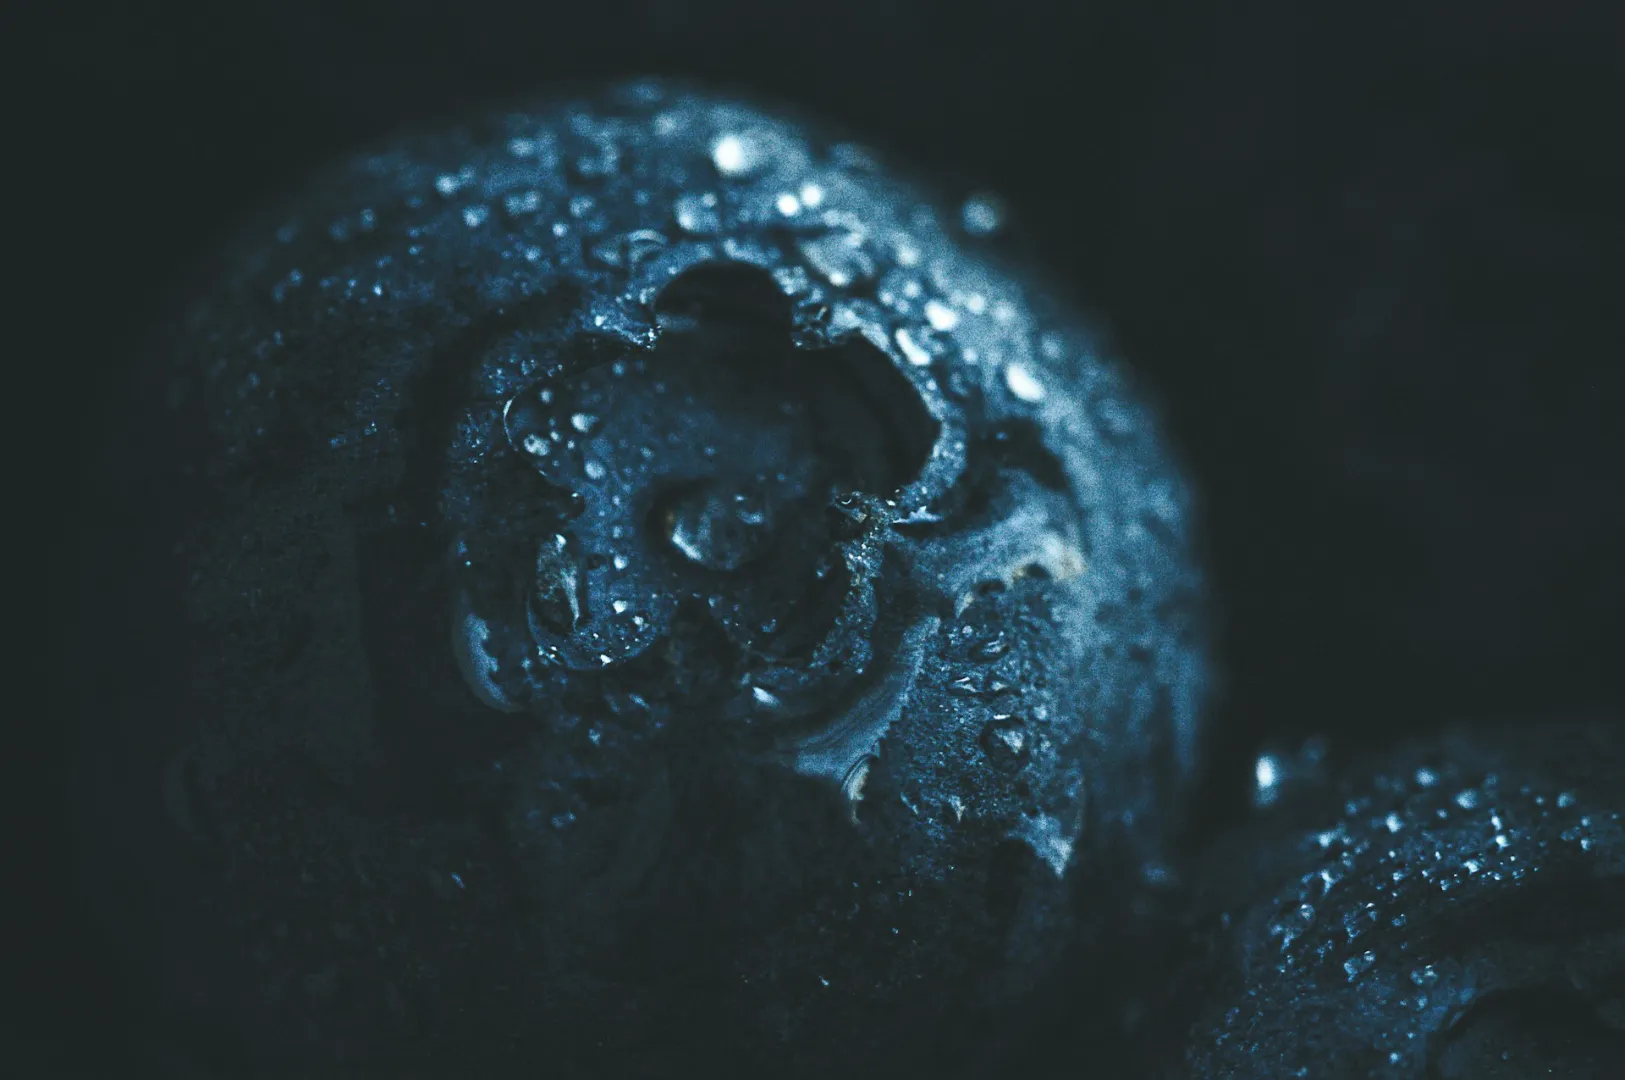
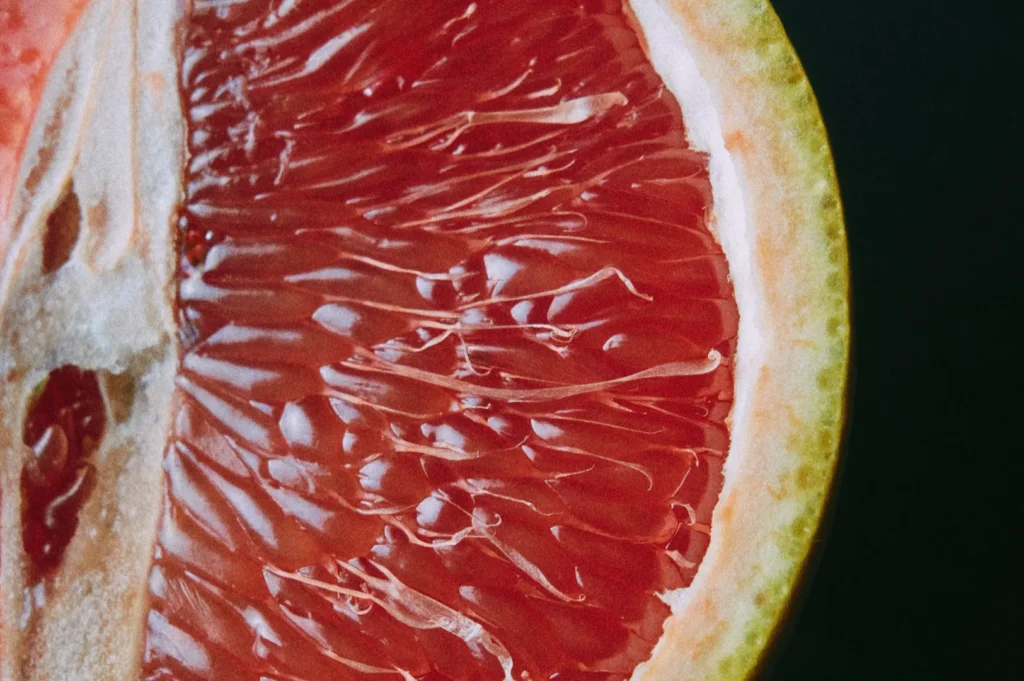
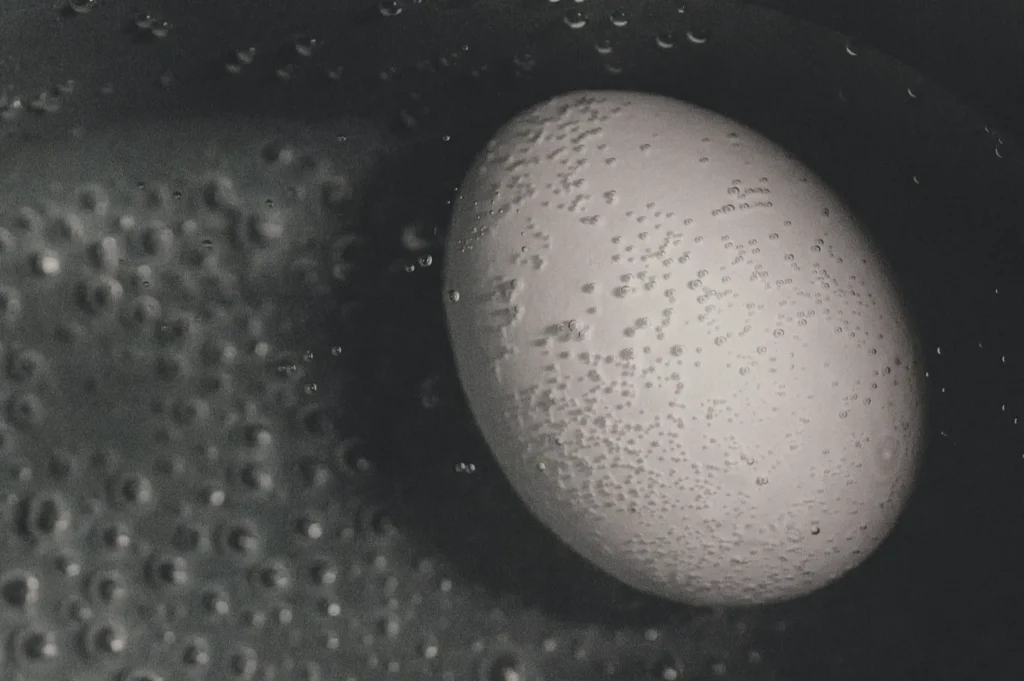
Connection to Nature: This image creates a powerful connection to the natural world. The water droplets evoke a sense of morning dew, signaling that the ingredient is incredibly fresh and just picked from the garden.
Why It Works: Elements from nature, like water, add powerful freshness cues. This kind of macro detail can make a simple garnish look like the star of the show, elevating the entire dish.
Perfect for Highlighting Quality: This is a perfect way for farm-to-table restaurants or those focused on quality sourcing to highlight their commitment to using the best, freshest ingredients. It adds a sense of life to the plate.
Mistake #4: Struggling with Manual Focus
When working with close up subjects, relying on your camera’s autofocus is a recipe for frustration. Autofocus systems easily get confused by the complex textures of food, often missing the critical focus point entirely.
To gain true control over your image, manual focus is essential. However, many photographers struggle to capture images that are perfectly sharp when turning the focus ring by hand. The margin for error is literally millimeters. If your focus ring technique is rushed, you will miss the specific grain of salt or droplet of sauce you intended to highlight.
To fix this, utilize the focus peaking feature available on most modern digital cameras. Focus peaking highlights the exact areas of your frame that are in focus with a bright color (like red or yellow) on your screen. Mastering manual focus alongside focus peaking ensures your focus point lands exactly where it should, every single time.
Mistake #5: Poor Lighting in Close Up Photography
Lighting makes or breaks a photograph, and at close distances, lighting becomes exceptionally tricky. If you rely solely on standard restaurant overhead lights, you will likely end up with uneven light and harsh, unappetizing shadows blocking the details of your dish.
Managing light in still life and food macro work requires strategy. Because the camera is so close to the subject, you often cast a shadow over your own food. A great solution is using a ring flash or a dedicated macro LED light. A ring flash mounts directly to the front of your lens, providing beautiful, even light that wraps around the food without casting harsh shadows.
When you introduce strategic, directional light, it brings out the moisture, gloss, and texture of the dish, dramatically elevating the quality of your final image.
Mistake #6: Ignoring Clean Backgrounds and Negative Space
Because macro images focus so tightly on the subject, it is easy to forget about the rest of the frame. However, a messy, distracting background will ruin your photo at first glance.
Creating a clean background is crucial. The empty areas around your food (known as negative space) give the viewer’s eye a place to rest and help the main subject stand out. The background heavily influences whether the subject appears the same size, smaller, or larger in context to its surroundings.
Try shooting from different angles to control what appears behind your food. Shifting your camera just a few inches can change a cluttered background into a smooth, creamy wash of color. Composing your angles with intention ensures nothing distracts from the mouth-watering details you worked so hard to capture.
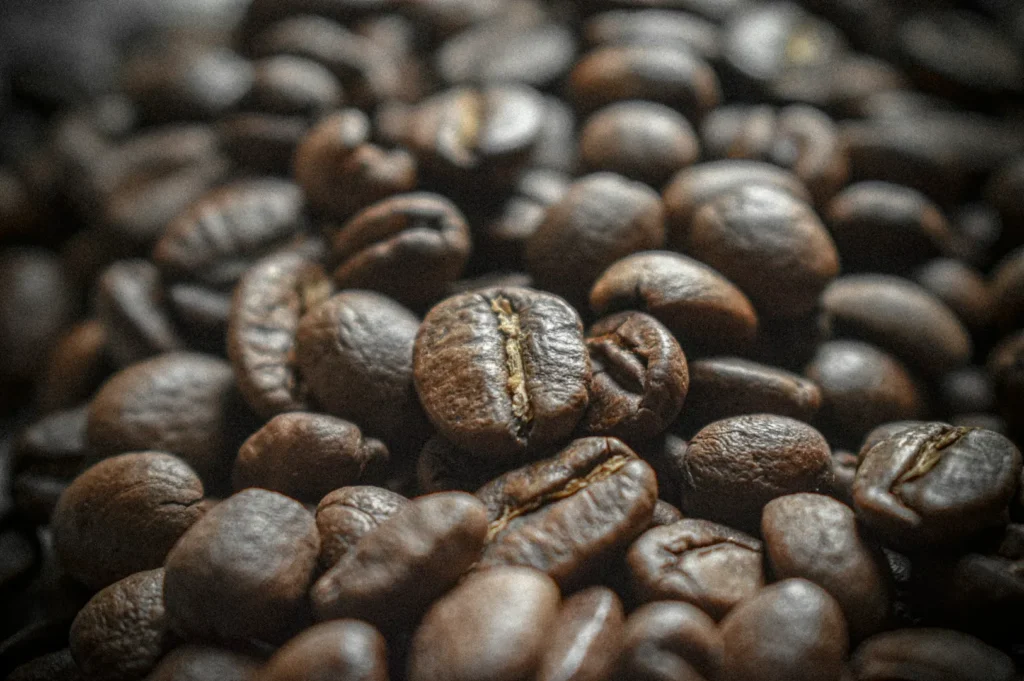
Mistake #7: Limited Subject Selection for F&B Applications
If you search for a free ebook or tutorial on macro photography, you will notice they almost exclusively focus on flowers or photographing insects. While those are classic macro subjects, limiting your scope to nature photography ignores the massive commercial potential for your restaurant.
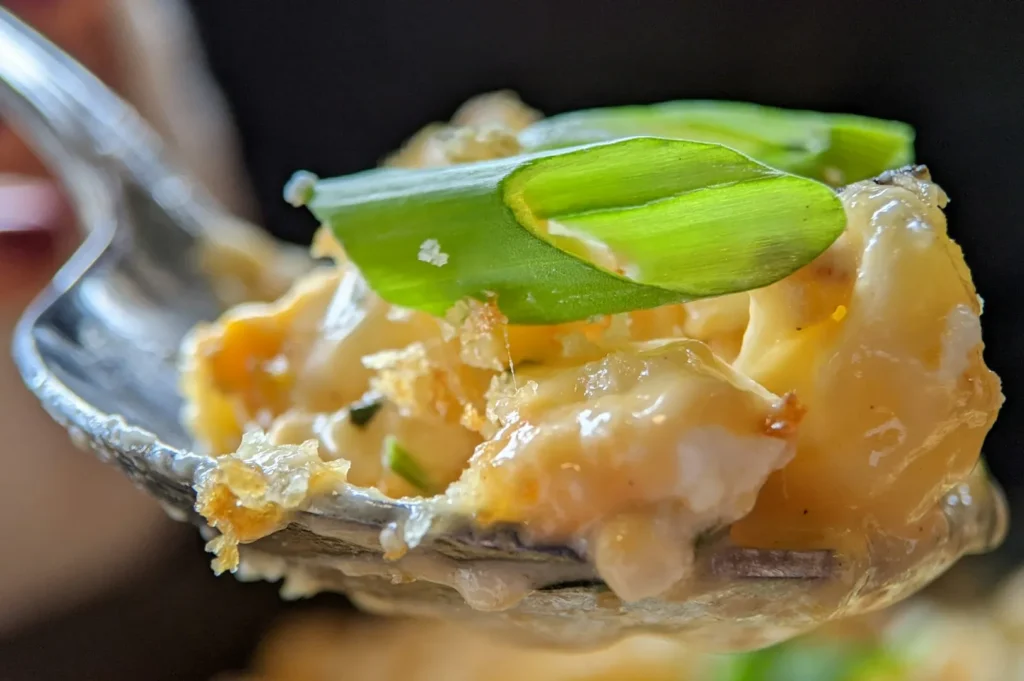
In the F&B world, you need to shoot food at close range to trigger cravings. Stop taking macro shots of just the table centerpieces and start capturing small objects that matter to your diners. Photograph the rich, glossy texture of your signature char kway teow. Capture the intricate, porous details of the tau pok soaking up broth in your laksa. Showcase the thick, melting slab of butter resting between the crispy layers of your traditional kaya toast.
By expanding your creative vision to highlight the ingredients and textures of your specific cuisine, you create a powerful visual narrative that drives genuine customer engagement.
Bonus Section: Full Frame vs. Crop Sensors for Macro
When selecting a camera for macro photography, the sensor size plays an interesting role. A full frame camera offers incredible low-light performance and dynamic range, which is fantastic for retaining the natural colors of your food. However, a crop sensor camera actually gives you a slight advantage in macro work because the “crop factor” artificially extends your lens’s focal length, making the subject appear even closer in the final image. Both formats are highly capable; what matters most is pairing your camera with high-quality glass and proper lighting.
Conclusion
Avoiding these 7 common mistakes in macro photography will immediately elevate the quality of your restaurant’s marketing materials. By understanding depth of field, using the right equipment, and mastering your lighting and focus, you can capture the stunning, mouth-watering details that make your food irresistible to customers.
While experimenting with macro photography can be rewarding, professional food photography services help you achieve stunning results faster and more consistently. At Food Photographer Studio, we specialize in capturing the intricate details that make your dishes irresistible: from the crispy char on your kway teow to the delicate garnish on your signature laksa.
If you are ready to elevate your visual marketing, read our comprehensive guide “Macro Photography: The Complete Guide to Capturing Singapore’s F&B Details“, or reach out to our team today to see how we can help your menu shine!