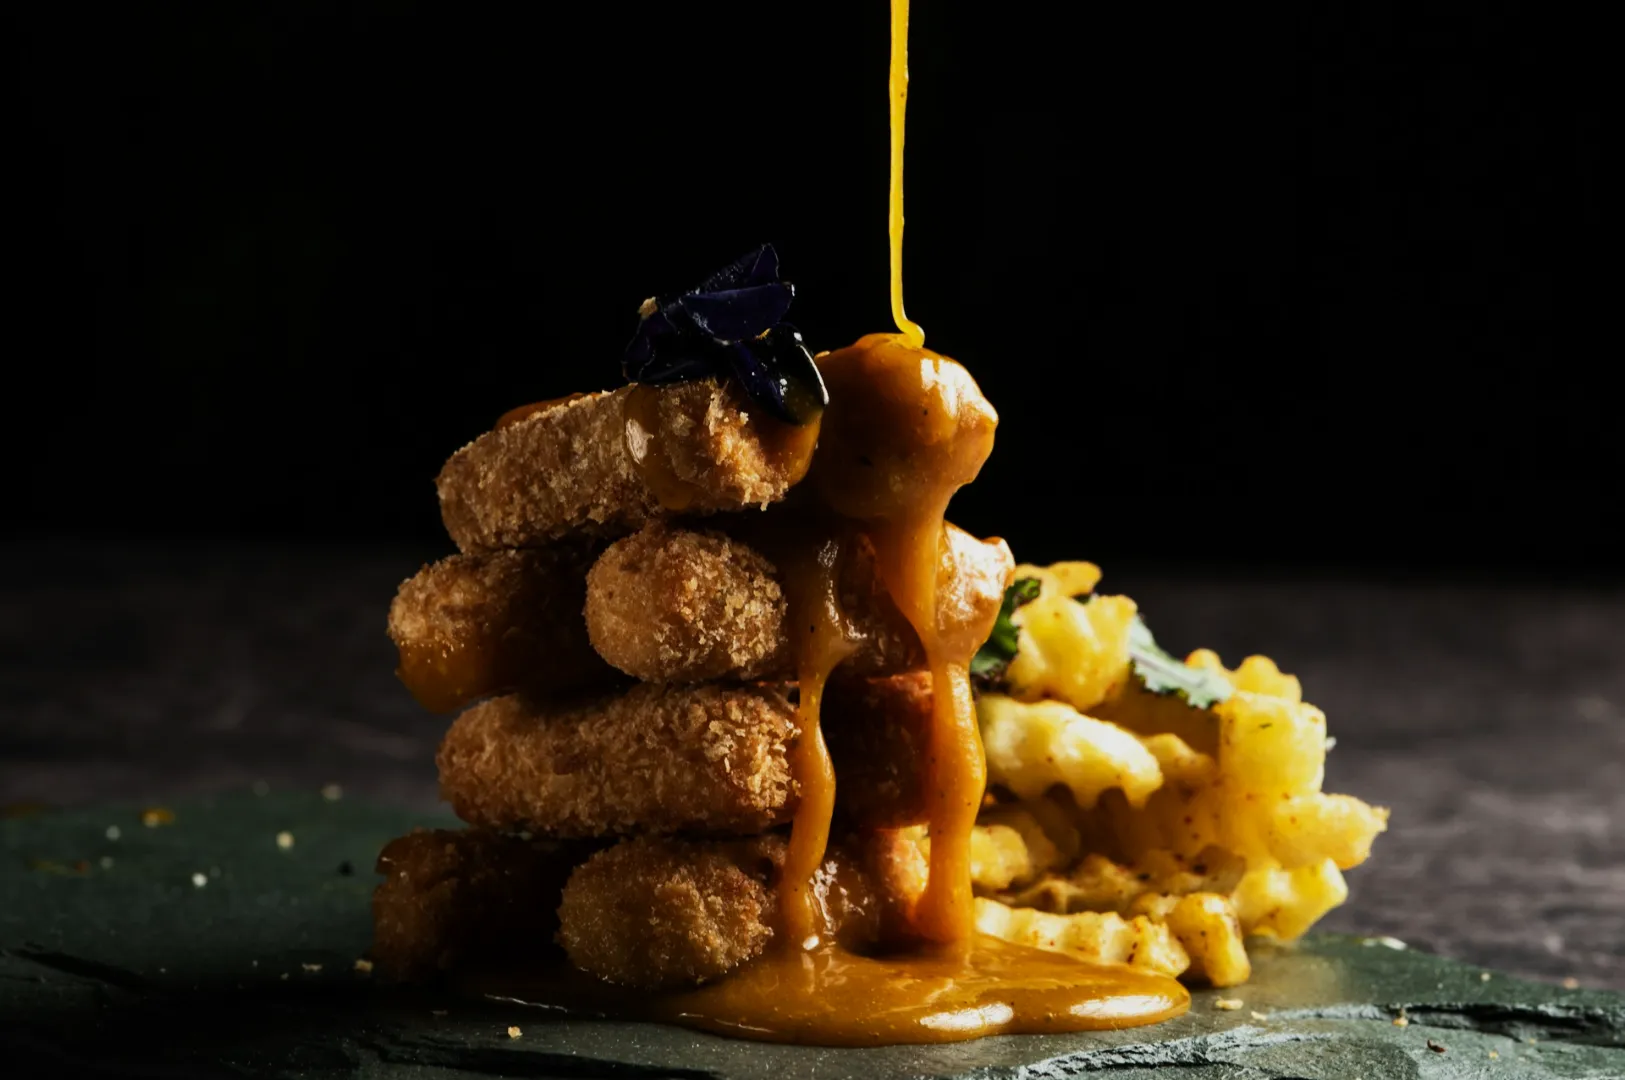
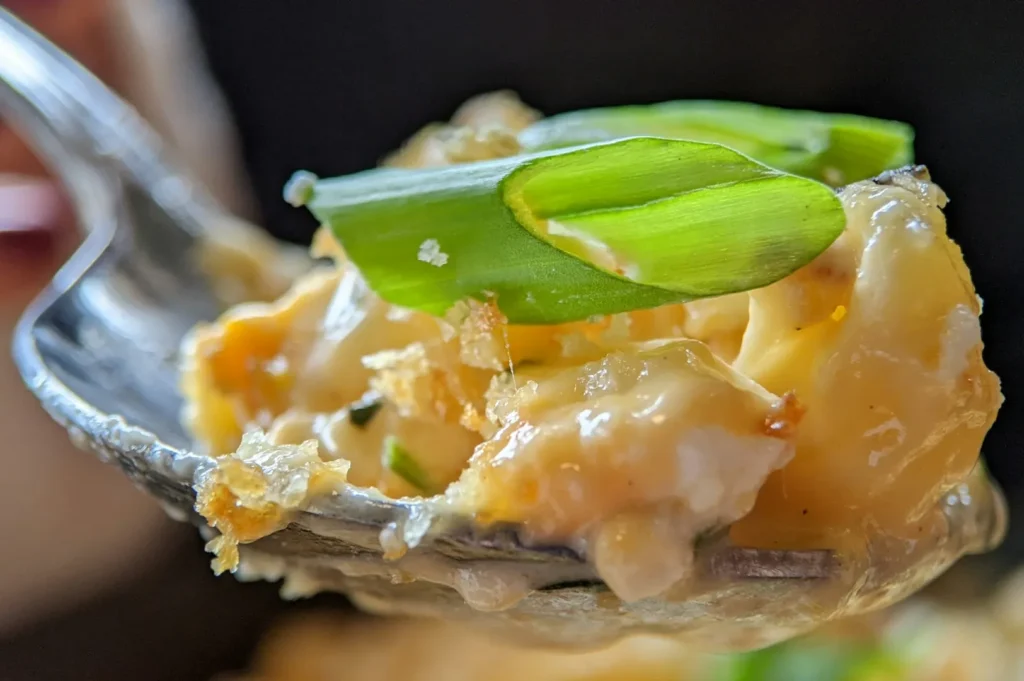
Have you ever looked at a restaurant menu and felt an immediate craving just from seeing the glistening salt crystals on a seared steak or the delicate condensation on an icy cocktail? That is the undeniable power of macro photography in food and beverage marketing.
When you run an F&B business in Singapore’s highly competitive market, standing out requires more than just good food. You need stunning macro images that make people want to eat your food the moment they see it. Macro photography allows you to capture those tiny, mouth-watering details that normally go unnoticed. By understanding concepts like magnification ratio, reproduction ratios, and life-size imaging, you can transform an ordinary plate into a visual masterpiece.
This guide will walk you through exactly what macro photography is, the equipment you need, and the techniques professional food photographers use to capture Singapore’s vibrant culinary scene up close.
What is Macro Photography?
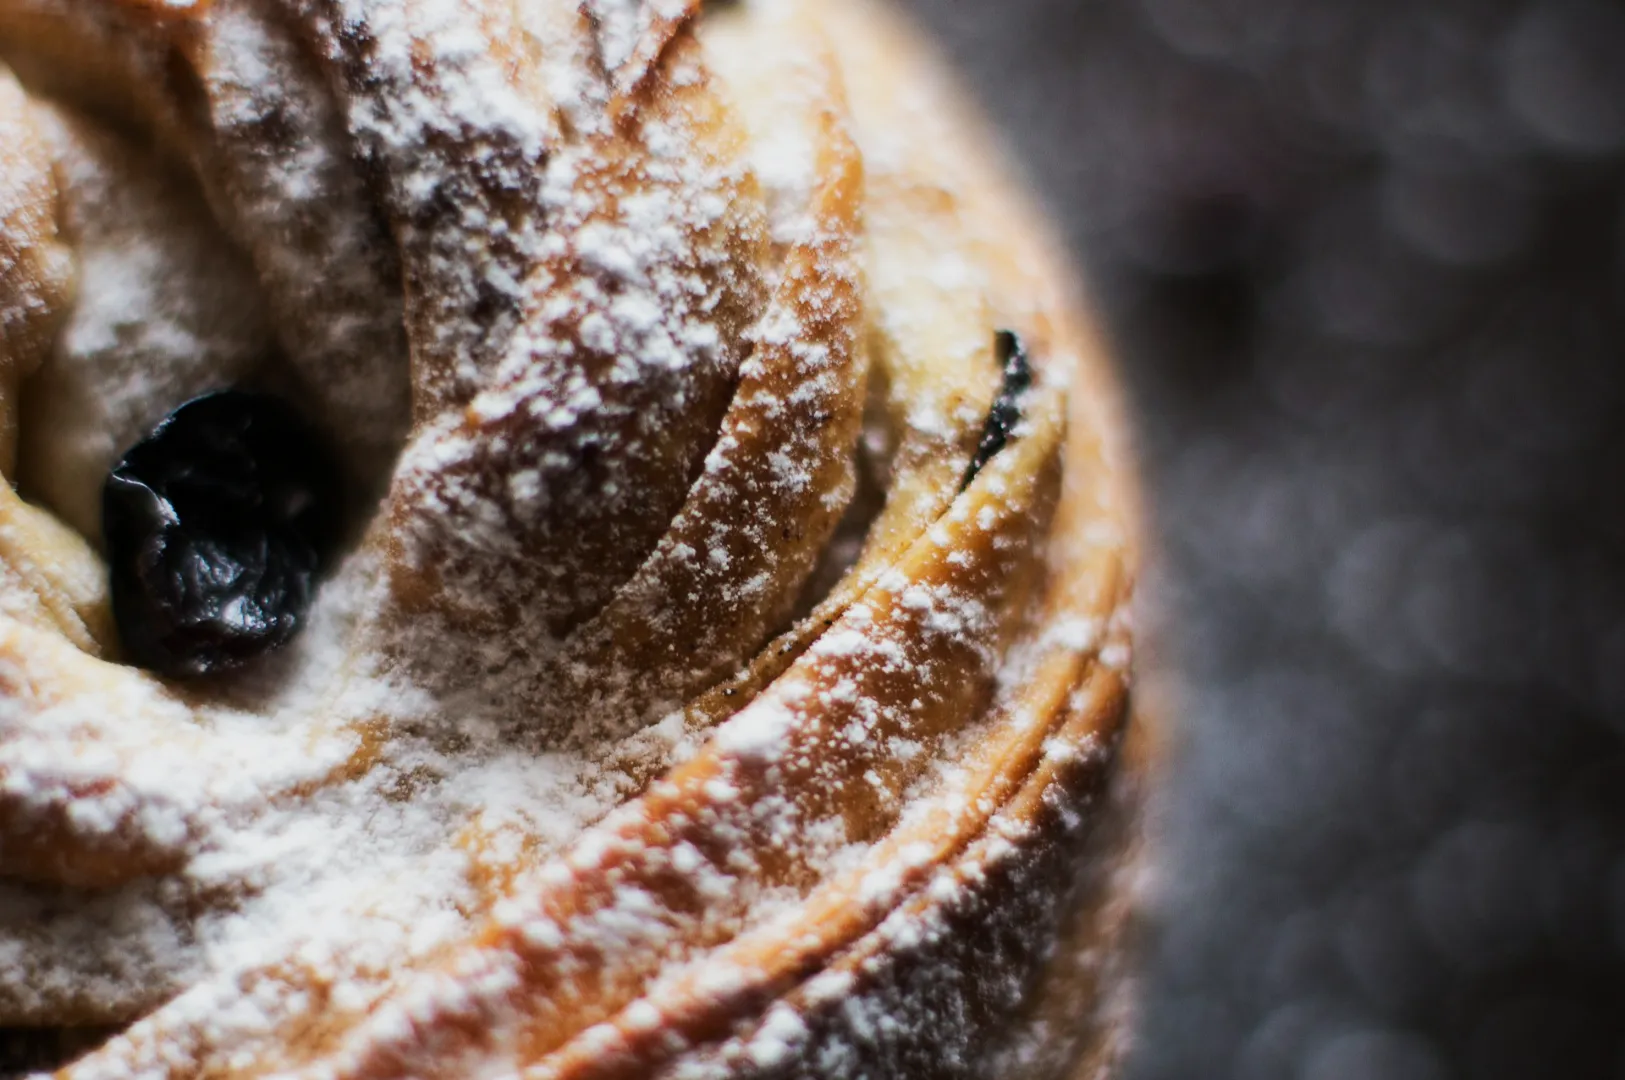
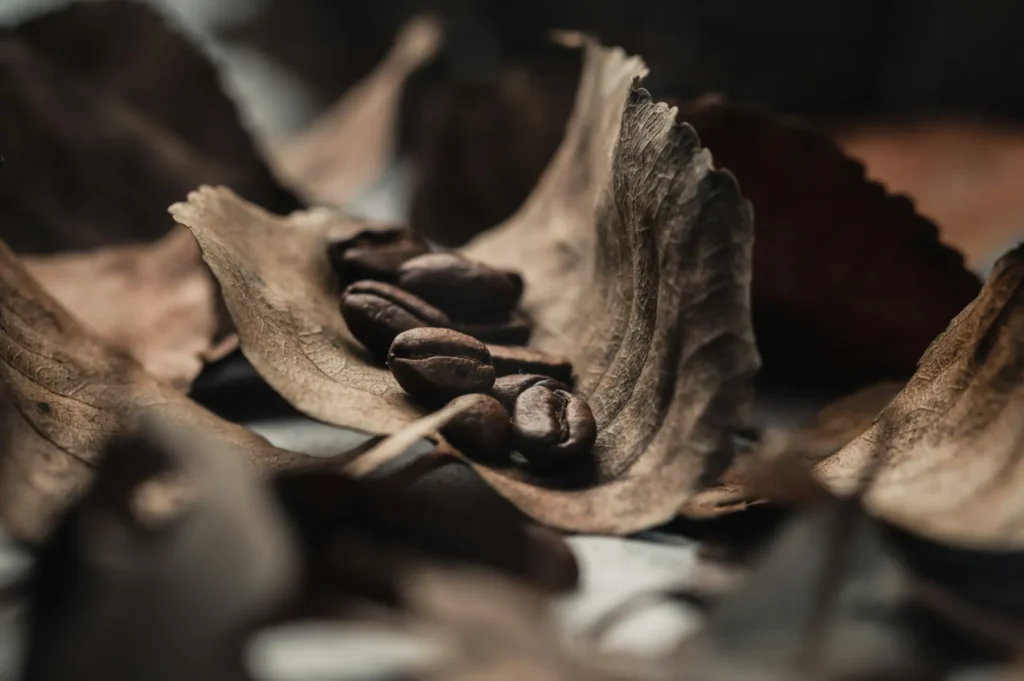
To master macro photography, understand that true macro means a 1:1 magnification ratio—your subject appears life-size on the camera sensor. For instance, a 1 cm coffee bean fills 1 cm on the sensor, allowing you to capture intricate details with exceptional image quality.
This is different from the “macro effect” of digital zoom or cropping, common in most cameras and smartphones. A dedicated macro lens provides true optical magnification, enabling close focus with sharpness across the entire image. This distinction is key to creating professional, high-quality macro photographs.
Why Macro Photography Matters for Singapore's F&B Scene
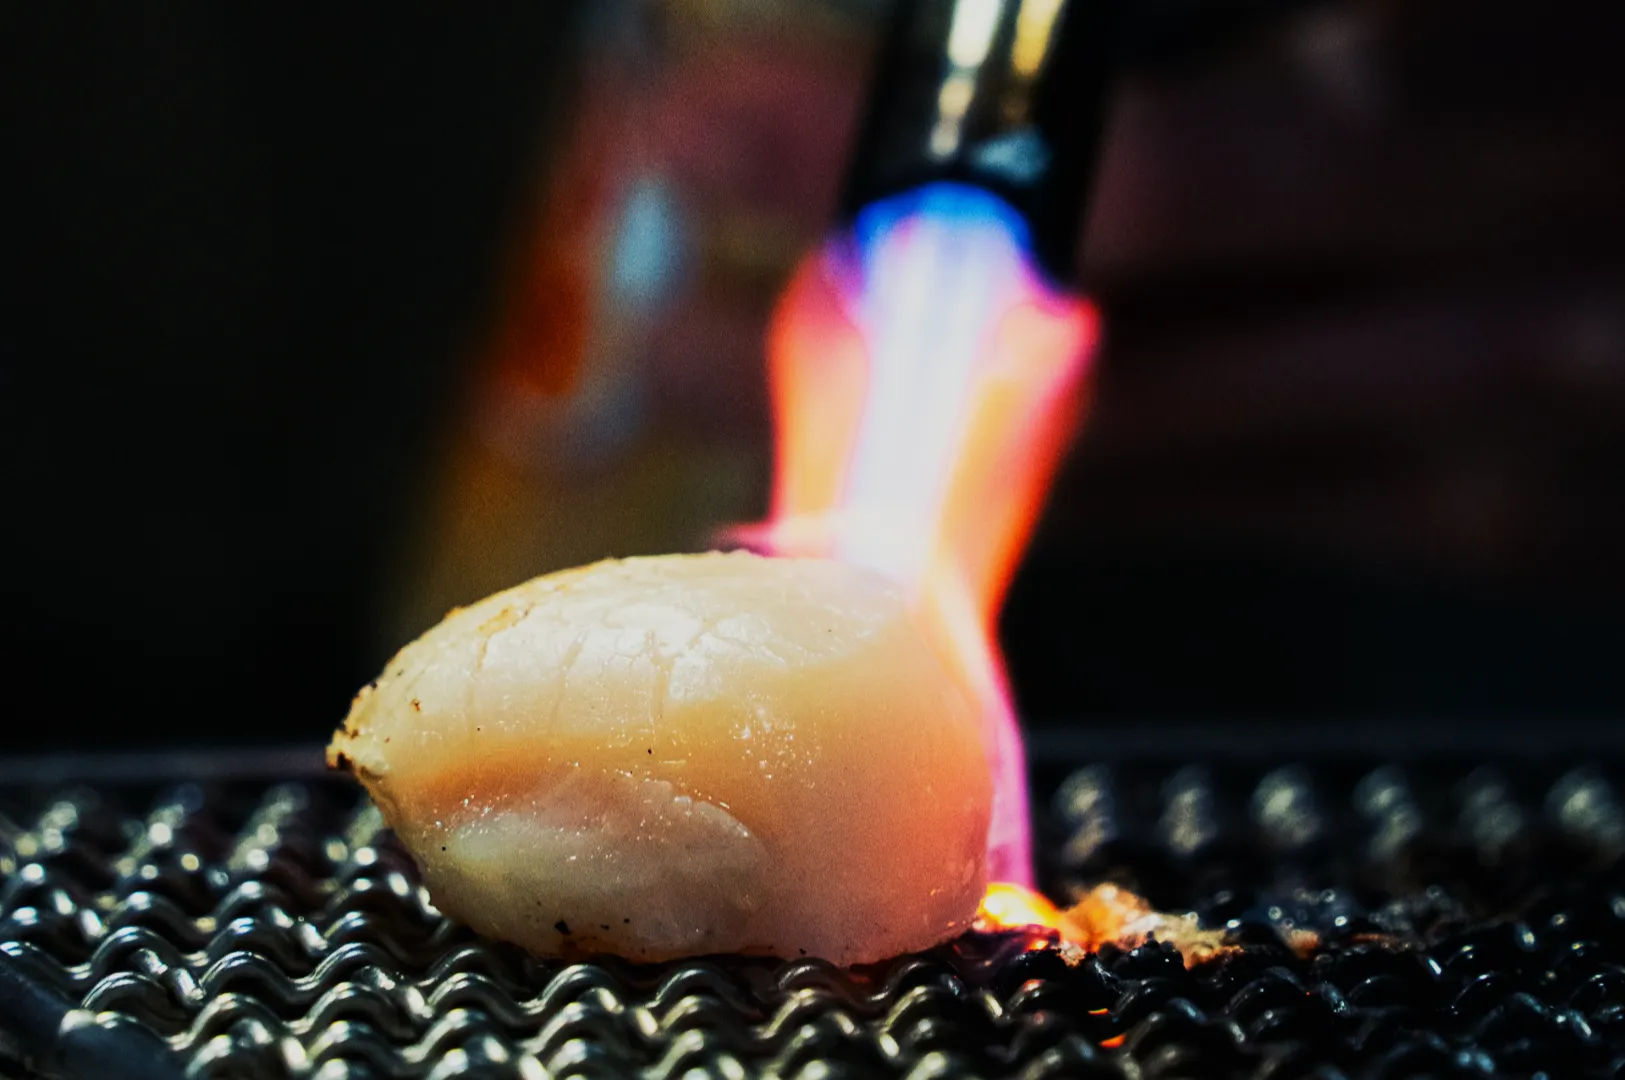
Singapore’s diverse food scene is filled with tiny subjects that reveal unique textures, moisture, and colors through macro photography. Capturing these intricate details with a dedicated macro lens allows you to create stunning macro images that truly engage customers and elevate your brand.
By mastering macro techniques, you can highlight the craftsmanship and quality of your dishes in stunning close up shots that stand out across all marketing channels. Using natural light or even light setups enhances the image quality, making every droplet and crumb look irresistible. Effective macro work not only captures the fine details but also uses composition strategies like negative space and leading lines to guide the viewer’s eye to the focal points.
In the competitive Singaporean F&B market, showcasing these unseen details with sharp focus and precise camera settings helps your food photography create a powerful visual impact. This level of detail and creative vision is what turns ordinary food images into compelling macro photographs that drive customer appetite and brand loyalty.
Essential Equipment: Choosing Your Macro Lens
You cannot master macro photography without the right tools. While you do not need the most expensive gear on the market, you do need equipment designed for close-up work.
Dedicated Macro Lens Options
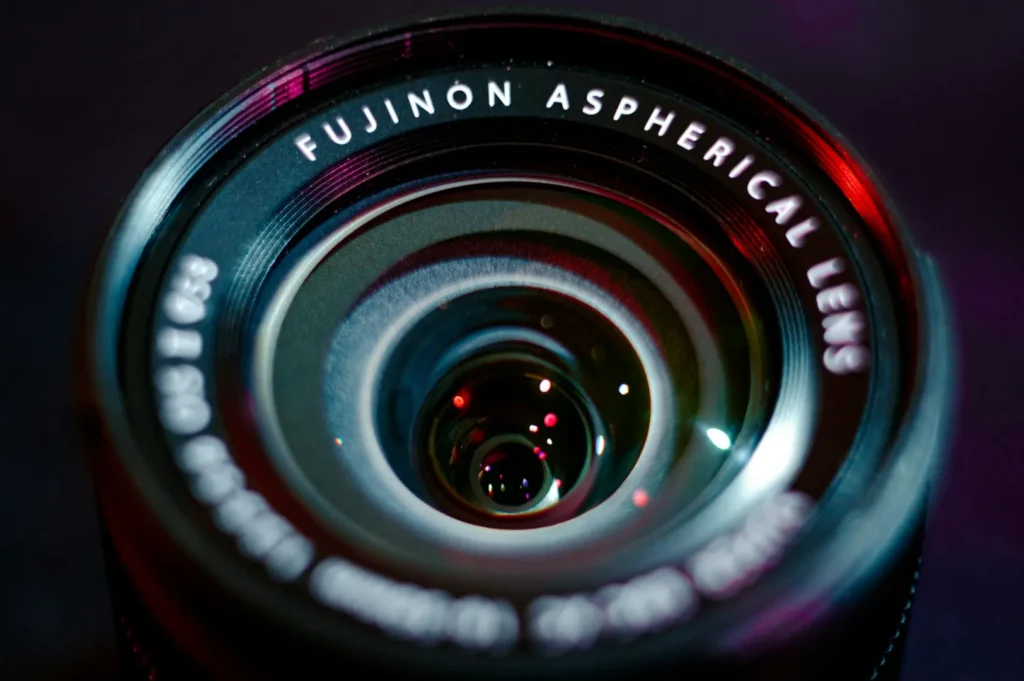
Investing in a dedicated macro lens is the best way to capture stunning macro images. Unlike most lenses, a true macro lens is optically optimized to focus at very close distances.
When selecting a lens, pay attention to the focal length. A 50mm macro lens is great for general close-up work, but a longer macro lens, like a 90mm or 100mm, is usually better for food photography. A longer focal length gives you more working distance between the camera body and the food. This means you won’t block your natural light source or cast unwanted shadows over your dish. These specialized lenses deliver unparalleled sharpness and clarity, bringing out the best in your food.
Alternative Solutions: Extension Tubes
If you are not ready to invest in a dedicated macro lens, extension tubes offer a fantastic, cost-effective alternative. These hollow tubes attach between your camera body and your existing lens. They move the lens further away from the camera sensor, which reduces the minimum focusing distance and increases the magnification ratio.
While extension tubes do not turn a standard lens into a true macro lens, they significantly improve the macro capabilities of most cameras. They are an excellent way to experiment with macro shooting and capture small subjects without a massive upfront investment.
Master Macro Photography: Camera Settings for Sharp Focus
Achieving sharp focus on tiny subjects requires precise control over your camera settings. Because you are shooting so close to the food, the margin for error is incredibly slim.
Manual Mode vs Priority Modes
To get the best results, step out of automatic mode. Using manual mode gives you complete control over your exposure. If you are just starting, aperture priority is a great stepping stone. It allows you to select your desired depth of field while the camera calculates the appropriate shutter speed. Shutter priority is rarely used for static food photography, but it can be helpful if you are capturing moving subjects, like a splash of sauce or a dusting of powdered sugar.
Critical Camera Settings
Your macro settings dictate the final look of your image. In macro photography, depth of field becomes razor-thin. If you use a wider aperture (like f/2.8 or f/4), you will get a very shallow depth of field, blurring out the background and focusing the viewer’s attention on one specific crumb or droplet. If you want more of the entire subject in focus, you need a narrow aperture (like f/8 to f/16) to create a deep depth of field.
Managing your shutter speed is also critical. Because you are often working with narrow apertures, less light hits the sensor. You might be tempted to use a slower shutter speed or longer shutter speed to compensate. However, this increases the risk of camera shake, which ruins image quality. Always use a sturdy tripod to keep your camera perfectly still.
Focusing Techniques
When you shoot macro photos, ditch the autofocus. Autofocus systems often struggle to find the right focal points on tiny subjects. Instead, switch to manual focus. Slowly turn the focus ring until the specific detail you want to highlight becomes razor sharp. Many modern cameras offer focus peaking, a feature that highlights the areas of the image that are in precise focus, making manual adjustments much easier.
Overcoming Challenges: Depth of Field and Focus Stacking
The biggest challenge in macro photography is managing a shallow depth of field. When you get close to your subject, even a narrow aperture might only keep a millimeter of the food in sharp focus.
To overcome depth limitations and keep the entire subject crisp, professional food photographers use a technique called focus stacking. This involves taking multiple shots of the exact same composition. For the first shot, you focus on the front edge of the food. You then slightly adjust the focus ring backward for the second shot, and continue this process until you have covered the entire depth of the dish.
Once you have your sequence of images, you combine them using post-processing software like Adobe Photoshop. The software blends the sharpest parts of each photo together, creating a final image with a deep depth of field that is impossible to achieve in a single photograph.
Essential Macro Photography Tips for F&B Success
Capturing stunning macro images requires more than just technical settings. Here are a few practical macro photography tips to elevate your F&B imagery:
Master the Light: Use natural light near a window with white reflectors for even illumination. In low light, try a ring flash or continuous LED light for consistent macro lighting.
Stabilize Everything: At 1:1 magnification, vibrations blur images. Mount your entire camera on a sturdy tripod and use a remote shutter or timer to avoid shake.
Explore Different Angles: Shoot from various angles around the dish to find the most appetizing perspective.
Use Leading Lines: Arrange props or garnishes to create leading lines that guide the viewer’s eye to the main macro subject.
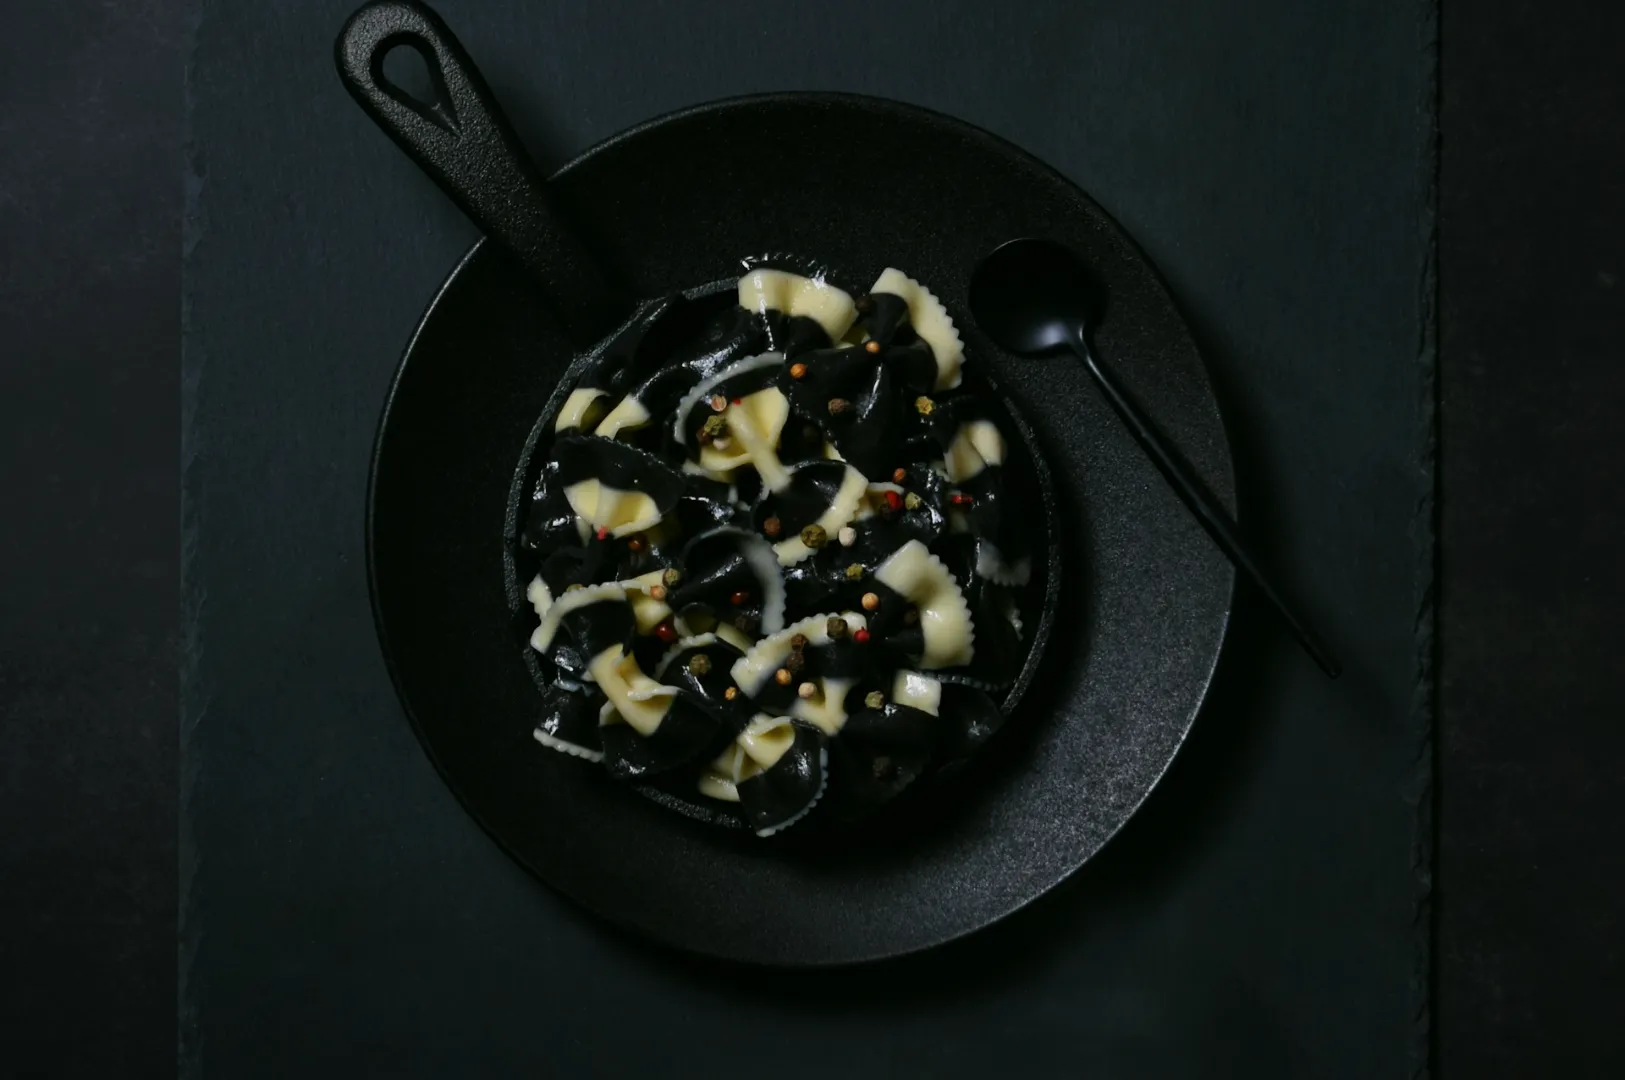
Embrace Negative Space: Leave visual breathing room by incorporating negative space, even in close up shots.
Creating Stunning Macro Images: Composition and Styling
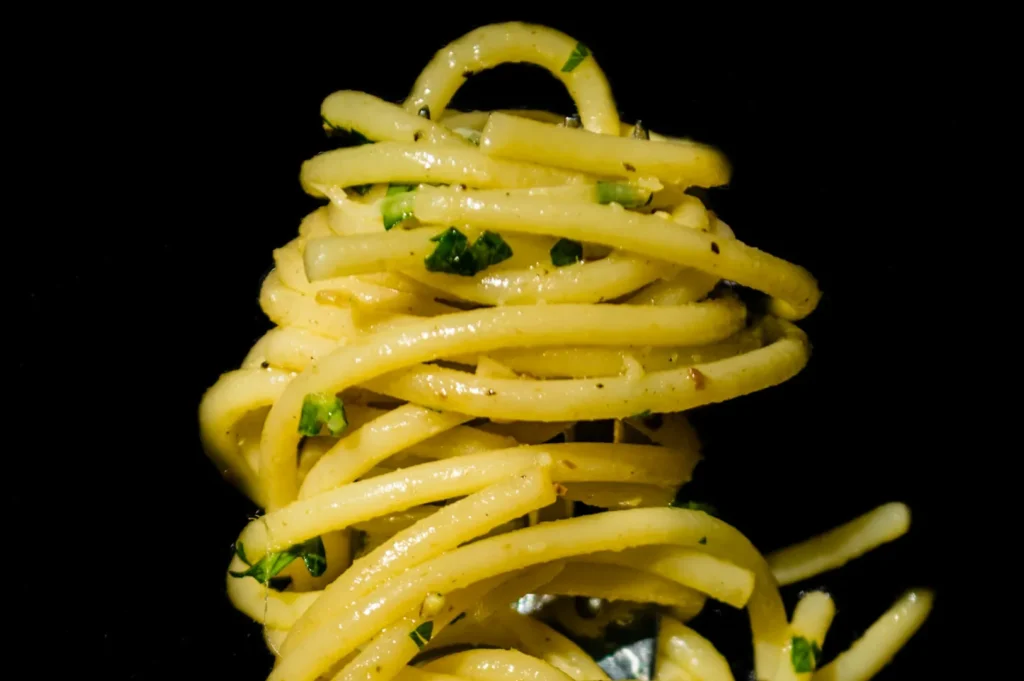
Great macro shots rely heavily on composition and styling. Because you are zooming in so closely, every single detail matters. A stray crumb, a bruised herb, or a smudge on the plate will be glaringly obvious in the final image.
Take the time to meticulously style your food. Pick the freshest ingredients. Use a pair of precision tweezers to place garnishes exactly where you want them. Add a spritz of water to fresh vegetables to make them look crisp and vibrant. When you capture macro images, your goal is to showcase the fine details that align with your creative vision. Make sure every element in the frame serves a purpose and helps tell the story of your dish.
Post Processing Techniques for Perfect Close Up Shots
The work doesn’t stop when you press the shutter button. Proper post processing is essential for bringing your macro photos to life.
Start with basic adjustments in your preferred editing software. Tweak the exposure, boost the contrast slightly, and use clarity sliders to enhance the intricate textures of the food. Color correction is also vital; ensure your white balance is accurate so the food looks appetizing and true to real life. For advanced edits, you can use Adobe Photoshop to remove minor blemishes, clean up the background, and perform focus stacking. Effective post processing techniques take a good close-up shot and turn it into a spectacular final image.
Conclusion & Next Steps
Mastering macro photography takes patience, practice, and an eye for detail, but the results are incredibly rewarding for your F&B business. By revealing the hidden textures and vibrant colors of your dishes, you create visuals that instantly drive appetite and attract new customers. Start experimenting with different macro techniques today and watch your food imagery transform.
If you want to elevate your restaurant’s visual marketing without the technical hassle, our team is here to help. Discover how our professional food photography services can bring your culinary creations to life by visiting https://foodphotographerstudio.com.sg/.