Capturing beverages in tight close-ups is often much harder than photographing solid food. When viewers look at macro drink photography, their eyes instantly dart to the intricate details. They immediately notice the frosty condensation, the sparkling bubbles, and the clean edges of the glass.
If any of these elements look slightly off, the entire drink loses its refreshing appeal. Today, we will explore how to master beverage macro photography through precise styling, lighting, and reflection control.
What Makes Drinks Look "Cold" and Fresh in Macro
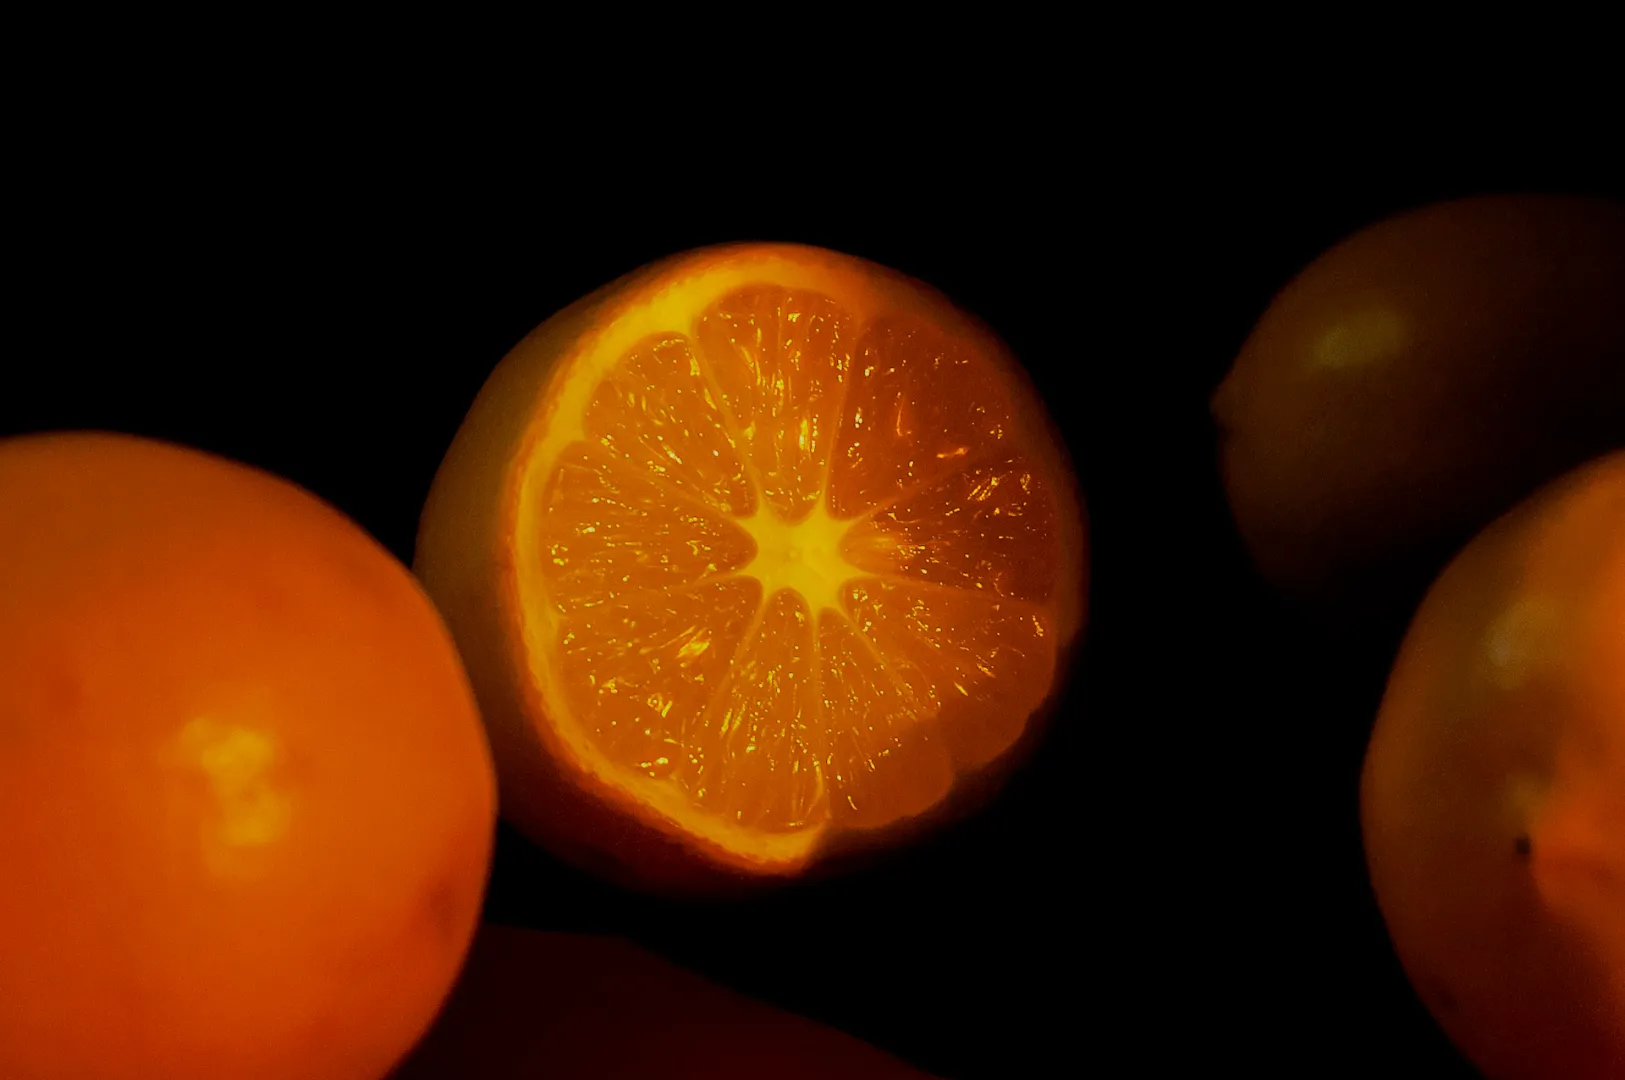
In beverage macro photography, the physical sensation of temperature is communicated entirely through visual cues. Beautiful condensation patterns and sharp rim highlights tell the viewer that a drink is ice cold. Vibrant color and perfect liquid clarity reassure the customer that the ingredients are fresh and delicious.
In Singapore, our tropical humidity causes sweaty glasses and incredibly fast melting ice. You have only a few minutes to capture an iced bandung or a cold craft beer before it looks messy.
The most helpful principle to remember is to shape the rim light, then control reflections. When you establish a strong backlight or edge light, the liquid glows naturally from within. Once that glow is established, you can focus entirely on managing the reflections on the front of the glass.
Condensation Styling That Looks Natural
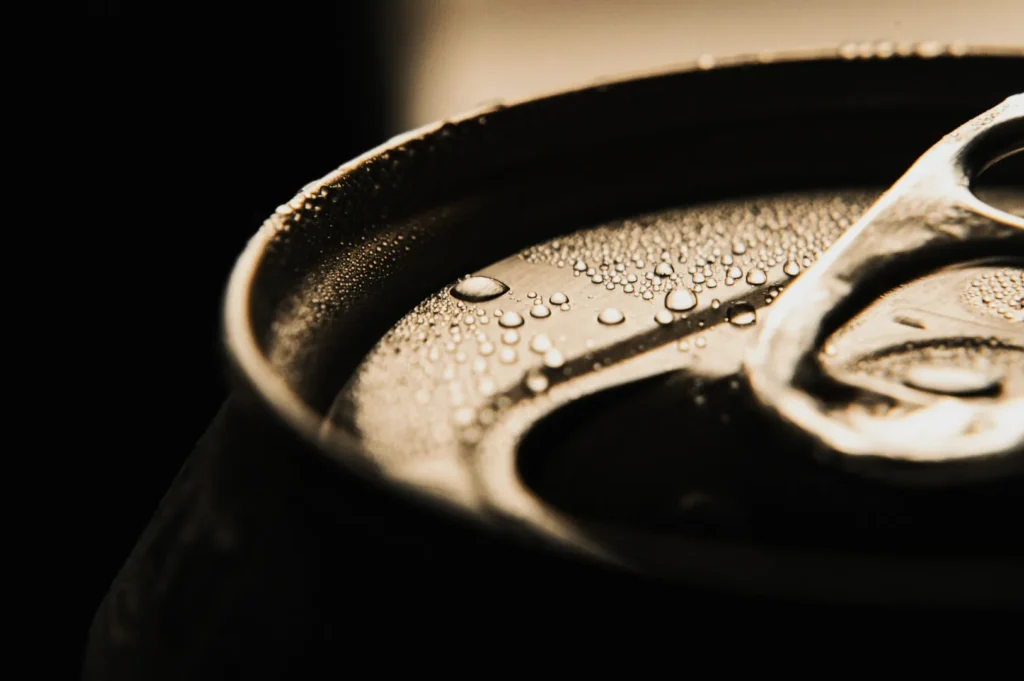
Authentic condensation photography requires careful styling to look truly appetizing on camera. Real condensation happens incredibly fast in our humid hawker centres and cafés, often creating messy puddles. That is why professionals use controlled droplets to mimic real frost without the watery mess.
You can create a reliable spray by mixing a 50/50 ratio of water and vegetable glycerin in a fine mist bottle. Alternatively, an atomizer filled with plain water creates microscopic droplets that look perfectly natural in tight macro crops. You can apply these droplets using a spritzing bottle or a small paintbrush for precise placement.
Always focus your droplets where the light hits the glass so they read beautifully in your macro drink photography. You must avoid heavy water streaks, dry patches, and uniform droplets that look obviously fake. This technique works perfectly for highlighting a refreshing glass of iced lemon tea or a chilled iced kopi.
Keep this mini checklist in mind for a clean glass before you shoot:
- Wipe the rim completely clean of any liquid or sugar.
- Remove all fingerprints using a microfiber cloth.
- Wipe away heavy drips from the bottom of the glass.
- Ensure the logo or label alignment faces the camera perfectly.
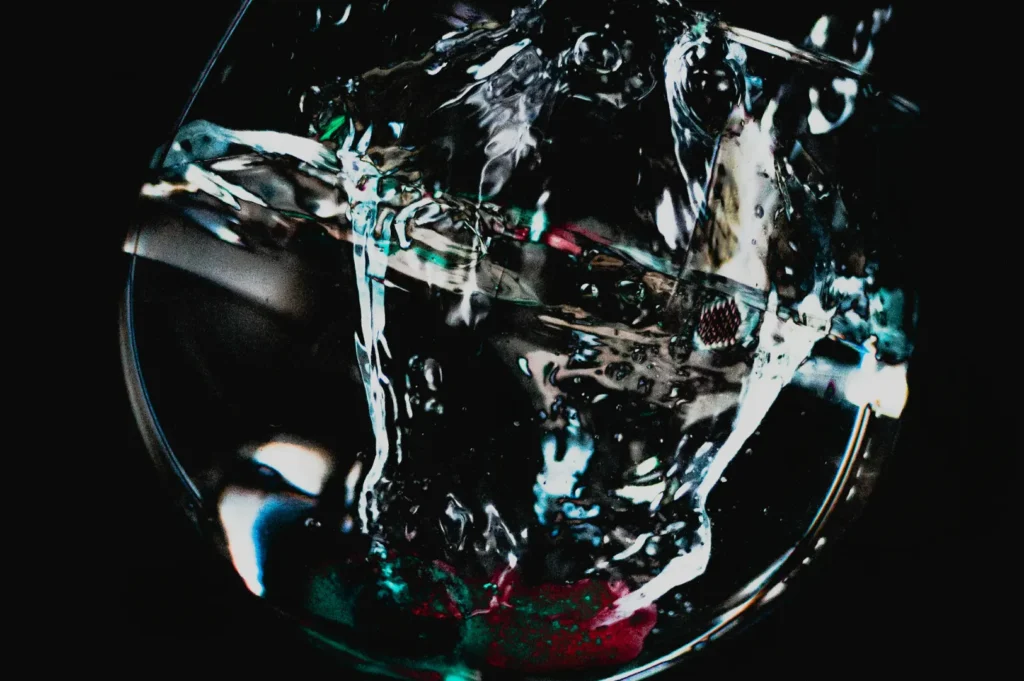
Photographing Bubbles and Foam
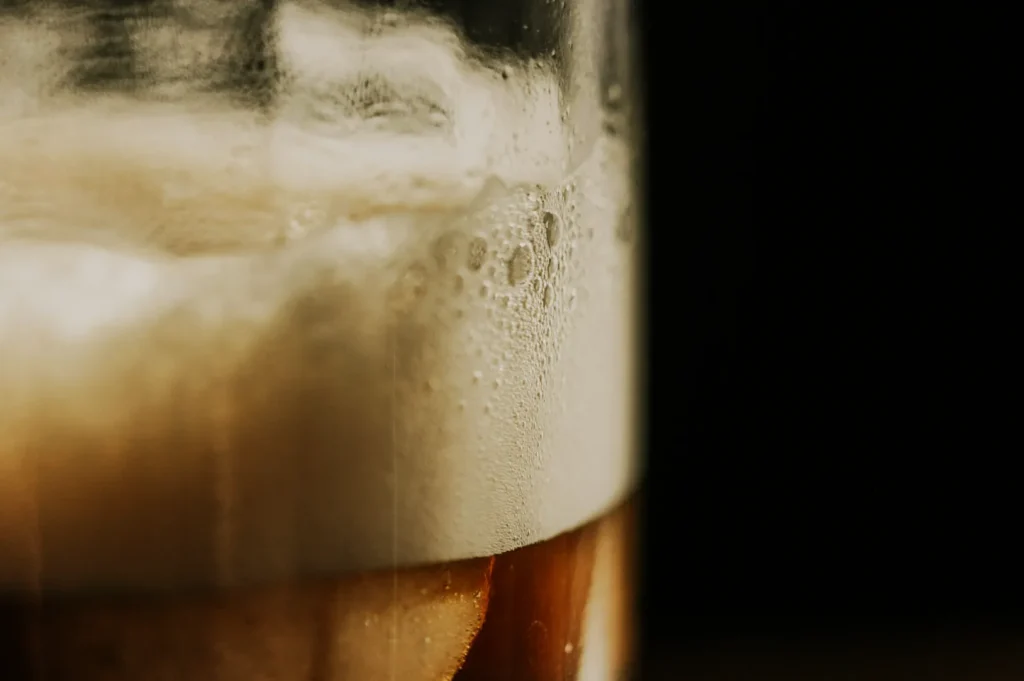
Photographing bubbles requires perfect timing and deliberate lighting choices. You must shoot immediately after pouring the liquid to capture the most active carbonation. If you wait too long, the bubbles will flatten out and the drink will look completely lifeless.
Proper light placement is the secret to giving these tiny bubbles beautiful definition. A strong side light or backlight will catch the edges of the bubbles, making them sparkle against dark liquids. You must manage your exposure carefully to keep the rich foam texture without blowing out the delicate white highlights.
- Do this: Use a fast shutter speed like 1/125s or faster to freeze the rising bubbles sharply.
- Avoid this: Do not use flat front lighting, as it will make the foam look like a solid white block.
These techniques are essential when capturing the fizzy details of a local craft soda. They also work beautifully for emphasizing the thick, creamy head on a pint of beer or the frothy bubbles of a classic teh tarik.
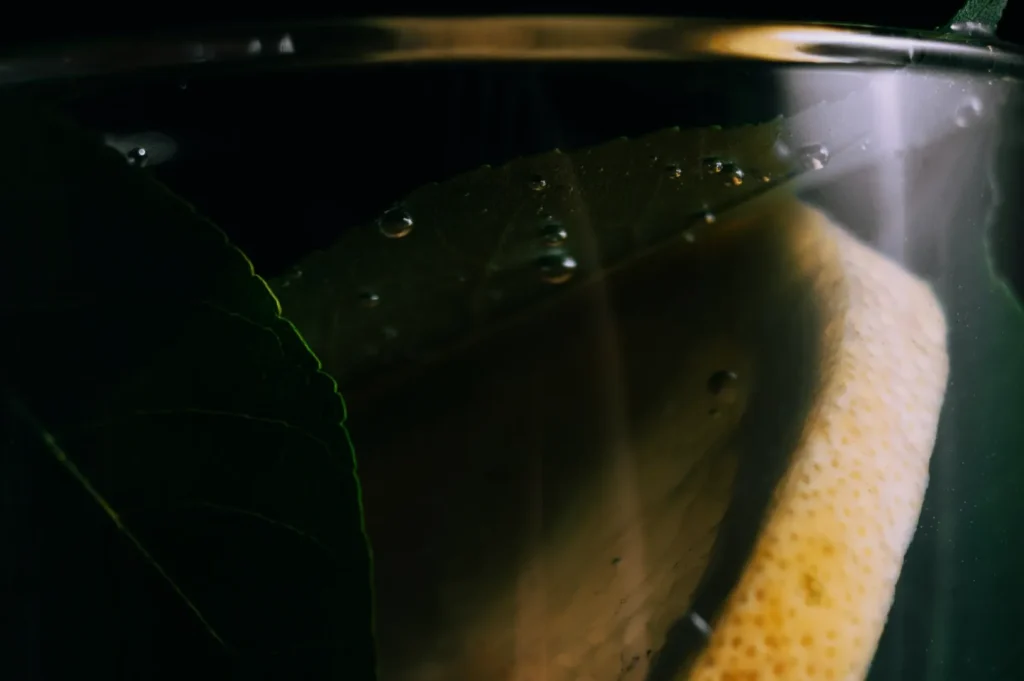
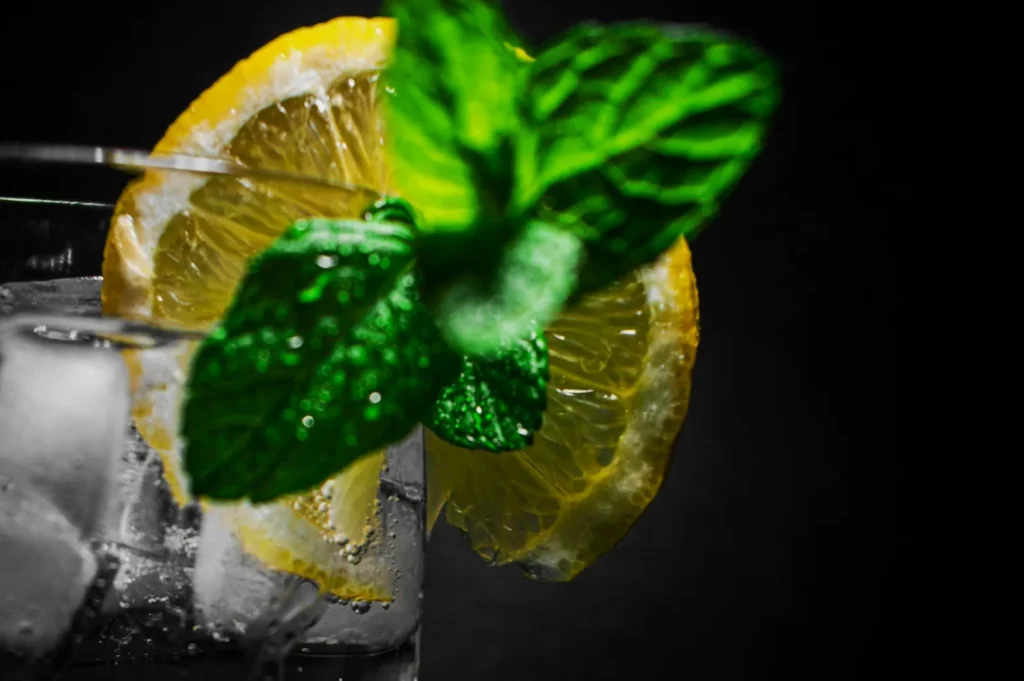
Ice, Garnishes, and Straw Placement in Tight Frames
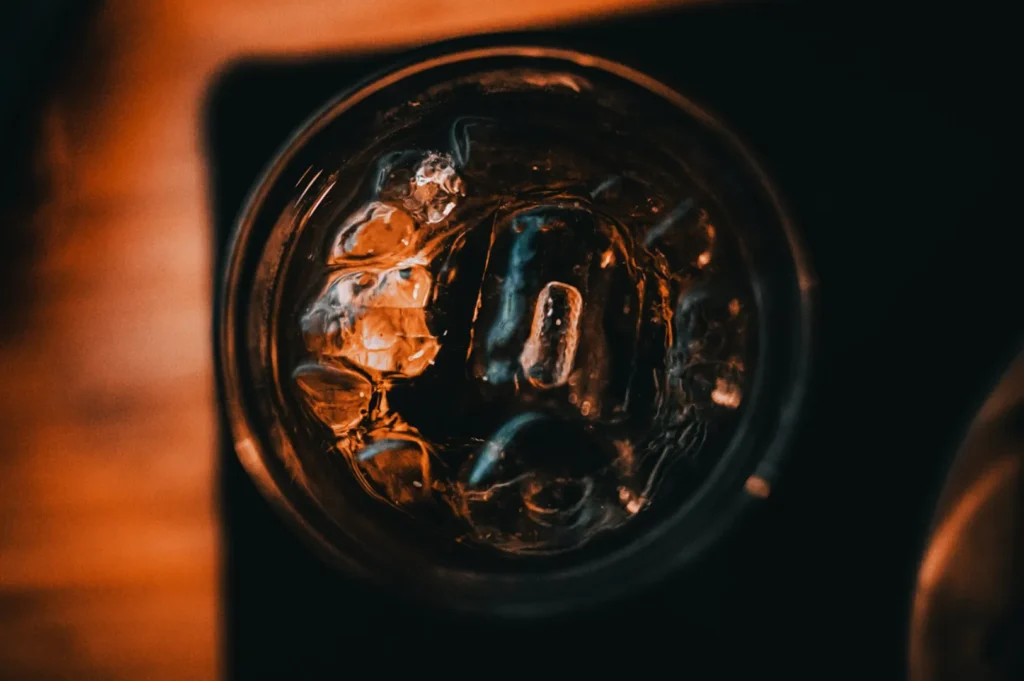
Ice and garnishes take up a massive amount of visual space in close-up beverage macro photography. Clear ice works beautifully for elegant mocktails because it lets the background light shine through the drink. Frosty, standard ice cubes are generally better for casual café drinks where a relaxed, everyday vibe is preferred.
You must carefully consider the size and shape of your ice relative to your tight macro crops. A massive ice block might completely overpower a delicate mocktail glass. Your garnish scale and placement must also be highly intentional. A tiny mint leaf or a thin citrus peel looks massive when shot through a macro lens.
Straw and stirrer placement should always guide the viewer’s eye into the drink rather than out of the frame.
- Do this: Place a single coffee bean on your tiramisu cup foam for a clean, deliberate focal point.
- Avoid this: Do not leave floating, broken herbs in the drink, as they look like unappetizing debris.
Common mistakes in cafes include leaving dirty rims or messy syrup streaks on the inside of the cup.
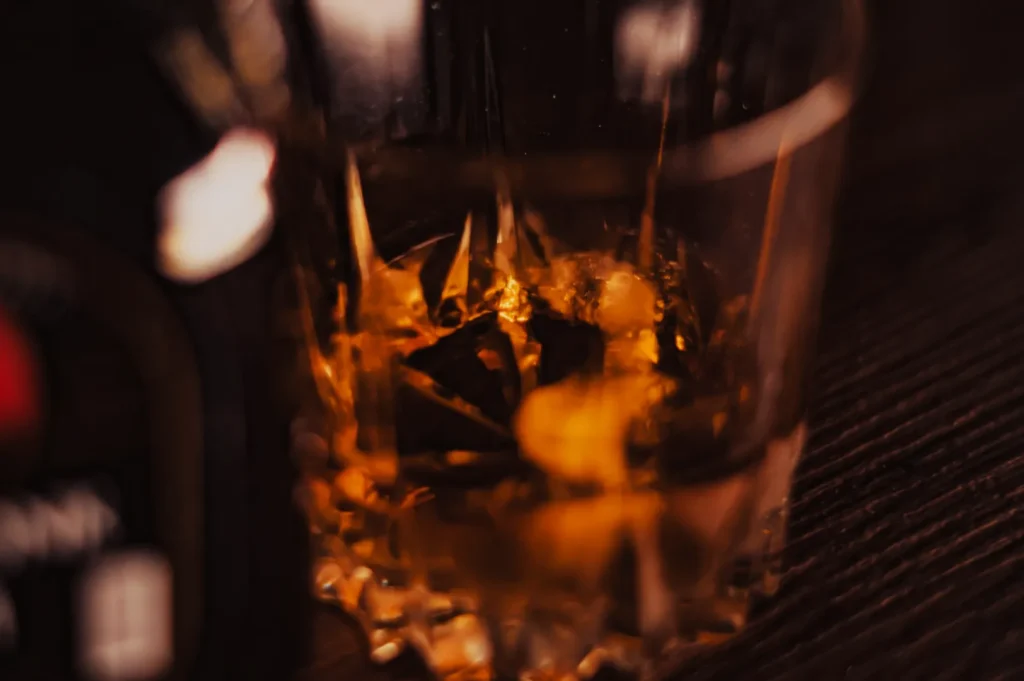
Controlling Glass Reflections and Distortions
Glass reflects absolutely everything in the room, which makes glass reflections in food photography incredibly tricky. In tight macro shots, your lens will capture reflections of the café windows, your camera gear, and even yourself. You must take control of your environment to keep the glass looking clean and professional.
Use black foam boards as flags and negative fill to shape the reflections actively. Placing black cards on the sides of the drink creates beautiful, dark edges that define the shape of the glass. You will also need to use heavy diffusion and make slight angle changes to keep the liquid readable.
Background choices are equally important, as a busy background will warp through the curved glass and create chaotic distractions.
Symptom: A harsh white streak appears across the center of your glass.
Likely cause: You are capturing a bare bulb reflection from your lighting setup.
Fix: Add diffusion over the light and rotate the glass 10 degrees to shift the highlight.
This approach is mandatory when shooting tall milk tea tumblers or classic bubble tea cups. You can also use a polarizer filter to manage these reflections. A polarizer helps cut through the glare on flat surfaces, but it cannot completely remove bright highlights from curved glass. Managing these elements makes your macro drink photography look highly polished.
Editing Tips Specific to Drinks
The editing process for beverage macro photography focuses heavily on clarity and highlight retention. You must protect and preserve the delicate highlight detail on the glass edges and the condensation droplets. If you blow out these white points, the glass will lose its realistic, three dimensional shape.
You should strictly avoid using over-clarity and heavy over-sharpening during your post processing workflow. Pushing these sliders too far makes natural water droplets look gritty and highly artificial. Color correction is also vital, especially when battling mixed café lighting like warm tungsten bulbs and cool daylight.
You need to ensure the bright pink of your bandung looks authentic, rather than tinted yellow by indoor lights. For export guidance, always save your files in the sRGB color space for web use to ensure the colors look accurate on mobile phones. For more comprehensive guidance on post processing, you can review our tips for detailed food photography to refine your digital workflow.
Conclusion
Mastering macro drink photography is a rewarding challenge that requires careful attention to condensation, bubbles, and glass reflections. We highly encourage you to build a simple, reliable lighting setup and repeat it consistently across your entire beverage menu. Finding the perfect balance of light and styling ensures your drinks always look irresistibly refreshing.
Creating perfect beverage imagery takes technical knowledge and an eye for precise styling details. Professional photographers understand exactly how to manage reflections and capture the freshest details of your creations. Whether you are launching a new drinks menu or a seasonal café beverage, expert photography ensures your Singapore F&B business stands out visually.