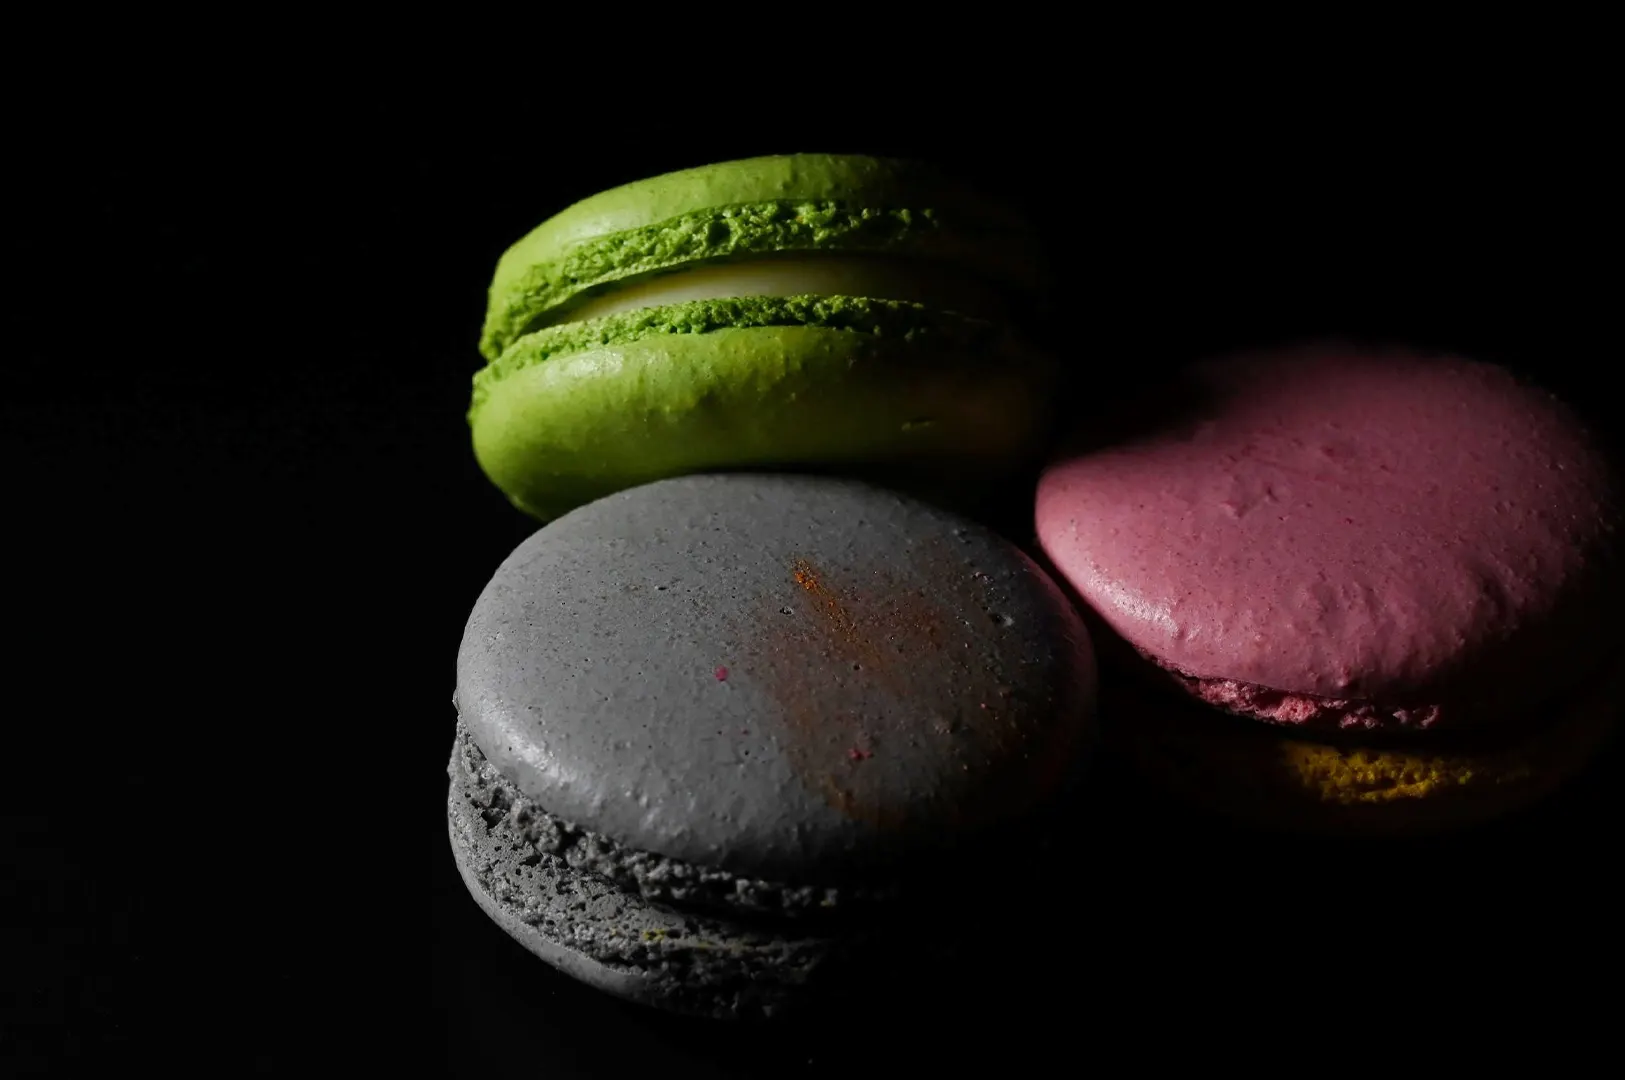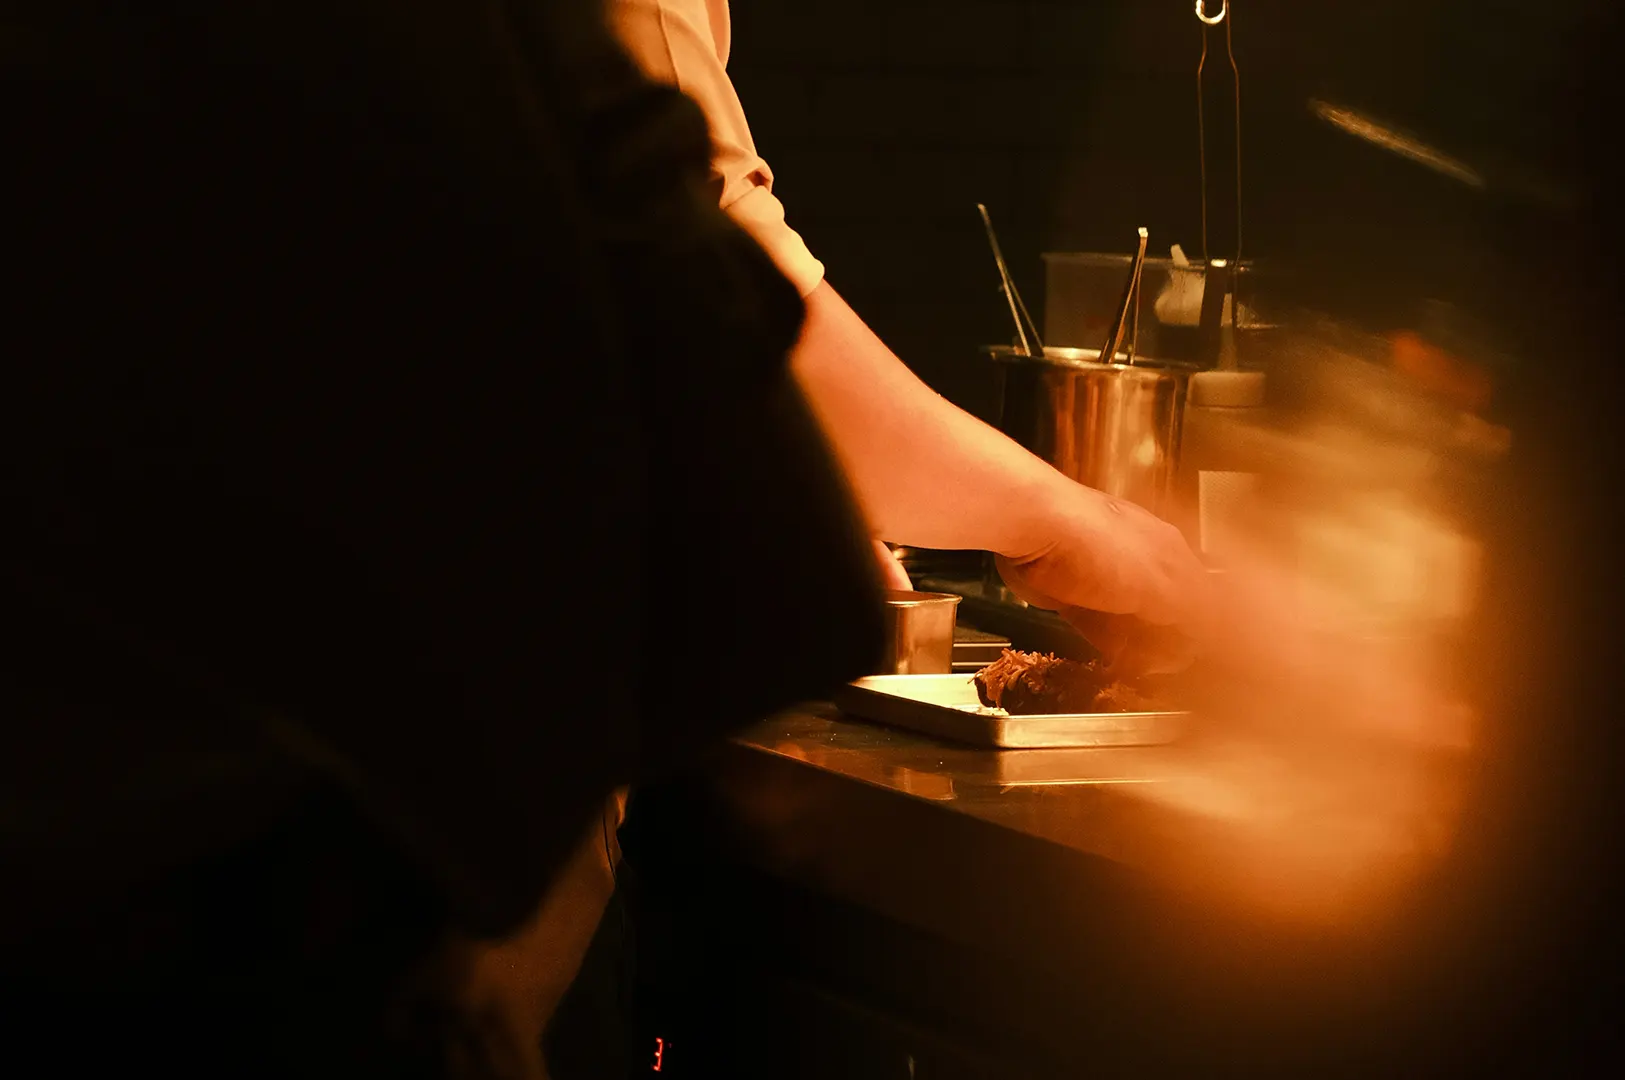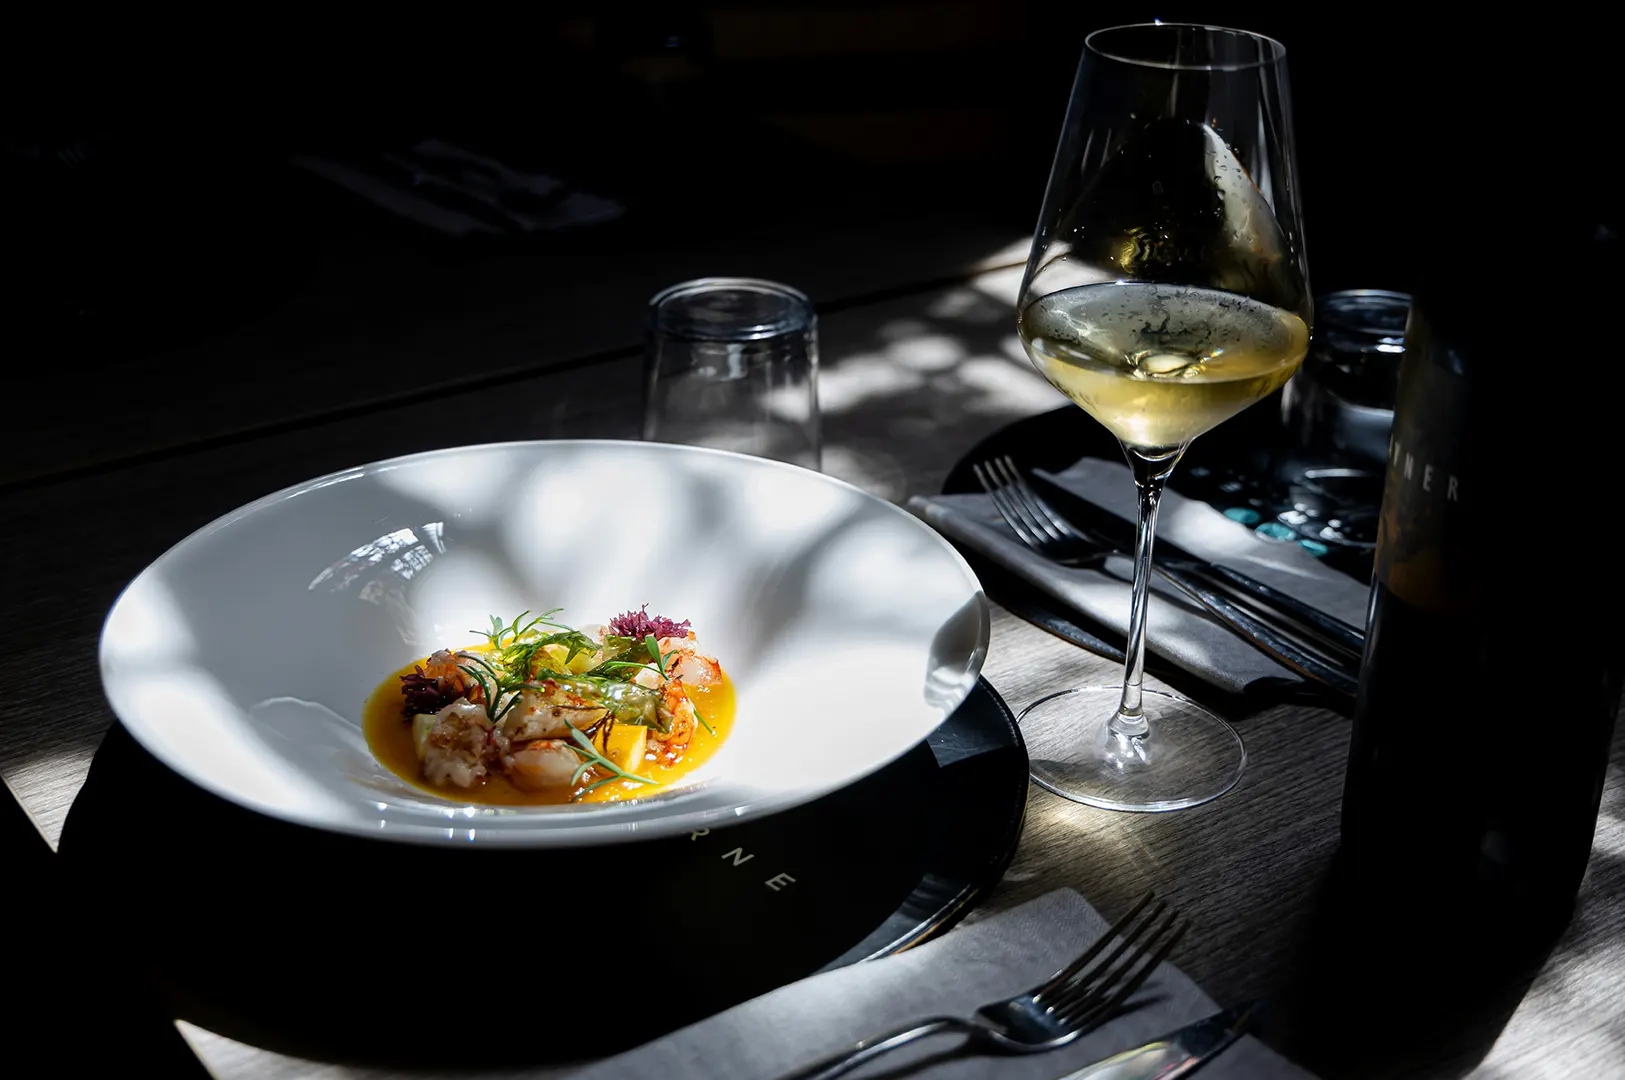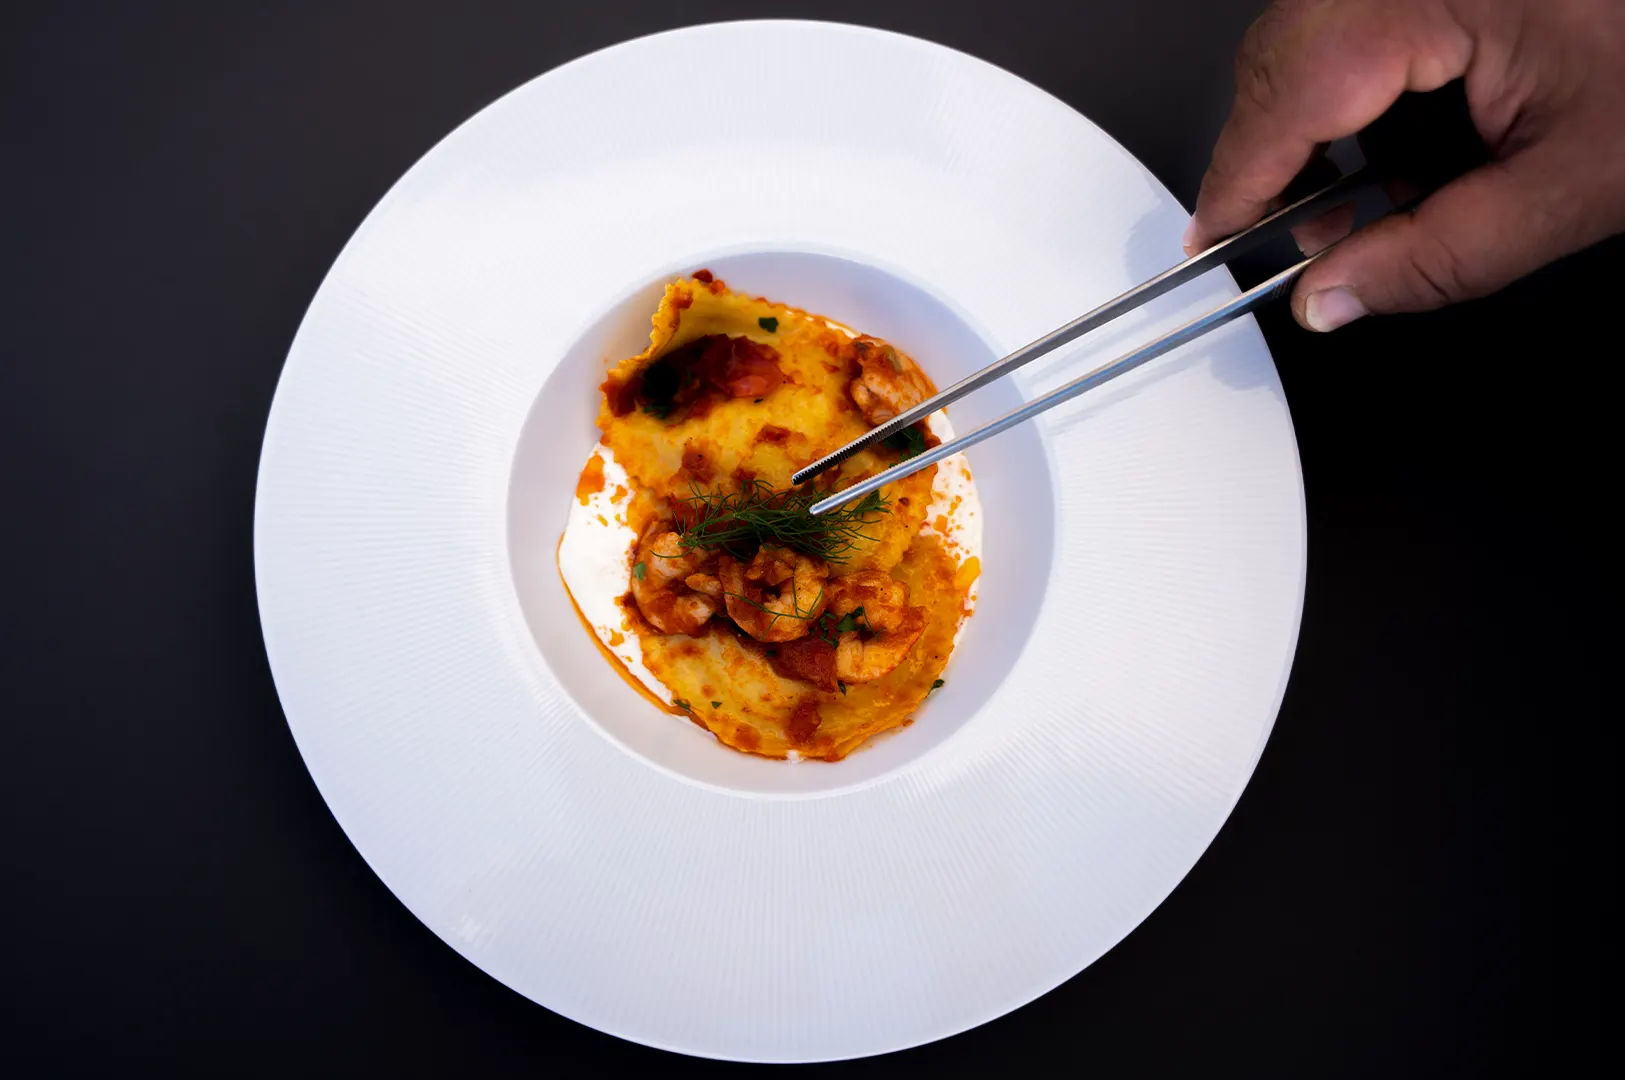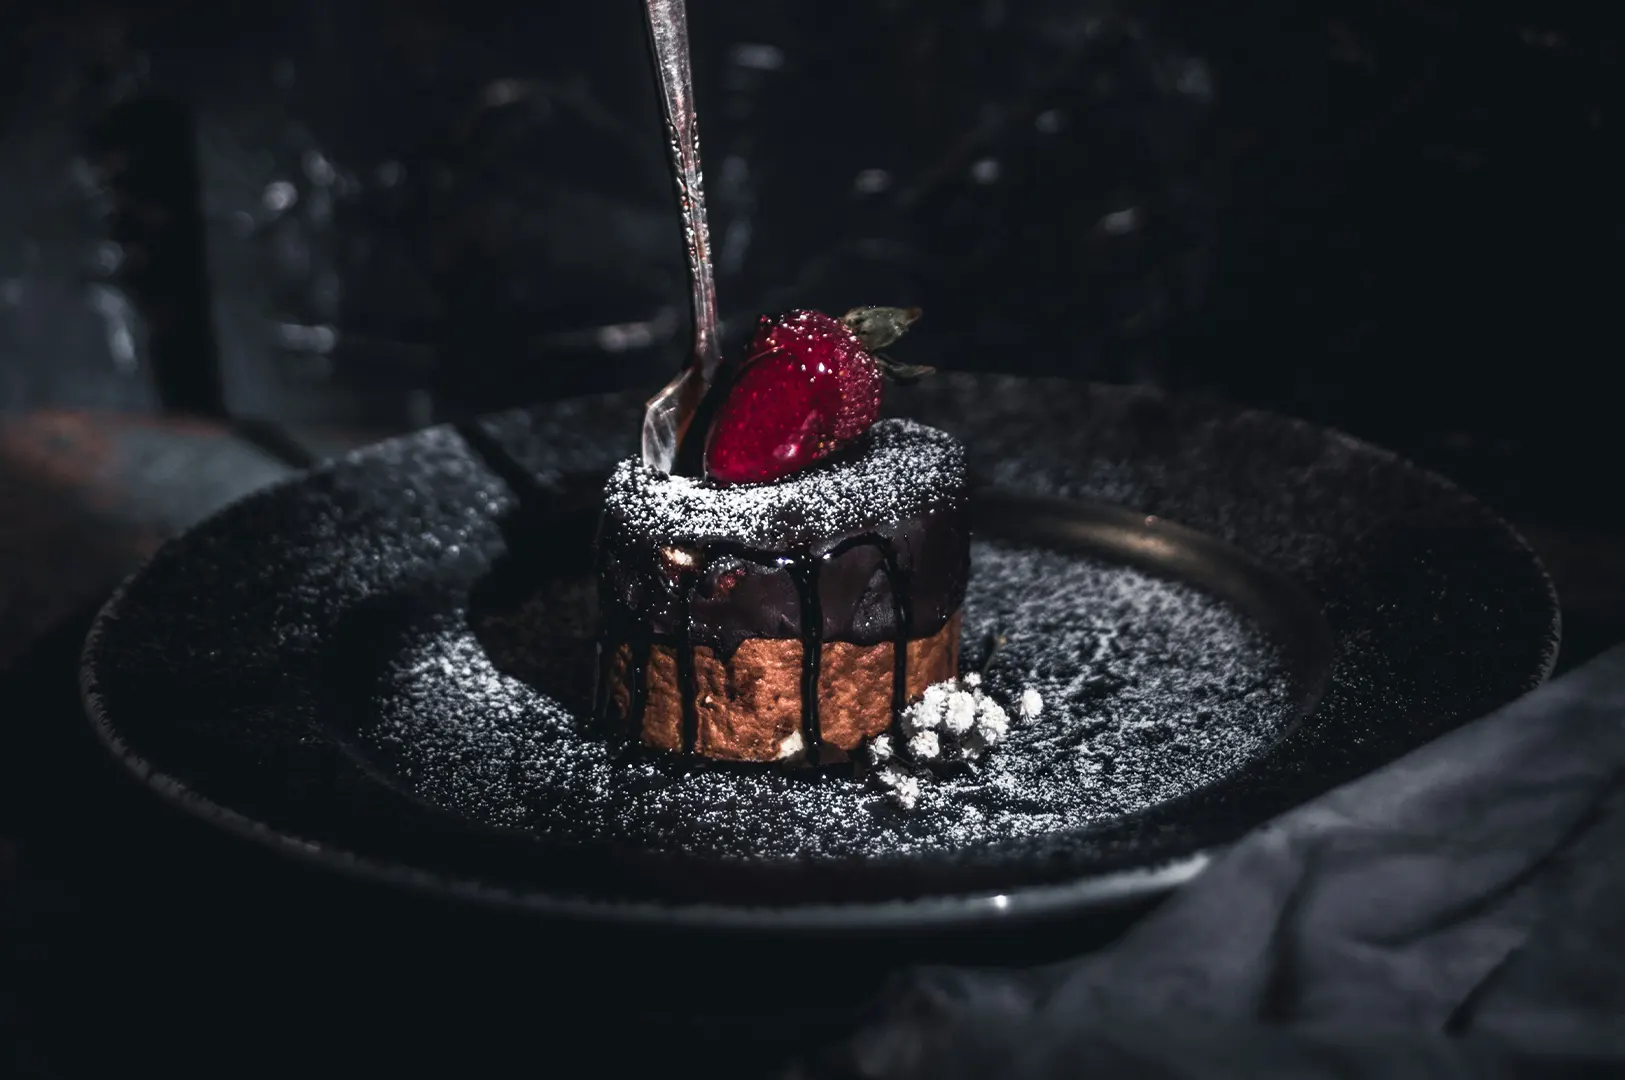
A great dish can lose the sale before anyone tastes it. Not because your food is “not Instagrammable”, but because the photo makes it feel uncertain. Too dark. Too shiny. Too cramped. Too “home kitchen” for a brand that wants to look confident.
In Singapore, diners decide fast. They compare thumbnails on delivery apps, scroll past ten cafés in a row, and click the one that looks clear, warm, and worth the money. That’s why food photography tips should never be purely “creative”. They need to be practical. They need to work on busy service days, in mixed lighting, for real menus, and for local dishes that people already know well.
This playbook covers the restaurant photography tips we rely on when shooting for Singapore F&B teams, from small hawker-style concepts to full menus for restaurants that need consistency across 30 dishes.
1) Start With The Job Your Photo Must Do
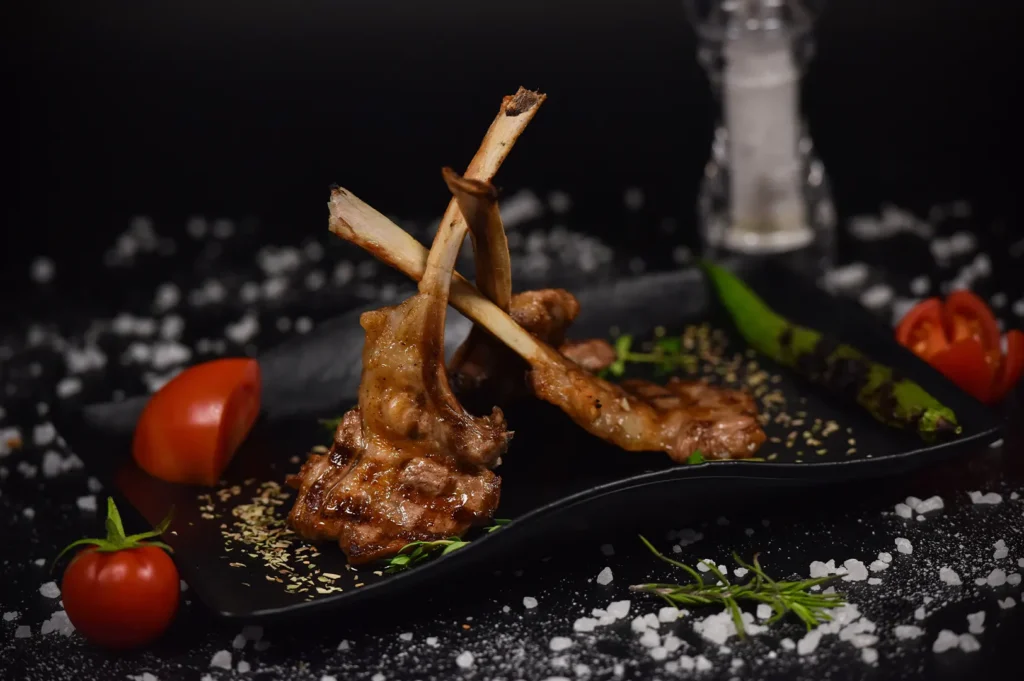
Before you adjust light or props, decide what the image is for. Different platforms reward different “good”.
A menu photo’s job is to reduce doubt. Show what it is, what comes with it, and how it’s served.
A delivery thumbnail’s job is to win in one second. Clear shape, obvious toppings, readable portion.
A social post’s job is to build desire and identity. It can be moodier, more playful, more “life”.
If you shoot everything the same way, you’ll either end up with:
- pretty photos that don’t convert on delivery apps, or
- clear photos that feel flat on social.
A simple rule we use: shoot the “selling” version first, then shoot the “story” version. That one decision keeps your content useful instead of just nice.
2) Good Light Beats Good Gear Every Time
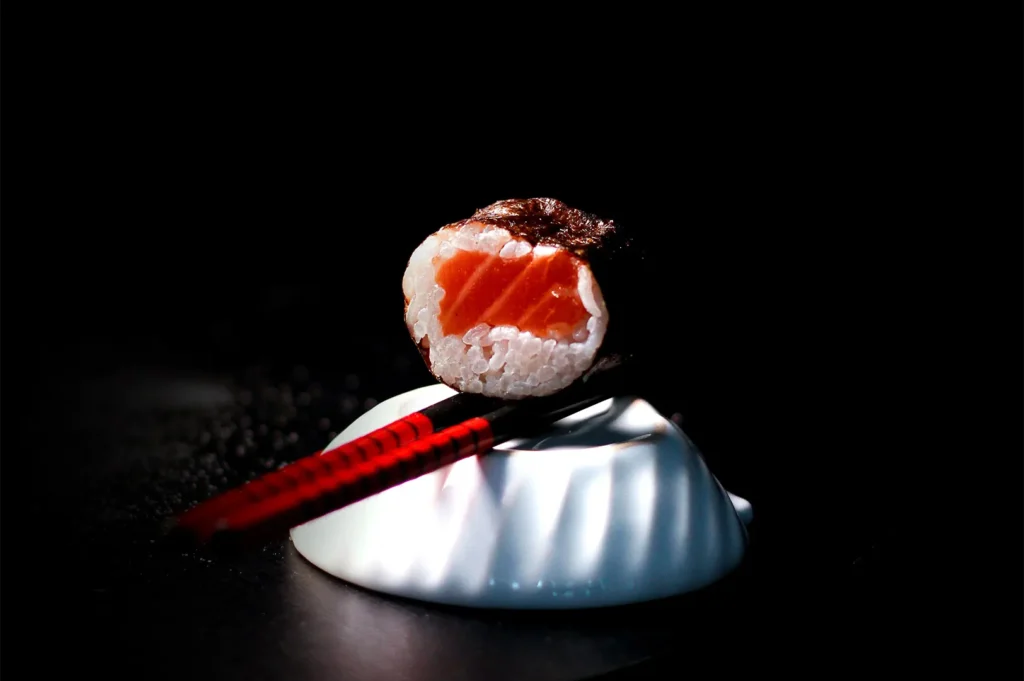
Most restaurants don’t fail because they don’t own a camera. They fail because their light is doing them dirty.
Singapore lighting problems are very specific:
- warm downlights over tables
- cool kitchen LEDs
- window light bouncing off glossy plates
- mixed colour temperature in one frame
Here are food photography tips that solve 80% of this without buying anything:
Find one reliable light spot.
Pick a table near a window with bright, indirect light. Not direct sun. You want soft light that wraps the dish.
Turn off what you can.
If you’re near the window, switch off the overhead lights in that zone. Downlights create ugly glare on broth, sauces, and plates.
Side light for texture.
Light from the side makes crispy edges, herbs, and meat texture look real. It also helps local favourites like chicken rice, char kway teow, and prata look less “flat”.
Diffuse first, then adjust.
A sheer curtain, diffusion sheet, or even a clean white shower curtain can soften harsh window light. Hard light can be a style choice, but uncontrolled hard light is usually just stress.
These restaurant photography tips sound basic, but they’re the difference between “looks like my camera is broken” and “okay, this looks like a restaurant”.
3) Use The Angle That Makes The Dish Make Sense
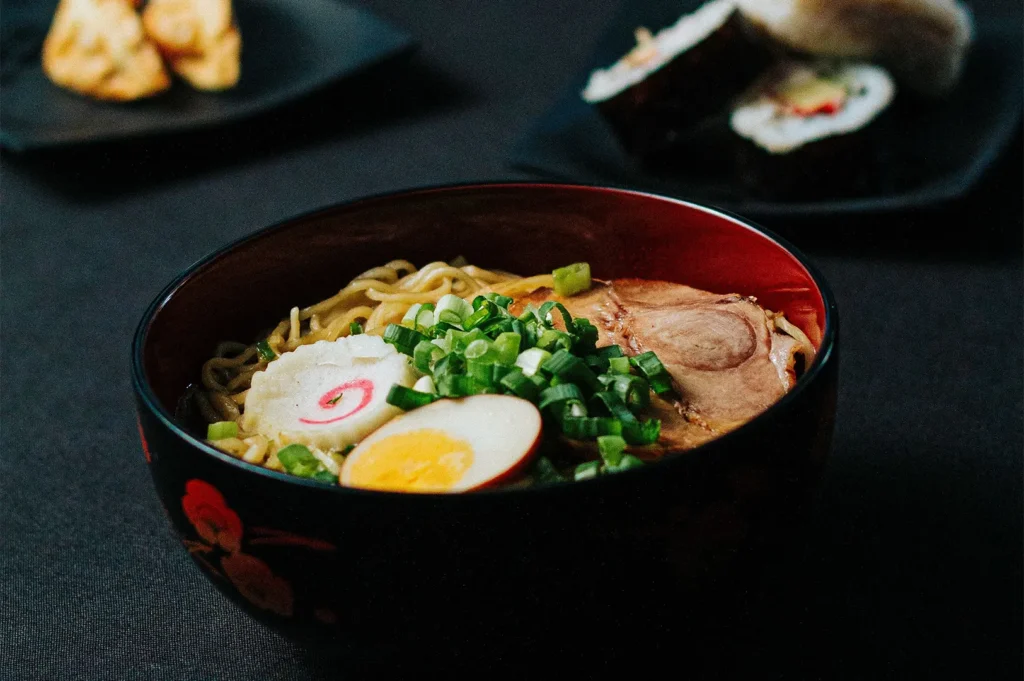
Camera angles are not personal preference. They’re problem-solving.
Overhead (flat lay) works when the dish is flat or the story is “spread”: pizza, bento, sharing platters, brunch boards, zi char dishes. It also works well for delivery thumbnails because it shows ingredients clearly.
45-degree is the workhorse for most food. It shows height and surface. It suits noodles, rice sets, burgers, cakes, and most plated mains.
Eye-level is for height and layers: burgers, stacked toast, tall drinks, parfaits, pancakes. It creates appetite because it feels like you’re about to eat it.
A common mistake: shooting everything overhead because it’s “safe”. Overhead can flatten texture. If you want crispy skin, flaky layers, or a glossy sauce to feel appetising, 45-degree often wins.
If you want one quick workflow:
- Shoot one hero angle that matches the dish.
- Shoot one close detail for texture.
- Shoot one wide context shot if it’s for social.
That’s enough to cover menus, posts, and future campaigns without turning every dish into a full production.
4) Styling That Sells Is Honest, Not Perfect
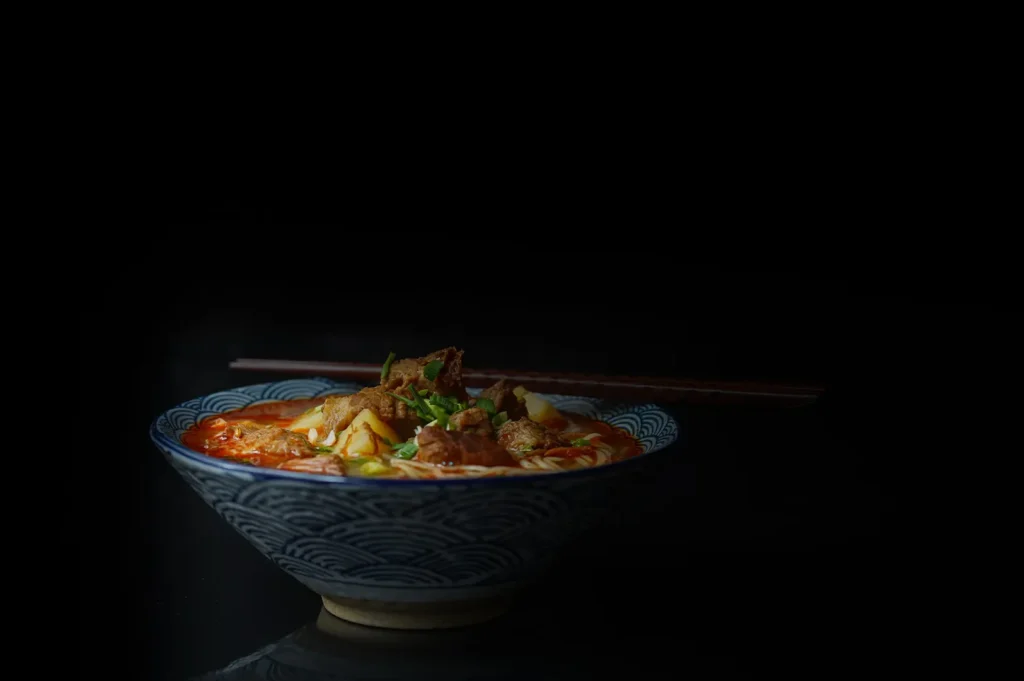
Good styling makes a dish look like itself, only better. Not bigger than reality. Not a fantasy version that causes complaints.
Here are food photography tips that keep styling “real” but strong:
Make the plate work for you.
Matte plates photograph better than glossy ones. Glossy rims and white bowls under downlights create glare, and then you spend time fixing it in editing.
Control the “shine” instead of removing it.
Shine signals moisture and richness. The goal is to place highlights so they look intentional, not like a white patch across the centre.
Use garnishes like punctuation.
Fresh herbs, chilli slices, sesame, scallions. Small, deliberate. Too much garnish looks like panic.
Leave breathing room.
Negative space makes food feel premium. It also gives you space for text overlays later. You do not need six props to prove it’s “restaurant-worthy”.
Add one “life” element when it fits.
A hand reaching in, chopsticks lifting noodles, sauce mid-pour. It creates energy and makes the photo feel current, especially for social.
If you remember one thing: styling is not decoration. It’s clarity plus appetite.
5) Build A Workflow Your Team Can Repeat
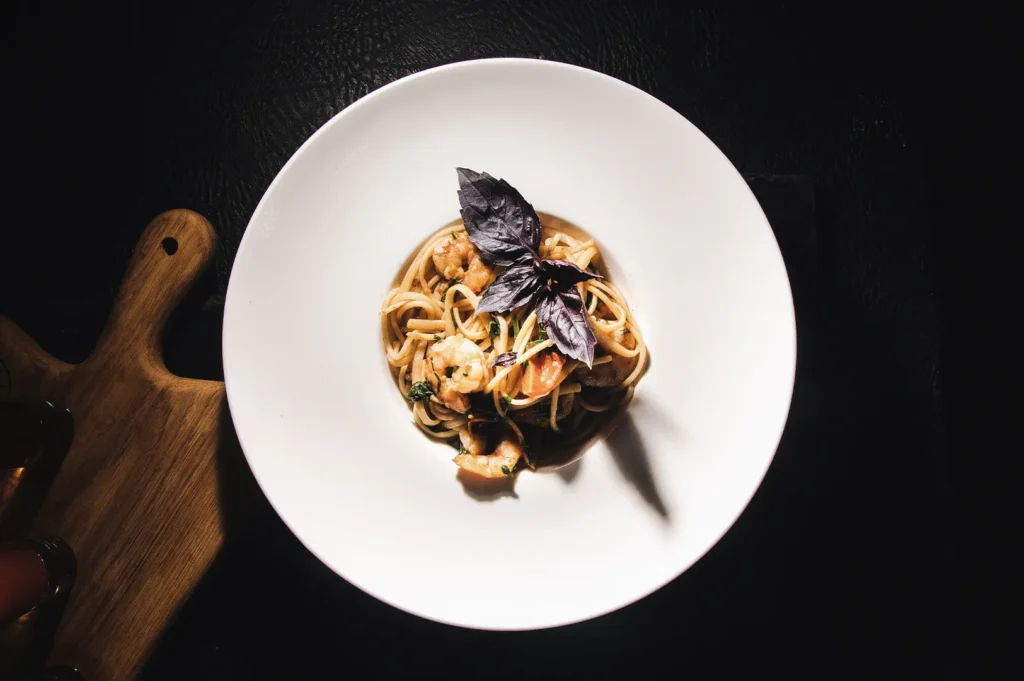
Most restaurants don’t need a perfect shoot once. They need a system that keeps the next 40 photos consistent.
A simple workflow that works in real kitchens:
Set up a small photo corner.
One window. One neutral surface. One backup board (white foam board is enough). Keep it ready so you’re not building a studio during service.
Shoot in batches.
Do 6–10 dishes in one session instead of one dish every day. Your lighting stays consistent, and your editing becomes faster.
Edit with restraint.
Your baseline should be:
- correct white balance (no yellow rice, no grey chicken)
- gentle contrast
- small exposure tweaks
- minor cleanup (crumbs, smears)
If your “style” requires heavy filters to look good, the photo probably wasn’t strong to begin with.
These restaurant photography tips are boring on purpose. Boring systems create consistent results, and consistent results build trust.
When Professional Food Photography Is Worth It
DIY content is great for daily posts and quick updates. But there are moments where a professional shoot pays for itself:
- a new menu launch
- a major rebrand
- new delivery platform images
- a website refresh
- a campaign with real ad spend behind it
The biggest value isn’t “better gear”. It’s control and consistency: lighting that behaves, styling that reads properly, and a complete set of images that look like one brand, not 30 different days.
At Food Photographer Studio, this is what we focus on. Singapore restaurants don’t need vague inspiration. They need photos that sell, look true to the dish, and hold up across menus, delivery apps, and marketing. If you want to see how we approach restaurant shoots, you can start at foodphotographerstudio.com.sg.