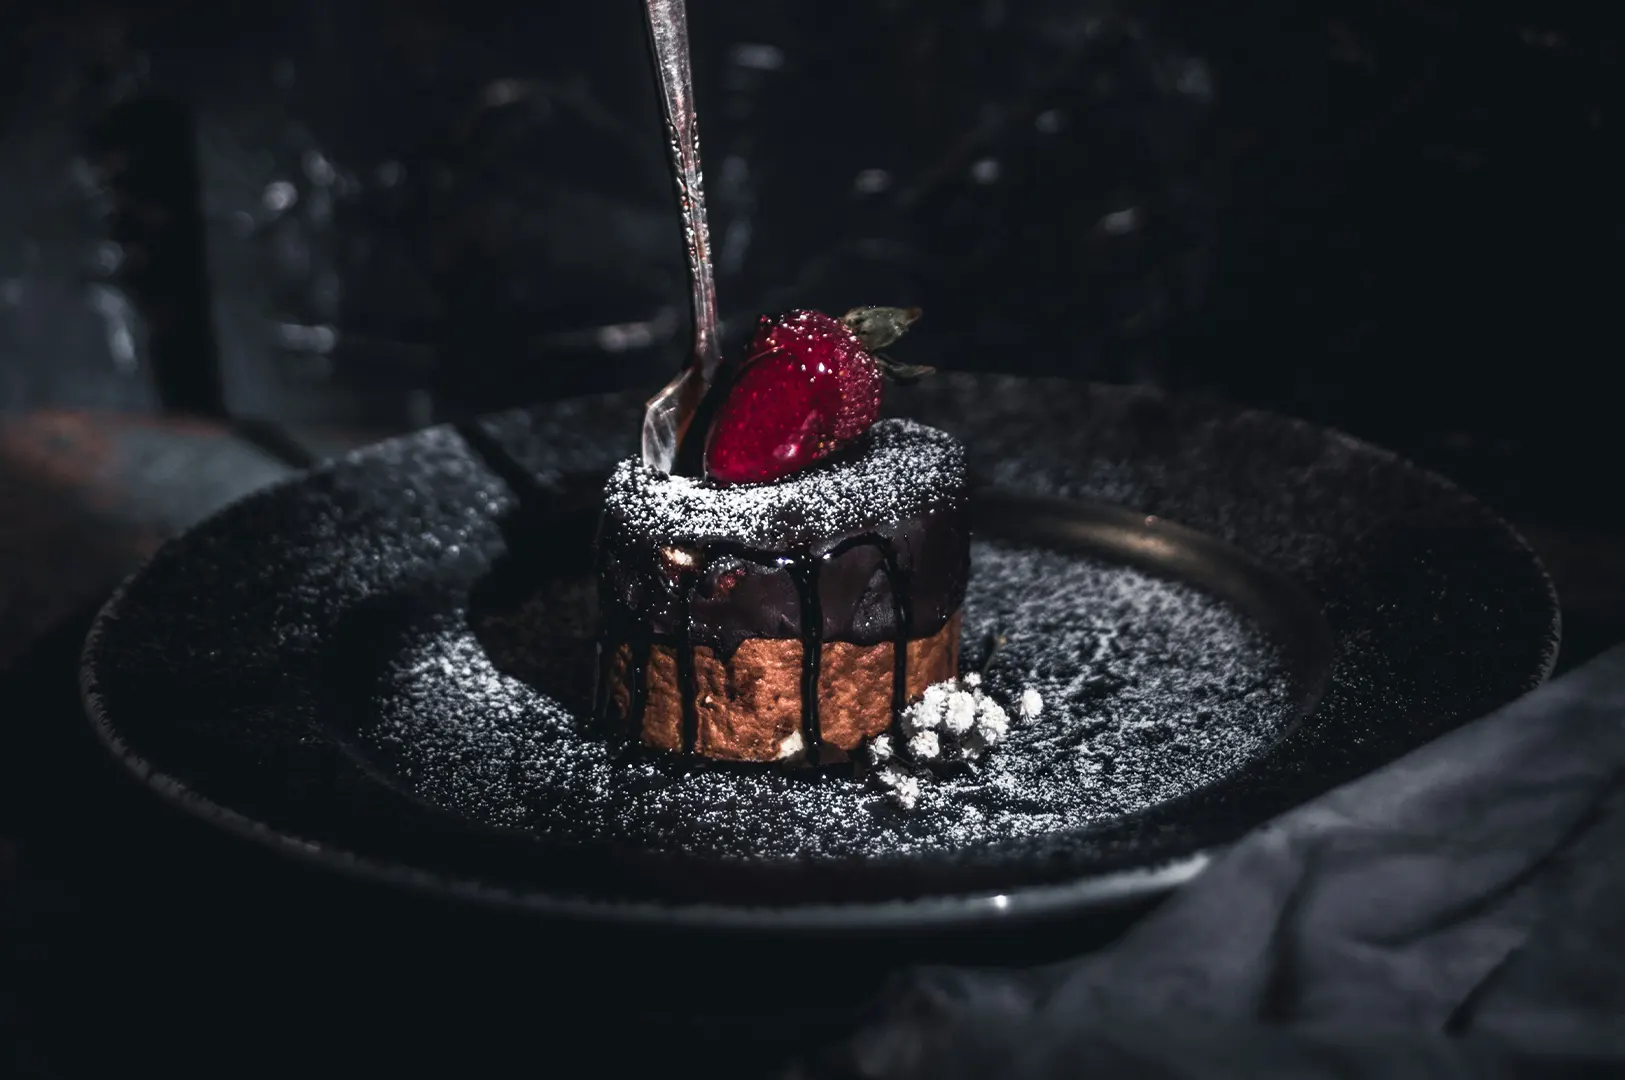
If you have ever taken a photo of your best-selling dish under your dining room lights and thought, “Why does this look… sad?”, you are not alone. In Singapore, most restaurants are lit for atmosphere, not for cameras. Warm downlights make rice look grey, soups look muddy, and anything white (plates, foam, cream sauces) turns the kind of yellow that screams “mall lighting”.
The frustrating part is that your food is usually fine. Your lighting is not. Low light restaurant photos fail because phones and cameras try to “solve” the scene by brightening everything, raising ISO, and guessing white balance. That is how you end up with grain, blur, and weird colour shifts. The good news is you do not need a studio to fix it. You need a repeatable way to control one thing: the light source.
If you want the wider system that ties lighting, angles, and workflow together, start with our restaurant food photography tips hub and come back here whenever the downlights attack.
Why Yellow Downlights Make Food Look Worse Than It Is
Most dining rooms in Singapore use warm LEDs or tungsten-style downlights. They are designed to make the space feel cosy. Cameras interpret them differently.
Two things happen:
- Colour temperature shifts
Warm light pushes everything toward orange and yellow. Whites become cream. Greens dull down. Brown food turns even browner. You lose freshness.
- Direction is wrong for food
Downlights come from directly above. That creates harsh top shadows in bowls, glare on sauces, and dark eye sockets in any “hand in frame” shots. Food starts to look flat, or shiny in the wrong places.
This is why “just edit it later” rarely works. When the light is ugly, you are editing a problem, not improving a photo.
Step 1: Stop Mixing Light Sources (This Is the Real Villain)
Mixed lighting is the most common Singapore restaurant issue. You have warm downlights, cool kitchen LEDs, and maybe window light leaking in. Your camera cannot balance all of that cleanly in one frame.
Do this first:
- Turn off the downlights near your shooting table if you can. Even two downlights directly above the dish will wreck the shot.
- Avoid shooting half-window, half-downlight. Pick one direction and commit.
- If you cannot switch lights off, move. One table closer to the entrance, one corner near a window, one quieter spot near a wall. A two-metre shift can save you 20 minutes of editing.
If you fix nothing else, fix this. One main light source is the fastest route to cleaner colour.
Step 2: Create a “Good Light Corner” That Your Team Can Use Daily
Most restaurants can find one consistent spot that works even during service.
Look for:
- A window with indirect light (not direct sun blasting onto the plate)
- A neutral wall nearby that can act as a natural bounce
- Enough space to stand without casting your own shadow onto the food
If the window light is harsh, soften it:
- Sheer curtain
- Frosted window film
- Even baking paper taped temporarily works in a pinch, as long as it is safe and not left up permanently
This is the “good light corner” your staff will keep using. It is how you get repeatable results without turning photography into a special project.
Step 3: Add One Simple Light When You Have to Shoot at Night
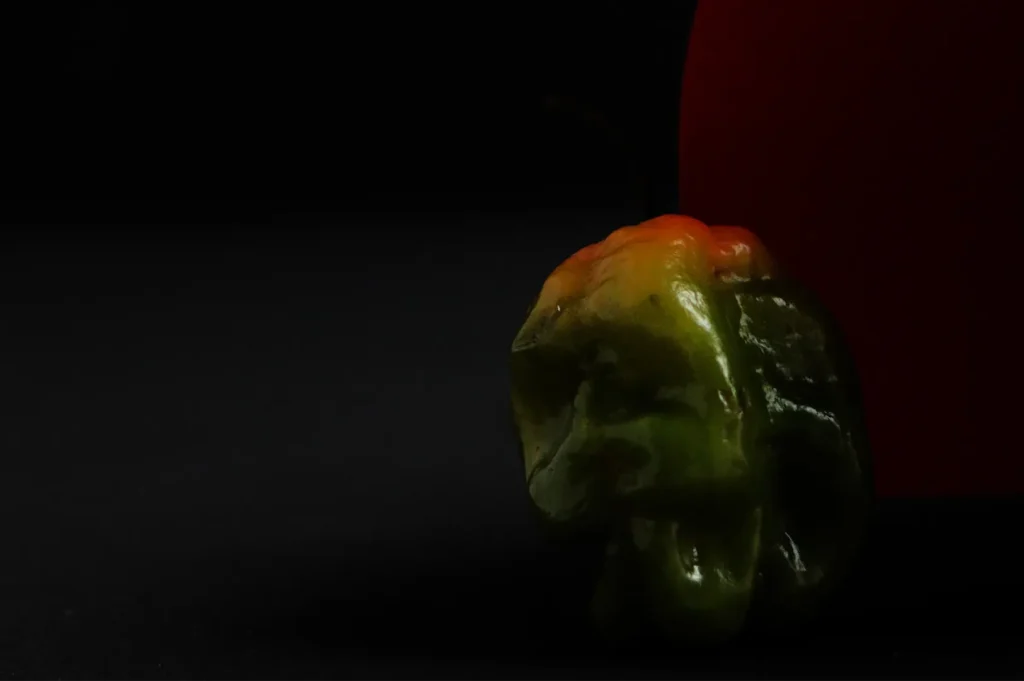
Dinner service is real life. If your concept is moody, window light is gone. This is where “restaurant lighting for photos” becomes about a controlled, portable option.
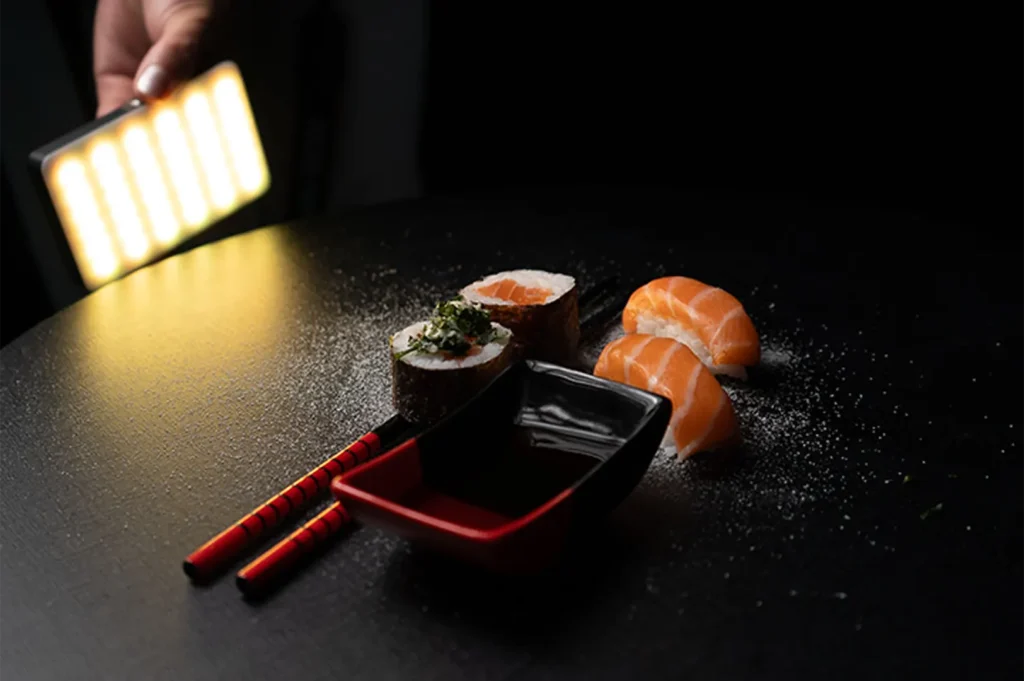
A small LED panel or a compact continuous light is usually enough, as long as you use it correctly:
- Diffuse it. Pointing a bare LED at food creates hard reflections and shiny hot spots. Use a softbox, umbrella, or even a diffusion sheet.
- Place it to the side (about 45 degrees), not directly in front. Side light gives texture and depth.
- Keep it consistent. Same position, same brightness, same distance from the dish.
This is not about making your photos look like a studio. It is about making them look clean, appetising, and believable.
Step 4: Fix White Balance Before You Fix Anything Else
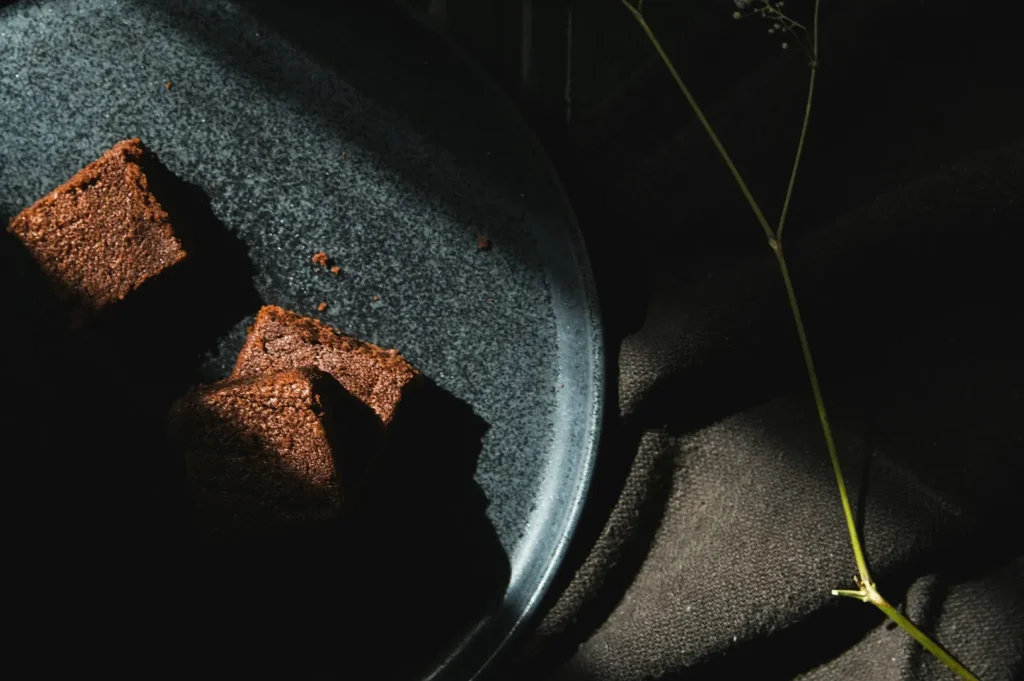
White balance is the difference between “this looks delicious” and “why is my rice yellow”.
If you shoot on a phone:
- Tap and hold to lock focus and exposure (on most phones)
- If your phone allows it, adjust warmth/temperature slightly cooler when the scene is too warm
- Avoid heavy filters. They often exaggerate the yellow
If you shoot on a camera:
- Set Kelvin manually if you can. Warm downlights are often around 2700K–3200K. A good starting point is 3200K and adjust.
- If you cannot set Kelvin, use the tungsten preset, then fine-tune later.
One practical trick: use a white plate as your reference. If the plate looks like butter, your white balance is off.
Step 5: Use Bounce and Flags to Control Shadows and Shine
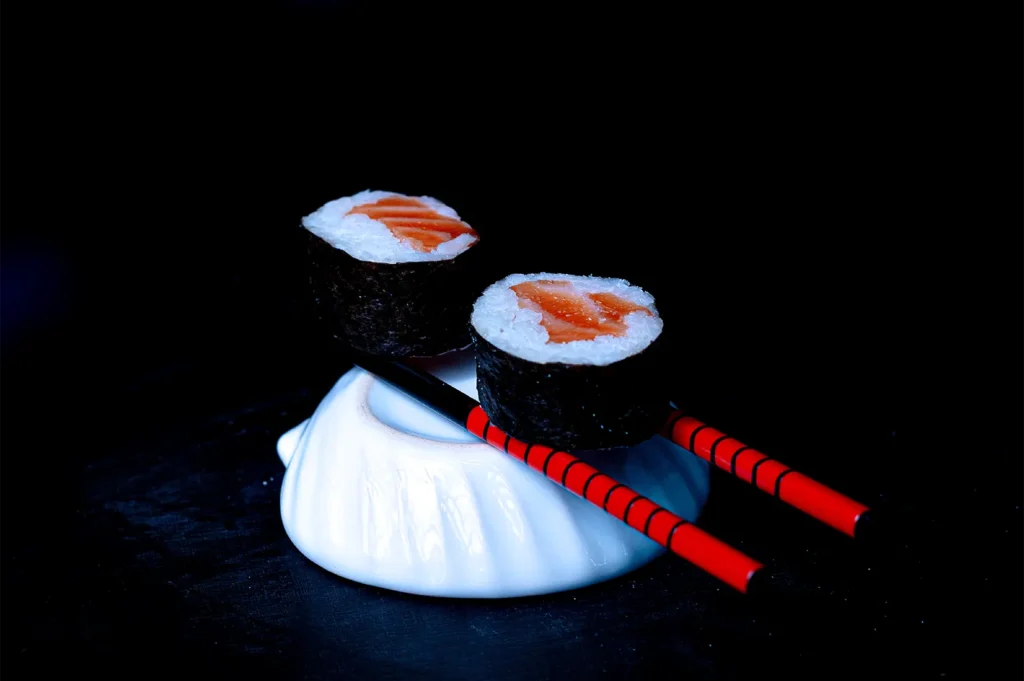
Low light does not only mean “too dark”. It also means “weird shadows”.
Two tools you can use without fancy gear:
- Bounce (to add light): a white foam board, a menu board, even a clean white tray. Put it opposite your light source to lift the shadow side.
- Flag (to remove glare): a black folder, black foam board, a dark cloth. Place it where the reflection is coming from to cut shiny highlights on broth and sauces.
This matters a lot for Singapore food because so many dishes have gloss: curry, soups, glazes, chilli oil, roasted meats.
Step 6: Choose Angles That Help in Low Light (Not Against It)
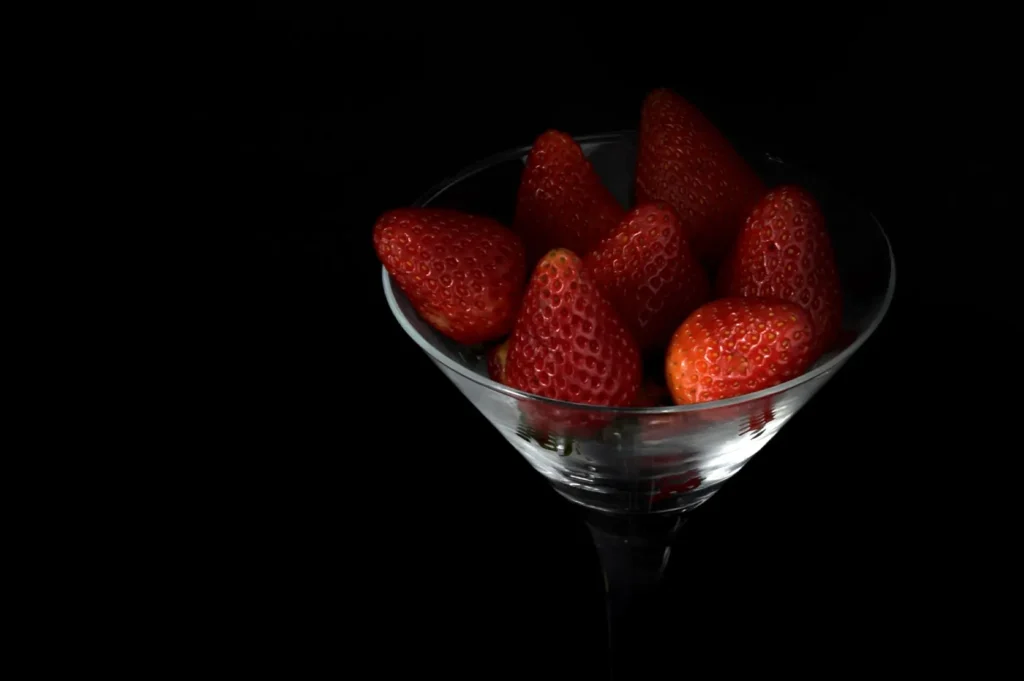
Certain angles magnify lighting problems.
- Overhead shots can work well in low light if your surface is clean and your lighting is even. They also reduce background distractions.
- 45-degree shots are the safest for bowls, noodles, and most plated mains because they show depth without exaggerating shadows.
- Straight-on shots look great for burgers and layered desserts, but only if you have a side light. Under downlights, straight-on often creates dull top shadows and dead-looking layers.
If your lighting is messy, avoid angles that show too much background. A tighter frame with a clean surface is more forgiving.
Step 7: Two Low Light Food Photography Tips for Phones That Actually Help
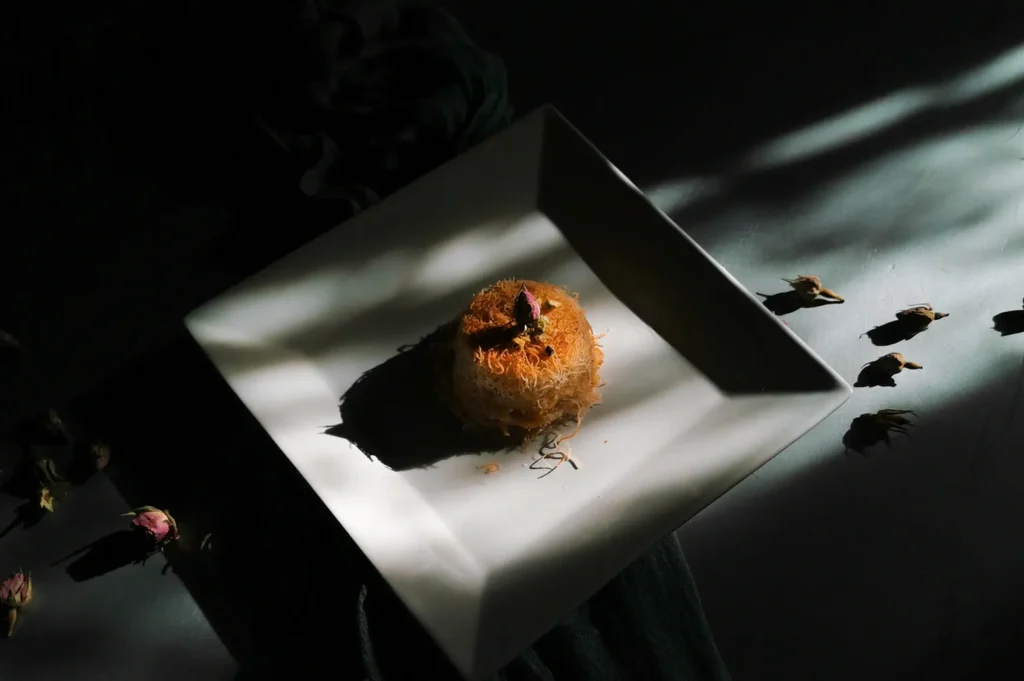
Phones are capable, but you need to stop them from making bad decisions.
- Do not use the built-in flash
It flattens food and makes sauces reflective in the worst way.
- Stabilise your shot
Low light means slower shutter behind the scenes. Brace your elbows on the table, lean the phone against a glass, or use a small tabletop tripod. The difference between “sharp” and “soft” is often just camera shake.
If your phone has a Night mode, test it, but be careful. It can make steam disappear and food look less real.
Quick Troubleshooting: What You See vs What to Change
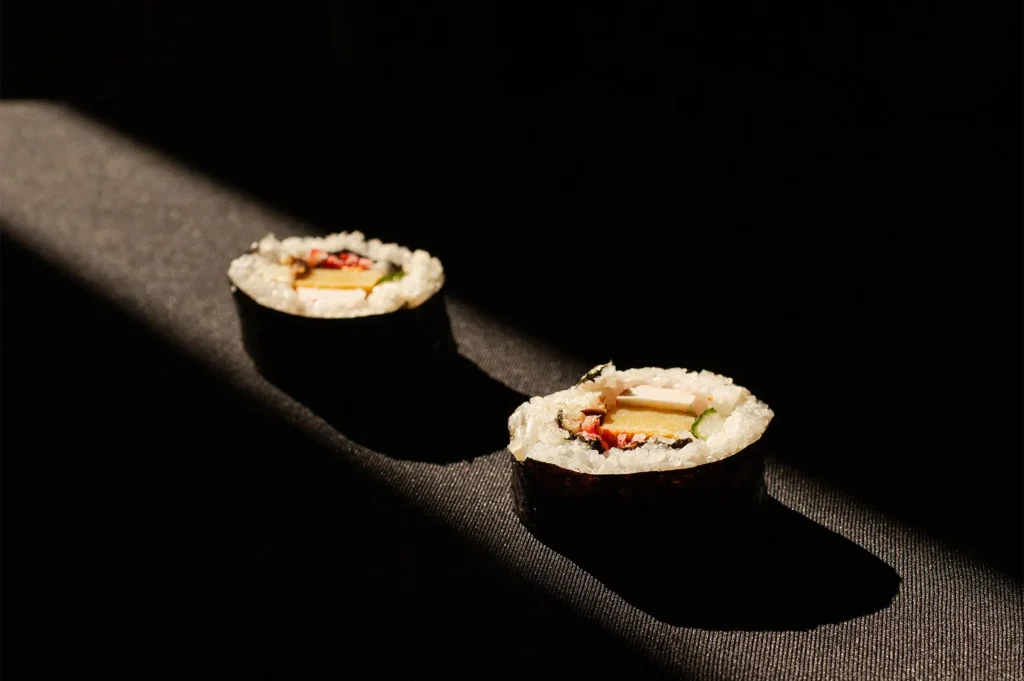
- Everything is yellow: kill downlights, move to one light source, cool white balance.
- Food looks grey and dead: add side light, bounce with white board, increase contrast slightly in edit.
- Broth has a big white patch: diffuse the light, move light to the side, use a flag.
- Greens look dull: fix white balance first, then add a small fresh herb garnish right before shooting.
- Photo is grainy: add more light, stabilise, do not push brightness too far in editing.
A Clean Way to Think About It
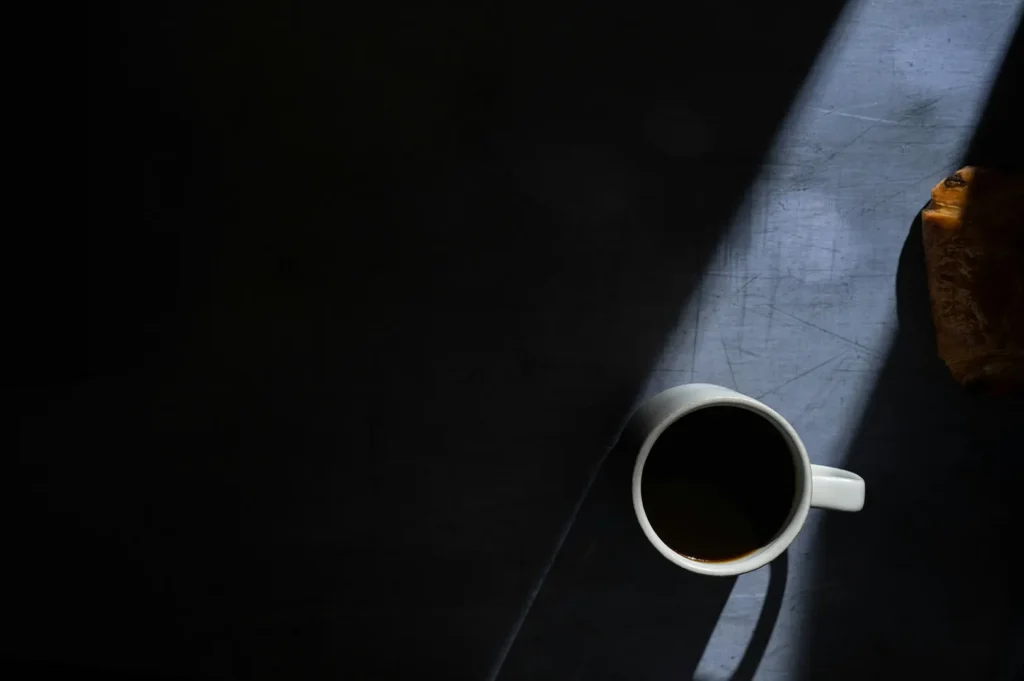
When your restaurant photos look bad in low light, the solution is rarely “better camera”. It is almost always:
- simplify the light source
- control direction
- correct colour
- stabilise the shot
That is the difference between an amateur-looking photo and something you can confidently put on GrabFood, Google, or your menu.
Make Low Light Work for You
A dim dining room is not the enemy. It is part of your brand. The goal is not to make everything bright. The goal is to make your food readable, appetising, and consistent inside the mood you created.
If you want to keep improving your in-house shots, build a repeatable lighting corner and tighten your workflow. If you need a full menu set that stays consistent across glossy sauces, hot bowls, and reflective plates, Food Photographer Studio does this kind of low light work every week in real Singapore restaurants, without turning your service into a film set.