In Singapore’s crowded F&B scene, creative food photography is no longer a “nice to have” – it’s the difference between a full house and an empty dining room. Customers discover your restaurant, café, or bakery through platforms like GrabFood, Foodpanda, Google Maps, and Instagram, and they often decide where to eat based on a few food photos on a small screen. If you’ve ever wondered how to take food photos that actually stop the scroll and drive bookings, you’re in the right place.
In this guide, you’ll learn the foundations of food photography, from light and camera angle to food styling and post production. You’ll see how simple, low cost changes can create mouth watering food images that boost your restaurant marketing, plus practical food photography tips you can apply at your next food shoot in the CBD, Orchard, or East Coast. Whether you’ve recently started taking pictures yourself or you’re working with professional photographers, this article will help you plan, brief, and evaluate truly eye catching visuals for your F&B business.
Why creative food photography matters for your Singapore F&B business
Before you think about shutter speed or background blur, it helps to understand why good food photography has such a big impact on your bottom line.
When someone searches “brunch Tiong Bahru” or “sushi in Orchard,” they scan photos first, reviews second, and words last. Strong visual appeal signals quality, care, and consistency. Weak, dark, or blurry pictures suggest the opposite – even if the food itself is excellent.
Good food photography helps you:
Increase perceived value – Clean compositions, sharp focus, and thoughtful food styling make your main dish look premium and justify higher price points.
Improve social media engagement – Research indicates that posts with strong images get far more likes, saves, and shares than text-only posts, especially on Instagram Reels and TikTok.
Strengthen your brand – Consistent angles, backgrounds, and tones across your menu photography and social media content make your restaurant look professional and memorable.
In a city where customers can choose between countless cafes in Joo Chiat or hotpot spots in Bugis, creative food photography becomes your silent salesperson – working 24/7 on delivery apps, your website, and every food blog or blog post that features your menu.
Light, angles, and depth: foundations of good food photography
Great photos start with light. Even the best chef in Singapore cannot save a dish from harsh overhead office lighting or deep shadows that hide every detail.
Natural light vs artificial lighting
For most restaurants, window light is your best friend. A bright but not direct sunny day gives you enough light without creating shiny surfaces and blown-out highlights.
Simple setup that makes a huge difference:
Place the plate near a large window with more light coming from the side (not straight above).
Use a sheer curtain or thin white cloth to soften harsh light and add shadows gently.
Avoid mixing multiple colour temperatures – don’t combine warm ceiling lights with cool daylight, or your white balance will look strange.
If you shoot in low light situations (for example, moody bars or night service in the CBD), you may need artificial lighting:
A small LED panel with a diffuser can provide soft, directional light.
Use a tripod to reduce camera shake instead of pushing your high ISO too far, which can make your good image look grainy.
Whether you use natural light or continuous lights, the goal is simple: make the food look fresh, three-dimensional, and appetising.
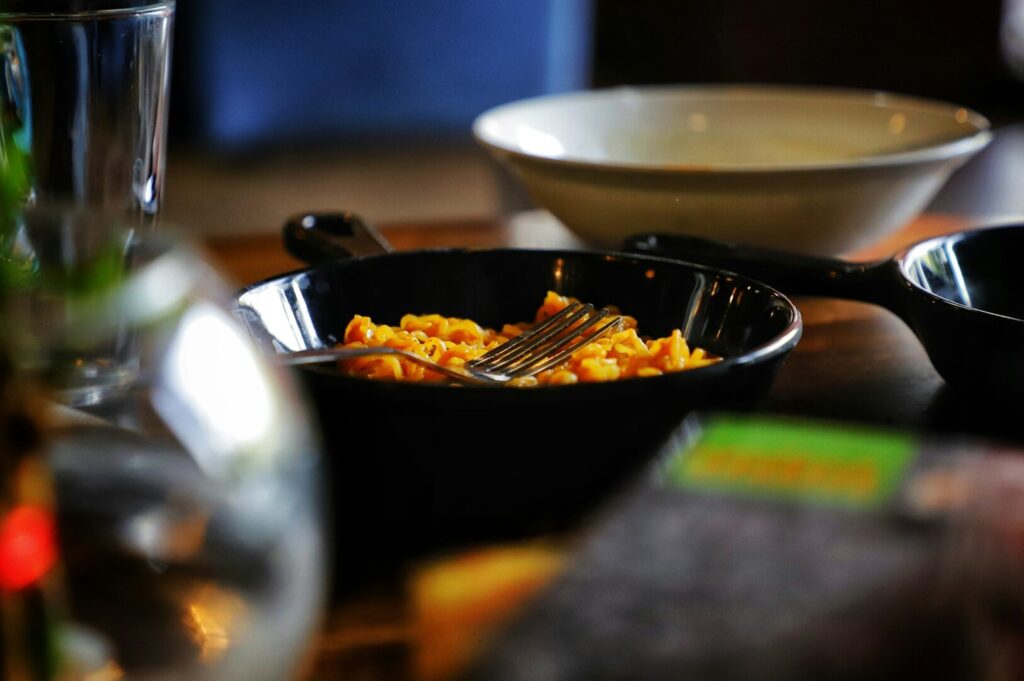
Depth of field, negative space, and background blur
The way you control depth of field and negative space changes how your viewer sees the plate.
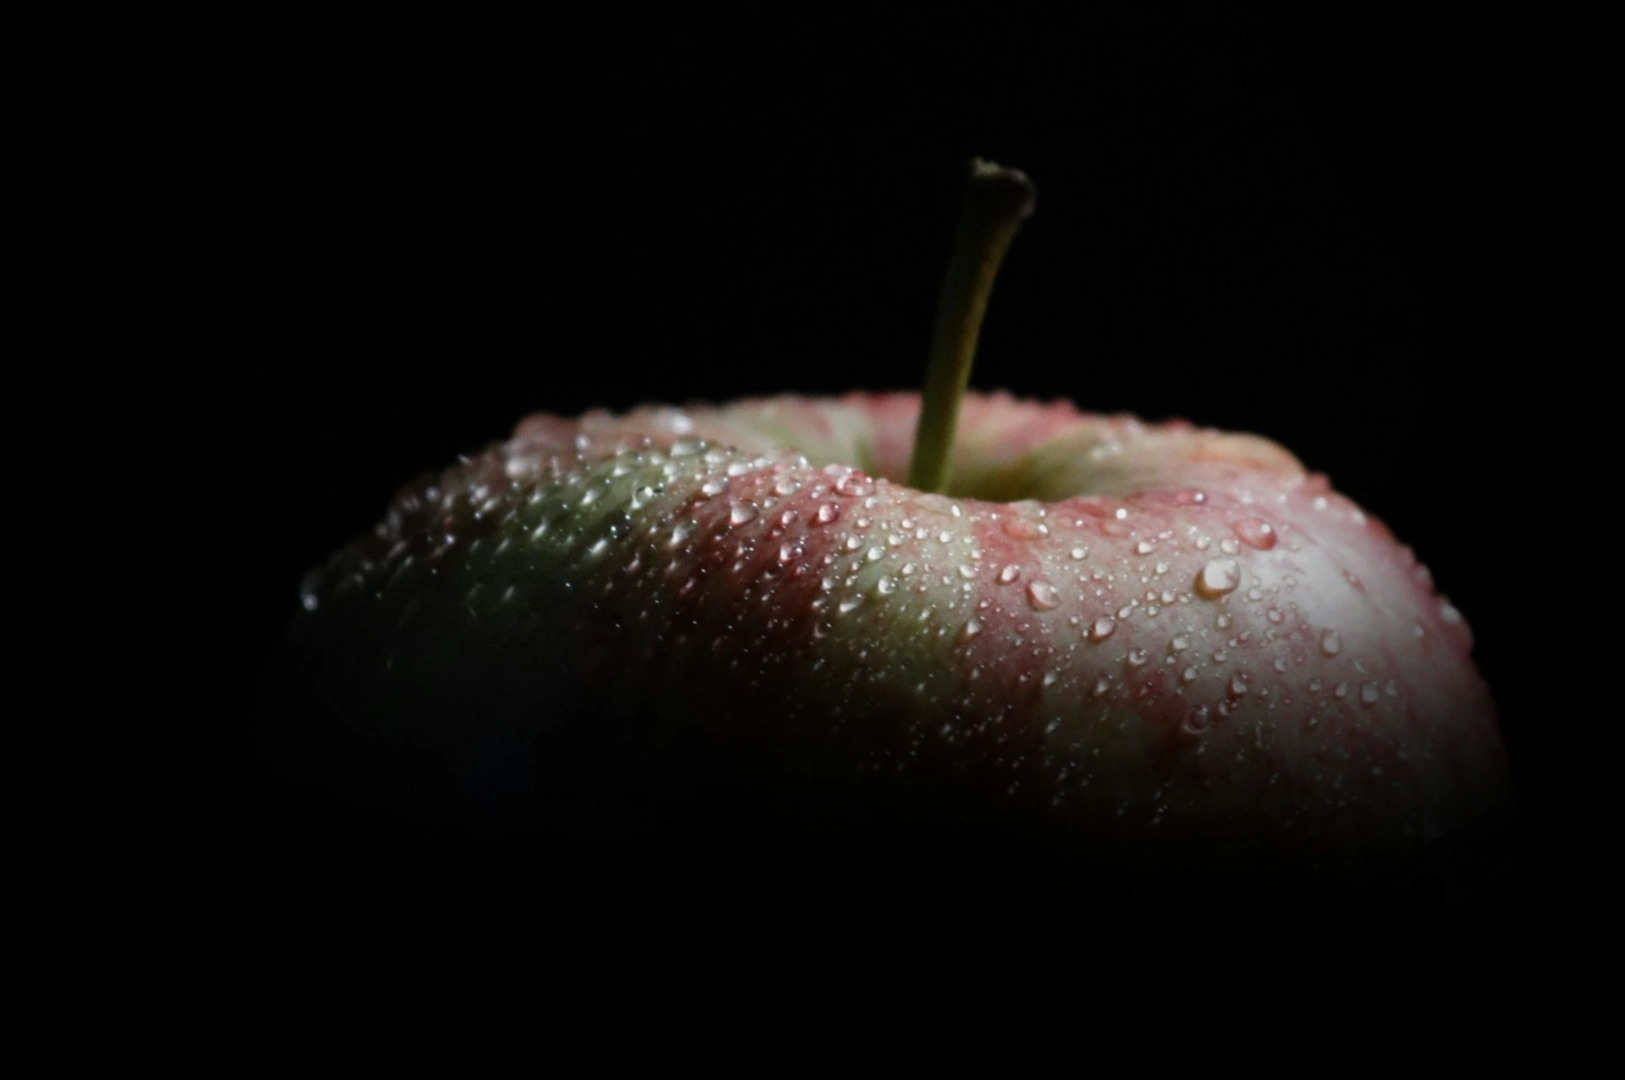
A shallow depth of field (blurred background) isolates the main subject and hides distracting other elements, like busy tabletops.
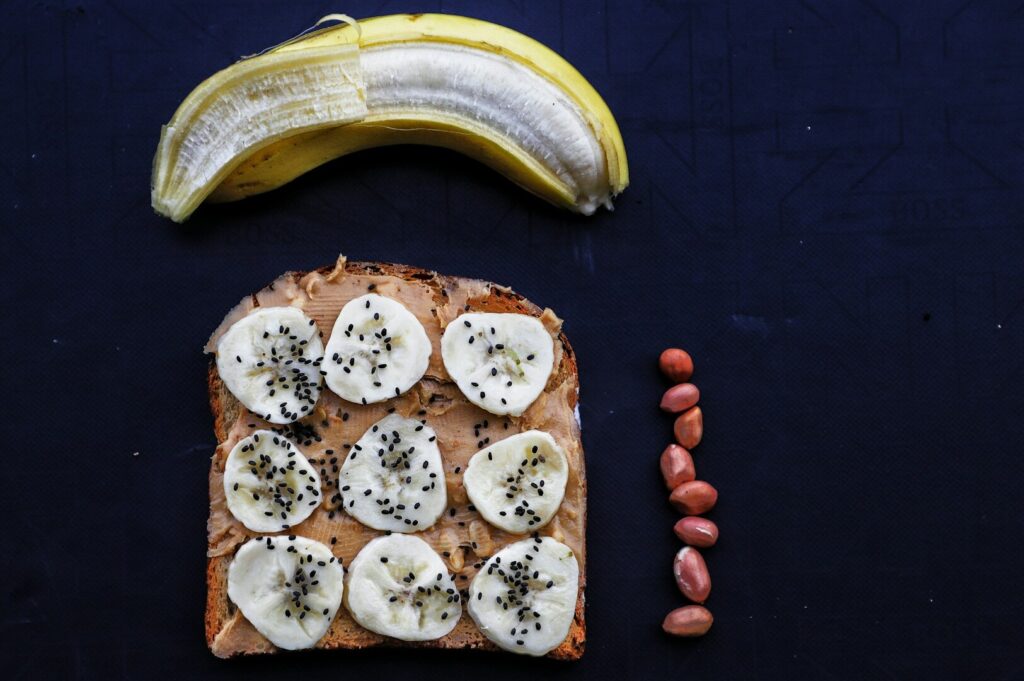
An overhead shot (90°) works well for flat dishes such as pizzas, rice bowls, or open faced sandwiches where everything sits in one frame.
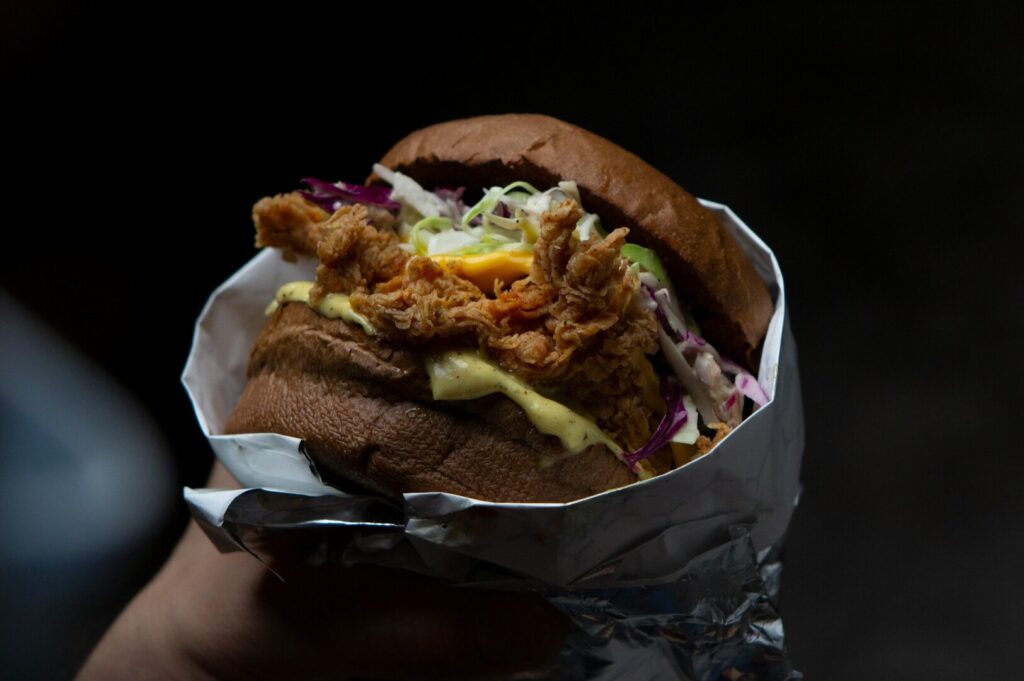
A 45° camera angle is ideal for burgers, cakes, and drinks where you want more depth and interesting textures.
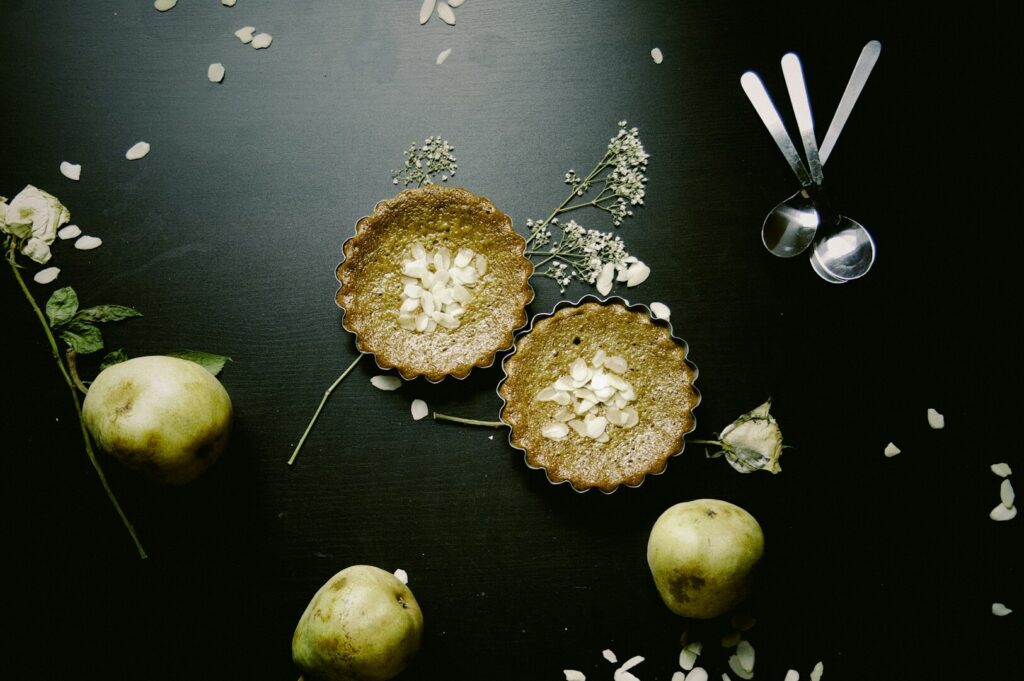
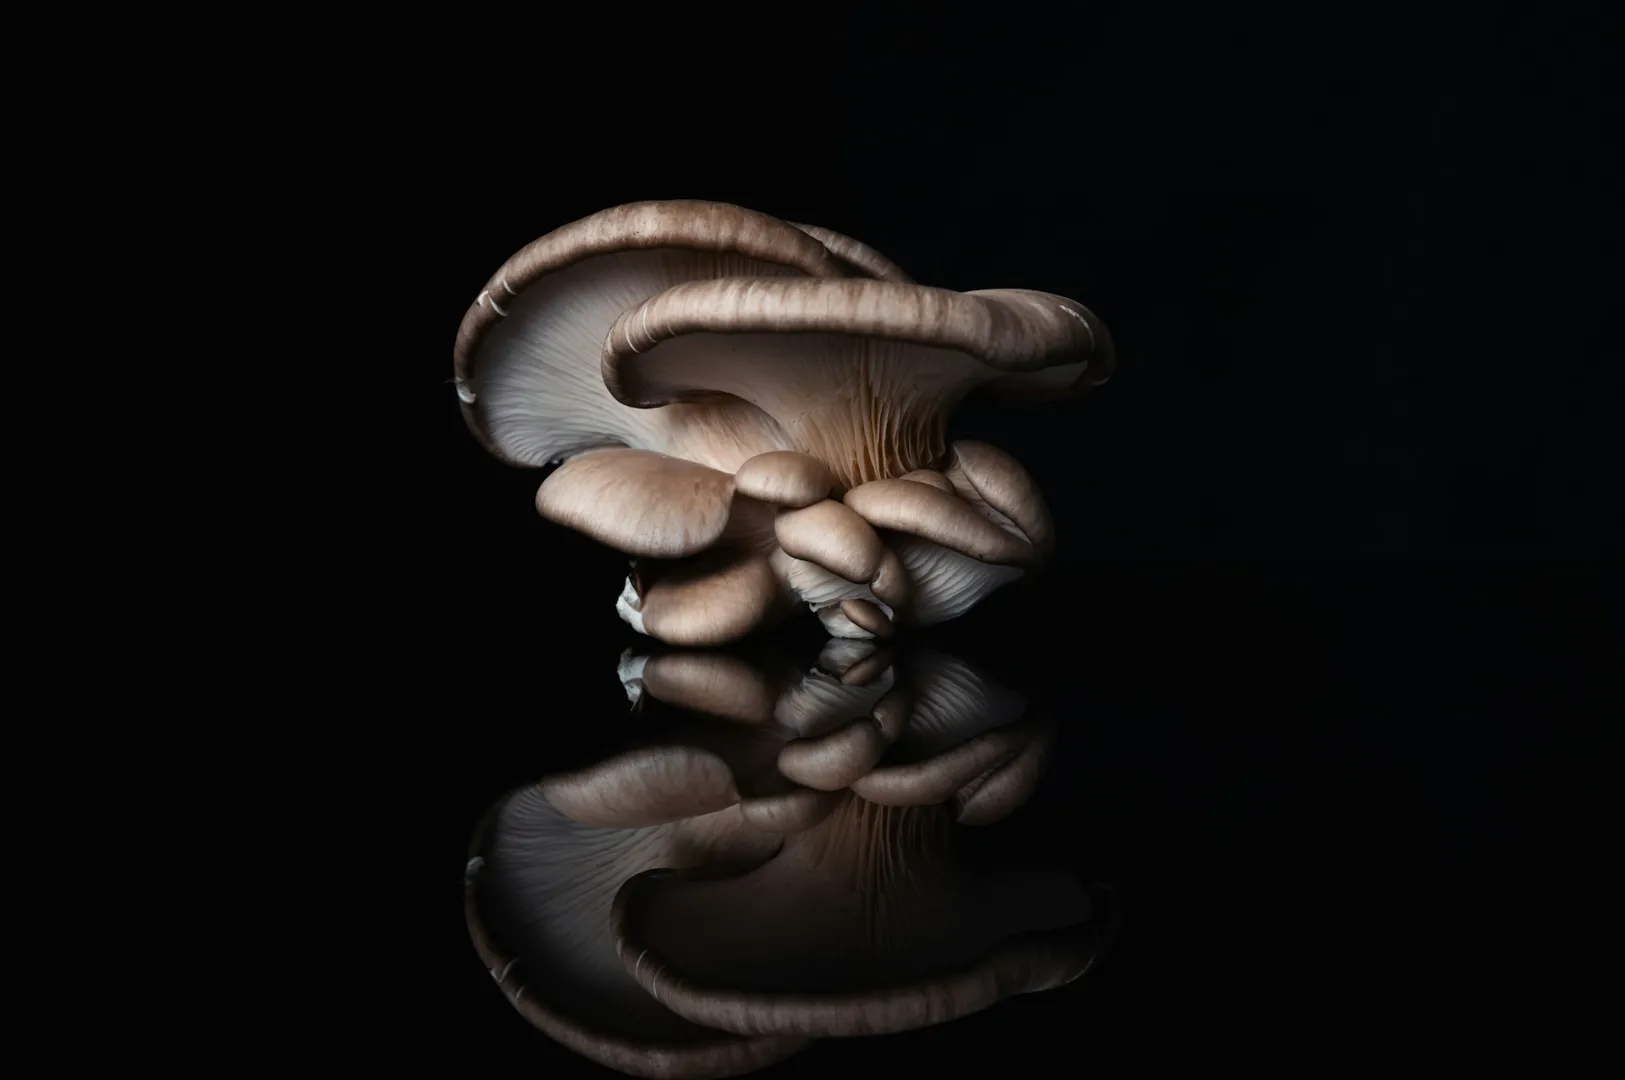
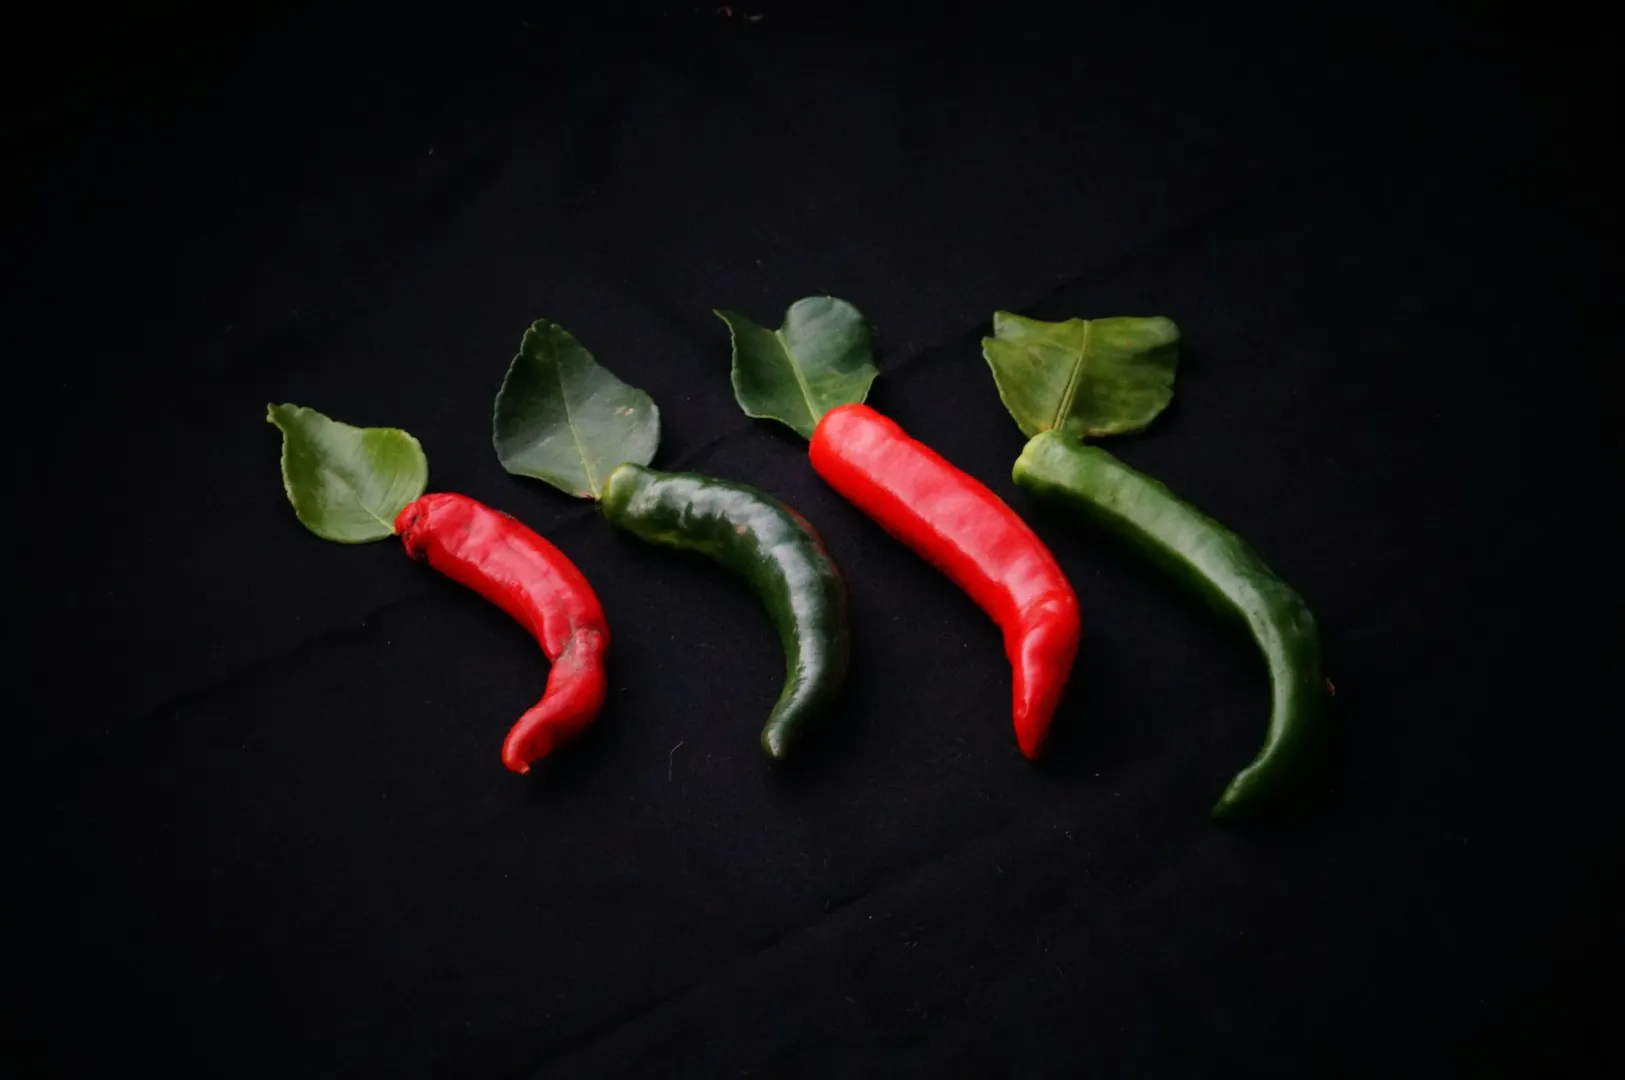
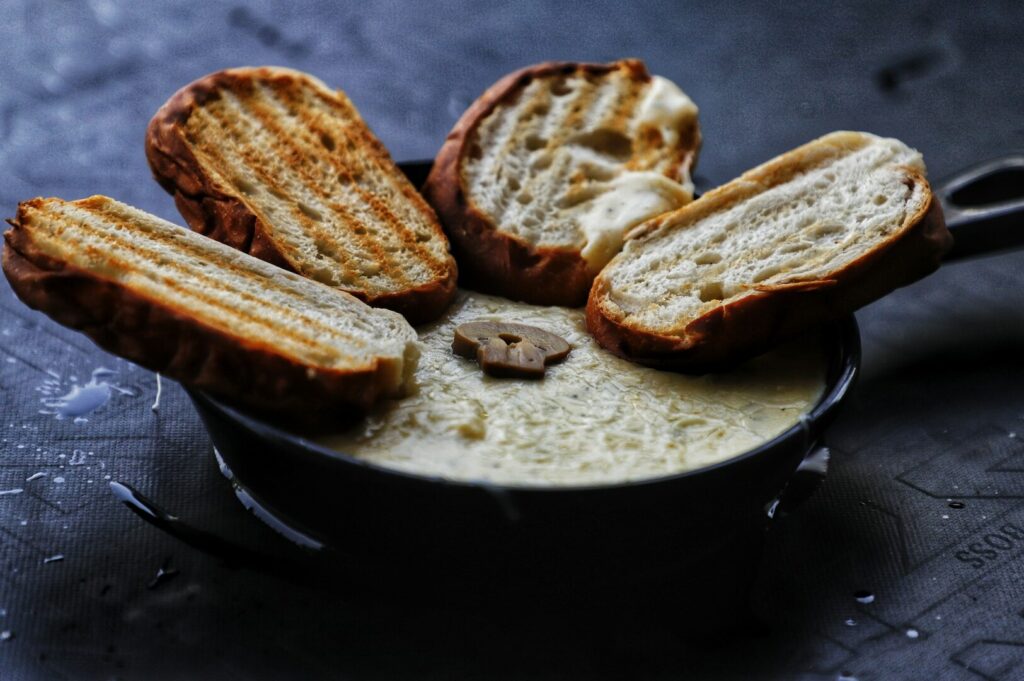
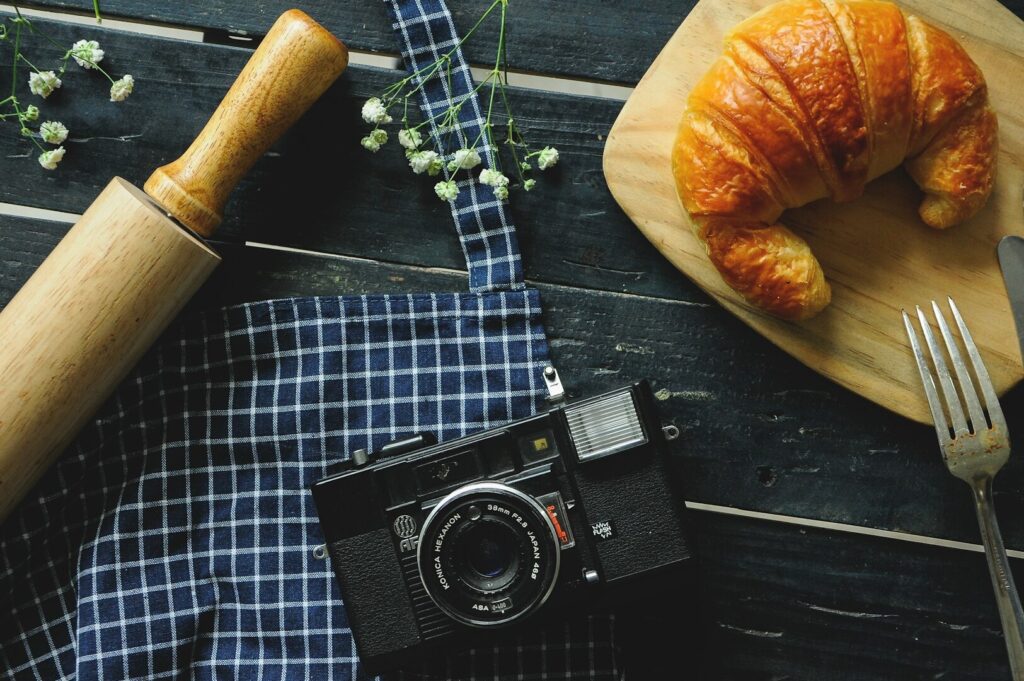
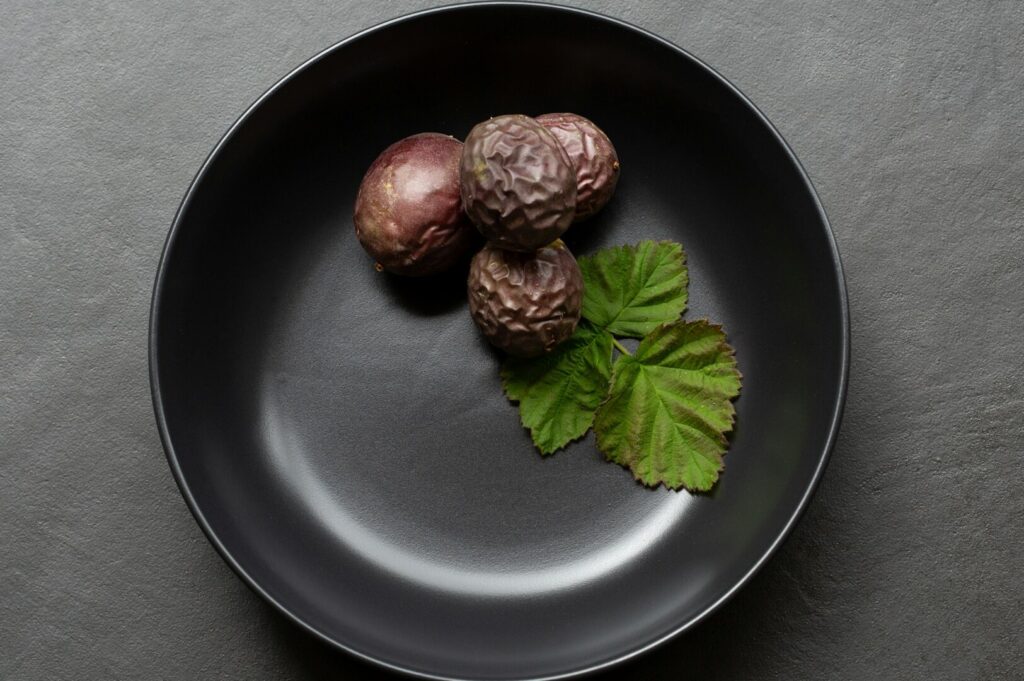
Use backgrounds like wooden boards, linen, or stone to create mood. Dark boards can make a steak look rich and bold, while white plates and pale ceramic surfaces suit clean, modern cafes.
When you pair good light with thoughtful composition, you’re already halfway to good food photography even before you touch any photo editing software.
How to take food photos that tell a story
Technical settings matter, but creative food photography is really about storytelling. Instead of asking “How do I take two photos of this dish?”, ask “What story am I telling about this dish and my brand?”
Think about:
Context – Is this a casual brunch in Holland Village or fine dining in Marina Bay? Include subtle props like cutlery, napkins, or a coffee cup to signal the setting.
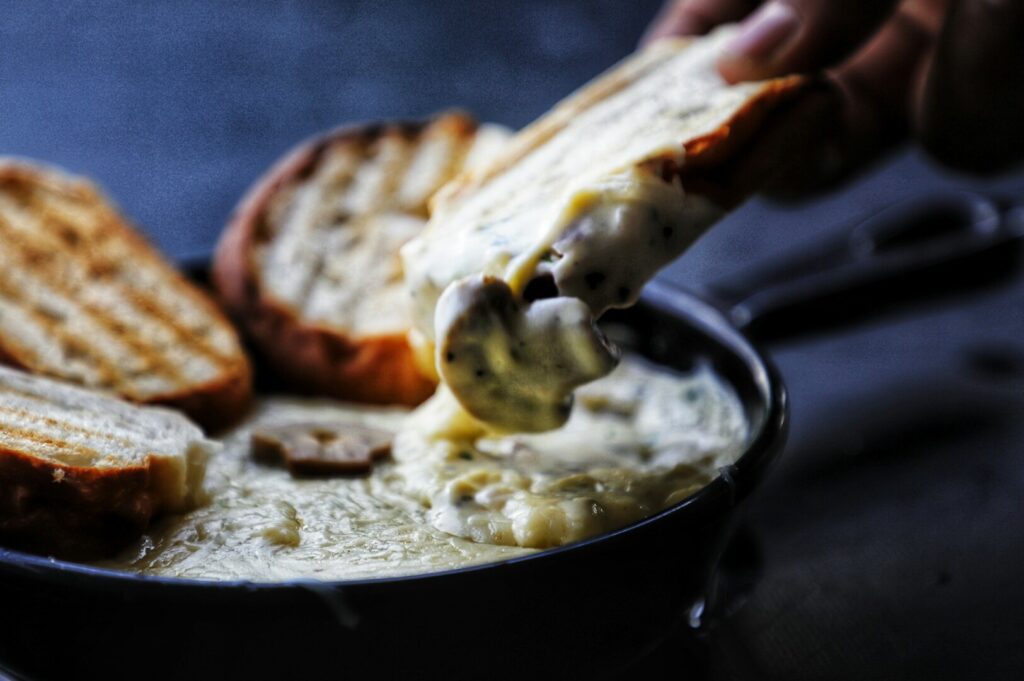
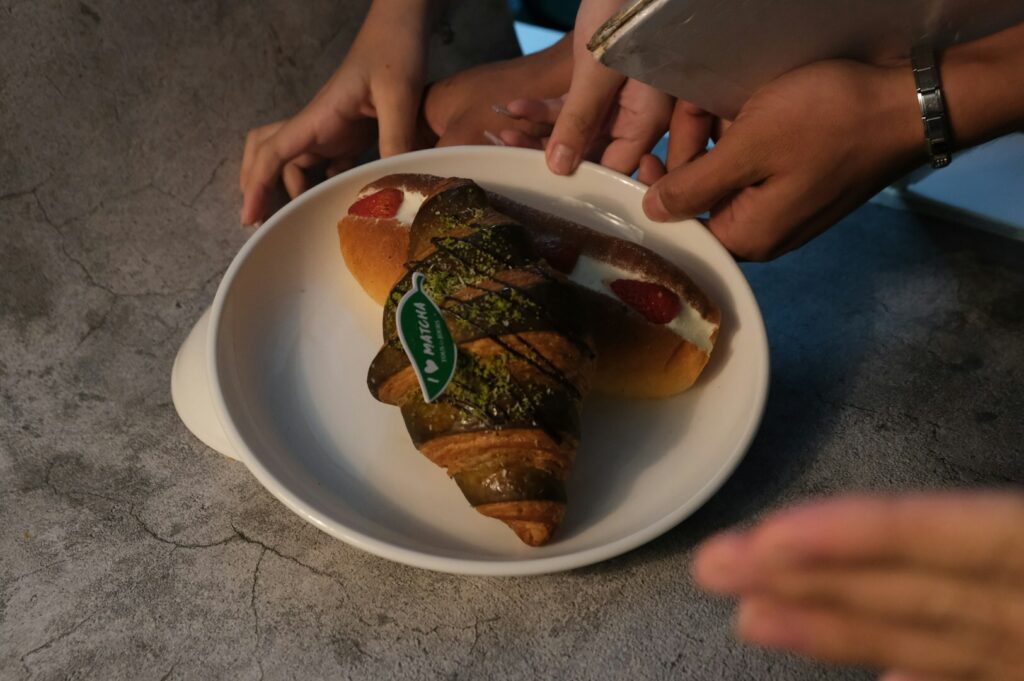
Characters – Hands reaching for a shared plate, a chef adding final touches, or a barista pouring cold water over coffee can add human warmth.
Emotion – Do you want cosy comfort, sleek luxury, or playful fun? Your light, colours, and props should support that mood.
In one frame, you might show the main dish plus a few other elements: a side plate, a drink, and some crumbs. These small details make the scene feel real and inviting.
When you develop your own style. Maybe you love vertical shots with lots of negative space, or tight macro shots showing sauce and steam. Your feed starts to look like a cohesive, unique style, not a random collection of pictures.
Practical food photography tips you can use today
Here are actionable food photography tips you can apply at your next food shoot, even if you’re using a basic camera or smartphone:
Stabilise your camera
Use a tripod or rest your camera on a steady surface to avoid camera shake, especially in low light situations. This lets you use a slower shutter speed without blur.Shoot in RAW format where possible
If your camera allows it, raw format files hold more information. During post production, you can fix minor issues in exposure, contrast, and white balance without damaging the file.Plan one hero angle per dish
Decide if each plate looks best as an overhead shot, a 45° view, or a straight-on angle. Avoid shooting every dish from the same angle by habit; choose what makes sense for the main subject.Use shallow depth for drama
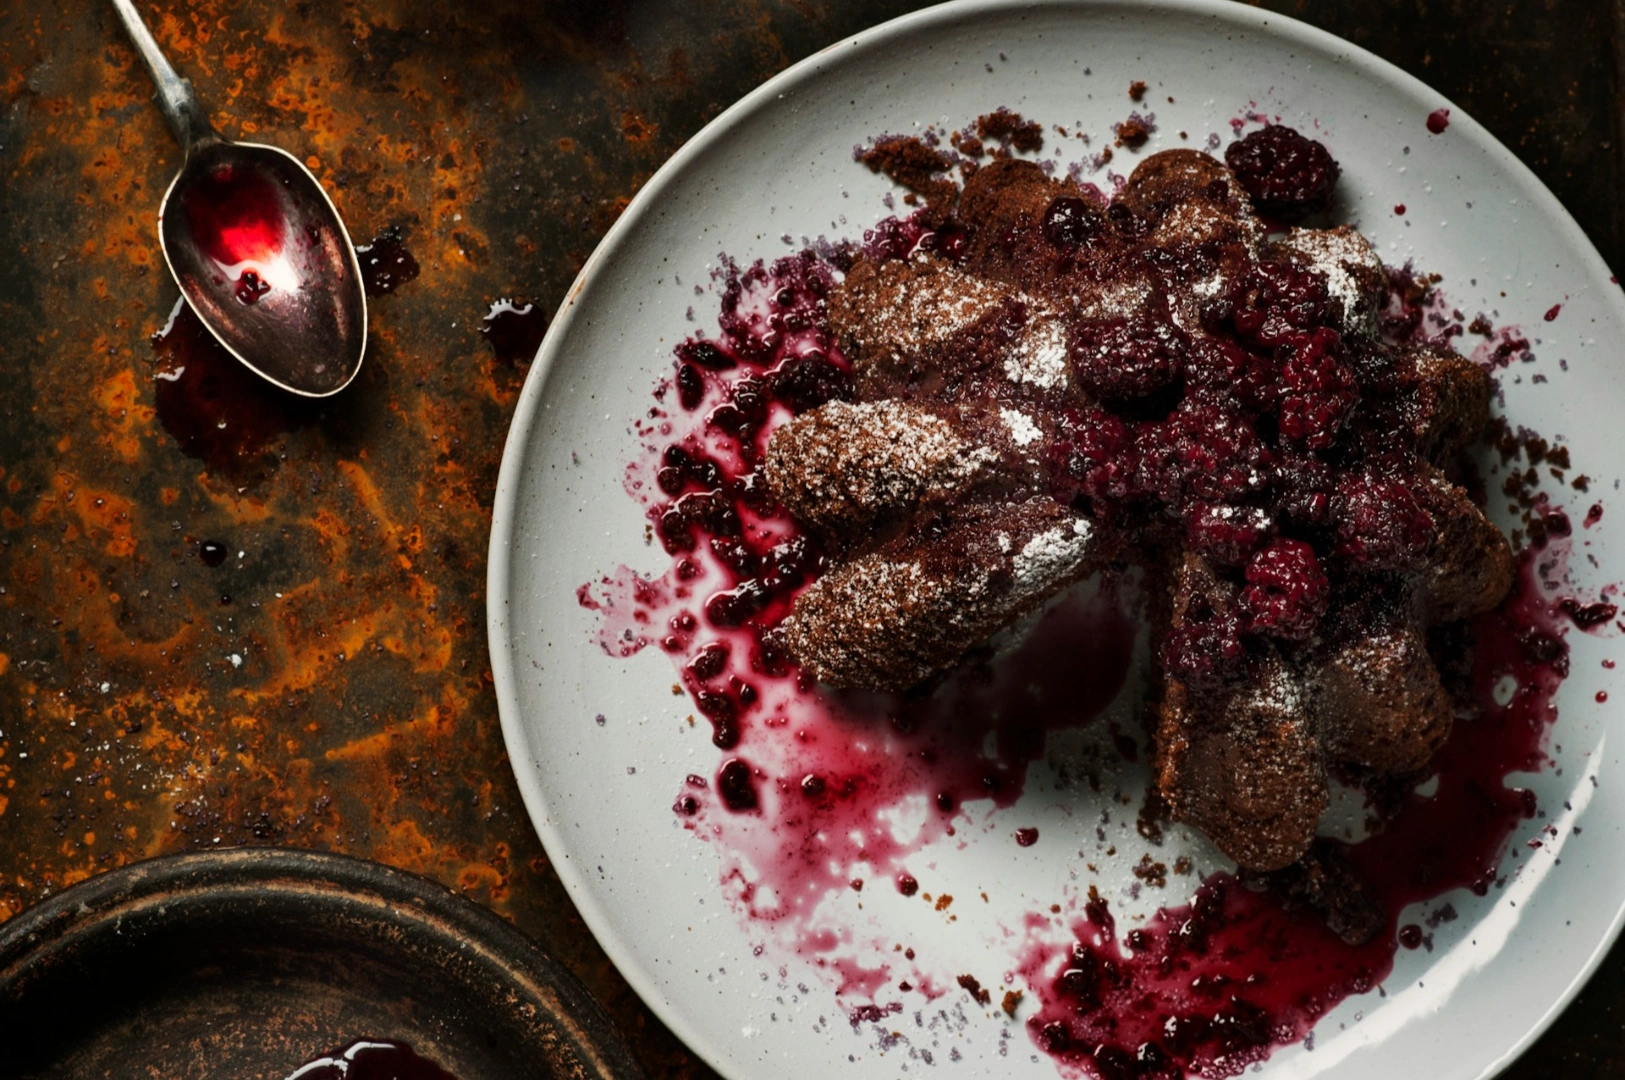
For burgers, desserts, or a main dish with layers, use a more shallow depth (lower f-number) to create background blur. This keeps focus on the most eye catching part of the plate.Style with intention, not clutter
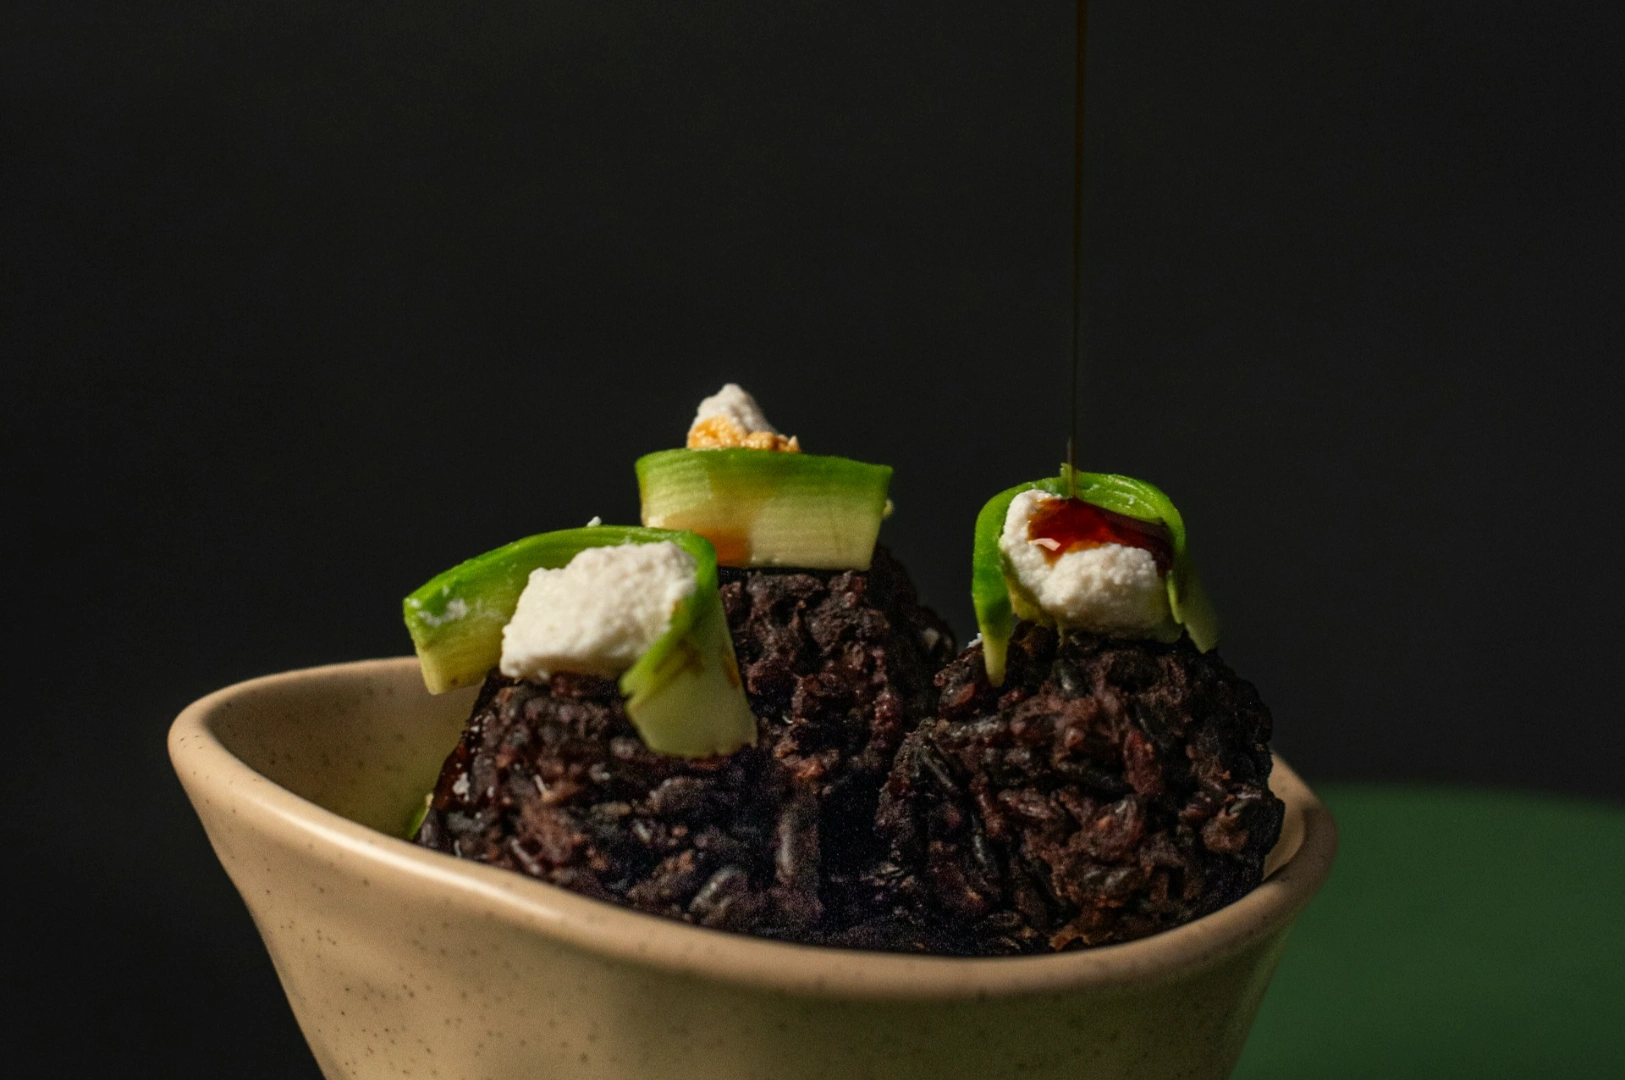
Add garnishes like herbs, sauces, or tea leaves to create interesting textures, but don’t cover everything. Think about other elements such as napkins, glasses, or wooden boards that support the story, not distract from it.Keep things fresh and alive
Hot food loses steam quickly; cold dishes can dry out. Have napkins, oil, and cold water nearby to refresh the plate. Add final touches at the last moment so your food photos look vibrant.Do minor adjustments in editing, not major surgery
Use photo editing software that is extremely user friendly (even mobile apps) to make minor adjustments: exposure, colour, and contrast. Editing should enhance a good image, not rescue a bad one.
These great tips may sound simple, but together they are a huge help in capturing that perfect shot during a busy restaurant food shoot.
Common mistakes in food photography (and how to avoid them)
Even experienced teams in Singapore’s F&B scene run into the same issues. Here are frequent problems we see when reviewing client photos before a professional shoot:
Flat, lifeless light
Direct flash from the front makes everything look flat and harsh. Instead, move your light to the side, increase more light softly, and let shadows create shape.Too many props in one frame
When every item fights for attention, there is no clear main subject. Remove one item at a time until the main dish stands out.Inconsistent colour and white balance
Shooting in different corners of the restaurant with mixed lighting produces a messy feed. Try to use the same type of light and correct colours during post production so all your shots feel like they belong together.No focus point
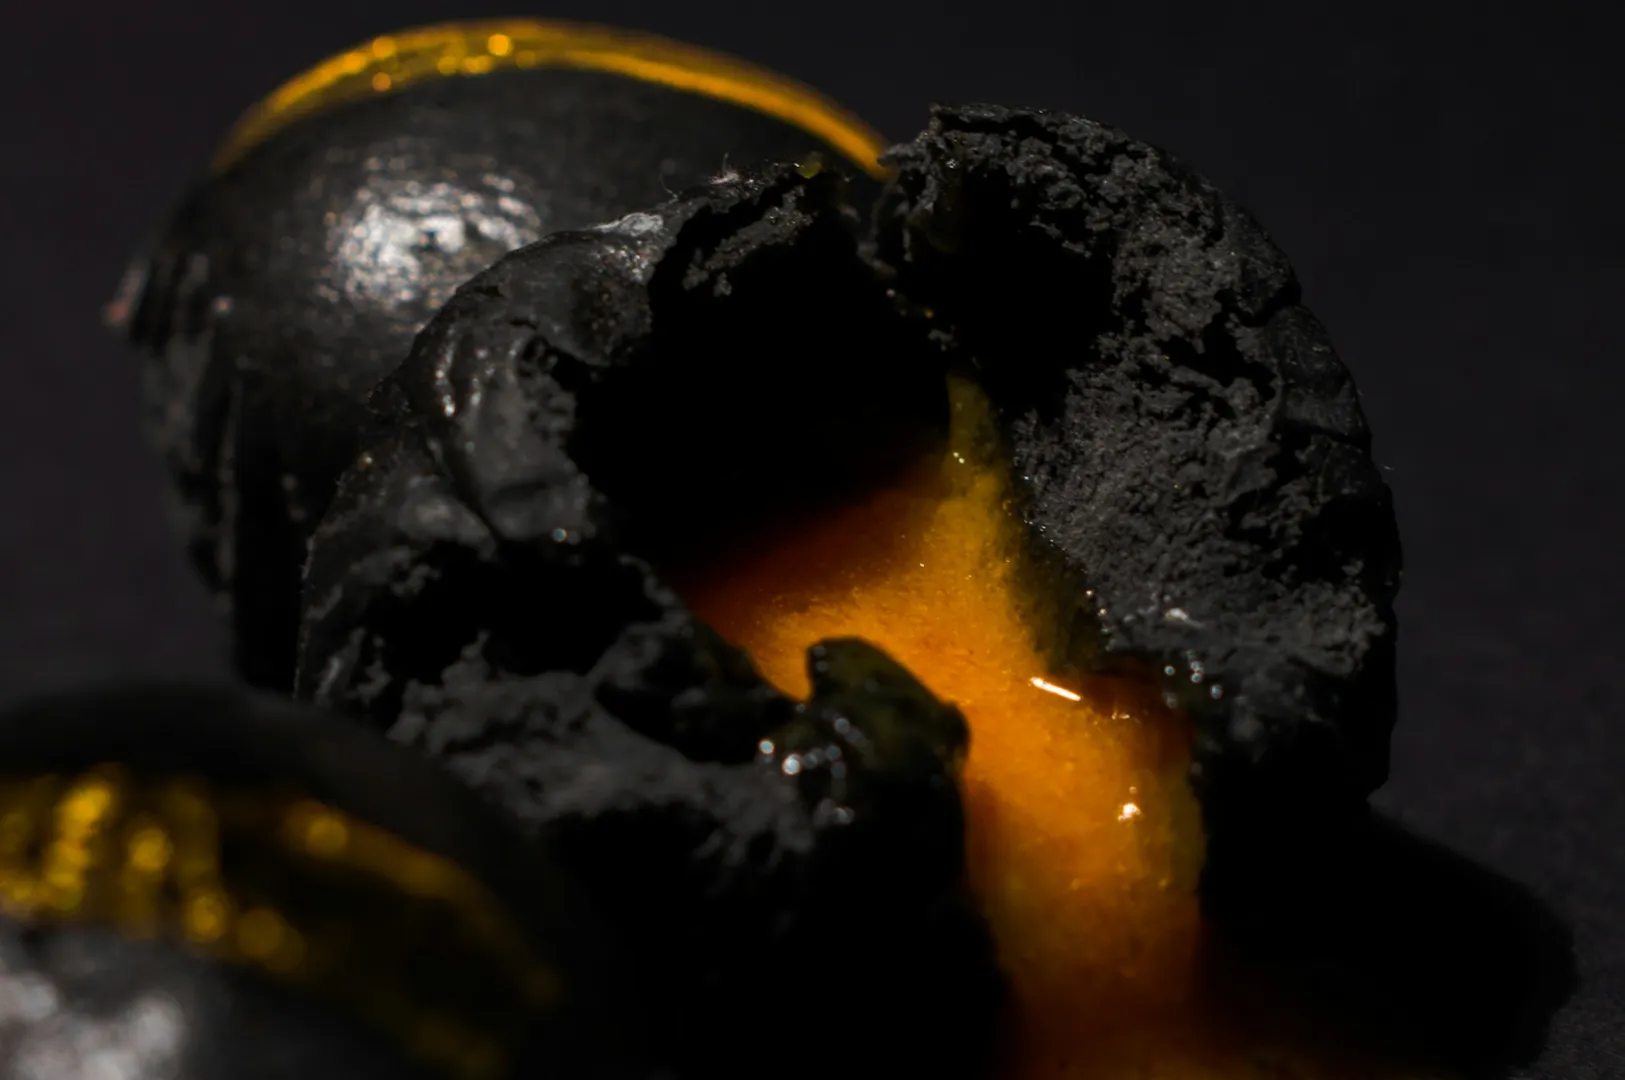
If nothing is in sharp focus, the eye gets confused. Make sure your focus is locked on the most important aspect of the dish – the yolk, the garnish, or the protein.
Avoiding these traps alone will give you more good photos and help every DIY blog post, food blog feature, or social media upload look more polished.
When DIY isn’t enough: working with professional food photographers
There comes a point where your team has done everything right. You’ve watched tutorials, tried different shots, and read every great blog and great post you can find. But your visuals still don’t match the quality of your food.
This is where professional photographers and a dedicated food photography studio become your saving grace.
A specialised team can help you:
Plan a full day food shoot covering your entire menu, drinks list, and interior in one efficient session.
Provide professional food styling, props, and controlled lighting setups for low light situations, reflective shiny surfaces, and tricky dishes.
Capture both horizontal and vertical shots for social media content, delivery platforms, and print menus.
At Food Photographers Studio, we understand the fast pace of Singapore’s F&B business. Our food photographers focus on both artistry and strategy – making sure each good photo supports your restaurant marketing goals. With a quick turnaround on final touches (often within 48 hours), your new visuals can go live almost immediately.
Conclusion: make creative food photography your restaurant’s best asset
In Singapore’s dynamic food scene, creative food photography is one of the most powerful tools you have to attract new guests, showcase your brand, and communicate value before anyone takes a bite. When you learn how to take food photos with better light, thoughtful composition, and purposeful food styling, your feed shifts from random snapshots to mouth watering food images that tell a cohesive story.
You don’t have to become a great photographer overnight. Start with simple food photography foundations; natural light, steady shots, clear focus, and clean backgrounds, and build from there. Use the food photography tips in this guide to improve your next shoot, whether you’re capturing open faced sandwiches for a café in East Coast or a tasting menu in the CBD.
When you’re ready to go further, our food photography services at Food Photographers Studio are here to help. We work with restaurants, cafés, and F&B brands across Singapore to create consistent, high-impact visuals for menus, delivery platforms, and social media. If you’d like to explore how professional food photography can support your next campaign or menu refresh, reach out for a friendly chat – no hard sell, just practical ideas tailored to your kitchen and your brand.