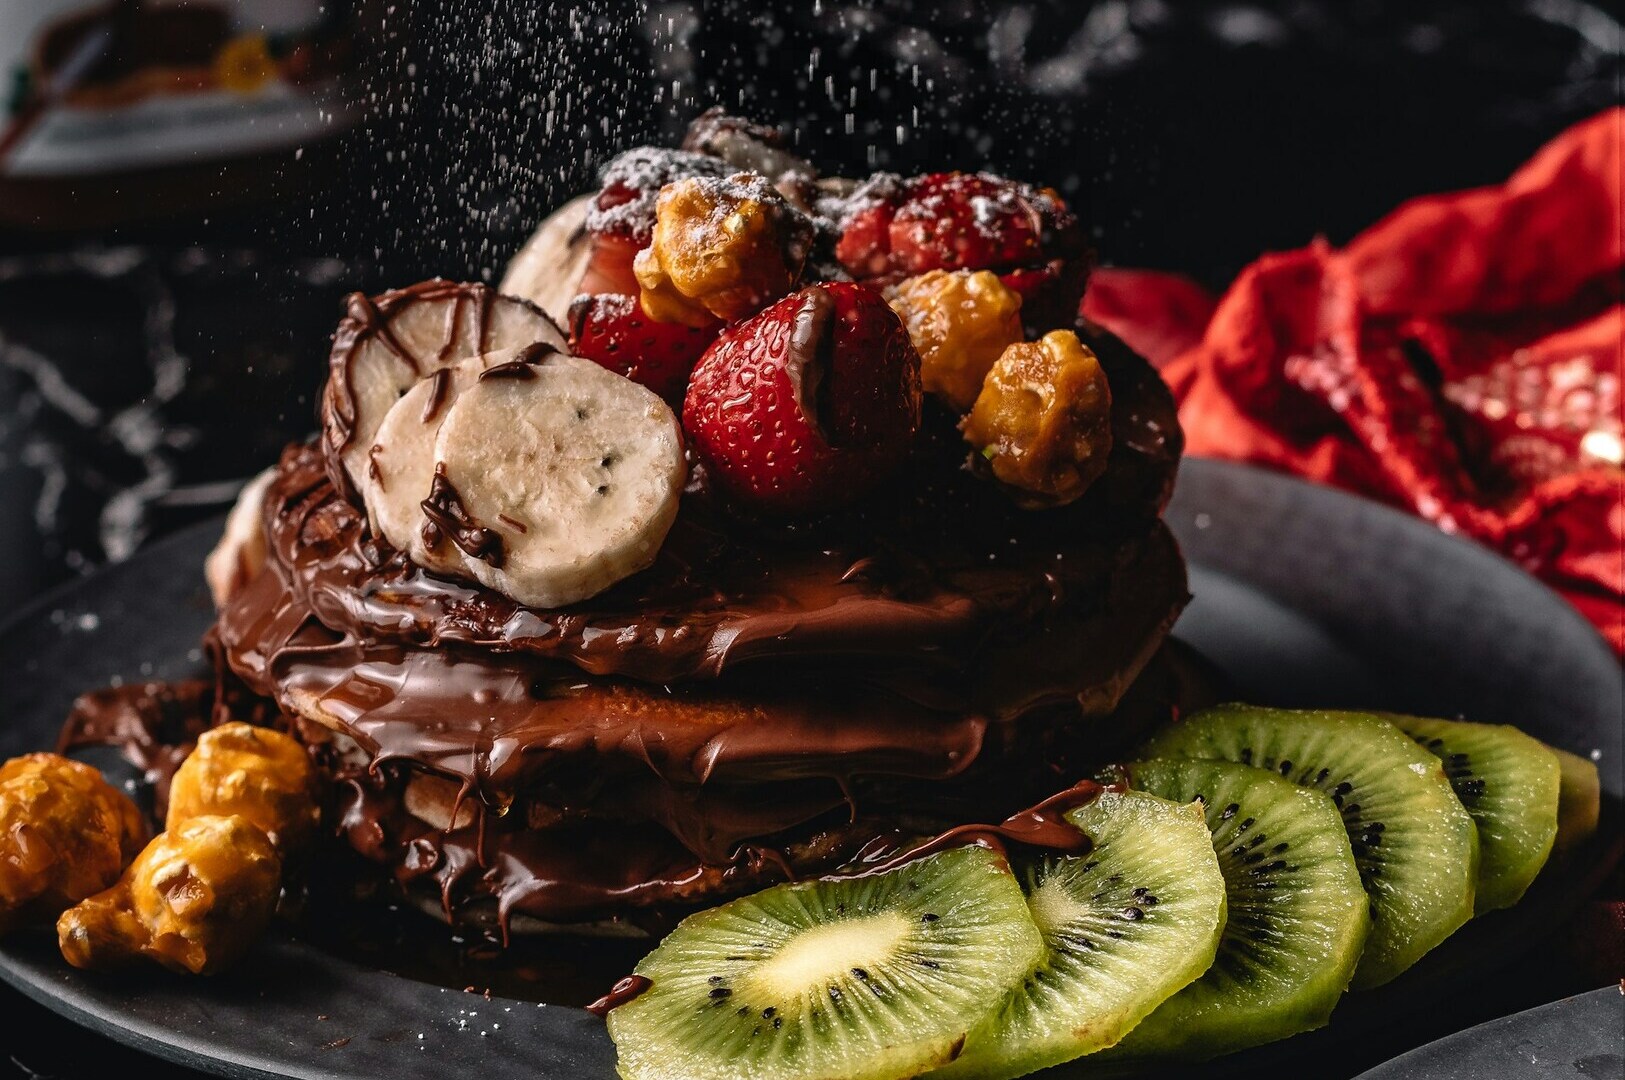
Have you ever tried to photograph a dish, only to find that the beautiful, intricate details get lost in the final image? Capturing the glossy sheen of chili crab or the porous texture of tau pok in laksa can be a real challenge. That is exactly where macro food photography comes in.
For F&B businesses in Singapore, showing customers these mouth-watering details is essential for driving engagement and getting diners through the door. Close-up food photos do more than just show a meal; they evoke a sensory experience that makes viewers hungry. If you want to take your visual marketing to the next level, understanding how to shoot up close is key.
In this guide, we will share essential tips for macro photography that will transform your food photos from average to extraordinary. Let’s explore the techniques that make every crumb, droplet, and texture stand out.
Understanding Your Macro Photography Equipment
Choosing the Right Macro Lens for Food Photography

Before diving into specific tips for macro photography, you need the right gear. Achieving sharp focus on tiny subjects requires more than just a standard smartphone camera. The most crucial tool is a dedicated macro lens.
When selecting a macro lens, focal length is your biggest consideration. A 50mm lens is great for overhead shots, but a longer focal length, like 90mm or 100mm, is ideal for food photography. It allows you to maintain a comfortable distance from the food, ensuring you don’t block your light source or cast unwanted shadows over your dish.
Your camera sensor also plays a massive role in image quality. A full-frame camera sensor captures more light and detail, which pairs beautifully with a high-quality lens. However, even a crop-sensor camera can produce stunning macro shots if you understand how to use it. The relationship between your lens and your camera dictates how well you can capture the intricate details of Singapore’s diverse cuisine. Having the right equipment ensures that the rich layers of a Nyonya kueh or the delicate garnishes on your signature laksa are captured with absolute clarity and precision.
Essential Macro Photography Tips for Stunning Close Up Shots
Tip #1: Master Your Shutter Speed to Eliminate Blur
One of the most critical tips for macro photography is controlling your shutter speed. When you shoot close up, any slight camera movement is magnified, resulting in frustrating blur. Making technical sense of your shutter speed is the best way to prevent this. If you are shooting handheld, you need a fast shutter speed (typically 1/125th of a second or faster) to eliminate blur entirely.
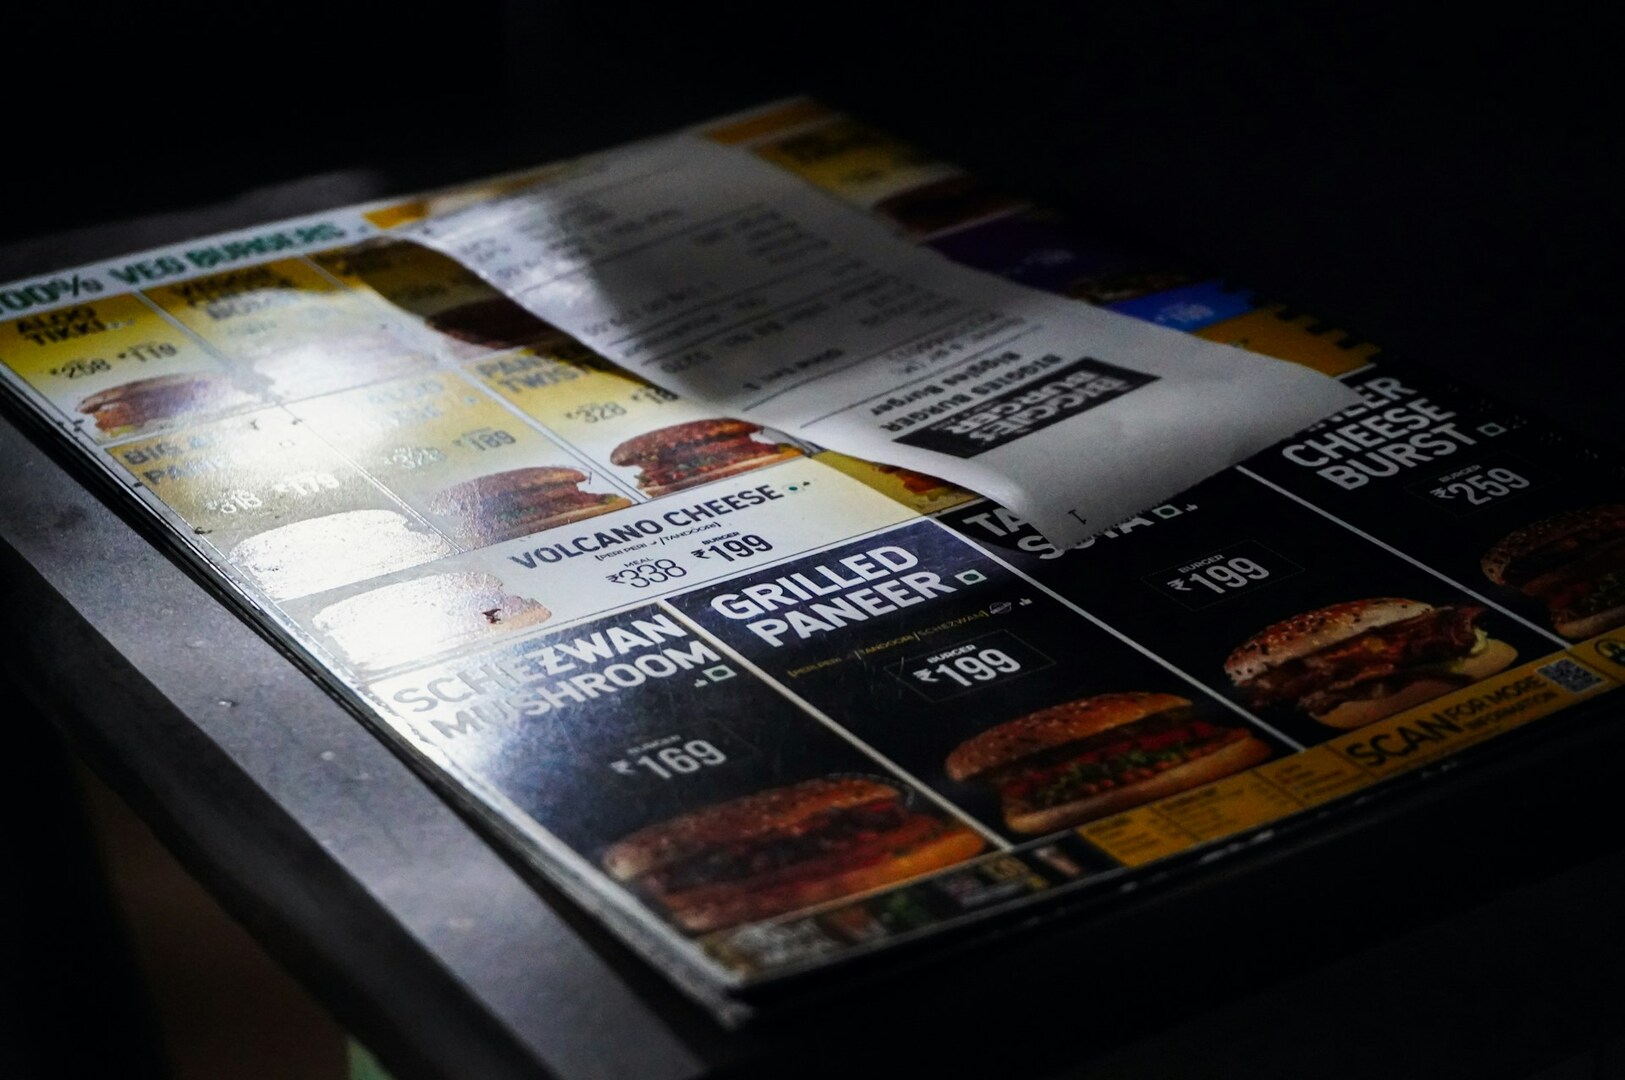
However, if you are photographing in a dimly lit restaurant, you might need a slower shutter speed to let in more light. In this case, a sturdy tripod is absolutely essential. A tripod allows you to control the camera perfectly, ensuring your macro food photography remains incredibly sharp. Whether you are capturing the smoky, oily textures of char kway teow or the delicate flakes of a fresh croissant, locking down your camera movement ensures you never lose those mouth-watering details.
Tip #2: Find Your Focus Point with Manual Focus

When you are extremely close to a subject, your camera’s autofocus often gets confused by the complex textures of food. It might focus on the wrong edge of the plate instead of the main ingredient. That is why switching to manual focus is a game-changer in macro food photography.
To achieve sharp focus, carefully adjust the focus ring until your chosen focus point is crystal clear. Think about what you want the viewer to notice first. Is it the melting butter on a piece of kaya toast or the fresh chili slice on top? Remember that the physical distance between your lens and the subject dramatically affects what stays in focus. By taking control manually, you dictate exactly where the viewer’s eye should go, ensuring the most important part of your image is perfectly highlighted.
Tip #3: Use Smaller Apertures for Better Depth
Aperture controls how much of your image is in focus, which is known as depth of field. A common mistake in macro photos is using a wide aperture (like f/1.8 or f/2.8). While this creates a beautiful background blur, it also creates an incredibly shallow depth of field when shooting close up. Only a tiny sliver of the food will actually be sharp.
To capture more texture, use smaller apertures (indicated by a higher f-stop number, like f/8 or f/11). This gives you better depth, allowing more of the dish to remain crisp while still maintaining a pleasant blur in the far background. For food photography, finding this balance is key. It ensures the intricate details of a dish are fully visible, making your macro photos look professional and appetizing.
Tip #4: Harness Natural Light and Morning Light
Light is the foundation of any great photograph, and macro food photography is no exception. Whenever possible, harness natural light. It provides a soft, flattering glow that makes food look incredibly fresh. Specifically, morning light is ideal because it creates even light that reduces harsh, unappealing shadows.
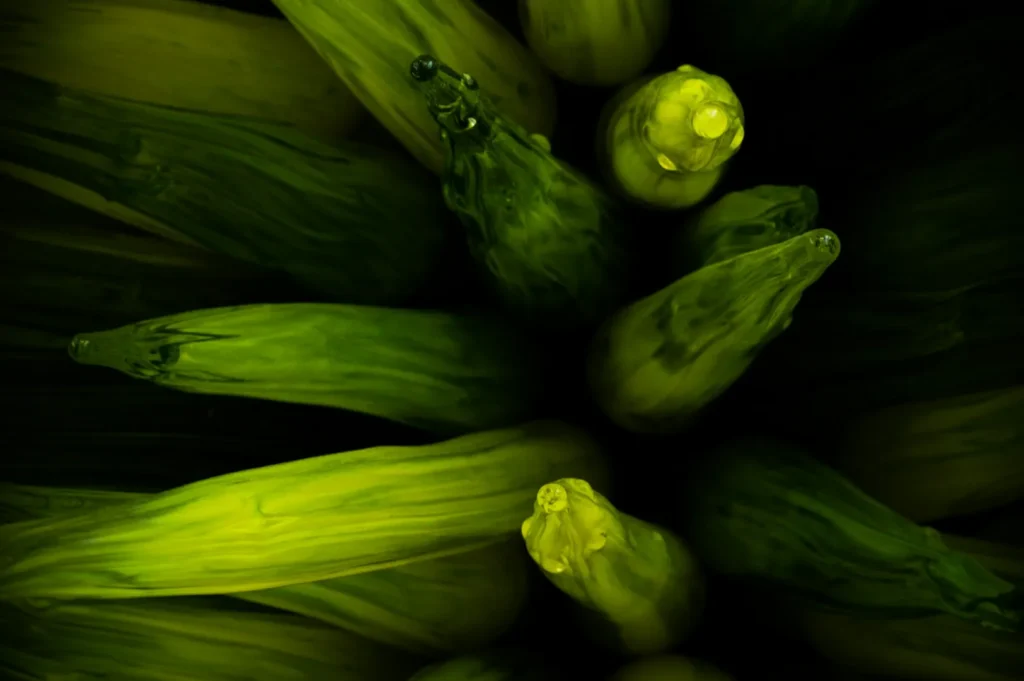
Pay close attention to your position and angle relative to the window. Side lighting or backlighting highlights the textures and moisture of the food beautifully. You should also keep an eye on your white balance. Natural light changes throughout the day, and adjusting your white balance ensures the vibrant colors of your dishes remain accurate. Whether you are photographing the bright orange of chili crab sauce or the vibrant greens of fresh herbs, proper light control will immediately enhance the visual appeal.
Tip #5: Frame Your Subject and Control the Background
In macro images, the background is just as important as the subject itself. When framing your shot, pay attention to the scene behind the food. A cluttered background distracts from the stunning close up shots you are trying to create.
Control the background by shifting your angle slightly to find a cleaner space. You can also strategically place objects or utilize subtle patterns to complement the food without overpowering it. For example, a rustic wooden table slightly out of focus can add warmth to a shot of traditional kueh. When capturing these images, always ensure the subject remains the undeniable star of the frame. A carefully considered background makes your macro photography feel intentional and polished.
Tip #6: Perfect Your Technique Through Experimentation
The best macro photographer knows that the first shot is rarely the final one. You must be willing to experiment and take a second shot; or a third or fourth. Adjust your settings on the fly as you observe how the light interacts with different textures.
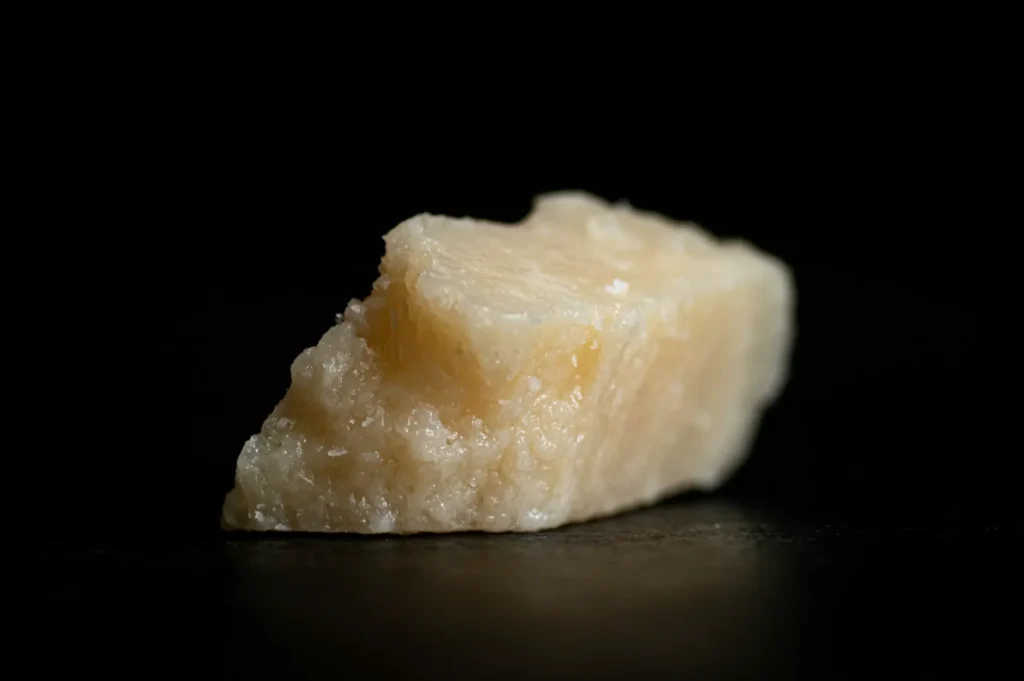
Do not be afraid if things go wrong at first. Photographing the glossy sheen of a sauce requires a different technique than capturing the dry, crumbly crust of a pastry. Set your scene, take a test photograph, and wait for the perfect moment if you are working with melting ice cream or steaming broth. Mastering this technique takes practice. By constantly experimenting and adjusting your approach, you will learn exactly what to expect from different ingredients and lighting setups.
Putting It All Together: Creating Your Macro Photos
Knowing the technical settings is one thing, but applying these tips for macro photography cohesively is where the magic happens. A successful macro shoot synthesizes all these elements into a practical workflow. Start by observing the light, then set up your gear and dial in your settings.
To achieve professional macro shots consistently, keep these key takeaways in mind:
Stabilize your setup: Always use a tripod and the correct shutter speed to prevent camera shake.
Control your depth: Choose smaller apertures to ensure your focal point remains perfectly sharp.
Refine your lighting: Harness natural light and adjust your white balance for the most accurate colors.
Frame with intention: Carefully manage your background and use manual focus to highlight the most important textures.
When you combine a fast shutter speed, the right aperture, and carefully controlled backgrounds, you achieve macro shots that truly stand out. It is important to remember what matters most: making the food look irresistible. Creating beautiful pictures requires patience. Whether you are capturing the precise layers of kaya toast or the intricate details of a chili crab claw, these photography tips work together to elevate your visual storytelling.
Conclusion
To wrap up, mastering these essential tips for macro photography will dramatically elevate the quality of your F&B visual marketing. We have covered everything from selecting the right macro lens and mastering your shutter speed, to finding your focus point and utilizing morning light. In the competitive world of food photography, highlighting the intricate details of your dishes is a powerful way to engage customers.
While other things matter in running a restaurant, the visual challenge of presenting your food online is undeniably crucial. We hope you found this blog post helpful and that it inspires you to refine your technique.
While these tips can help you create stunning macro photos, working with an experienced food photographer ensures consistently professional results. At Food Photographer Studio, we bring both technical sense and creative vision to capture your dishes’ intricate details; making every photograph count. Visit our website for more details: https://foodphotographerstudio.com.sg/