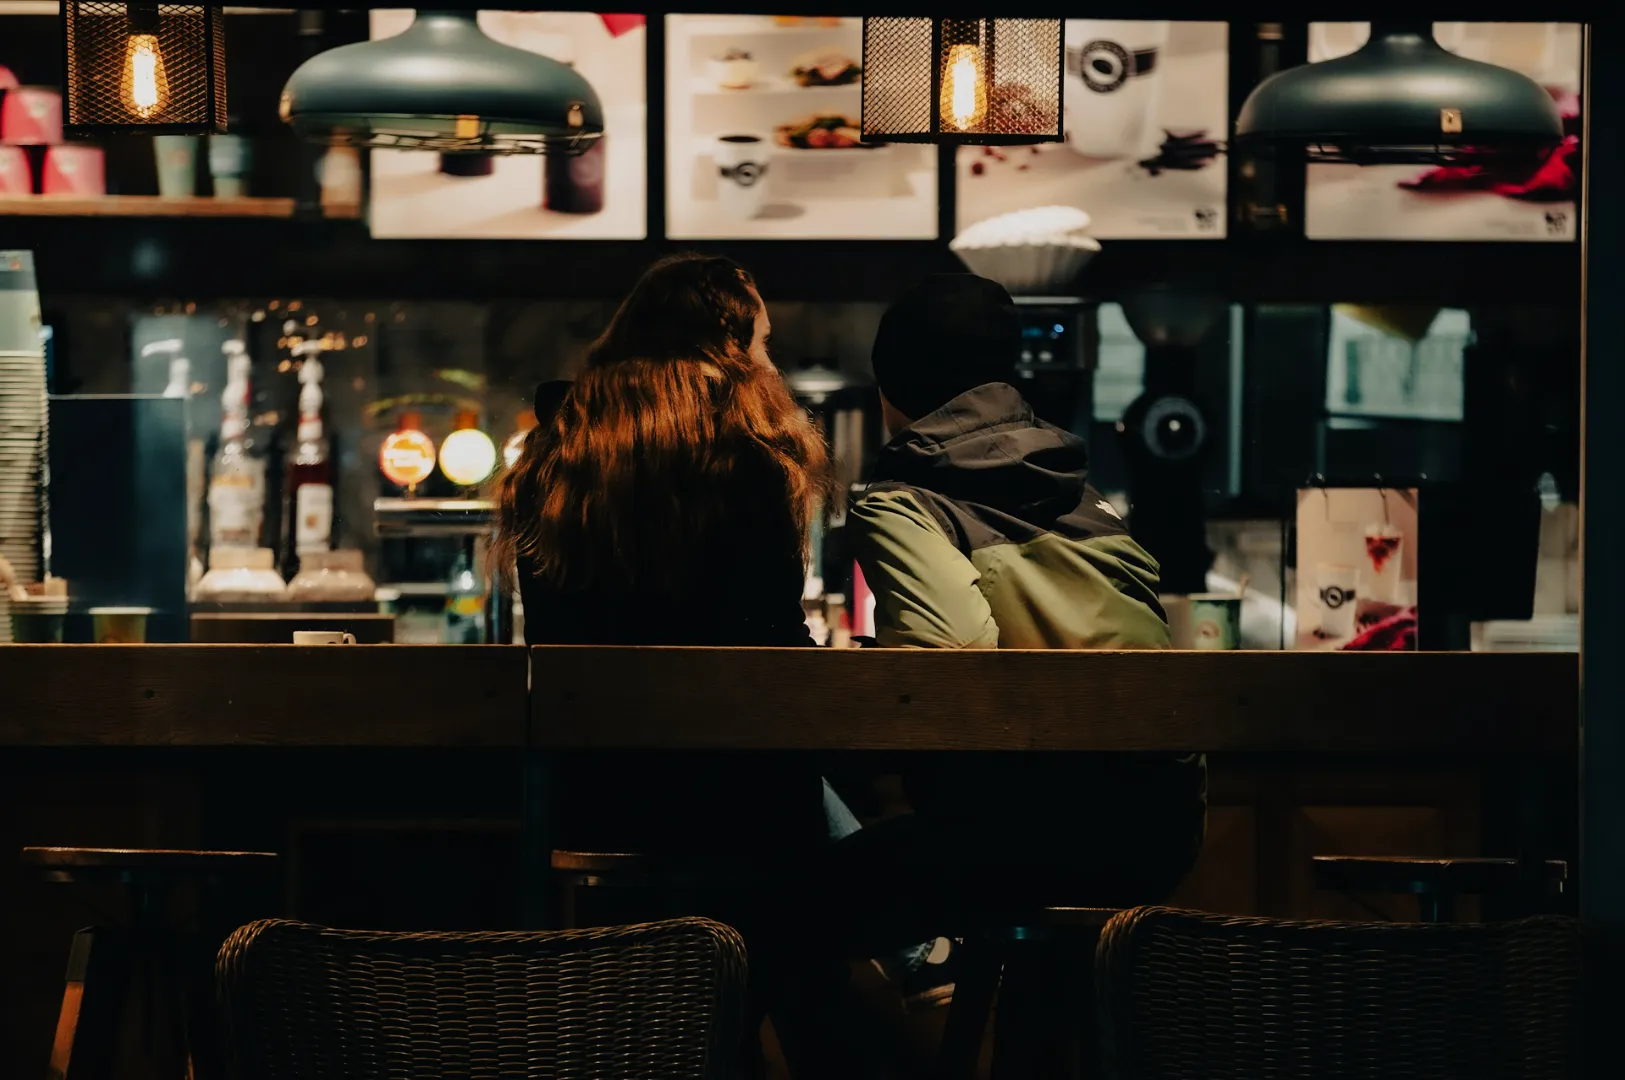
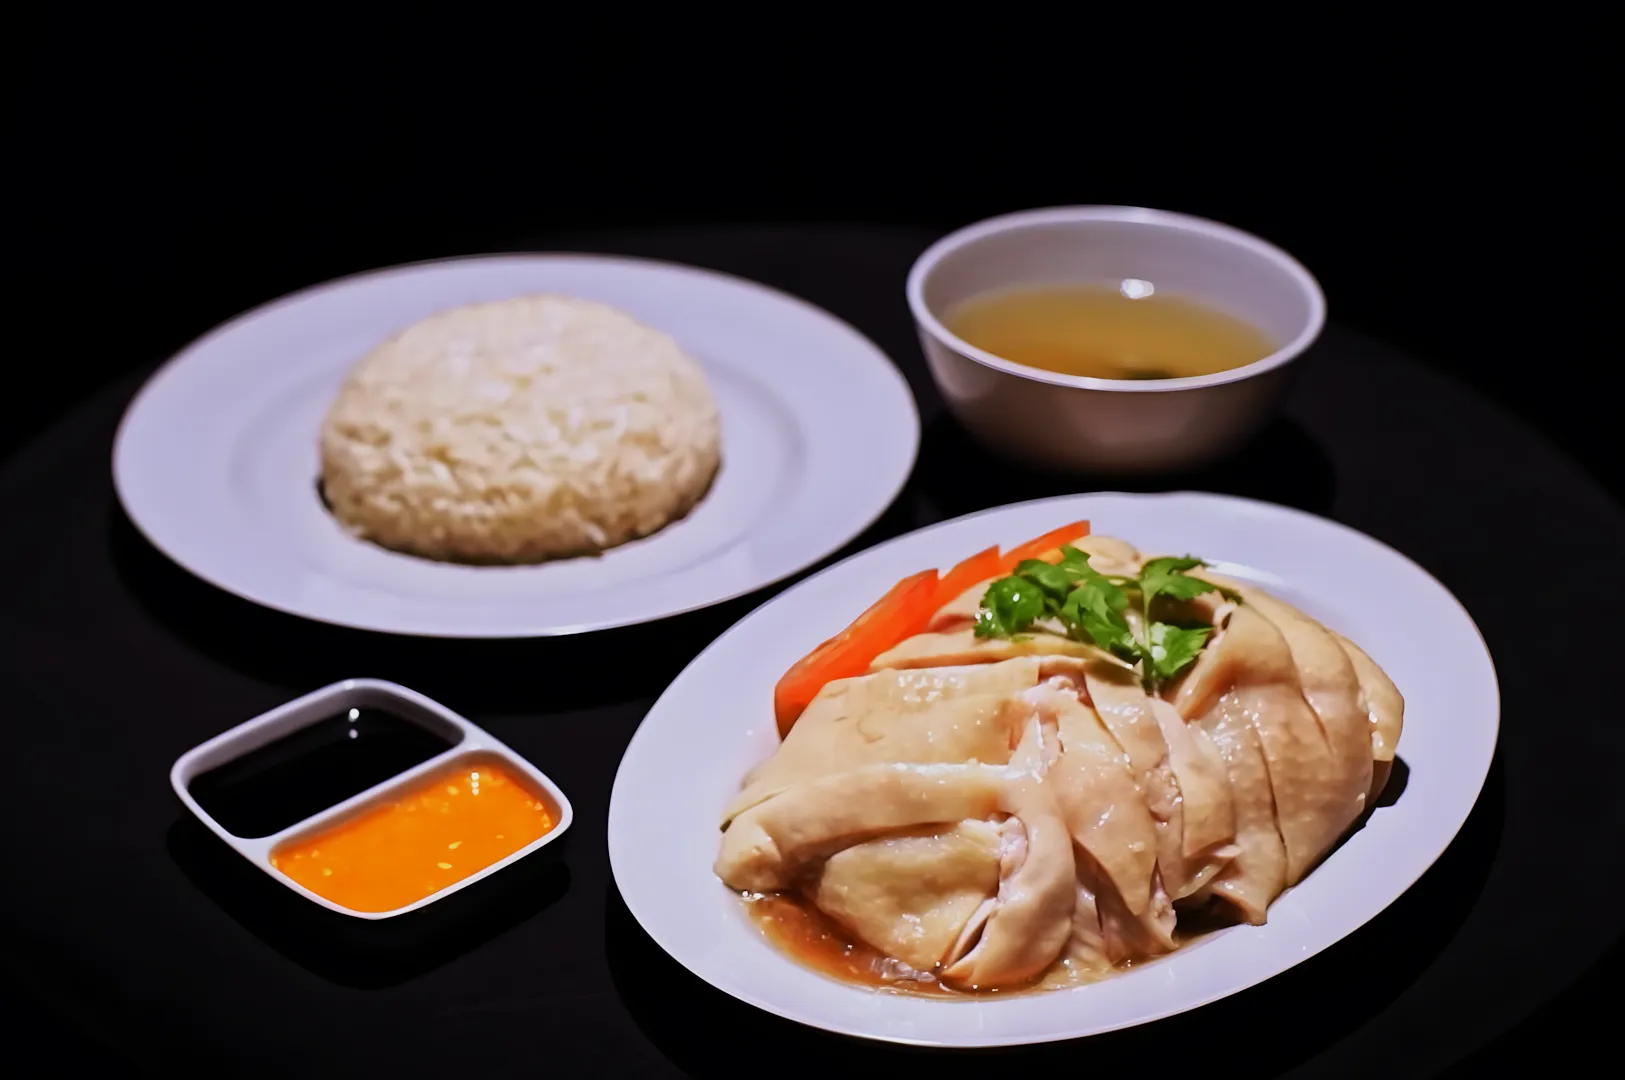
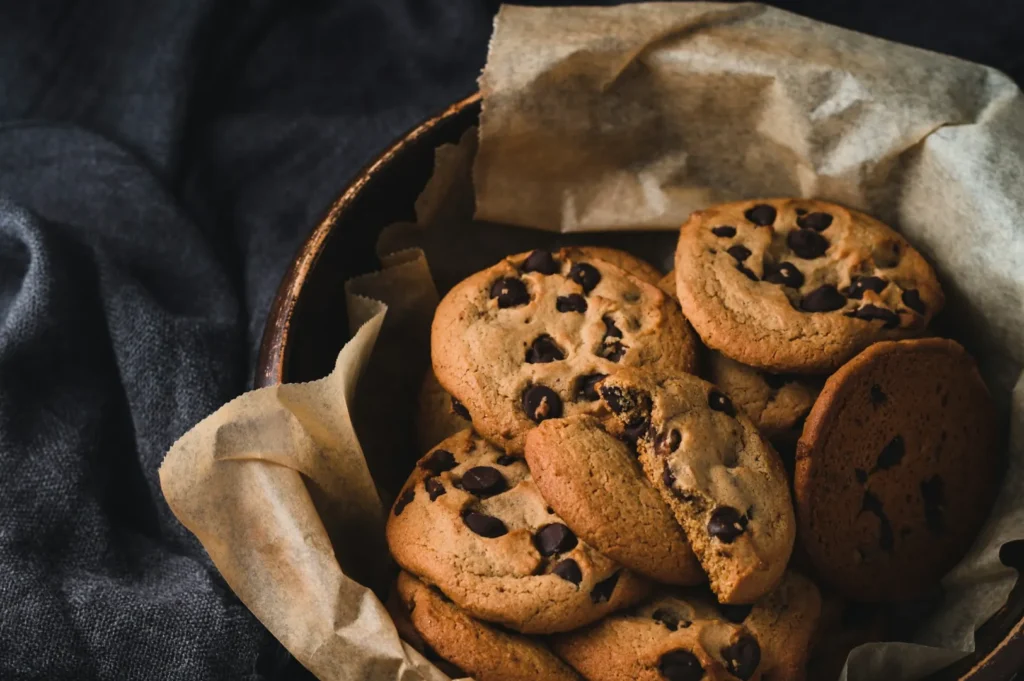
Picture a typical afternoon shoot in a bustling Singapore cafe. You have a beautiful plate of Hainanese chicken rice sitting near a large window, but the warm ceiling downlights are still glowing above it. There is even a bright neon sign buzzing just a few feet away.
When you review your photos, the dish looks completely wrong. The white rice has turned yellow, the shadows look unnaturally blue, and the fresh cucumber slices look dull and gray. Editing these images becomes an endless fight because the colors pull in completely different directions.
You need a reliable, set-first workflow to fix color casts food photography before you ever open an editing app. As a studio that shoots in local F&B spaces every single week, we know that solving a mixed lighting color cast on set is the only way to keep your food looking naturally appetizing.
What Mixed Lighting Actually Means (In Normal Words)
Mixed lighting simply means you have multiple light sources with entirely different color temperatures hitting your scene at the exact same time. It happens when cool daylight from a window mixes with warm indoor bulbs or green-tinted LED strips.
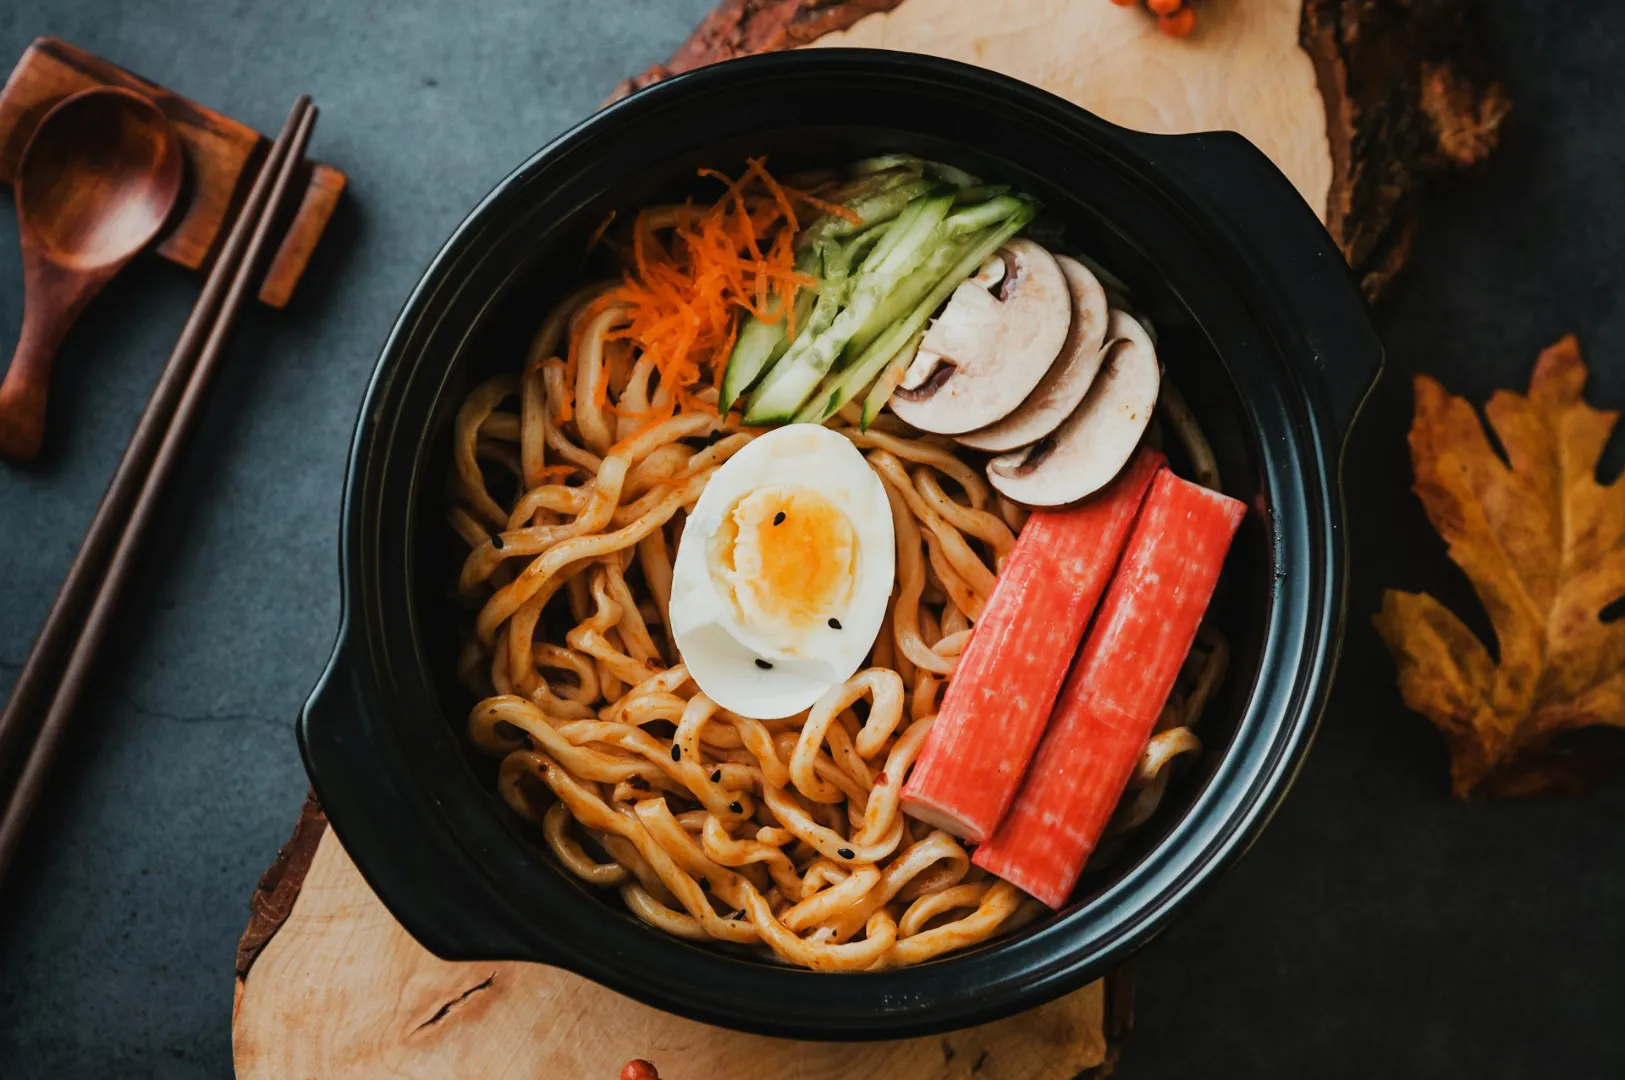
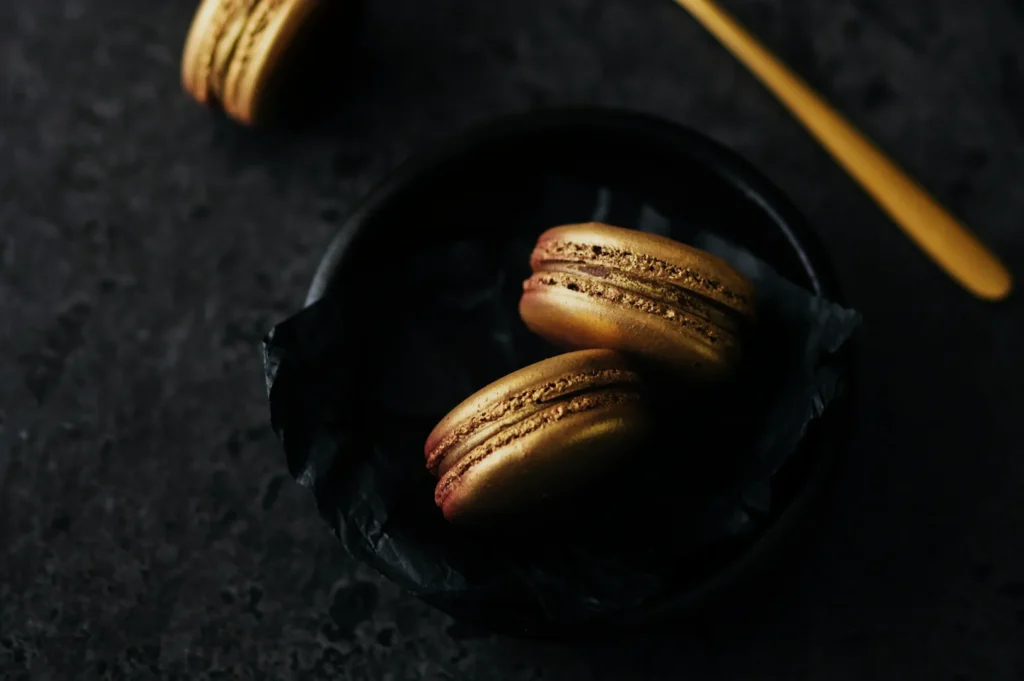
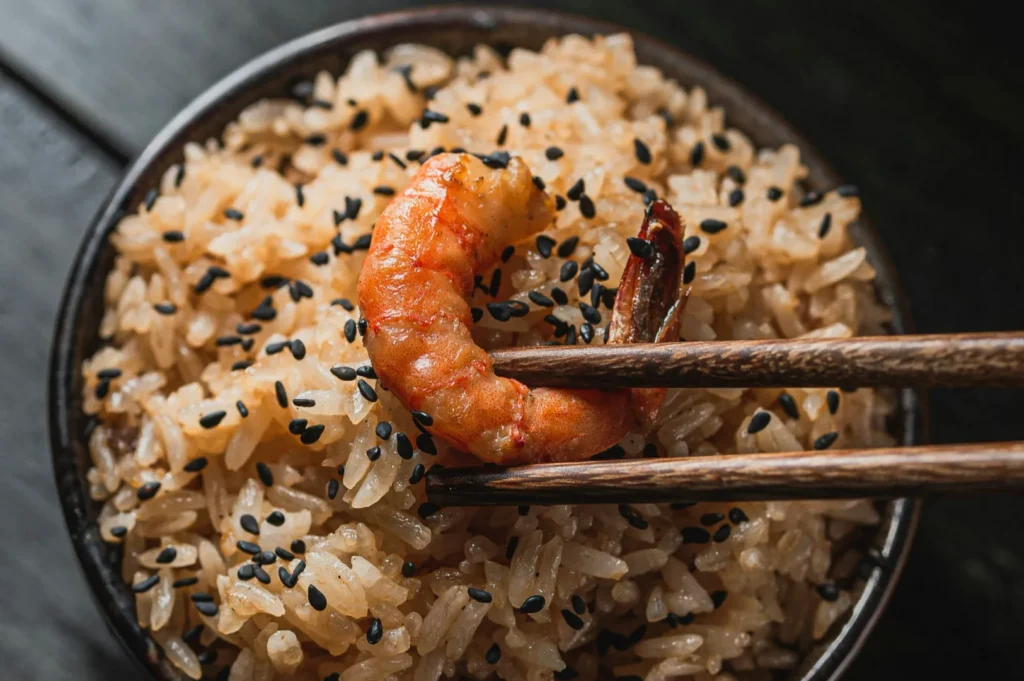
Food photography suffers from mixed lighting more than any other subject because of memory colors. Your customers know exactly what white rice, creamy coconut milk, and fresh red chili should look like. When these specific ingredients look tinted or dirty, the viewer instinctively loses their appetite.
If the neutrals are not neutral, the whole dish feels wrong. You cannot fake fresh food if your baseline colors are compromised by bad lighting.
The 60-Second Diagnosis (How To Prove It Is Mixed Lighting)
Do The White Plate Test
You can easily diagnose a mixed lighting color cast by performing a simple white plate test. Place a completely blank white ceramic plate exactly where your hero dish will sit. Take a test photo and look closely at the white surface. If one side of the plate looks yellow and the other side looks blue, you have a severe mixed lighting problem.
Look For “Two Shadows”
Check the shadows falling onto your table surface. If you see two distinct shadows pointing in different directions, you are being hit by two different light sources. If those two shadows have entirely different colors, your camera sensor will struggle to find a clean white balance.
Quick Phone Check (If You Are Shooting With A Phone)
Modern smartphones try to auto-correct bad lighting continuously. Hold your phone over the food and watch the screen for a few seconds. If the colors constantly shift from warm to cool while you hold perfectly still, your phone is confused by the conflicting light sources in the room.
The Three Biggest Mixed Lighting Culprits In Singapore Shoots
Window Light Plus Warm Indoor Lights
This is the most common mixed lighting color cast issue in any restaurant. You place your table near a bright window to use the beautiful natural daylight. However, you forget to turn off the warm tungsten lights hanging directly above the table, causing the top of your dish to look orange while the sides look blue.
LEDs That Are “Almost Daylight” But Not Quite
Many modern cafes install commercial LED panels that claim to mimic daylight. In reality, these cheap panels often project a heavy green or magenta tint onto your food. When this artificial light mixes with true sunlight from a window, your fresh pandan desserts and herbs will look incredibly sickly.
Neon, Signage, And Colored Walls
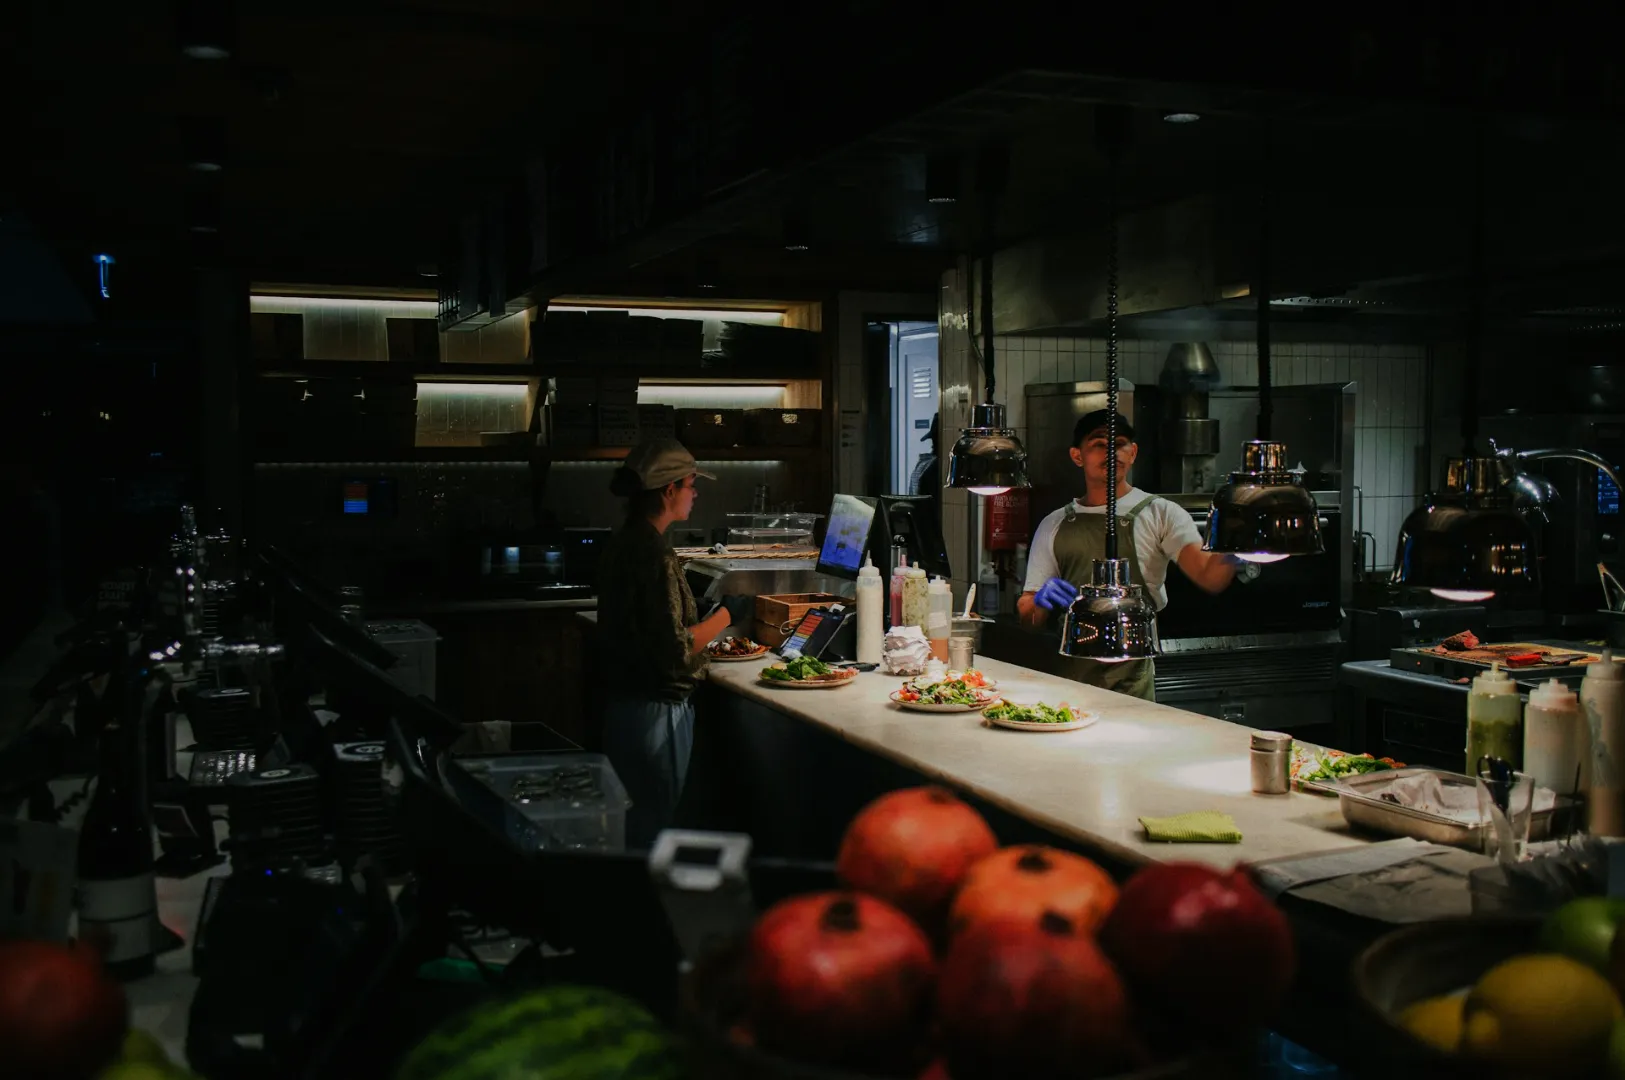
Vibrant interior design choices often ruin food photography. Bright neon signs and colored walls act like massive light sources that bounce tinted light across the room. This colored spill reflects directly off glossy surfaces like iced kopi, rich curries, and shiny ceramic bowls.
Fix First, Then Shoot (Set-First Solutions That Actually Work)
Fix 1: Choose One Dominant Light Source
You must make a firm decision about your lighting before you start styling. Commit entirely to the window light, or close the blinds and commit entirely to your artificial lights.
One clean light beats three almost-matching lights. A single, consistent light source makes finding the correct white balance effortless.
Fix 2: Turn Off Practicals, Or Make Them The Intentional Hero
Practical lights include table lamps and decorative wall sconces. You should turn them off completely if they are casting an ugly orange glow onto your hero dish. If you must keep them on for atmosphere, ensure they only light the background and never touch the food itself.
Fix 3: Match Bulbs (When You Can)
If you must use multiple lights, try your best to match their color temperatures. If your studio strobe is balanced for daylight, turn off all the warm tungsten bulbs in the immediate area. This simple habit saves small teams hours of frustrating editing work.
Fix 4: Control Spill With Distance And Simple Flags
You can physically block bad light from hitting your set using simple tools. Move your shooting table further away from the conflicting light source to reduce its impact. Stand a black menu, a dark tote bag, or a black foam board between the neon sign and your food to flag the colored spill.
Fix 5: Neutralize Colored Bounce
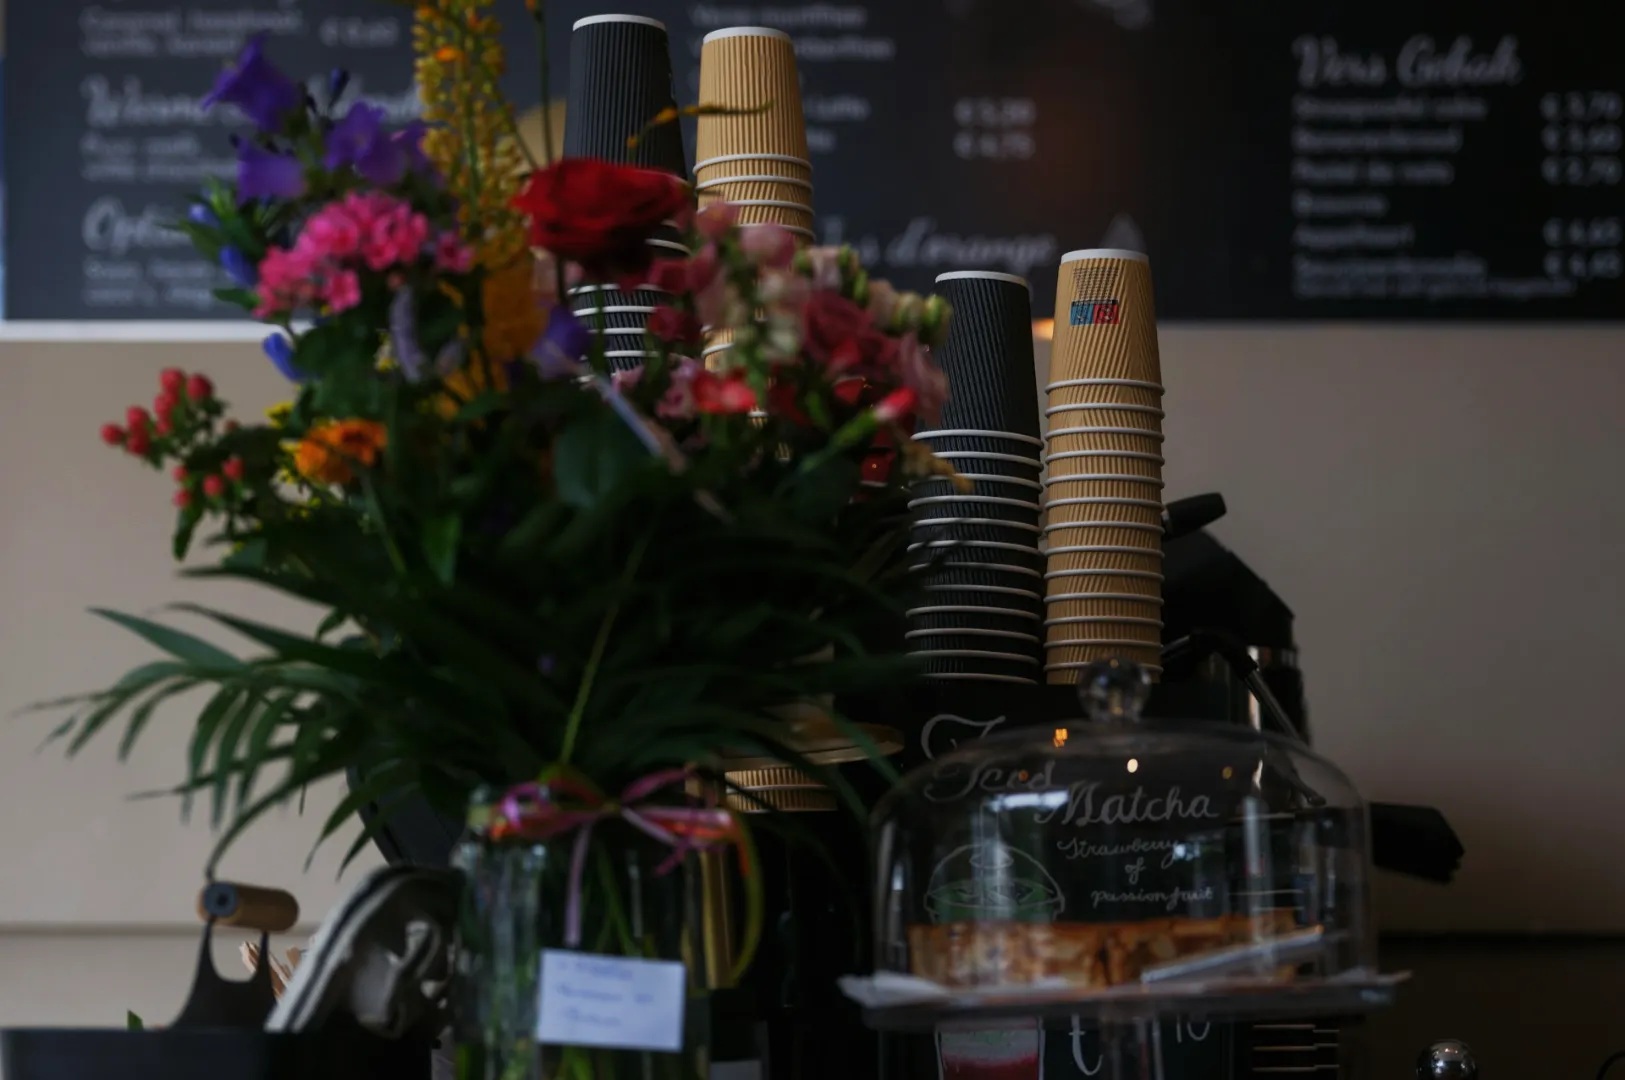
Brightly colored objects near your food will bounce tinted light right back into your shadows. Red cafe tables, green cutting boards, and vibrant napkins are notorious for creating accidental color casts. Fix this quickly by placing a neutral placemat under the plate or swapping the bright linens for clean white ones.
White Balance And Tint (The Simple Approach When Mixed Lighting Is Present)
Set White Balance For What Must Be Neutral
When you cannot entirely remove a mixed lighting color cast, you must prioritize your most important ingredients. Set your camera white balance specifically for the elements that absolutely must look neutral. Target your white rice, your ceramic plate, or your paper napkin to anchor the image correctly.
Tint Is Usually The Hidden Problem
While most people focus on making the image warmer or cooler, the tint slider is usually the real problem. Commercial LEDs and light bouncing off green plants will push a heavy green cast into your shadows. Push your tint slider slightly toward magenta until the greens disappear from your white plates.
The Only Time To “Fix It In Post”
You should only rely on editing software to fix color casts food photography when you have absolutely zero control over the room. If the restaurant is fully open and you cannot touch the light switches, do your best to block the worst light with a menu. You will then have to use local adjustment brushes to paint clean color back into the muddy areas.
Common Food Cast Problems (And The Fast On-Set Fix)
Use this quick troubleshooting list to solve color problems before you press the shutter.
- Problem: Coconut milk looks muddy and unappetizing.Likely Cause: Colored bounce from a nearby wall is tinting the white liquid.On-Set Fix: Move the entire table setup away from the painted wall.
- Problem: Metal cutlery reflects bright green or pink light.Likely Cause: The shiny metal is catching reflections from the room environment.On-Set Fix: Surround the set with white foam boards to give the metal a clean reflection.
- Problem: One side of the dish is warm, and the other side is cool.Likely Cause: You are perfectly positioned between a window and an indoor lamp.On-Set Fix: Choose one light source and completely block the other.
- Problem: The background is fine, but the food looks strange.Likely Cause: A colored napkin or tabletop is bouncing light directly onto the dish.On-Set Fix: Swap the vibrant surface for a neutral gray or white backdrop.
A Repeatable "Mixed Lighting Rescue" Workflow (Use This Every Time)
The 5-Step Flow
You can rescue any difficult location by following a strict five-step workflow. First, identify every single light source in the room. Second, pick the one dominant light source that makes the food look best. Third, remove, turn off, or block all the competing lights.
Fourth, perform a fast white plate test to confirm the remaining light is clean. Finally, lock your camera settings and shoot your full set. Maintaining this setup ensures perfect consistency across a massive menu shoot or a busy content day.
Wrap-Up (Clean Light First, Clean Color Follows)
Fixing a mixed lighting color cast does not require expensive gear or advanced editing skills. It simply requires you to look closely at your light sources and make deliberate choices to protect your hero food.
If you want the broader system behind these on-set fixes, read the colour in photography framework we use to keep food photos believable: the colour in photography framework we use to keep food photos believable.
Try doing a white plate test before you capture your first hero frame on your next content day. You will immediately see the difference clean light makes to your final images.