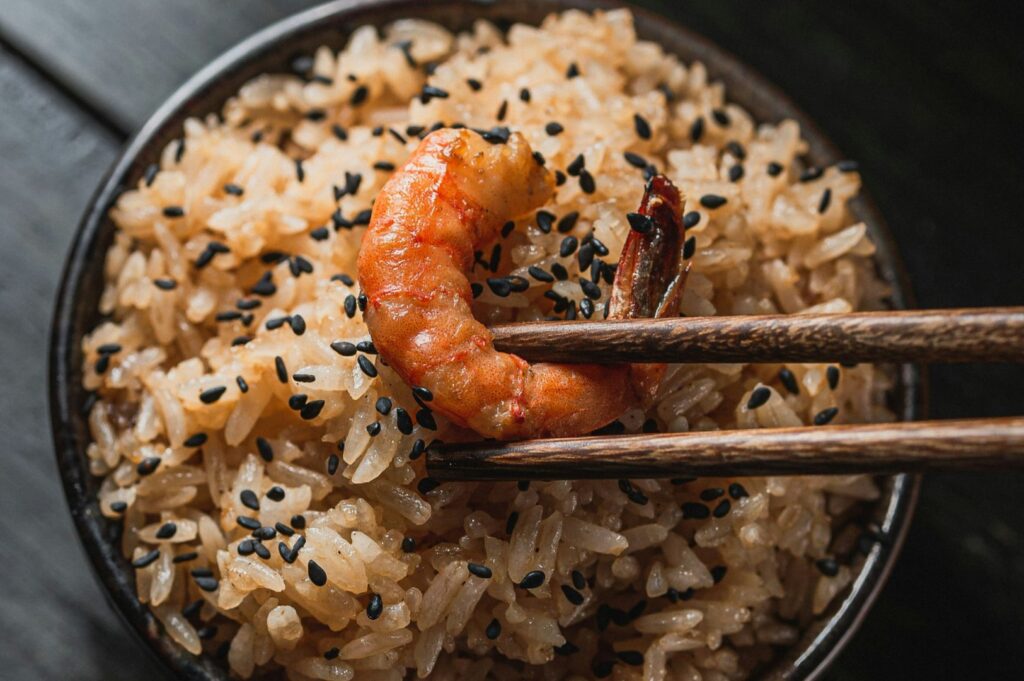
Picture two food photos placed side by side. Both feature the same perfectly plated dish, perhaps a vibrant bowl of laksa. One photo is flat, slightly yellow, and fails to capture the dish’s appeal. The other is dynamic, rich in texture, and makes you want to reach for a spoon. What creates this huge difference? It’s often not the fancy camera. It’s the knowledge of specific camera settings that professional food photographers use to transform ordinary food photos into captivating images with a unique style.
These are not gatekept secrets but foundational skills that are accessible to anyone willing to move beyond their camera’s auto mode. This blog post will reveal the three camera settings that top food photographers in Singapore adjust for every food shoot. These food photography tips will empower you to take better images, whether you’re using a professional DSLR or the smartphone in your pocket. Whether you’re running a food blog or simply love sharing your culinary creations, mastering these settings will help keep the main focus on your dish and elevate your photos.
Secret #1: Tips for Mastering Shutter Speed and Artificial Lighting to Capture More Light
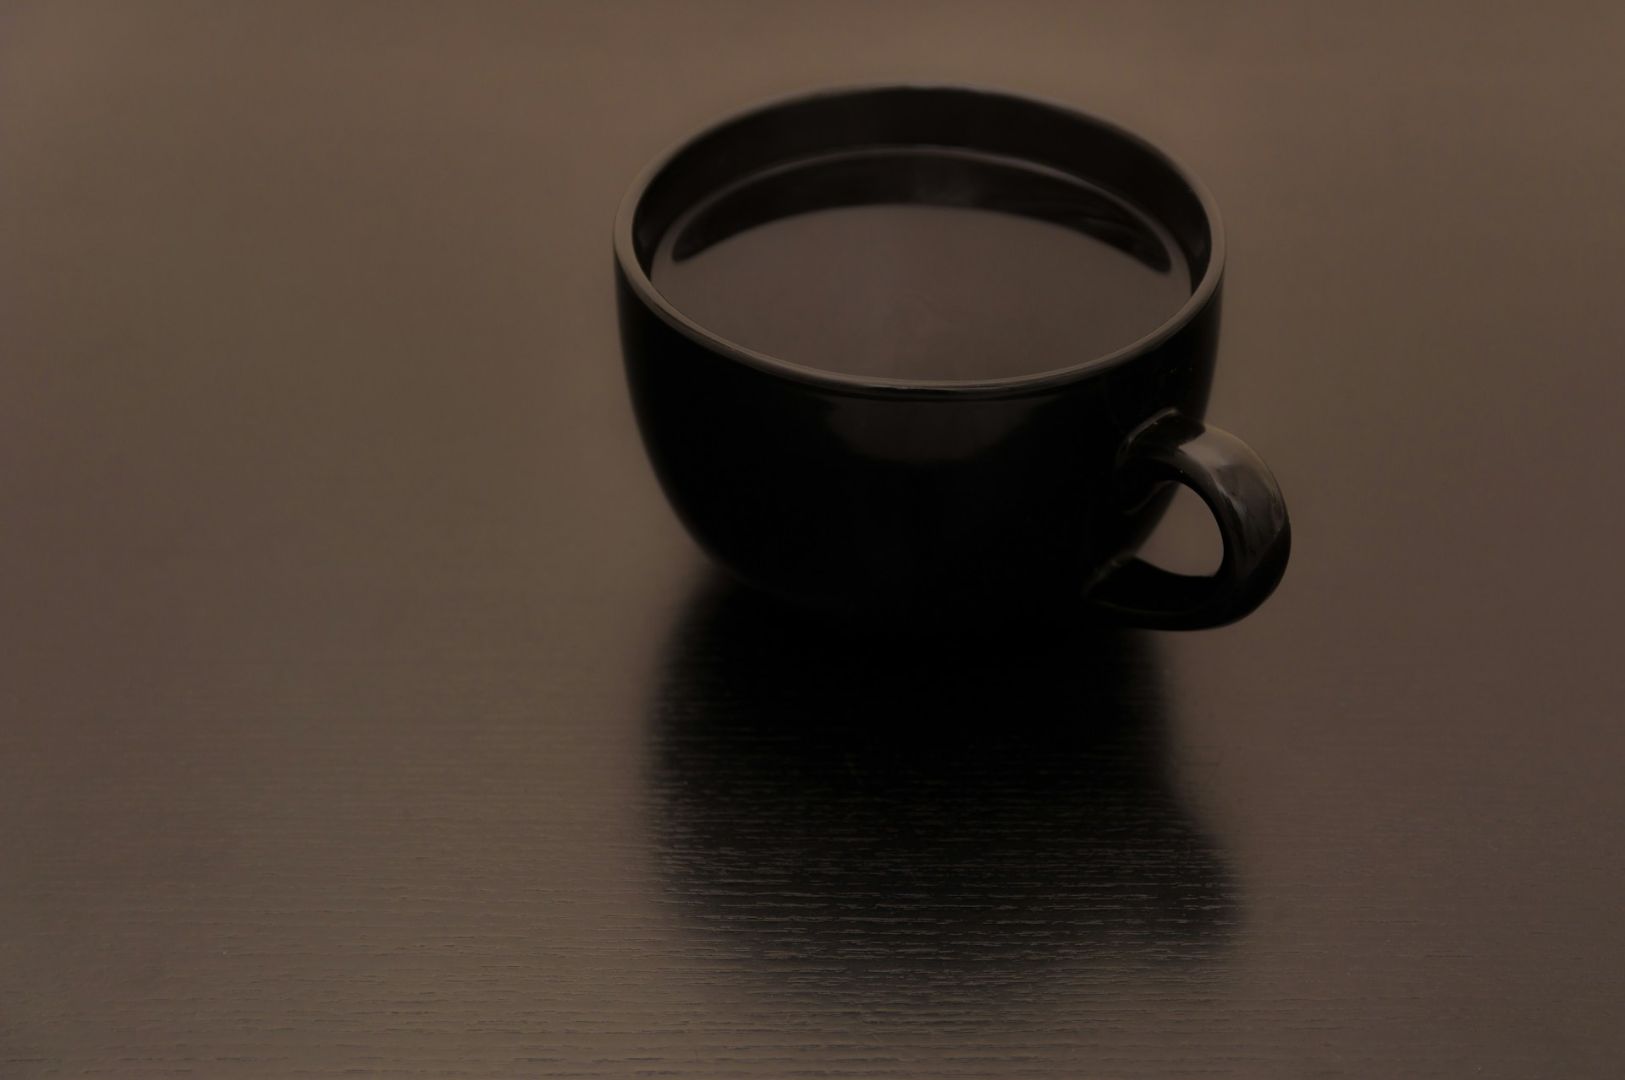
At its core, food photography is the art of capturing more light. The first secret that food photographers master is the intricate dance between shutter speed and their light source. Shutter speed determines how long your camera’s sensor is exposed to light. A seemingly minor adjustment can be the difference between a sharp, well-lit image and a blurry, dark mess. Understanding this setting is an important aspect of good food photography.
Adjust Shutter Speed for Your Light Source and Camera Angle
Professional photographers constantly adjust shutter speed based on the available light and the camera angle they choose.
Natural Light: When shooting with bright, indirect window light, you can use a faster shutter speed (e.g., 1/125s or higher) to freeze motion and get a crisp shot. This is ideal for capturing steam or a sauce pour.
Artificial Lighting: In a restaurant with dimmer indoor lighting, you’ll need a slower shutter speed (e.g., 1/60s or slower) to capture enough light. This is where the risk of camera shake increases dramatically. Using a tripod becomes essential to avoid blurry images.
Studio Lights: With powerful studio lights, photographers have full control and can use faster shutter speeds to get perfectly sharp, detailed images every time.
A common challenge in Singapore is dealing with intense, direct sunlight. On a sunny day, you need a very fast shutter speed to avoid overexposing the photo, which washes out details and colors.
Secret #2: Depth of Field and Better Composition Magic with the Right Camera Angle
The second secret is creating that coveted background blur, a technique that makes the main subject pop. This is achieved by controlling the depth of field—the area of your image that is in sharp focus. Professional food photographers are obsessed with depth of field because it guides the viewer’s eye and creates a sense of professional polish.
Using Aperture for Better Composition and Great Tips on Camera Angle
Depth of field is controlled by the camera’s aperture.
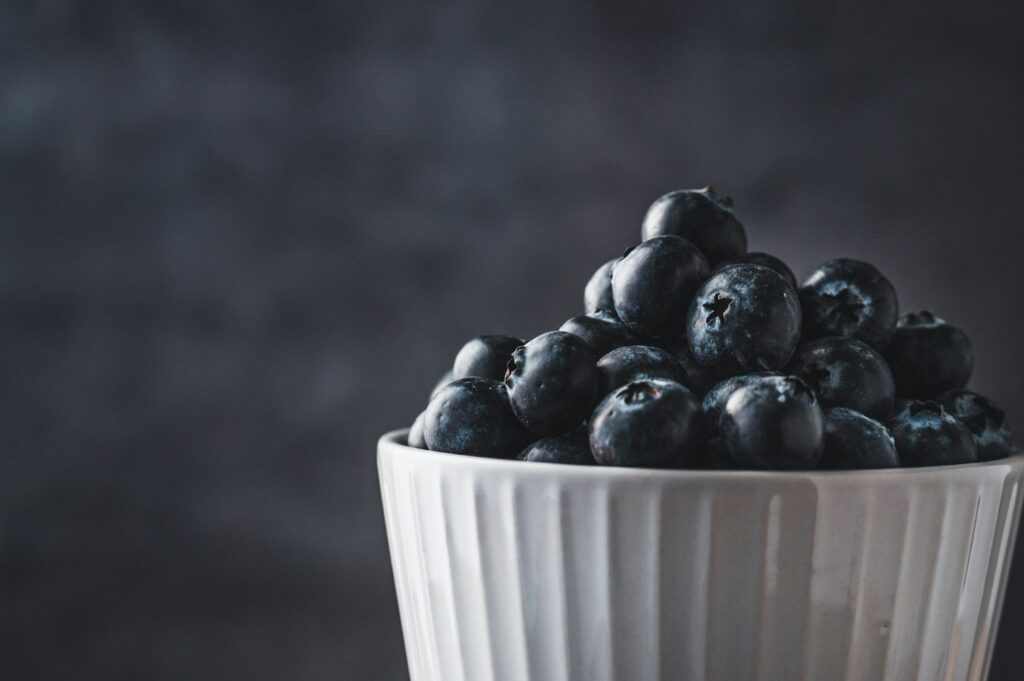
Wide Aperture (Low f-number like f/1.8): This creates a shallow depth of field, throwing the background into a beautiful blur. It’s perfect for making your main subject the hero, whether it’s a salad bowl with interesting textures or a single, perfect macaron.
Narrow Aperture (High f-number like f/8): This keeps more of the image in focus. It’s ideal for an overhead shot where you want the entire tablescape to be sharp and clear.
The same camera angle doesn’t work for every food shoot. For vertical shots on social media, using a more shallow depth of field creates immense visual appeal and draws the viewer into the details of the dish. Once you learn to control it, the depth of field setting on most cameras is extremely user friendly and will dramatically improve your better composition for eye-catching food photos.
Secret #3: Why White Balance Is Every Food Photographer’s Best Friend for Keeping the Main Focus
Have you ever taken a photo of a dish on a white plate, only for the plate to look yellow or blue in the picture? This is a white balance problem. The third secret is that a food photographer’s best friend is their camera’s manual white balance setting. Auto white balance often gets confused by different light sources, leading to unnatural color casts that make food look unappetizing.
Manually Adjust for Authentic Color and Unique Style
Manually adjusting your white balance tells your camera what “true white” looks like in your current lighting conditions. Whether you’re under the warm glow of indoor lighting or the cool tones of natural light from a window, setting this manually ensures your food’s colors are rendered accurately.
This is why great photographers always recommend shooting in raw format. A RAW file captures more data, giving you the flexibility to fine-tune the white balance in post-production using photo editing software. Even minor adjustments can make your images pop and ensure the final good food photo reflects the dish’s true visual appeal.
Beyond the Big 3: Other Food Photography Tips and Great Tips for Your Food Blog
While shutter speed, depth of field, and white balance are the foundational trio, professional photographers use several other tricks to keep the main focus on the food.
High ISO: In low light situations, increasing the ISO makes your camera more sensitive to light. Use it cautiously, as a very high ISO can add digital noise or grain to your photo.
Manual Mode: Don’t be afraid of manual mode. On most cameras, it’s extremely user-friendly once you practice, giving you full creative control.
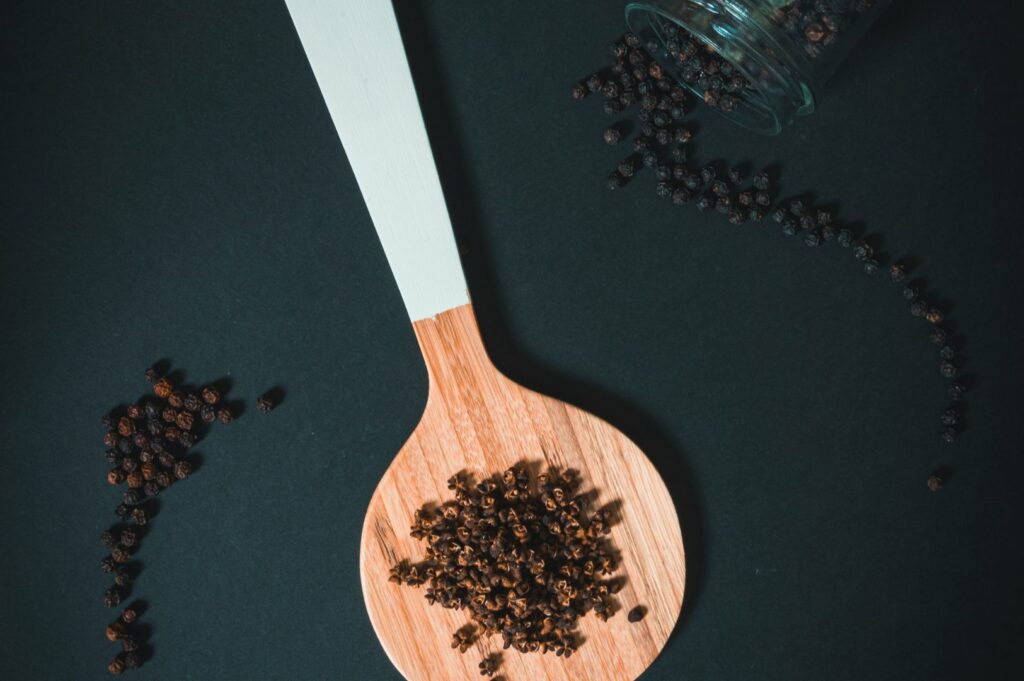
Props and Surfaces: Use wooden boards and other props to add visual interest. Avoid shiny surfaces that create distracting reflections.
Negative Space: Leave empty space around your main subject. This creates better composition and a more professional look.
Practical Effects: A spray of cold water can create beautiful condensation on a glass for an instantly refreshing look.
Take Several Shots: Never rely on one photo. Take several shots from different angles to ensure you get the perfect shot.
Food Photographers in Singapore: Mastering Direct Sunlight and Challenging Conditions with Their Unique Style
Food photographers in Singapore are uniquely skilled at adapting to diverse lighting. You’ll find them working in a hawker centre with challenging mixed natural light, a fancy restaurant with controlled studio lights, or a café where the window light becomes a saving grace.
Imagine two photos of kaya toast. An amateur shot might have a yellow tint from indoor lighting, while a professional photo will show the true golden-brown of the toast by correcting the white balance. This understanding of light allows Singapore’s food photographers to develop their own unique style and create great photos in any environment.
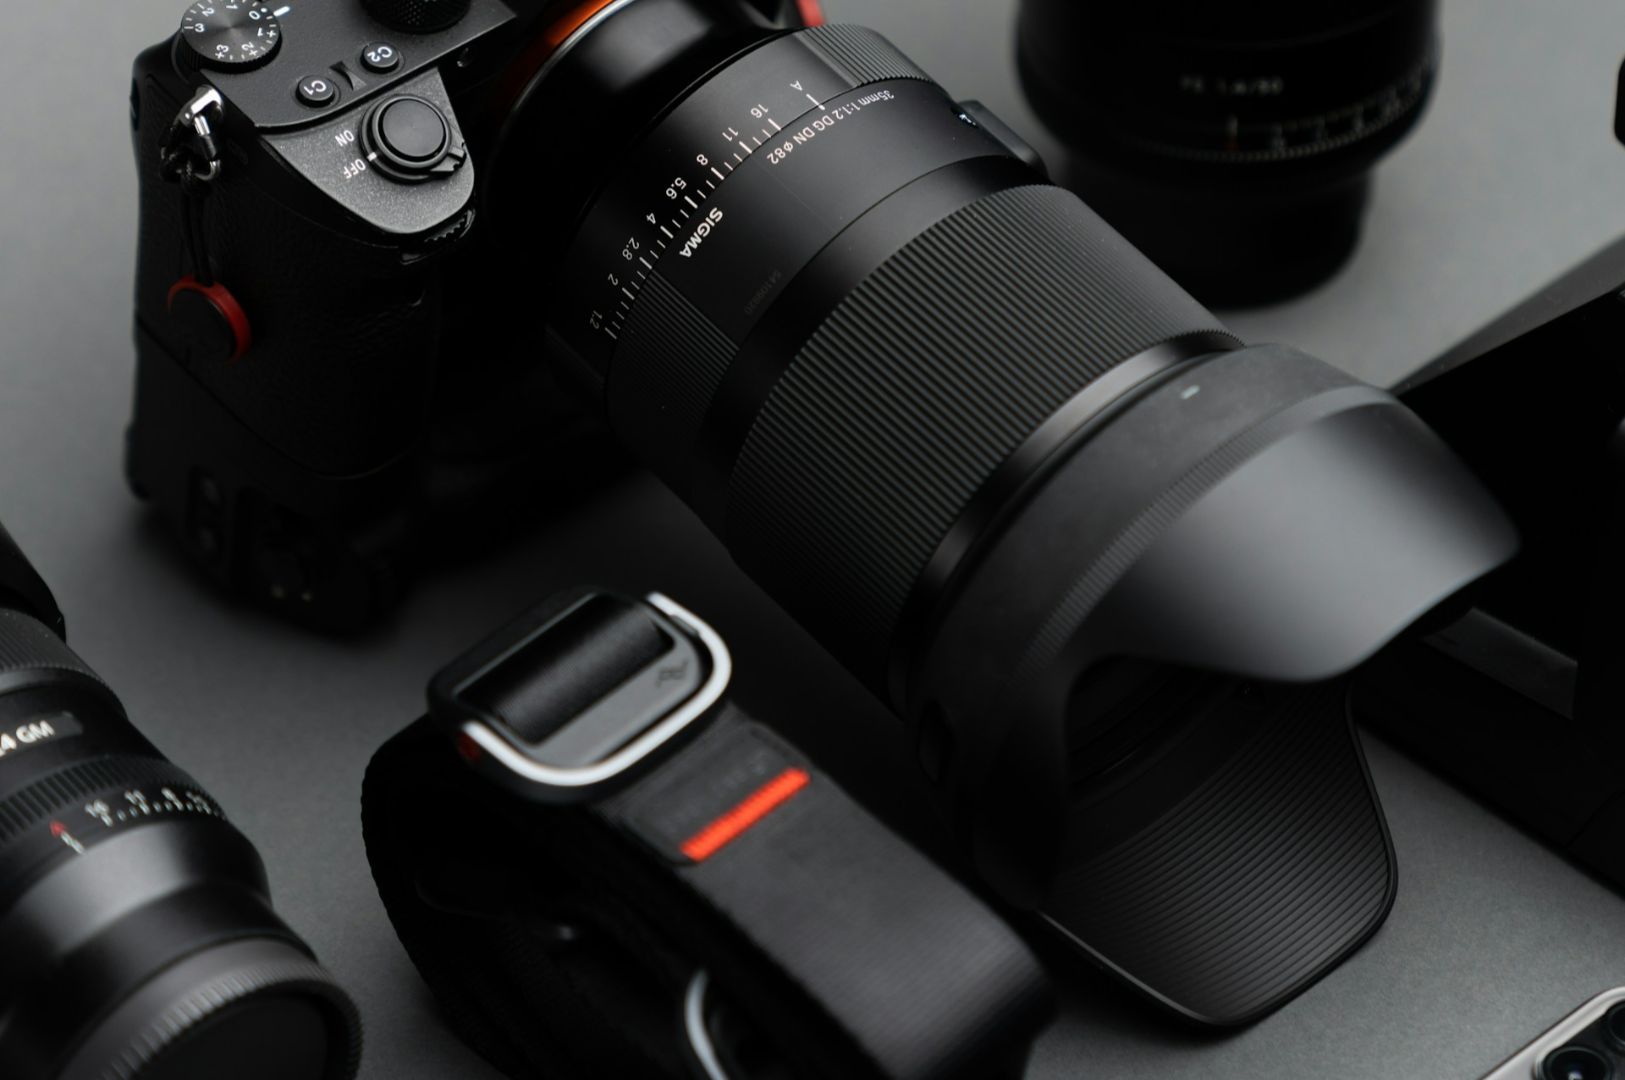
The Equipment Reality Check
It’s easy to believe that a fancy camera is the key to great photos. The truth is, mastering these camera settings is far more important. A second image taken on a modest camera with the right settings will always look better than a photo taken on expensive equipment set to auto mode. Great food photos come from the photographer’s skill, not the price tag of their gear.
Conclusion
These food photography tips are the foundation upon which professional photographers in Singapore build their craft. While you can start practicing these settings today, consistently producing great photos requires a complete skillset that includes food styling, a strong creative vision, and business expertise.
Choosing the right approach begins with understanding the technical settings, but it’s the expertise behind the lens that brings a culinary story to life. A good photographer combines technical mastery with artistic vision, business acumen, and the interpersonal skills to work closely with clients, capturing key moments that drive real business results.
To learn more about how a professional can transform your brand’s visual identity, explore our comprehensive guide: Food Photographer: Transforming Singapore’s F&B Industry Through Visual Storytelling.