Introduction: Why Food Styling DIY Matters in Singapore’s F&B Scene
Running a small food business in Singapore means navigating some of the tightest margins in the world. Whether you operate a café tucked away in Tiong Bahru or manage a hawker stall at Old Airport Road Hawker Centre, you already know the pressure: rising rents, fluctuating ingredient costs, and the constant challenge of finding reliable staff. With over 30,000 hawker stalls, cafés, and restaurants competing across the island, standing out has never been harder.
Here’s the reality: strong visuals are no longer optional. Every time a customer scrolls through GrabFood, Deliveroo, or Foodpanda, your food photos compete against hundreds of alternatives. High‑quality food photos on Instagram matter more than ever because Instagram reaches millions of users in Singapore with over 3.2 million active users engaging with visual content on the platform. This makes compelling food photography a key driver of customer awareness and purchases.
The good news? You do not need to hire a professional photographer every month. DIY food photography and food styling diy offer a realistic, budget-friendly path to better images. This guide will teach you concrete techniques you can apply this weekend using your existing smartphone and simple props from local shops.
Why DIY Food Photography Makes Sense for Small F&B Businesses
Cost-Effective and Accessible
Hiring a food photographer for every shoot can add up quickly, especially for small businesses. A professional food shoot in Singapore can cost S$600 to S$1,200 per session, but with DIY food photography, you can achieve similar results with a one-time investment of just S$150 to S$300.
Creative Control
When you handle your own food styling and photography, you have complete control over the image’s look and feel. Whether you run a food stand or a trendy café, food photography DIY lets you showcase your dishes in a way that feels authentic to your brand.
Long-Term Skill Building
Over time, you’ll hone your food photography skills. Regularly creating and sharing food photos will improve your social media presence, attract customers, and enhance your overall marketing strategy.

Essential Equipment for DIY Food Photography on a Budget
You don’t need an expensive camera setup to take great food photos. Here are three equipment tiers that cater to small businesses in Singapore:
Basic Kit (Under S$100)
Smartphone (iPhone 14/15 or Samsung Galaxy S25) – Most smartphones today have powerful cameras with advanced shutter speed and high ISO settings.
Clip-on phone tripod – Available on platforms like Shopee for S$15–25.
White foam boards – Works as a reflector to bounce light, eliminating harsh shadows (S$10–15).
Sheer curtains – Use as a diffuser to soften natural light (S$10–20).
Intermediate Kit (S$100–S$300)
Second-hand DSLR or mirrorless camera – Try Peninsula Plaza or Funan for affordable gear.
Sturdy tripod with adjustable height – Crucial for stability during food photography.
Small LED panel – For side lighting to control shadows and highlights (S$50–100).
Advanced Kit (S$300–S$600)
Entry-level mirrorless camera (Canon EOS M50, Sony ZV-E10) – Ideal for shallow depth shots.
35mm or 50mm lens – Great for creating that beautiful texture with a bokeh effect.
Two LED panels – For professional side lighting and better control over shadows.
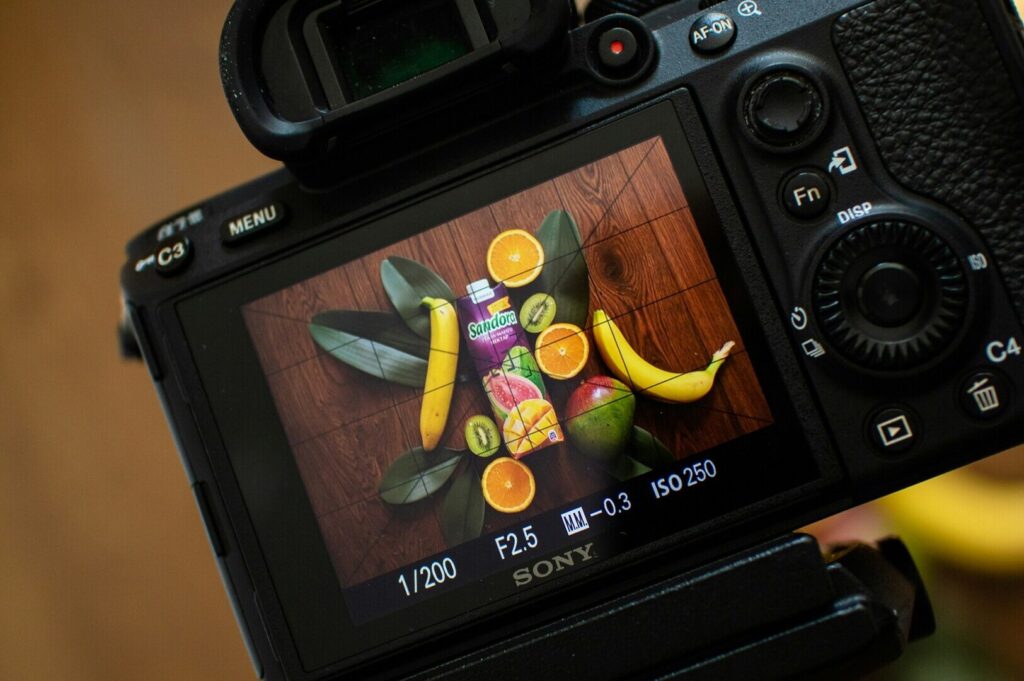
Setting Up Your DIY Food Photography Space
You don’t need a dedicated studio, just a small corner in your HDB flat or café. Here’s how to set up your DIY food photography space:
Find the Right Spot
Look for a space near a large window, preferably facing north or east, for soft natural light. The best times for shooting are around 8–11 AM or 3–5 PM to avoid harsh midday sun.
Diffuse Strong Sunlight
Singapore’s tropical light can be too harsh, creating strong shadows. Use sheer curtains or baking paper taped to the window to soften the light.
Create a DIY Backdrop
Vertical foam board – Use this as your background.
White board opposite the window to bounce light and fill shadows.
MDF boards or wooden tabletops from hardware stores like Home-Fix create a flat, stable surface for your food.
For added creativity, you can paint one board a dark color (charcoal or dark blue) and another a light color (off-white or light blue) to create different moods.
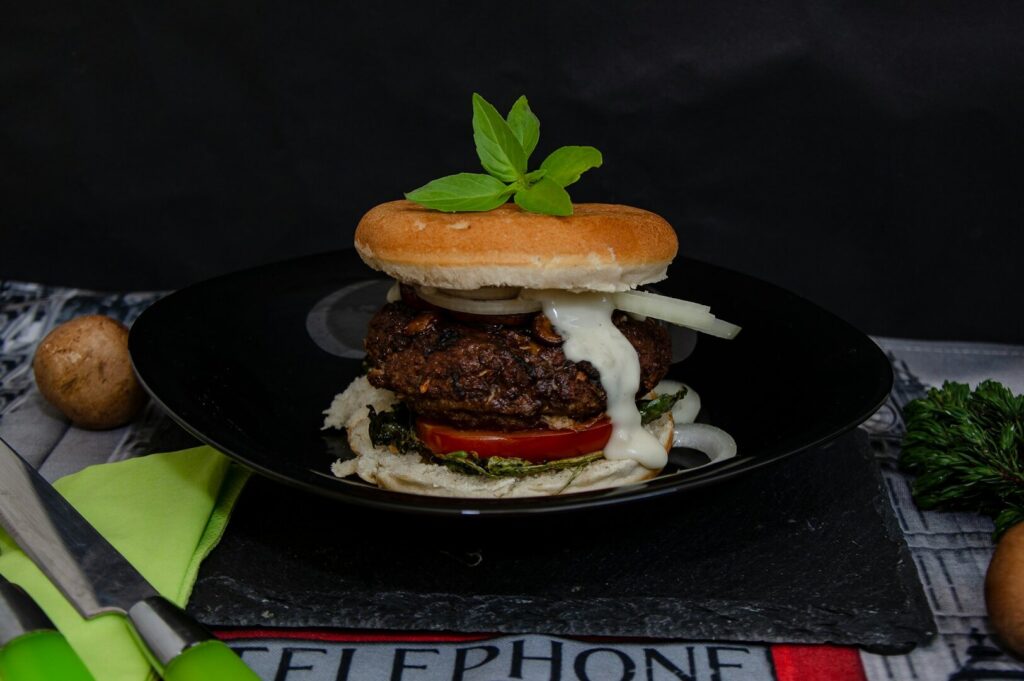
Food Styling DIY for Singapore Dishes
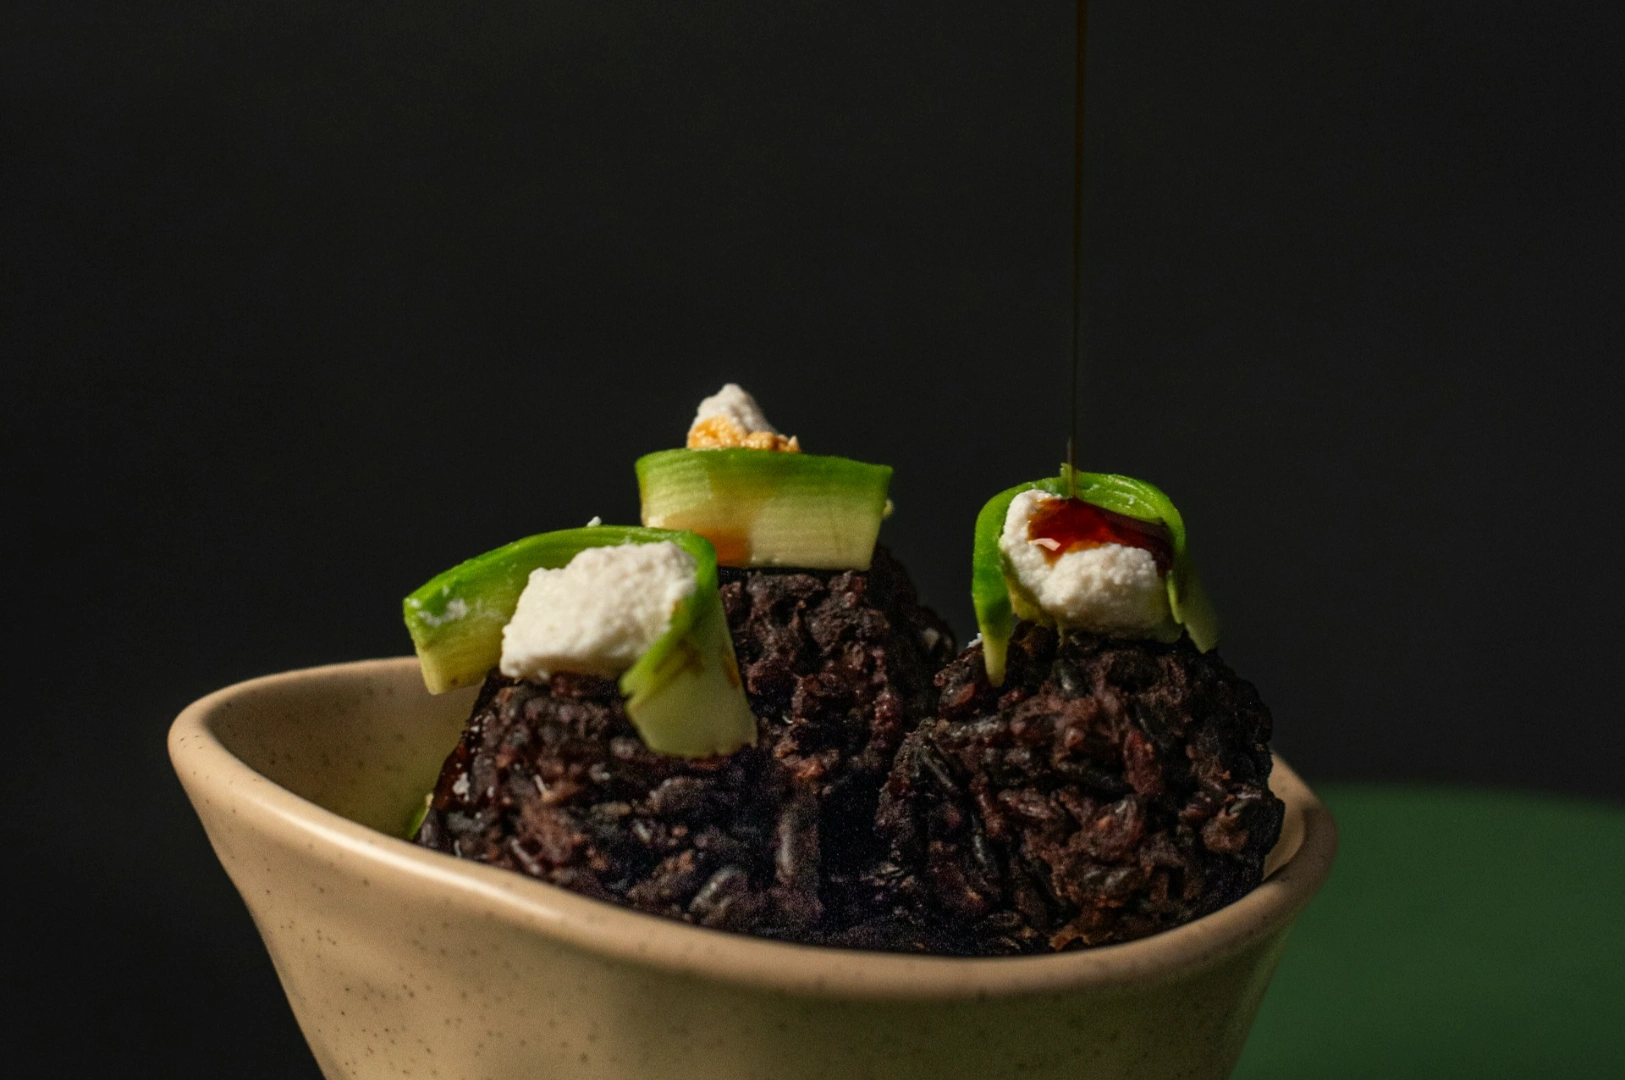
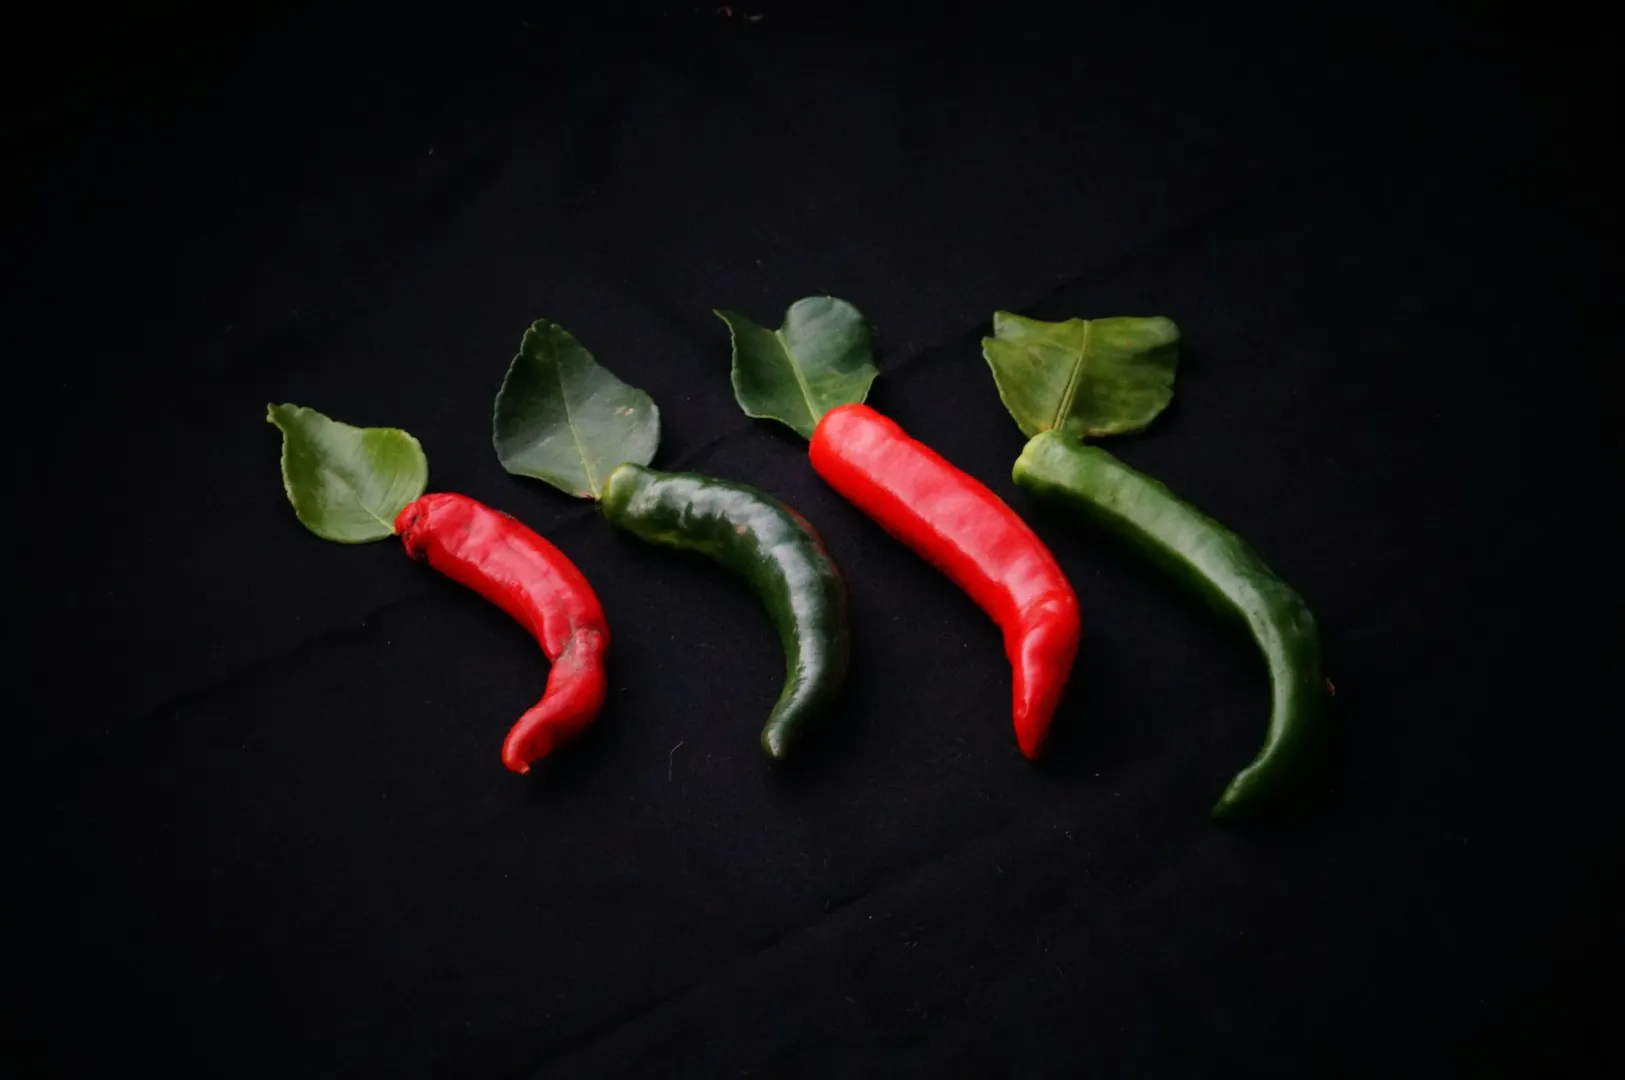
Good food styling can make or break a food photo. Here are some quick tips for styling dishes in Singapore:
Plating Tips
Build height: Stack ingredients to create visual interest. For example, prata stacked with curry underneath, or satay sticks angled for a more dynamic composition.
Odd numbers: Group items in threes or fives for a more engaging look.
Use smaller plates: This creates the illusion of a more generous portion, leaving room for negative space.
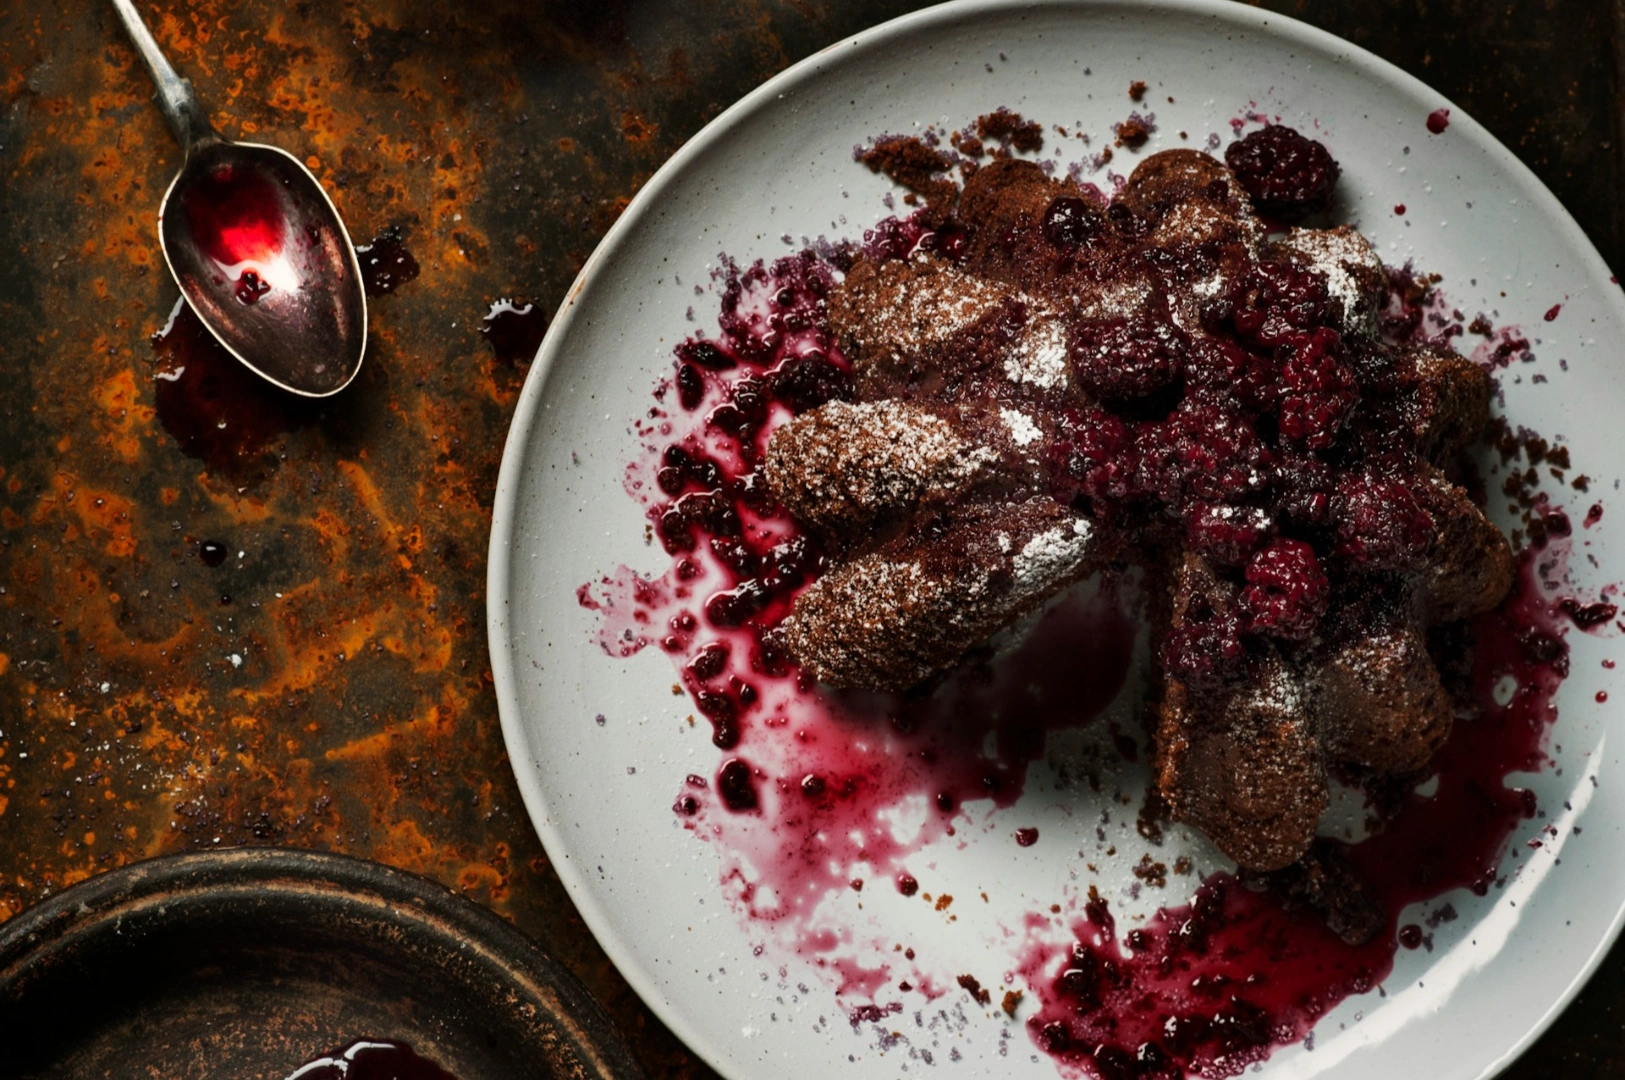
Color and Contrast
Use complementary colors to enhance the dish. Vibrant greens, such as herbs like coriander, pair beautifully with brown sauces like those found in chicken rice or laksa. Understanding color theory helps you achieve more vibrant and appealing photos.
Garnishing
Add microgreens, lime wedges, or sesame seeds as finishing touches. Keep it simple to avoid over-garnishing, which can confuse customers about what they’re ordering.
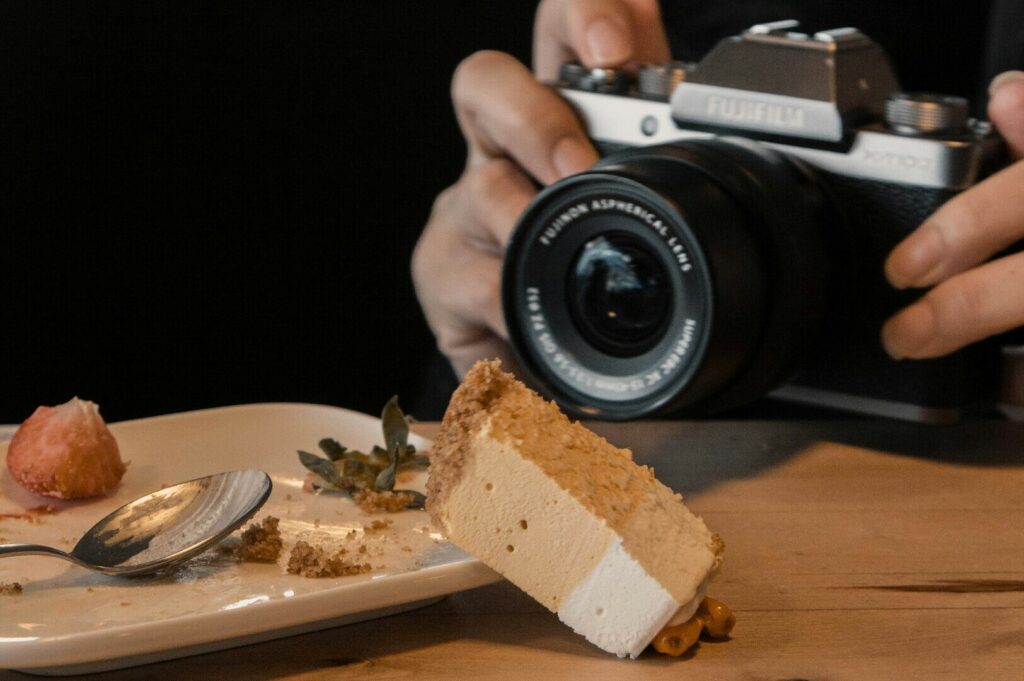
Practical DIY Food Photography Tips
Use raw format: This provides more flexibility when editing your food photos.
Shoot handheld: Use a shutter speed of 1/100 sec or faster to avoid camera shake.
Add more light: If the photo looks dark, add side lighting to brighten the final image.
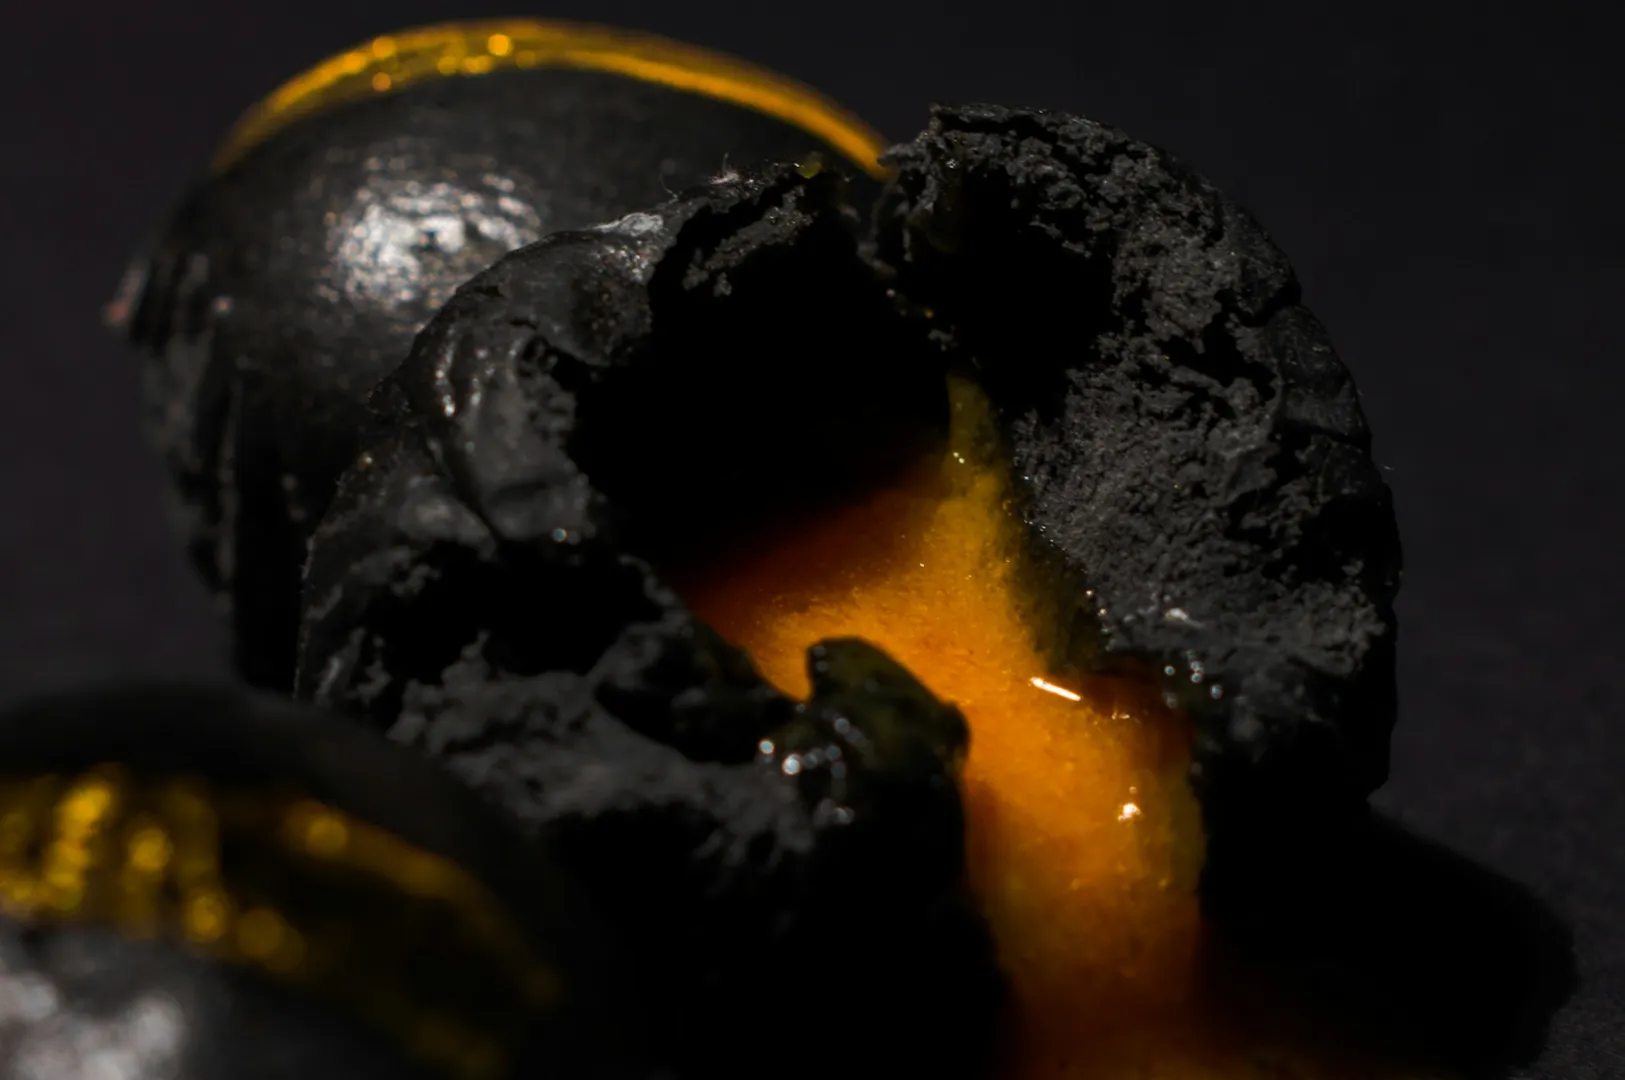
Focus on texture: Focus on key ingredients like crispy fried edges or juicy meats. These elements evoke taste and create a visual story.
Make the food look fresh: Keep dishes cool until the moment of shooting. Mist herbs with cold water to prevent wilting.
Editing Your DIY Food Photos Efficiently
Editing is the final step in making your food photography shine. Here are some useful photo editing software apps:
Lightroom Mobile: Great for fine adjustments and RAW editing.
Snapseed: Use for cleaning up minor distractions and enhancing specific areas.
VSCO: Apply film-style presets for a warm, inviting feel.
Foodie: Use one-tap filters designed specifically for food photos.
Before-and-After Checklist
Whites: Ensure they’re bright and not yellow or grey.
Focus: Ensure sharp focus on key ingredients like prawns or sauces.
Shadows: Don’t let them overwhelm the image; use negative space to balance the shot.
When to Hire a Professional Photographer
While DIY works for everyday content, there are times when professional help is needed. Here’s when to consider investing in a food photographer:
When Professional Help is Crucial
Grand openings or menu overhauls: A consistent and high-quality visual identity is key for these major events.
High-end promotional materials: If you’re aiming for print quality, professional help is necessary.
Franchise pitches or advertising campaigns: High-resolution assets with consistent quality across the board.
The Final Step: Building Your Visual Brand One DIY Shoot at a Time
With food photography DIY, small F&B businesses can have fun and elevate their visual presence without breaking the bank. By using natural light, simple food photography backdrops, and styling tips, you can create delicious, share-worthy images that make people want to eat and engage with your brand.
Whether you’re starting with basic equipment or investing in DIY food photography backdrops, consistent, high-quality content will engage your customers and boost your marketing. Remember, not everyone has the skills to photograph food effectively at first, but with the right idea and practice, you can improve quickly. When you’re ready to take your visuals to the next level, consider working with professional food photographers who understand Singapore’s culinary landscape.
Visit Food Photographer Studio to learn how our commercial food photographer team can elevate your food styling and photography for your F&B business.