In Singapore’s vibrant and competitive culinary landscape, visual appeal is often the first interaction a customer has with your brand. Before a diner ever tastes your Laksa or smells your freshly brewed kopi, they likely see it on Instagram, GrabFood, or your website. High-quality food photos aren’t just an aesthetic choice; they’re a critical business tool.
While professional food photographers offer the highest standard of visual storytelling, understanding the basics of food photography DIY is invaluable for daily social media updates and quick marketing needs. Whether you are a café owner looking to showcase your daily special or a chef wanting to document your culinary creations, having a repertoire of food photography ideas can significantly enhance your brand’s digital presence. This blog post provides practical tips and industry insights to help you elevate your food images, bridging the gap between amateur snapshots and professional-grade culinary photography.
The Foundation: Lighting Your Dish
Understanding Natural Light
Lighting is the single most important aspect of photography. For most DIY food photography, natural light is your best friend. It renders colors accurately and creates soft, flattering shadows that make food look appetizing.
Find the Right Source: Set up your food shoot next to a large window. Avoid direct sunlight, which can create harsh highlights and deep shadows. Instead, aim for soft, diffused light. If the sun is too bright, a simple white curtain can diffuse the light beautifully.
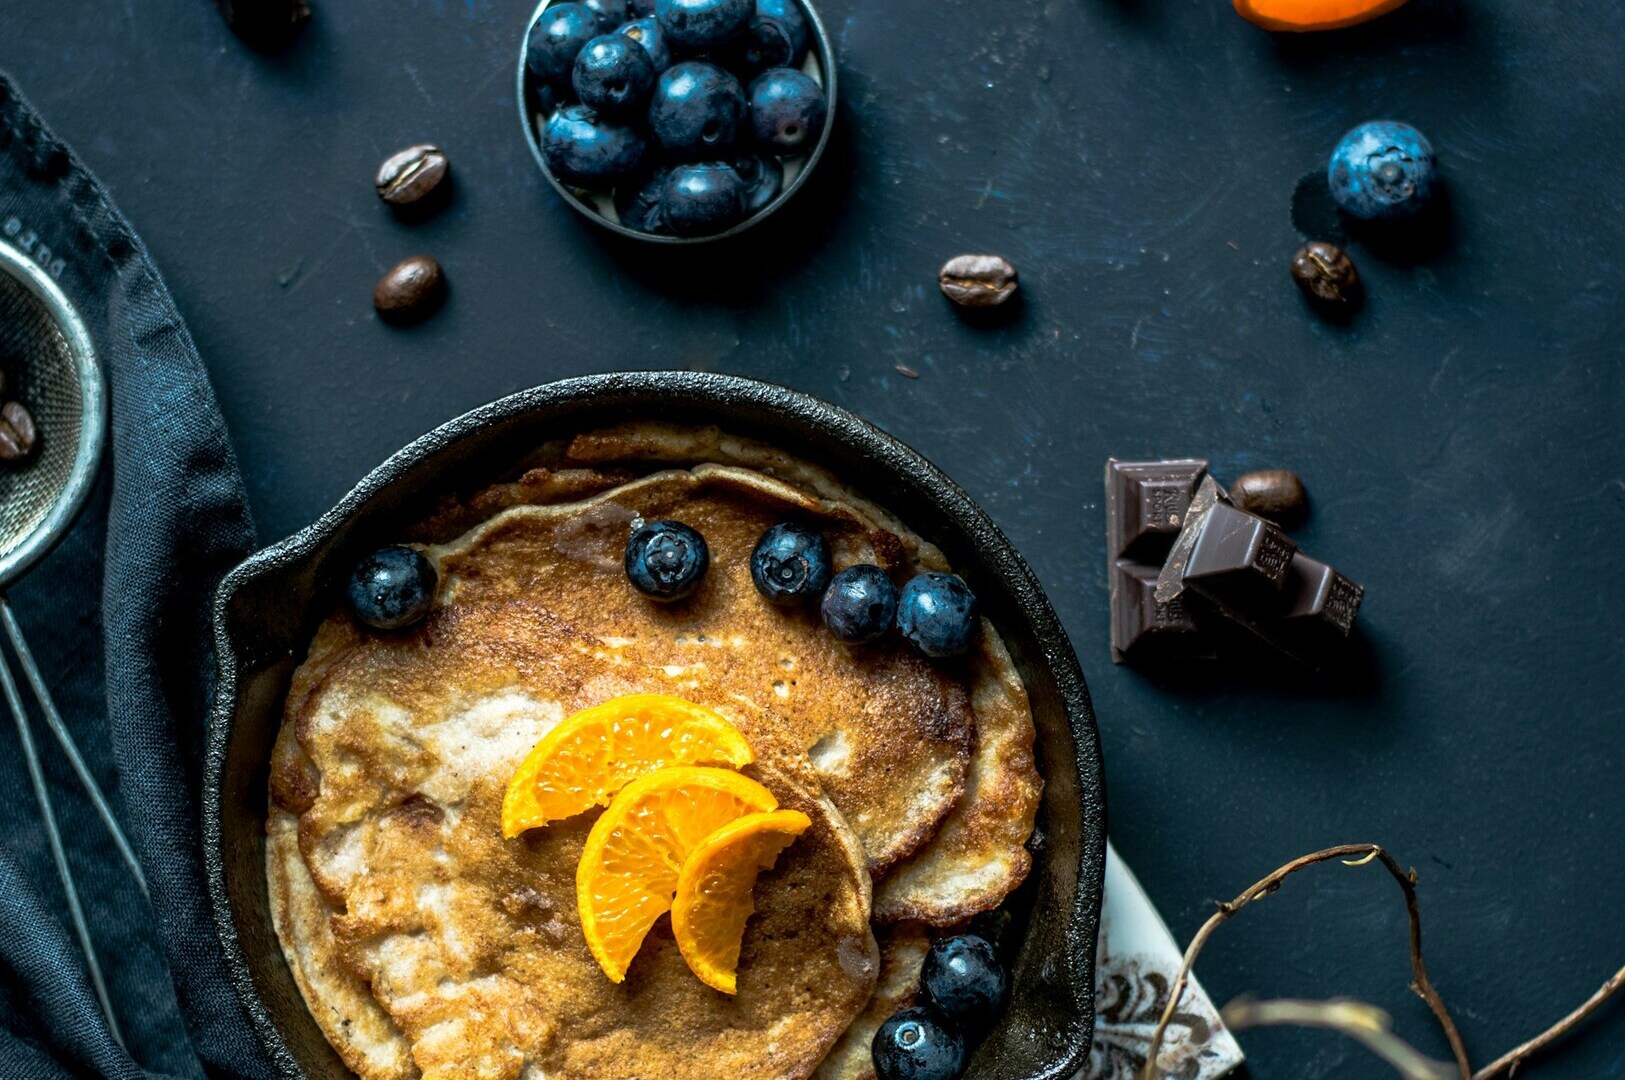
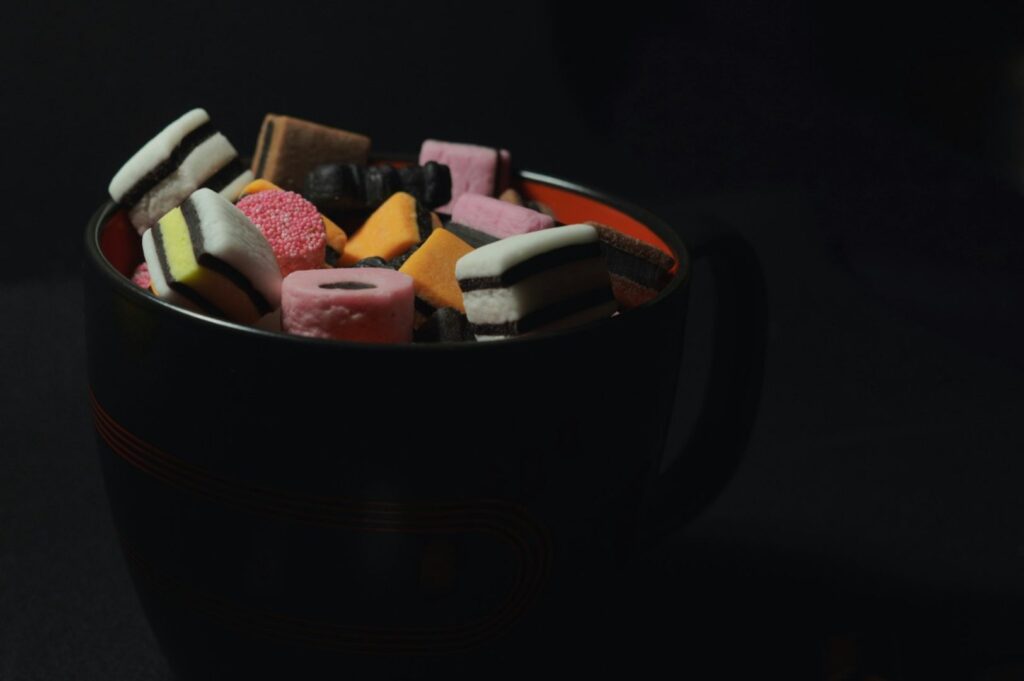
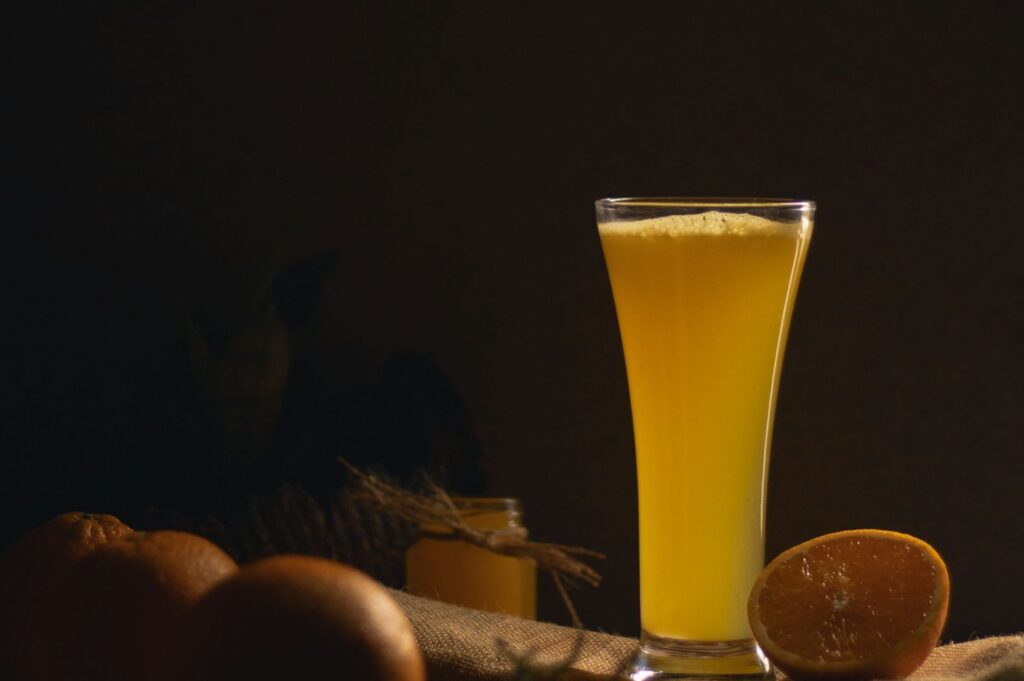
Direction Matters: Side lighting (light coming from the left or right) brings out the texture in bread crusts and meat chars. Backlighting (light coming from behind the subject) is excellent for translucent items like drinks or soups, making them glow.
When photographing food, having a rough idea of your composition and lighting setup helps you achieve the perfect shot more efficiently. Planning your approach before the shoot ensures you capture the food’s best features and the story you want to tell.
Working with Artificial Light
Sometimes, relying on the sun isn’t feasible, especially for dinner services. While professional studios use sophisticated studio lights, you can achieve decent results with accessible tools.
Avoid Overhead Lights: The yellow/orange tint of standard restaurant ceiling lights is the enemy of good food photography. It creates unflattering color casts.
Continuous Light: If you must use artificial light, opt for a continuous LED light source with a high CRI (Color Rendering Index) to ensure accurate color representation.
Diffusion is Key: Just like with sunlight, never point a bare bulb directly at the food. Bounce the light off a white wall or use a diffuser to soften the light source.
Composition and Styling
The Rule of Thirds
Composition is how you arrange elements within the frame. The Rule of Thirds is a classic technique where you divide your image into a 3×3 grid and place your main subject along the lines or at their intersections. This creates more visual interest than simply placing the plate in the dead center.
Negative Space
Don’t be afraid of empty space. Negative space allows the eye to rest and emphasizes the hero dish. It is also practically useful for restaurant marketing, providing room to overlay text for menus or social media announcements.
Food Styling Basics
Food styling is the art of making food look its best.
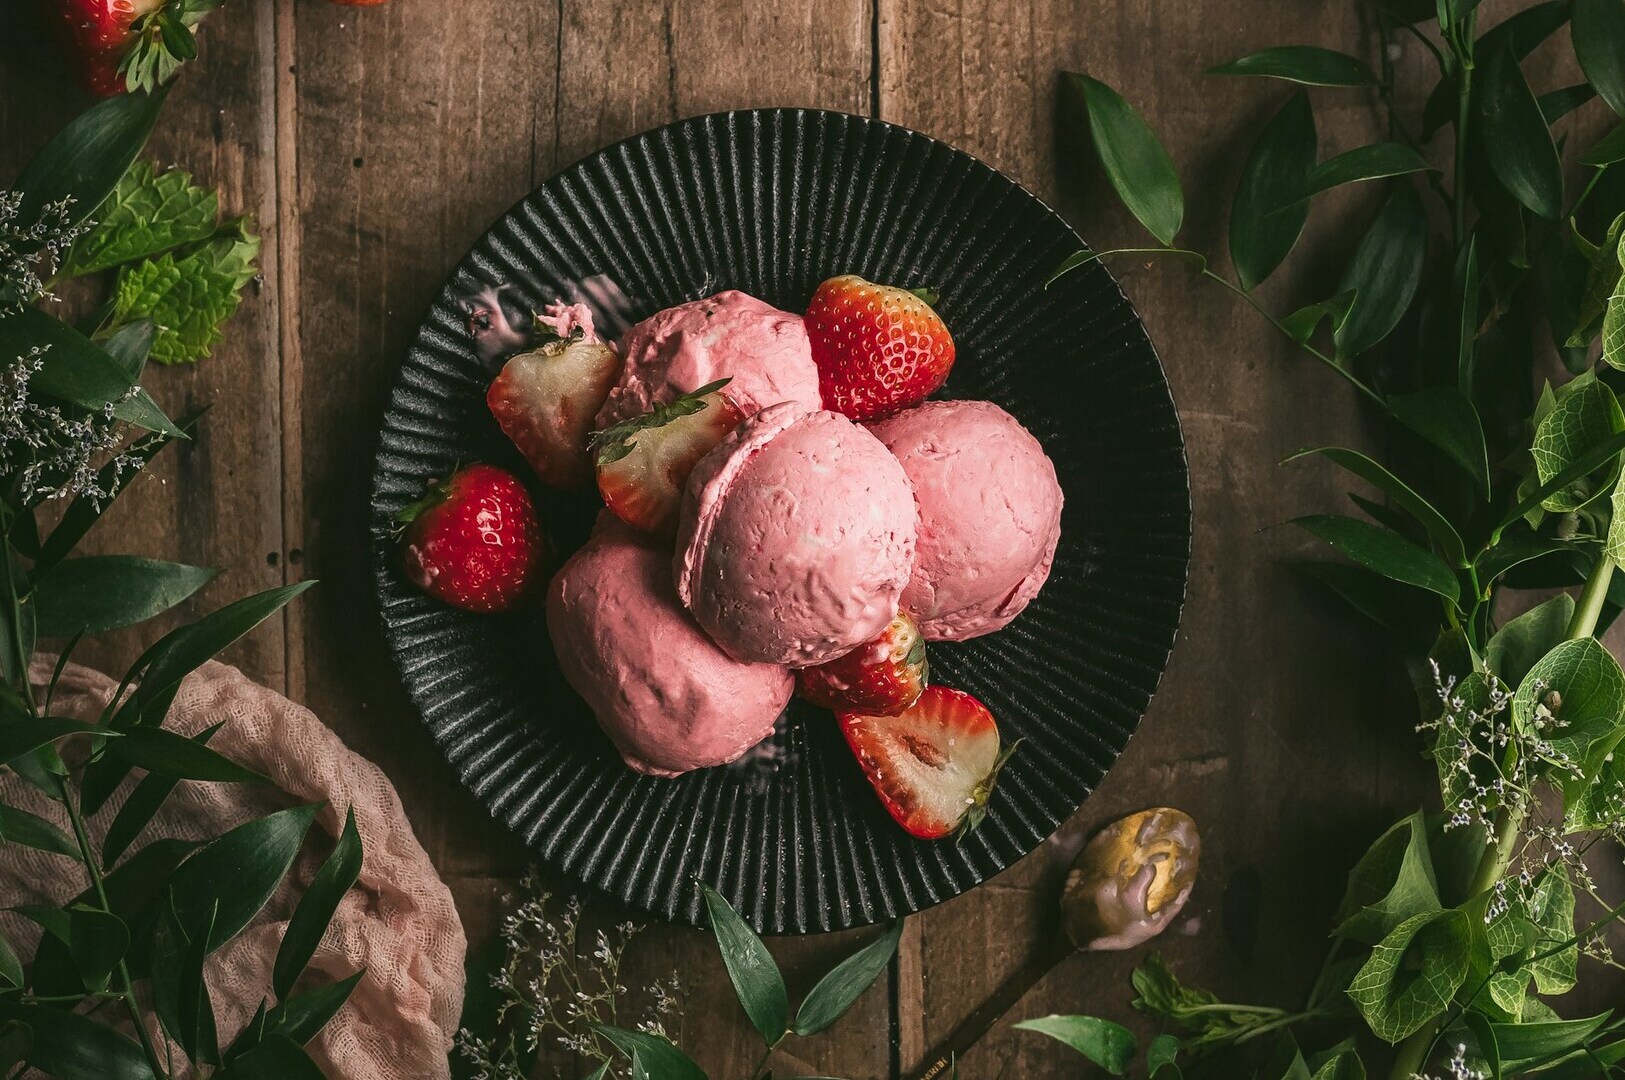
Freshness First: Ensure ingredients look fresh. Fresh herbs can revive a brown stew, and a spritz of water can make salad leaves look crisp.
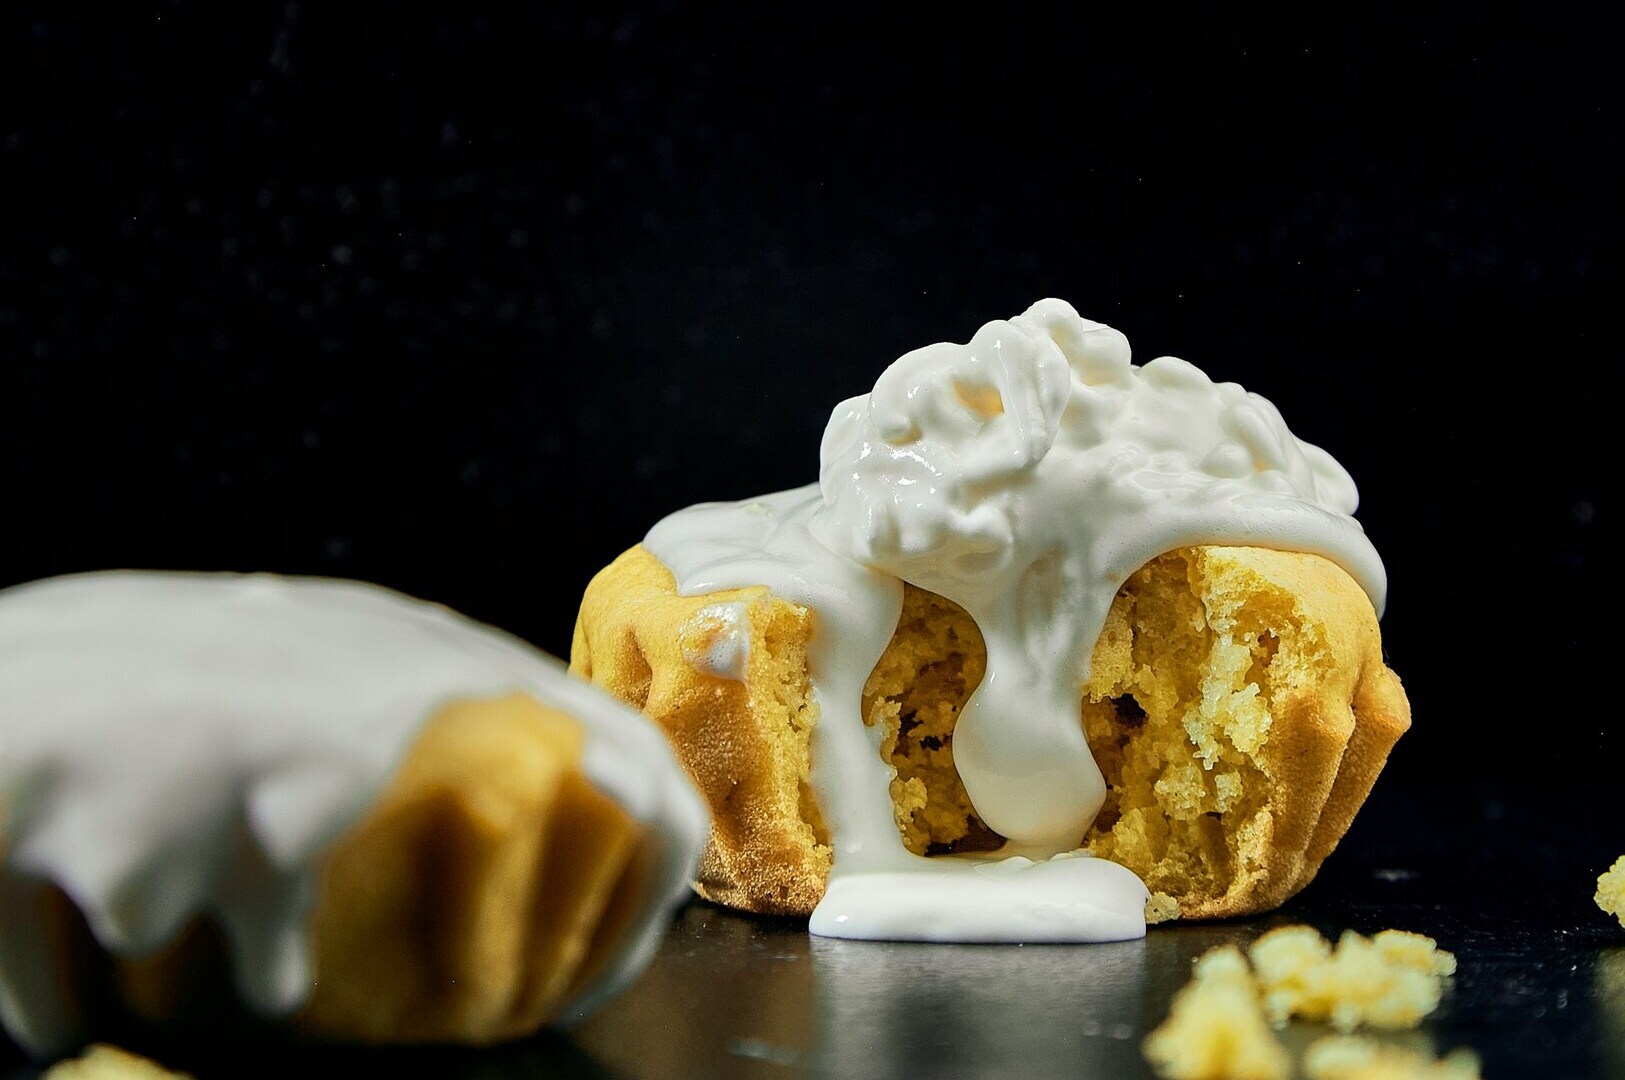
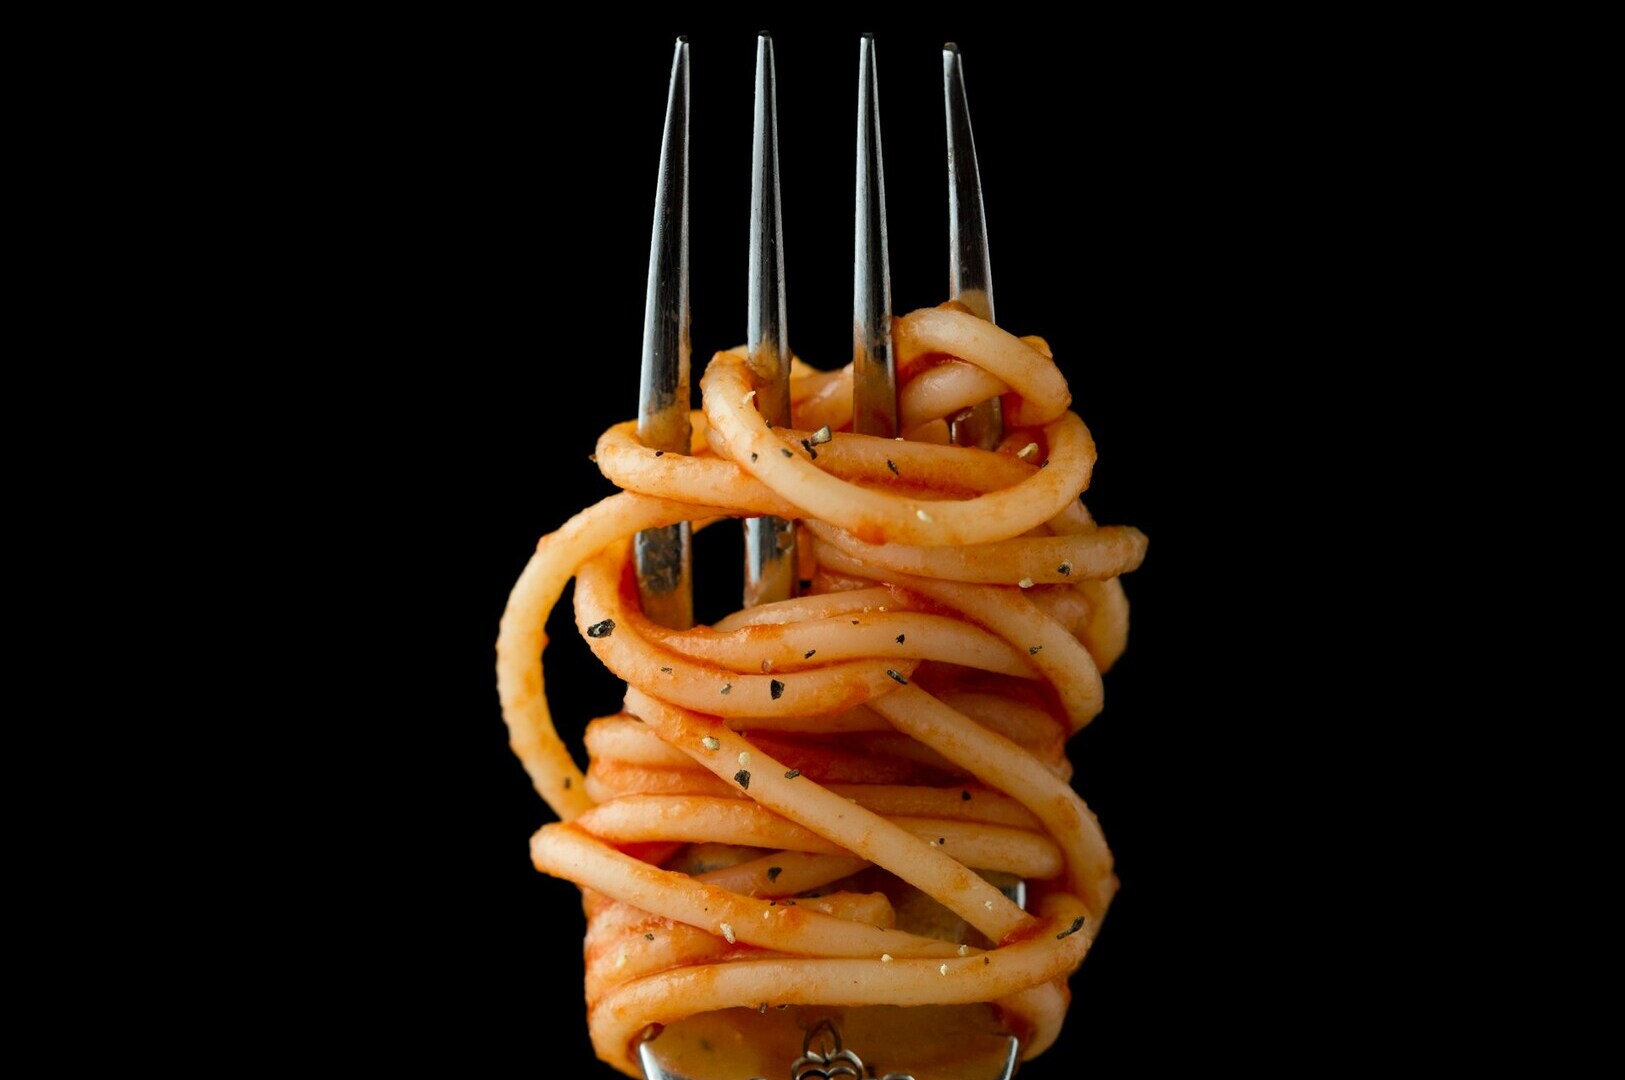
Add Layers: Create height to add dimension. Stack pancakes, pile noodles, or layer garnishes to avoid a flat-looking final image.
Subtle Texture: Use linens, crumbs, or scattered ingredients to add a subtle texture that makes the scene feel lived-in and authentic.
Food Photography Tips: Essential Equipment for Food Photography
The Camera Body vs. Smartphone
You don’t always need a high-end DSLR. Modern smartphones are incredibly capable food photography cameras. The key is understanding their limitations and acknowledging your personal preference when choosing equipment. Smartphones typically have a wide focal length, which can distort dishes if you get too close. To avoid this, step back and use the telephoto lens option (often 2x or 3x zoom) or crop the image later.
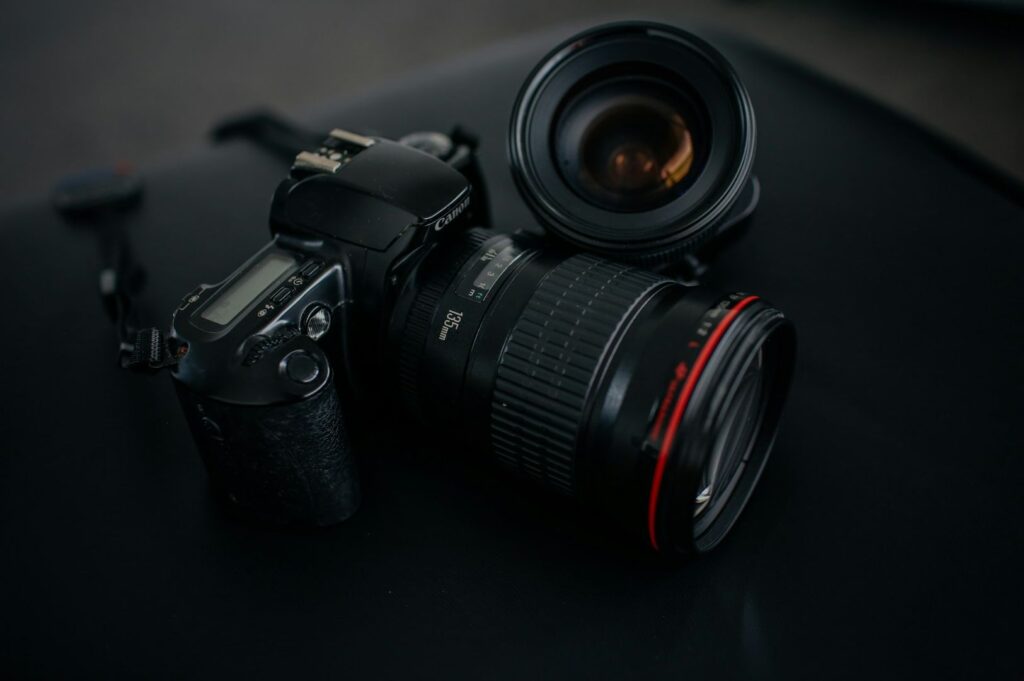
If you are using a DSLR or mirrorless camera, a macro lens (like a 50mm or 100mm) is a fantastic investment. It allows you to get close-up detail shots, capturing the flaky texture of a croissant or the sear on a steak, without distortion. Many other photographers recommend this lens for its versatility and ability to highlight the textures that make the final product visually appealing.
Tripods and Stability
Camera shake is the primary cause of blurry photos, especially in low light conditions. Using a tripod allows you to use a slower shutter speed without blurring the image. This is crucial for keeping your ISO low, resulting in cleaner, sharper photos. Even a small, inexpensive phone mount can make a huge difference in image clarity.
Creative DIY Food Photography Ideas to Try
Creating Your Own Food Photography Backdrops
You don’t need to buy expensive props. DIY food photography thrives on creativity.
Hardware Stores: Visit local hardware stores for wooden planks, slate tiles, or vinyl sheets. These make excellent, affordable food photography backdrops.
Garage Sales: Look for vintage cutlery, matte plates, or textured fabrics at second-hand shops or markets. Old baking trays with patina add incredible character.
Own Backdrops: Create your own backdrops by painting simple wooden boards with sample pots of paint to craft custom colors that match your brand. Concrete-effect paste can add a modern, industrial look, perfect for café culture.
Human Element
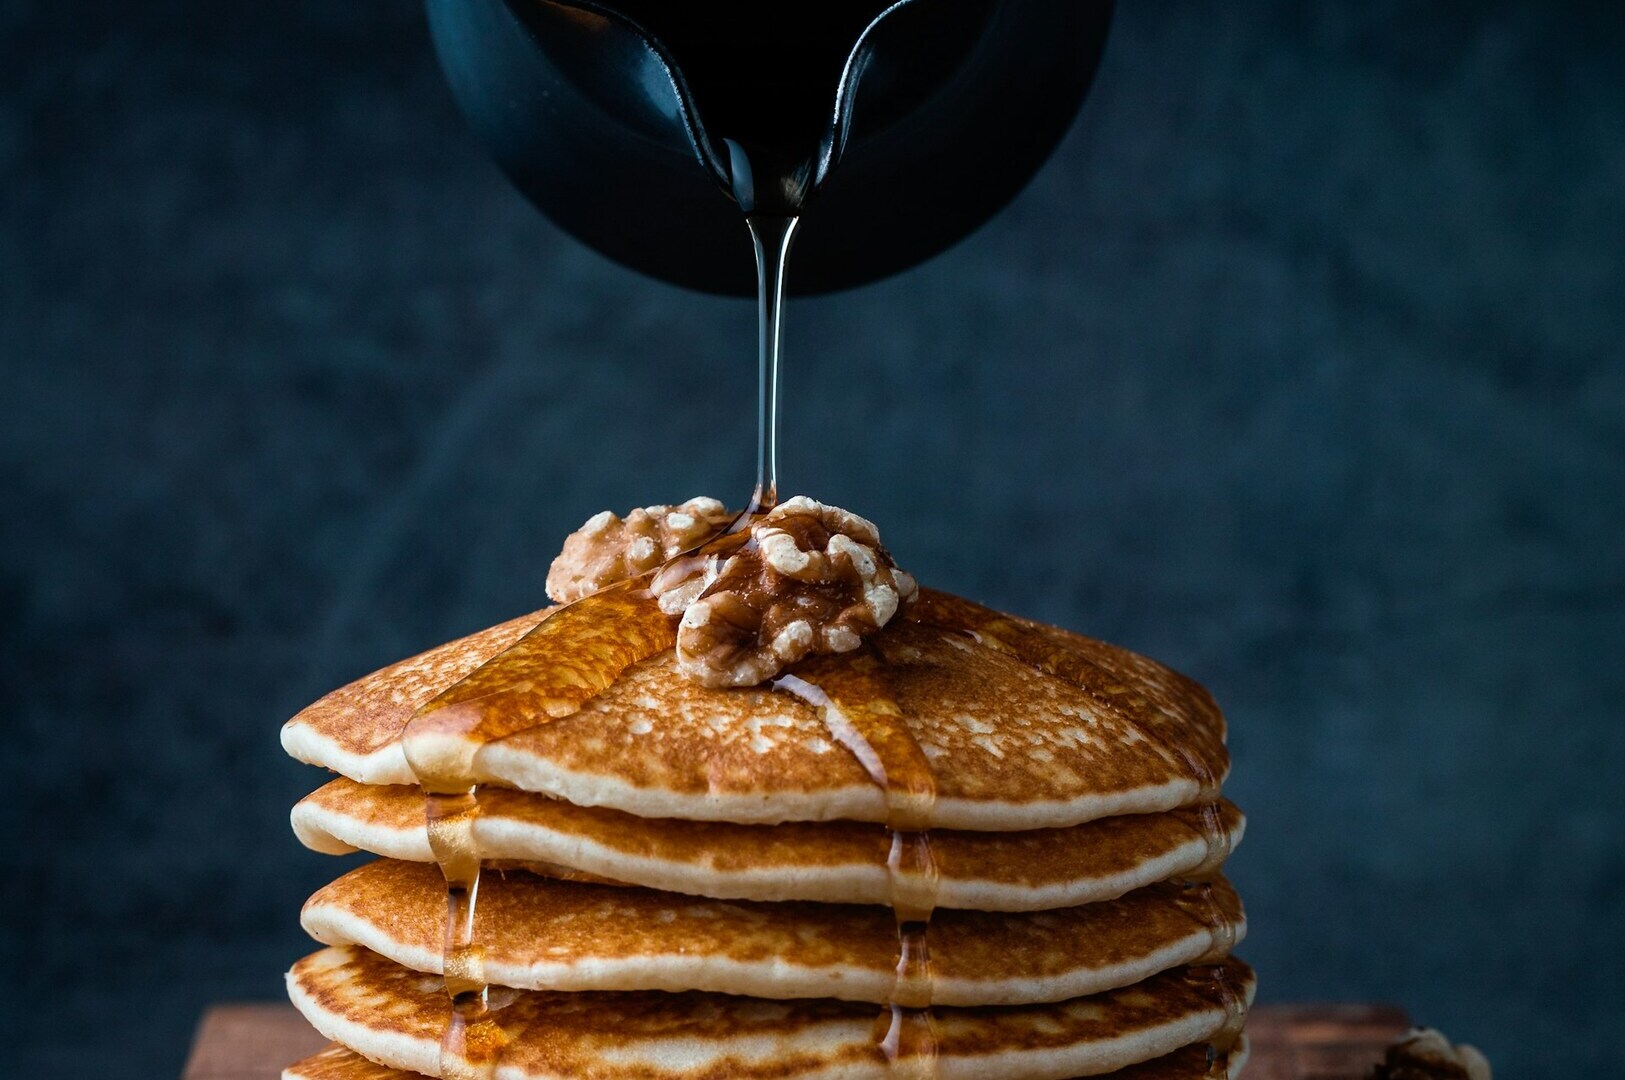
Adding a human element brings a photo to life and adds a fun, dynamic touch. A hand pouring sauce, holding a cup, or sprinkling garnish introduces action and scale, making the scene more relatable. It also allows you to capture the food from different angles, enhancing the storytelling aspect. This is an important element for creating beautiful imagery that helps the viewer imagine themselves enjoying the meal and connects deeply with your audience on social media.
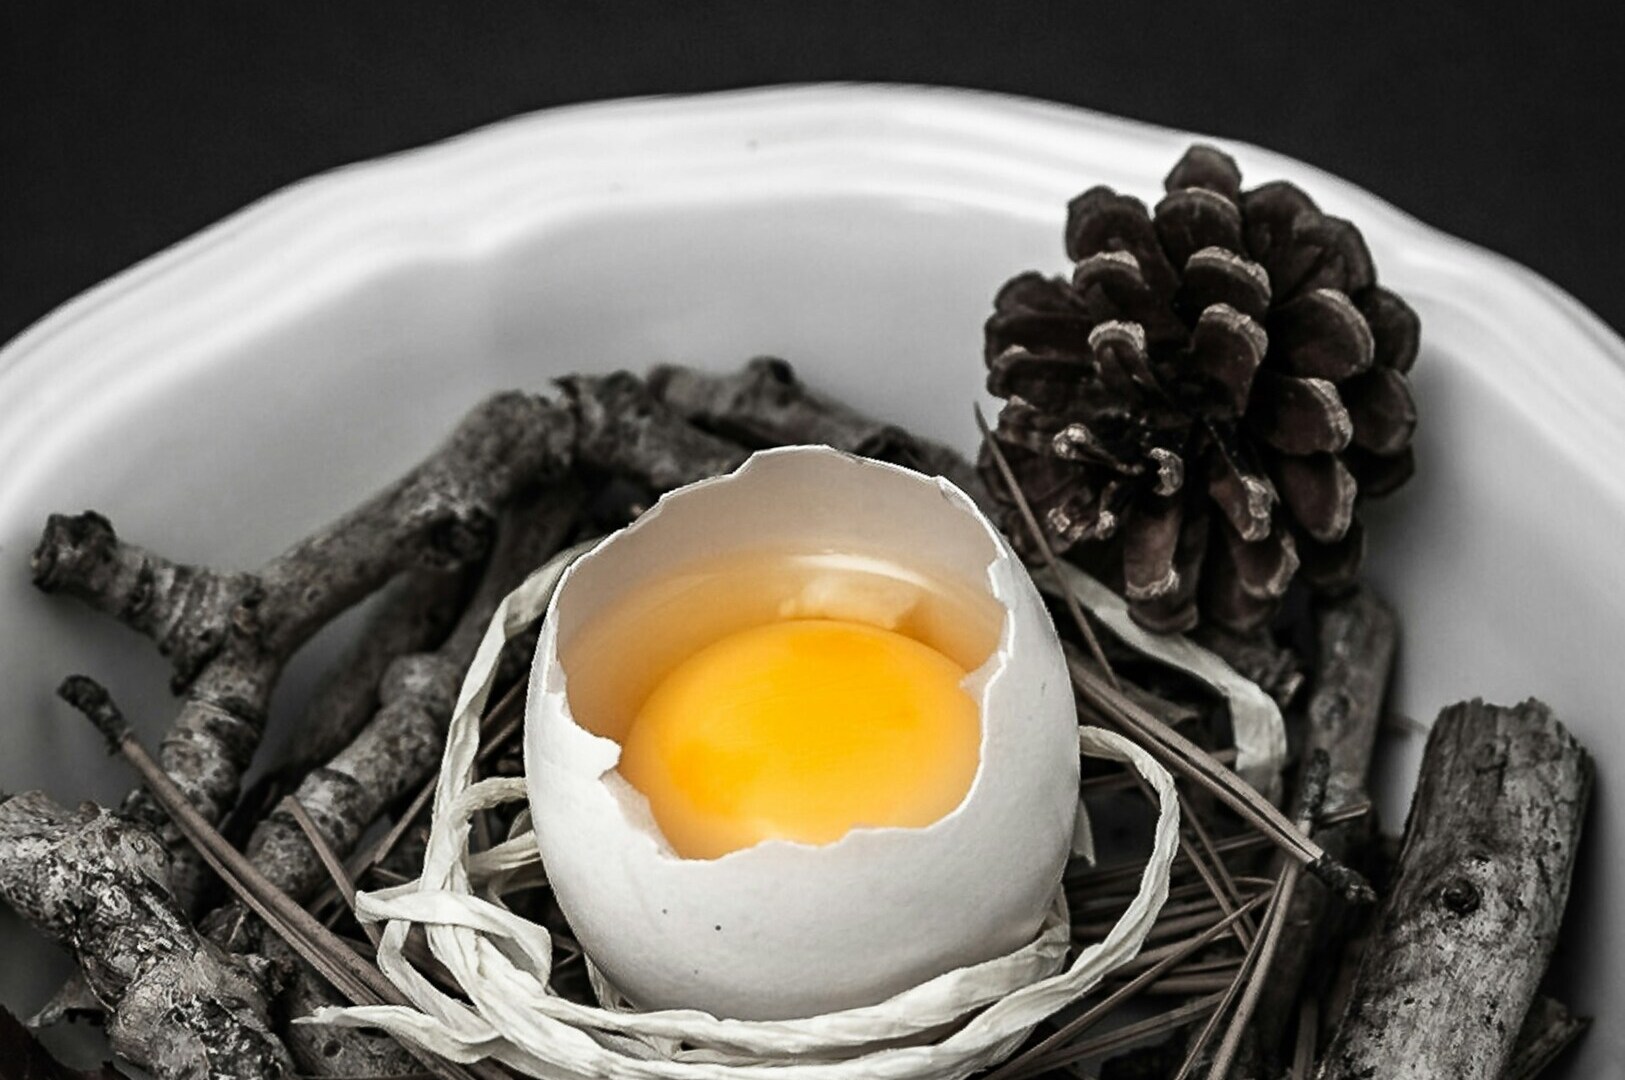
Still Life Photography
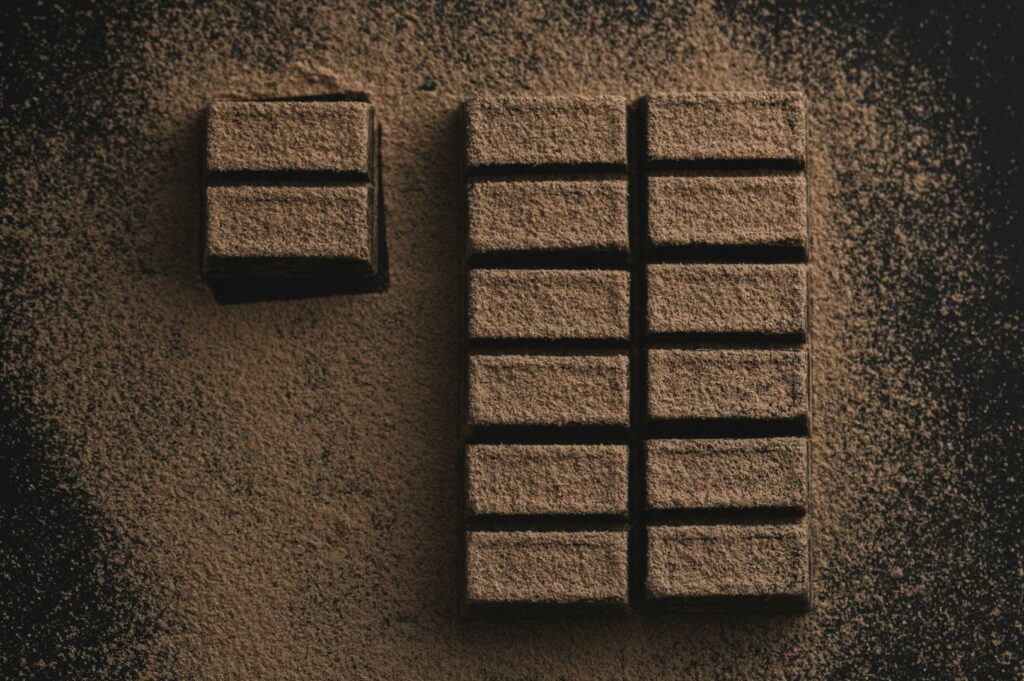
Treat your ingredients like art. Still life photography involves arranging raw ingredients, like flour, eggs, and spices, alongside the finished dish to tell the cooking story and highlight produce quality, a key selling point for Singaporean consumers. Adding other elements such as utensils, napkins, or fresh herbs on the surface adds depth and context. Experimenting with more colors in your setup makes the composition vibrant and eye-catching, enhancing the overall appeal when shooting food.
Technical Tips for Better Results
Shooting in Raw Format
If your camera or phone allows it, shoot in RAW format. Unlike JPEGs, RAW files capture all the data from the sensor, giving you much more flexibility in post-production to adjust exposure and white balance.
Editing and Post-Processing
Editing is the final step that polishes your work.
Lightroom Presets: Adobe Lightroom is the industry standard for editing. Using presets can speed up your workflow and ensure consistency across your feed.
White Balance: Correcting white balance ensures whites look white, not yellow or blue. This is critical for making food look appetizing.
Enhance Colors: Gently boost vibrancy to make vegetables pop, but be careful not to oversaturate. The goal is realistic, appetizing colors.
Common Mistakes to Avoid
Not Enough Light: Shooting in dark corners results in grainy, unappealing images. Always seek out better light.
Cluttered Backgrounds: A messy background distracts from the food. Keep it clean or use a shallow depth of field to blur out distractions.
Over-Styling: Sometimes, less is more. Don’t overcomplicate the scene with too many props. Let the food be the star.
Conclusion
Mastering these food photography ideas and techniques allows you to take control of your daily visual content. By understanding lighting, composition, and basic styling, you can create visually appealing images that engage your customers and reflect the quality of your culinary offerings. However, as your business grows, the demands for high-resolution, campaign-ready imagery will increase.
If you find that your marketing needs are outgrowing your DIY capabilities, or if you require high-impact visuals for a menu launch or website overhaul, professional support can be a game-changer. For F&B businesses looking to elevate their visual brand with expert precision, consider partnering with a dedicated team. Visit https://foodphotographerstudio.com.sg/ to explore how professional photography services can further transform your business presence.