In Singapore’s hyper-competitive F&B scene, good food photography can be the difference between a packed service and a quiet dining room. Before anyone tastes your food, they judge your restaurant through food photos on GrabFood, Foodpanda, Google Maps, and Instagram. That’s why learning practical food photography tips and understanding simple photography with food techniques is so important for your business today.
In this beginner’s guide, you’ll learn how to use natural light, basic camera settings, and simple food styling to create eye catching food photographs even if you don’t have a fancy camera. You’ll also see how to plan a food shoot, avoid common mistakes, and know when it’s time to bring in professional photographers to elevate your menu photography and restaurant marketing across Singapore.
Why Food Photography Tips Matter for Restaurant Marketing in Singapore
If your food is great but your photos are dull, customers may never give you a chance. Studies show that strong visuals can significantly increase clicks and engagement on delivery apps and social media content. In areas like Tanjong Pagar, Orchard, and East Coast, diners often choose between similar menus based on visual appeal alone.
Simple food photography tips can help you:
Turn a perfectly plated dish into an eye catching hero image for your food blog or menu.
Make your images pop on small screens where customers scroll quickly.
Keep branding consistent across your website, delivery platforms, and every blog post that features your food.
When you treat photography with food as part of your core restaurant marketing, your food photos become a silent salesperson — working for you day and night, long after service ends.
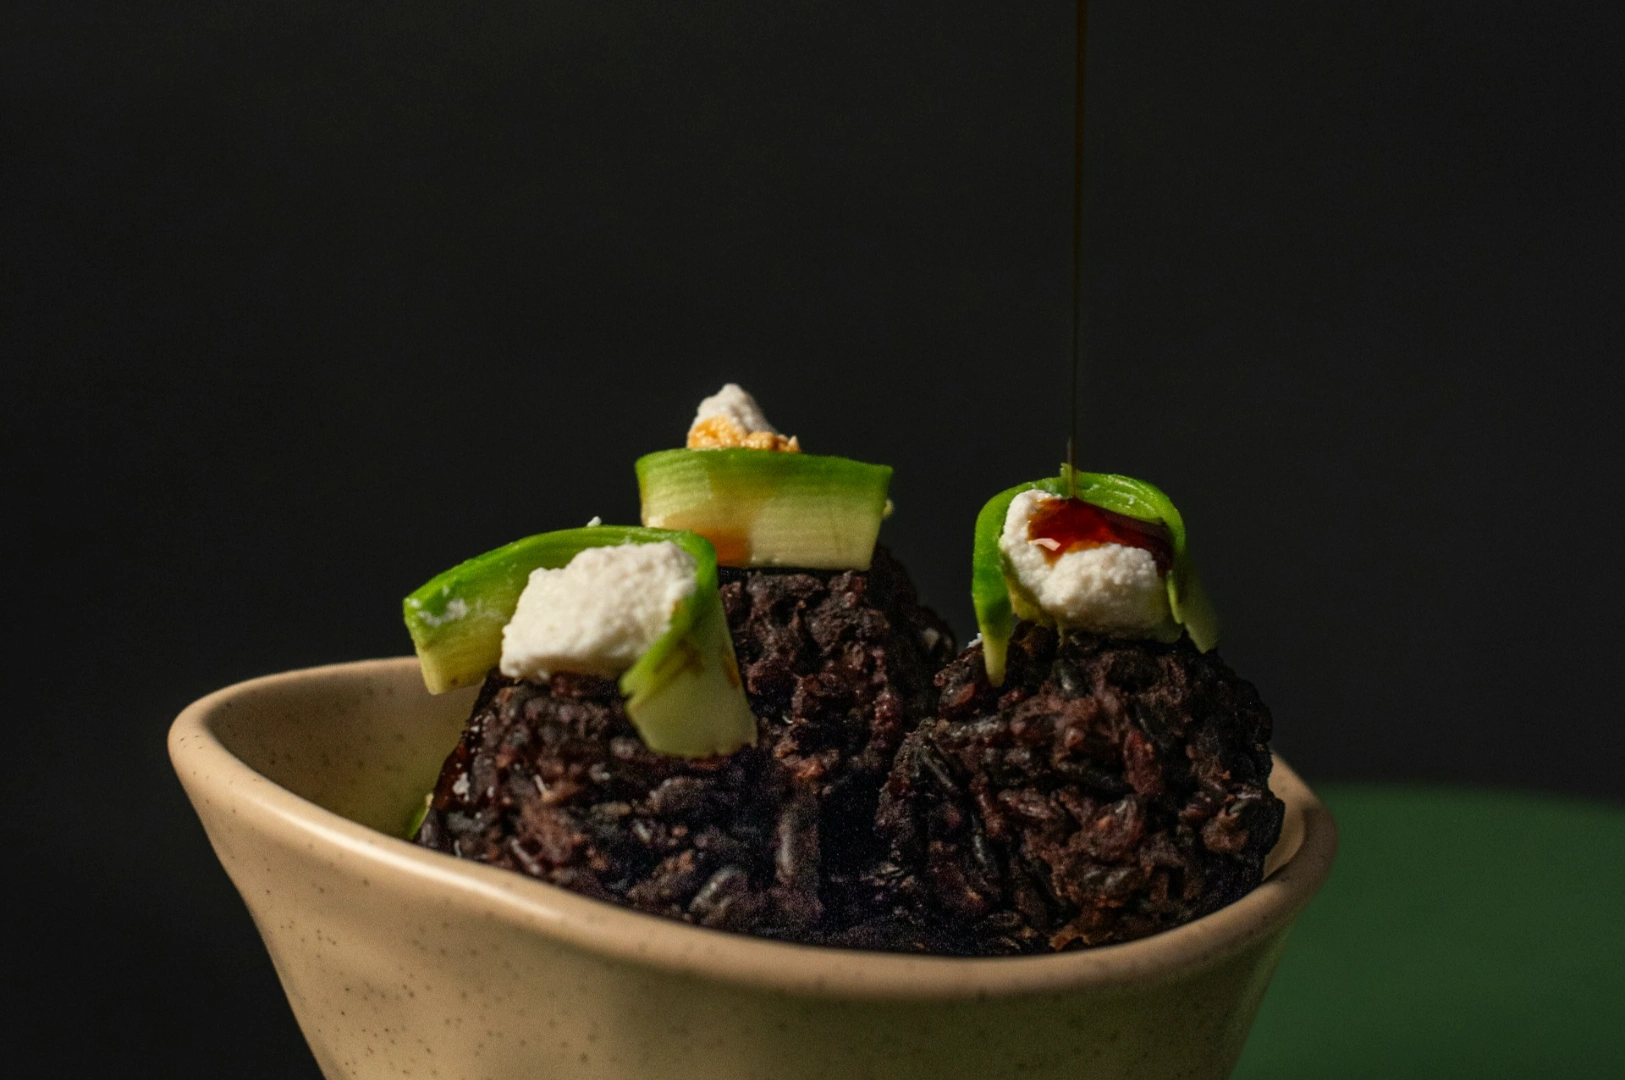
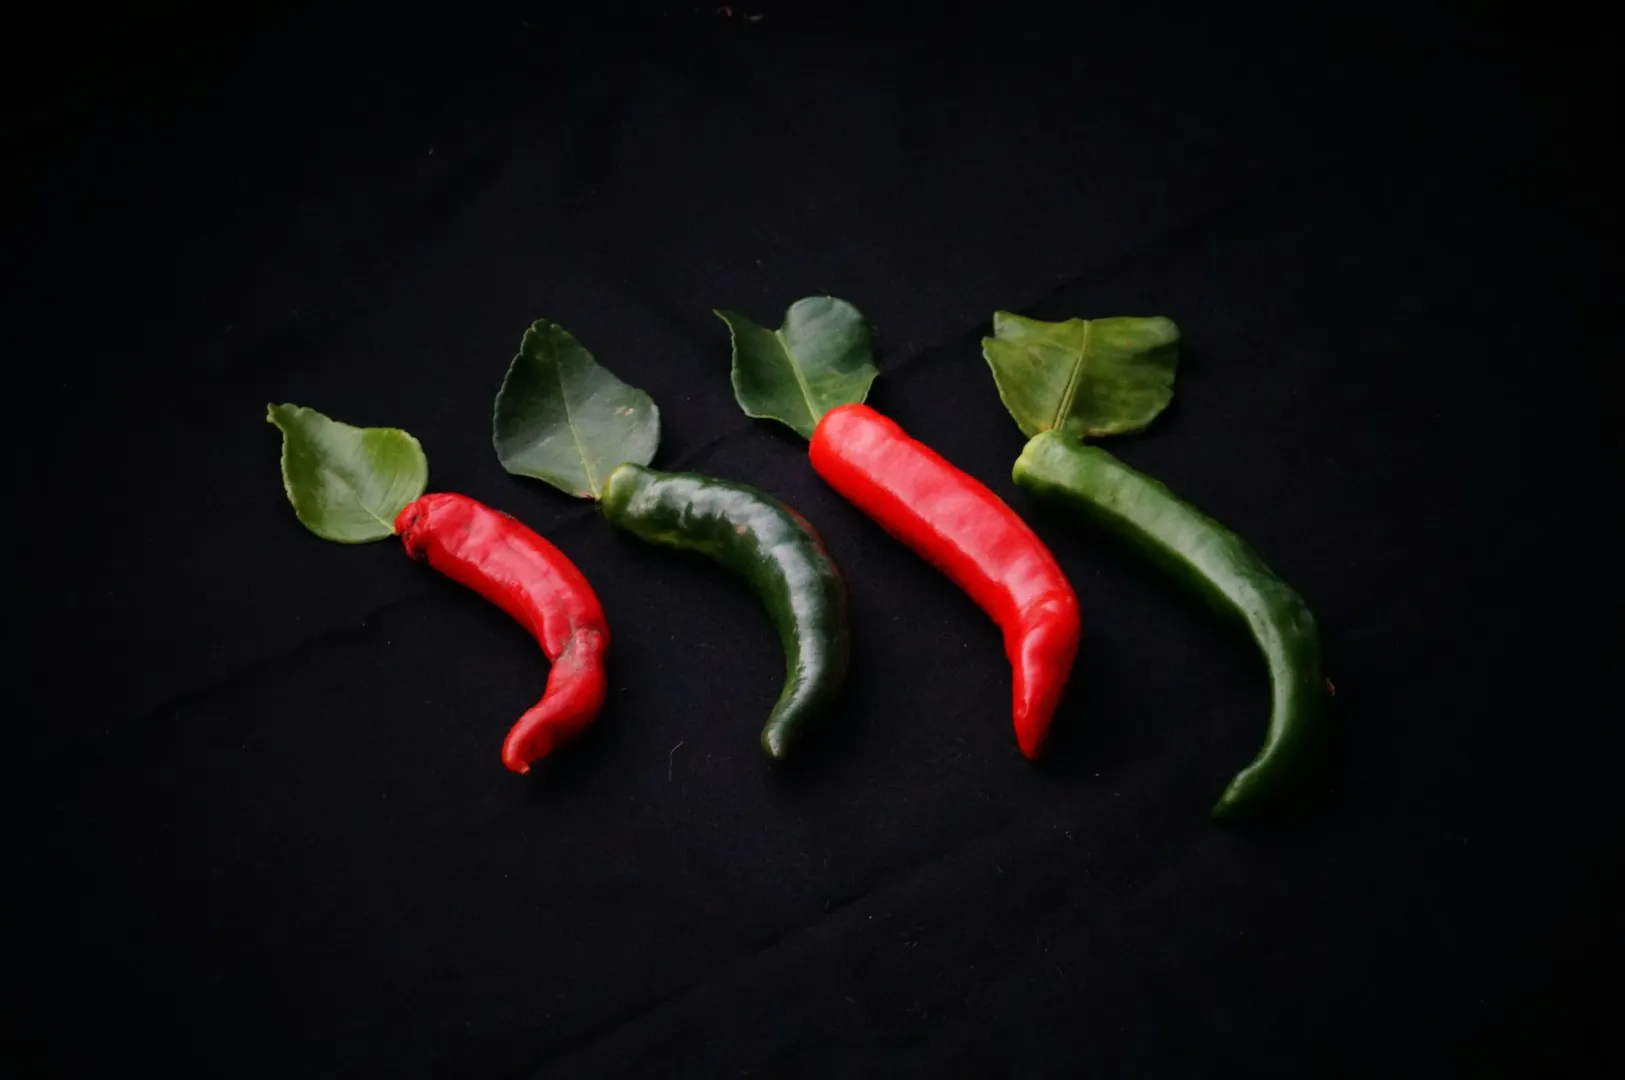
Light First: Using Natural Light and Simple Setups
Light is the most important aspect of food photography. Before you worry about manual mode or depth of field, think about where your light source is coming from and how it hits the dish.
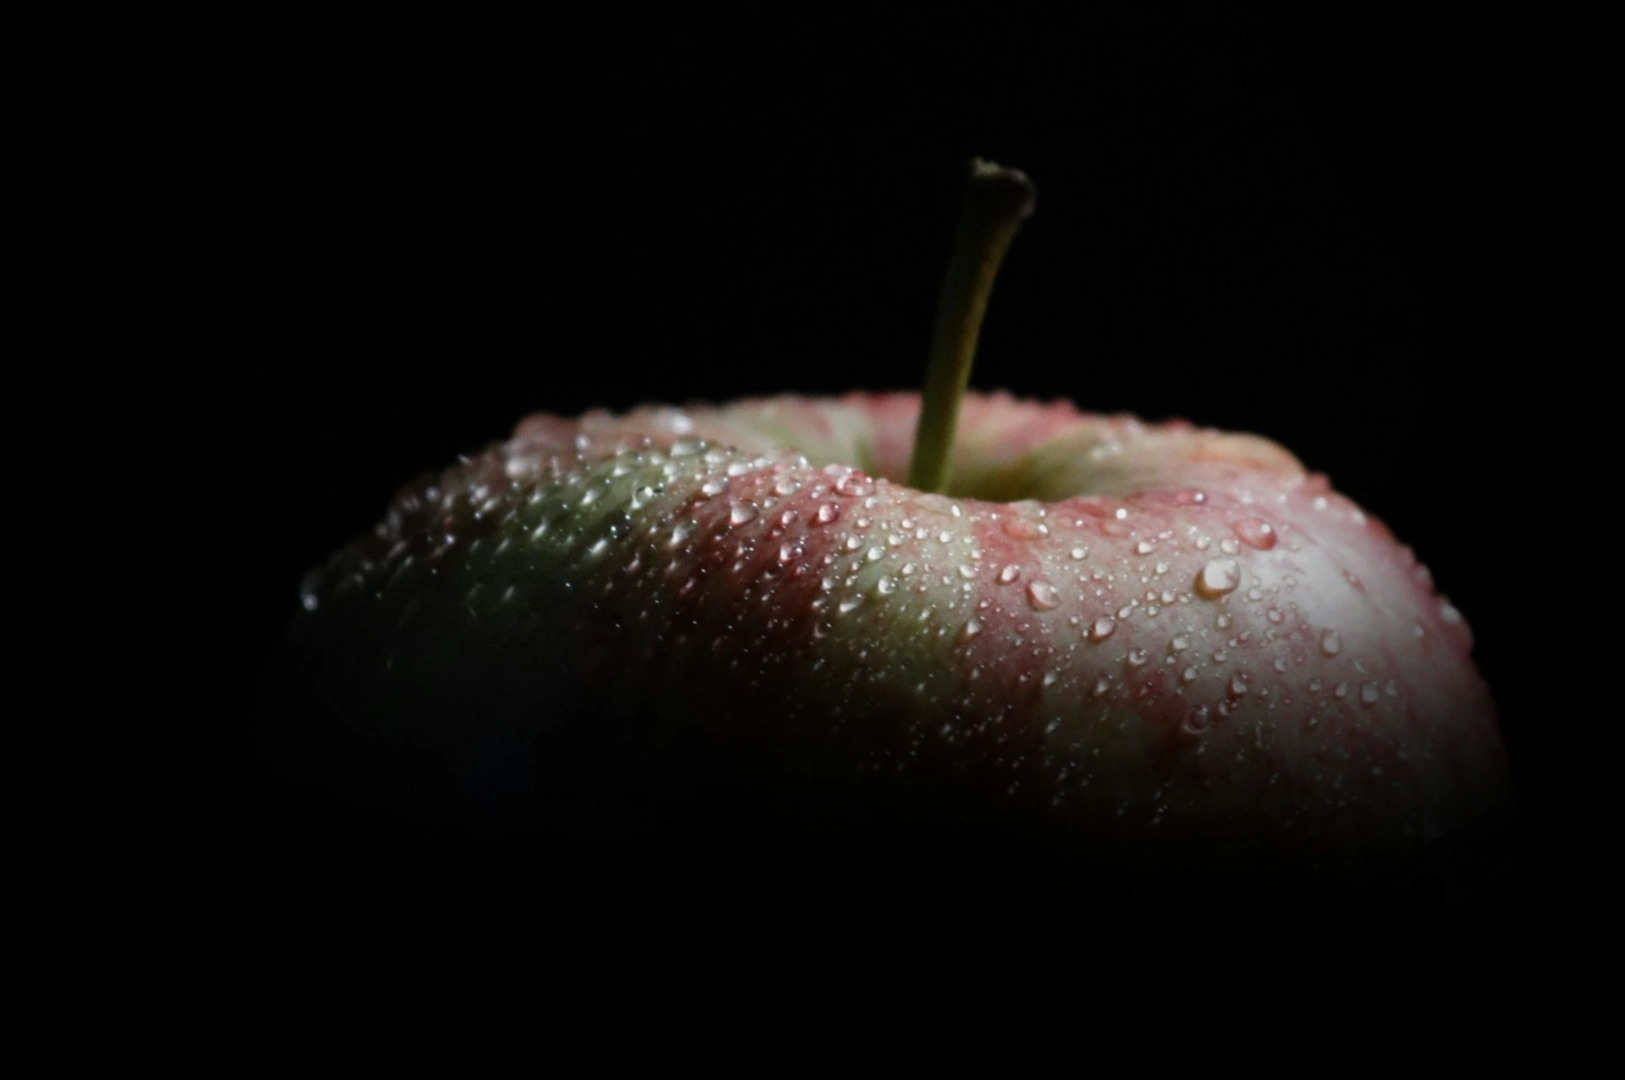
For most Singapore restaurants and cafés, natural light near a window is your best friend:
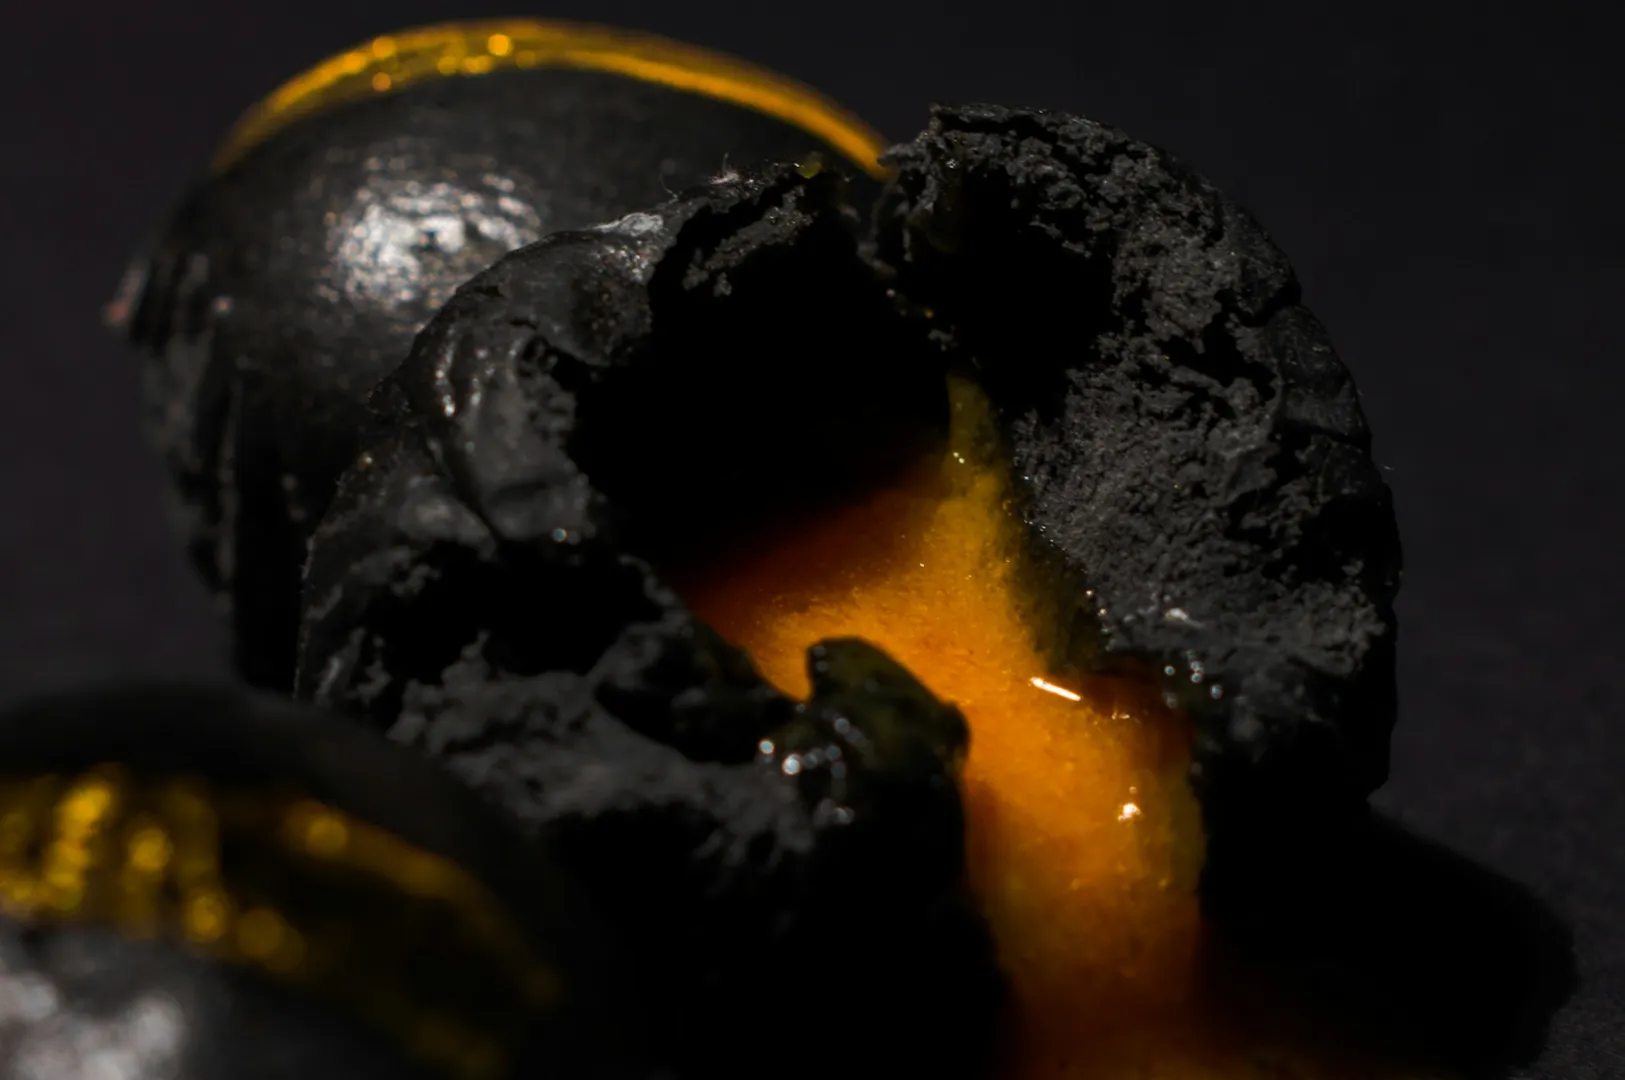
Place the dish beside a window, not in direct sunlight. This gives you soft, even light with enough light to show texture.
Use a thin white sheet or curtain to diffuse harsh light and reduce shiny surfaces on sauces and glazes.
Turn off mixed indoor lighting if it creates strange colours. This makes it easier to manage white balance later.
If your restaurant is in a mall or has limited windows, artificial lighting can help. Small LED panels or simple studio lights are low cost compared to lost bookings from dull images. Position the light at an angle, not straight on, to create soft shadows and interesting textures.
When you control light well, even a salad bowl or main dish on wooden boards can look premium and delicious in your final image.
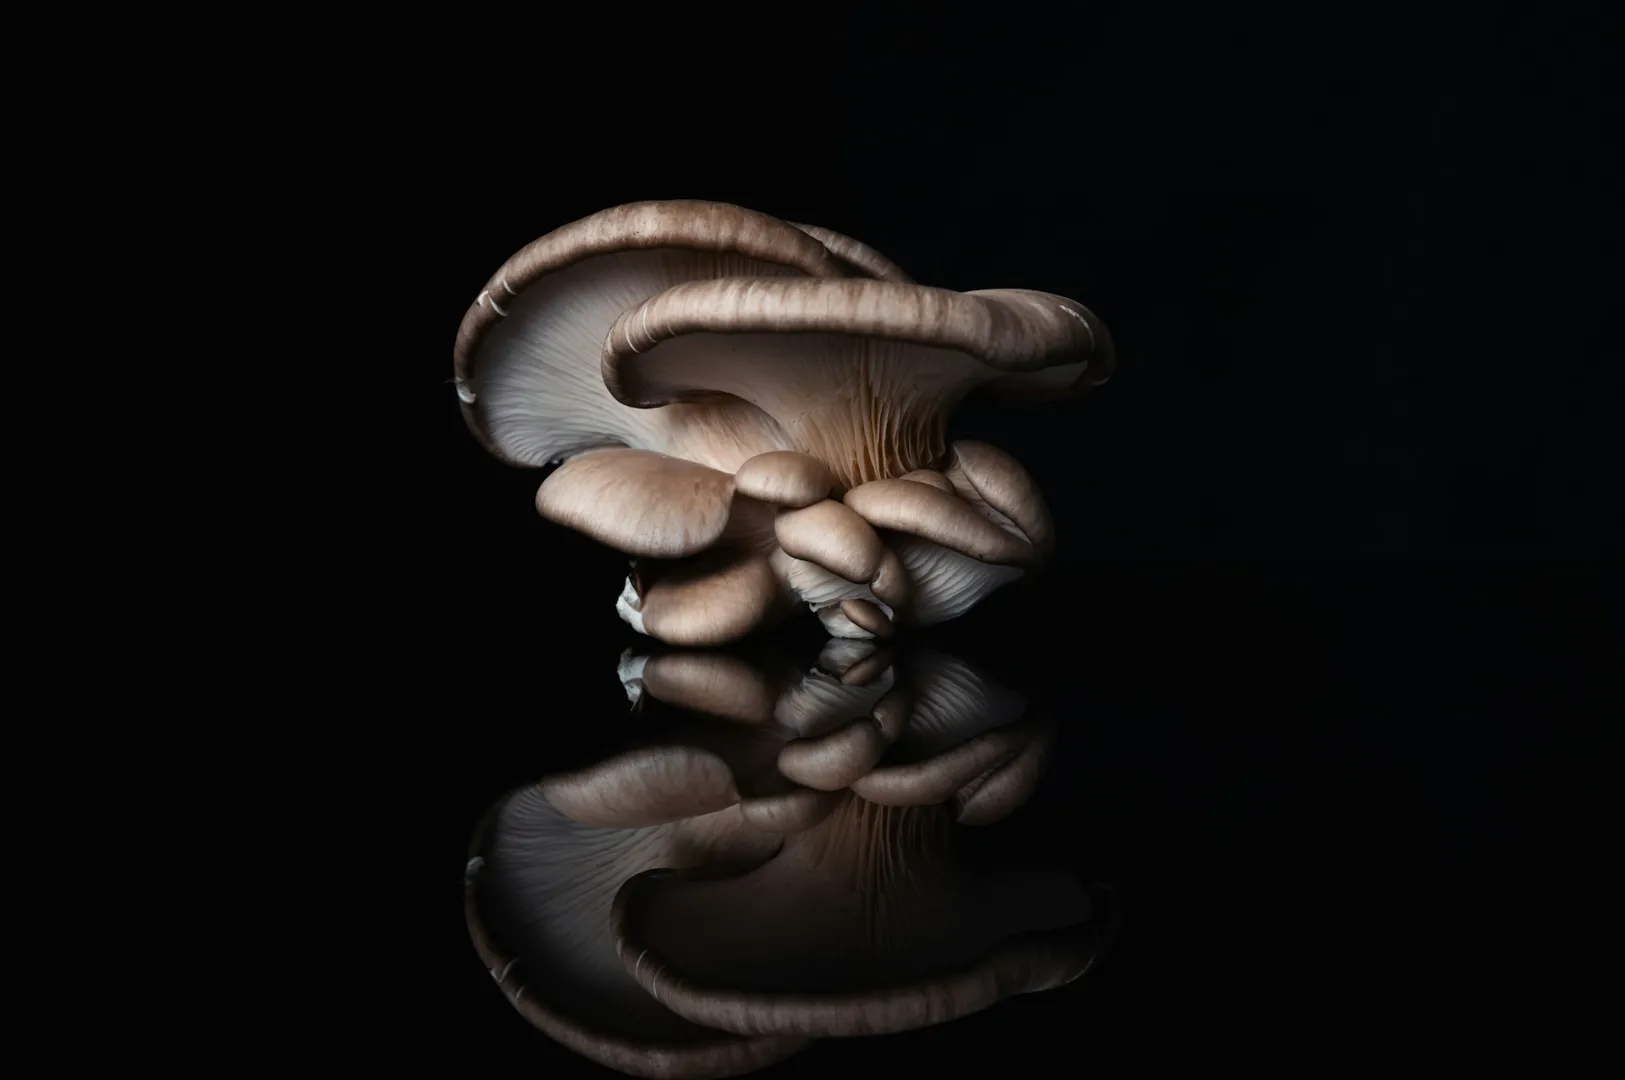
Composition Basics: Camera Angle, Negative Space, and Depth of Field
Once your light looks good, the next step is composition. This is where food photography tips make a huge difference to how your food feels on screen.
Think about:
Camera angle
Use an overhead shot (90°) for flat dishes like pizzas, grain bowls, and open spreads.
Use a 45° angle for burgers, layered desserts, or drinks where you want to see height and background blur.
Negative space
Leave some clean space around the plate. This negative space helps the main subject stand out and makes room for text in social media content or menu design.Depth of field
A wide aperture (low f-number) gives you shallow depth and more shallow depth of field, blurring the background and pulling attention to your main focus. A narrow aperture (high f-number) keeps more elements sharp when you have many items in one frame.
Even taking a few shots from a second image angle can show you how much a small change in camera position can transform photography with food from average to outstanding.
Simple Camera Settings: Shutter Speed, ISO, and RAW Format
You don’t need to be a great photographer to improve your results. But a few basic photography tips on settings will help most cameras perform better in a real restaurant environment.
If you use manual mode (or semi-automatic modes), remember:
Shutter speed
Use a faster shutter speed to avoid camera shake, especially if you’re hand-holding the camera. If you need a slower shutter speed, use a tripod or place the camera on a stable surface.ISO
In indoor lighting, it’s tempting to push ISO very high. However, a very high ISO can add grain and make a good food photo look rough. Try balancing ISO with more light from a window or simple LED panel.RAW format
When possible, shoot in raw format. This gives you more flexibility in post production to adjust exposure and colour. You can fix small mistakes later without damaging the image.
You don’t have to master your camera’s manual in one day. Start by learning how to adjust shutter speed, ISO, and aperture step by step. Over time, these basic food photography tips will help you get closer to that perfect shot every time.
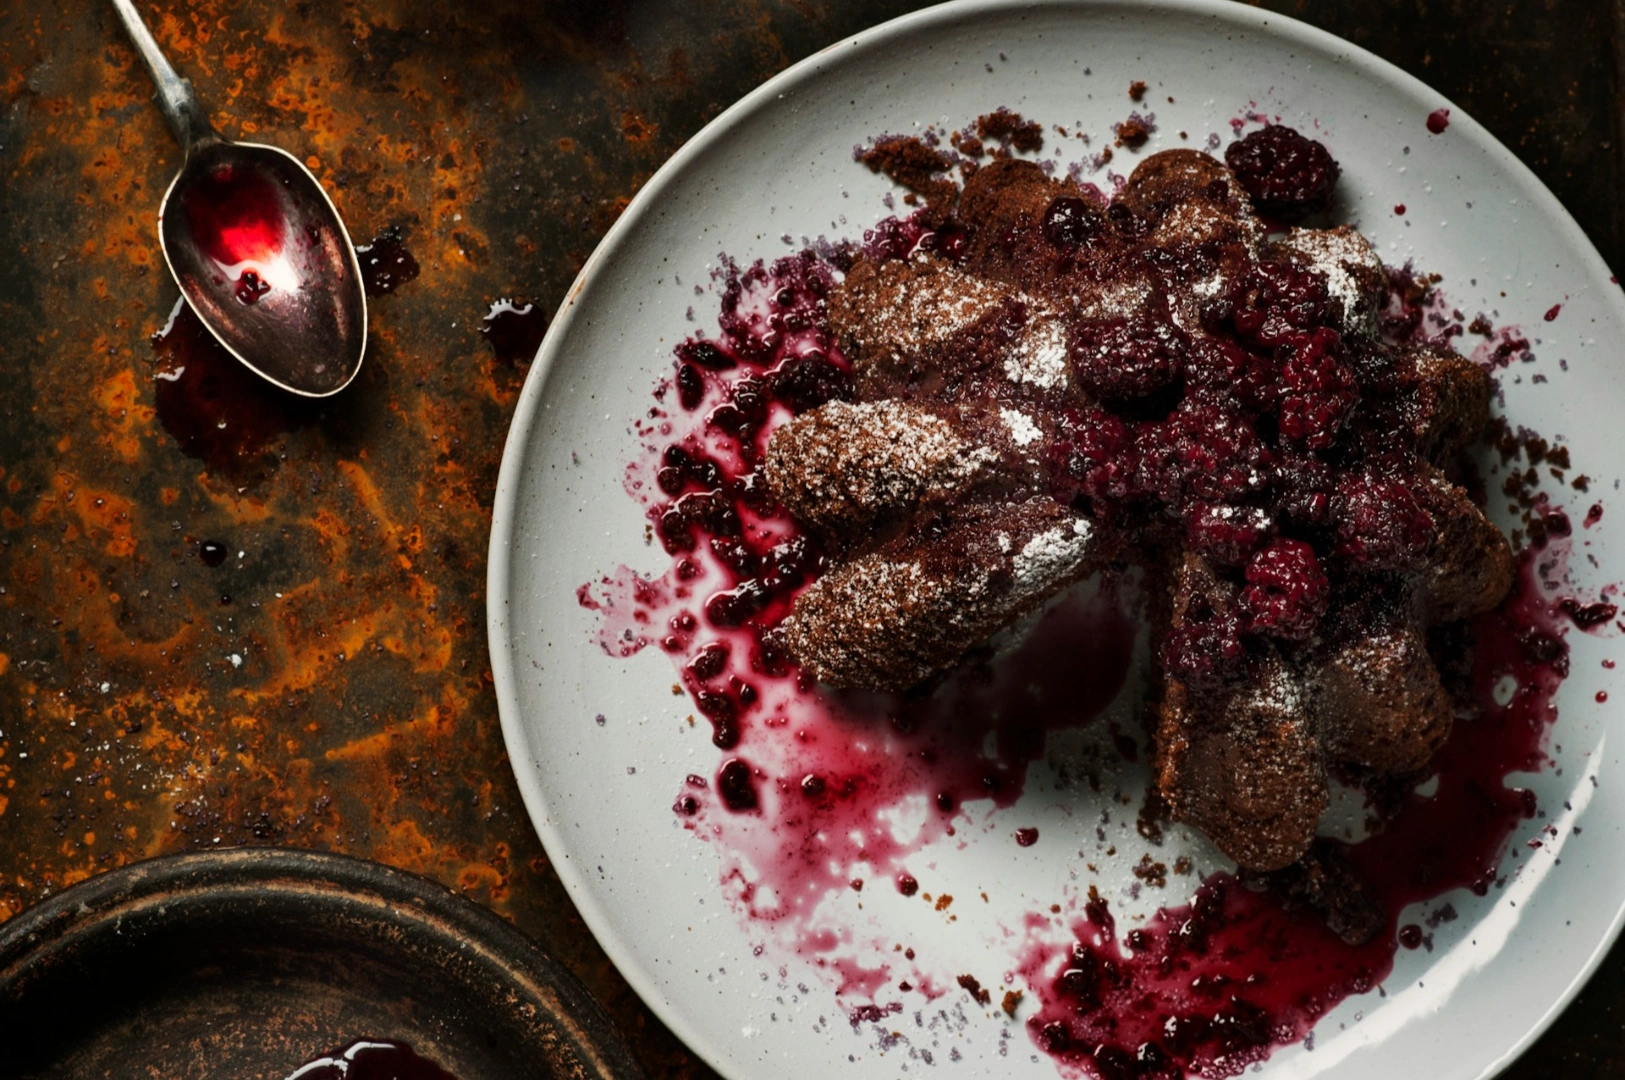
Food Styling and Human Element: Making Images Feel Alive
Technical settings give you sharp images; food styling and the human element make them feel alive. This is where photography with food turns into a story rather than just a record of what’s on the plate.
Consider:
Final touches
Add garnishes at the last minute so herbs stay fresh and glossy. Brush a little oil or cold water on grilled items to make them shine without looking greasy.Other elements
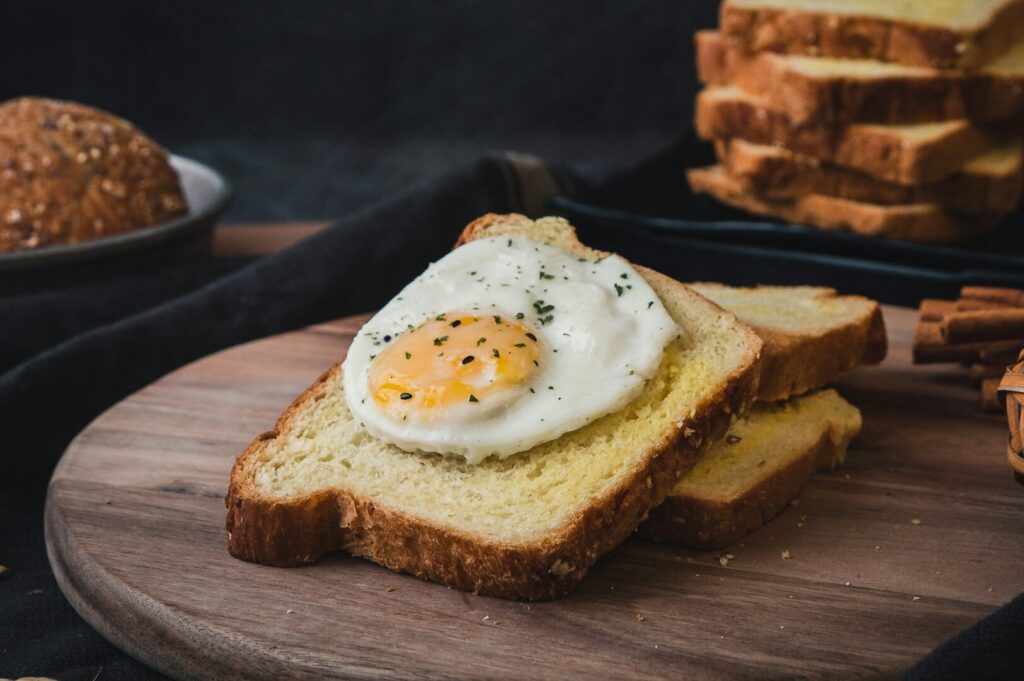
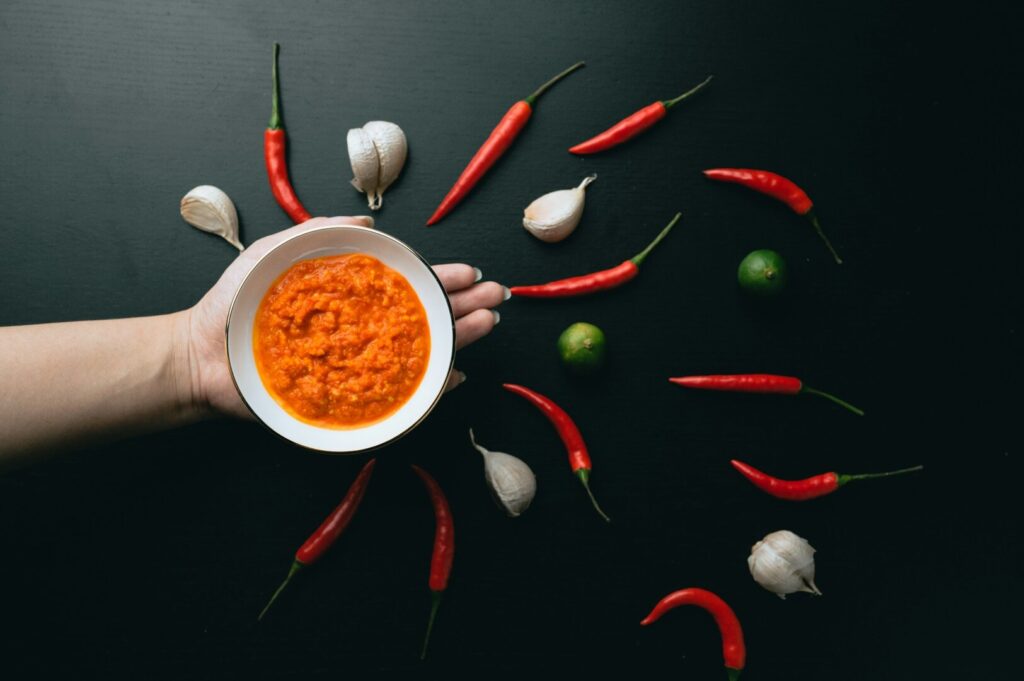
Include cutlery, napkins, or side plates to suggest the dining experience. A hand reaching into frame, a chef adding sauce, or a barista pouring coffee shows the cooking process and makes viewers feel like they’re at the table.Surfaces and props
Use neutral surfaces like wooden boards, stone, or simple linen. These support your main subject without fighting for attention.
When you work with food photographers or plan professional food styling for a full food shoot, these small details become part of a consistent visual language across all your food photographs.
Low-Cost Setups That Still Deliver Great Photos
Many Singapore F&B owners think they need a full studio to achieve great photos. In reality, a few thoughtful choices can get you a long way, even with limited space and budget.
Here’s a simple, low cost setup:
A table near a window as your main light source.
A white sheet or foam board opposite the window to bounce light back into shadows.
A stable chair or small tripod to reduce camera shake.
Two or three backgrounds: a dark board, a light tile, and a neutral cloth.
Even with a smartphone, this setup can create a good food photo for a blog post or menu update. The real magic comes from planning, repeating the same angle and style, and using consistent food photography tips across each session so your brand looks polished.
When you outgrow DIY, professional photographers can bring in studio lights, controlled reflections for shiny surfaces, and full menu photography planning, but your early practice will still help you brief them clearly.
Editing and Consistency: Turning Good Shots into Strong Brand Assets
The job isn’t done when you click the shutter. Simple editing can turn a good photo into a strong brand asset that works across websites, delivery platforms, and a food blog.
Use photo editing software that is extremely user friendly (many mobile apps work well):
Adjust exposure, contrast, and white balance so the food looks natural.
Crop to improve composition and remove distractions at the edge of the frame.
Apply light sharpening and clarity so images pop on mobile screens.
Aim for a consistent look: similar colour tones, similar depth of field, and similar backgrounds. This is where structured food photography tips make a huge difference. Your feed will look like it comes from one unique style, not a mix of random photos.
If this feels overwhelming, a specialised studio can manage editing and post production for you. Our food photography services, for example, are designed to deliver a complete package of edited images, often within 48 hours of your food shoot.
Conclusion: Turn Everyday Dishes into Powerful Visual Assets
In a city where diners scroll through dozens of options before choosing where to eat, strong food photography is not optional. Practical food photography tips help you move from rushed snapshots to considered visuals that show colour, texture, and flavour. When you treat photography with food as part of your F&B strategy, every plate becomes an opportunity to attract new guests and reinforce your brand.
You don’t need to become a great photographer overnight. Use this beginner’s guide as a reference before each food shoot, and you’ll see how small changes make a huge difference to your food photos and your restaurant marketing.
When you’re ready to go further, our food photography services at Food Photographers Studio are here to help. We work with Singapore restaurants, cafés, and F&B brands to plan, style, and capture full menu photography, complete with professional post production and fast turnaround. If you’d like to explore how expert culinary photography can support your next campaign or menu refresh, contact us for a friendly, no-obligation discussion tailored to your kitchen and your brand.