We were once on a high-stakes shoot for a fancy restaurant in Singapore, capturing their signature dessert: a delicate coconut ice cream topped with warm gula melaka sauce. The chef presented the dish flawlessly. But under the intense studio lights, disaster struck, the ice cream melted into an unappetizing puddle before the food photographer could even check the focus. The chef was frustrated, the photographer was sweating, and we learned a crucial lesson that day: food styling is a race against physics.
If you have ever tried to take a photo of your café’s best-selling dish only to find it looks unappealing on camera, you are not alone. Even many professional food stylists make errors that compromise the final image. The good news is that these common mistakes are fixable. Whether you are a home cook documenting your recipes or a business owner managing your own social media, understanding these pitfalls and applying practical tips will help you create food photos that look as delicious as the dish tastes.
Mistake 1: Over-Styling That Makes Food Styling Services Look Artificial
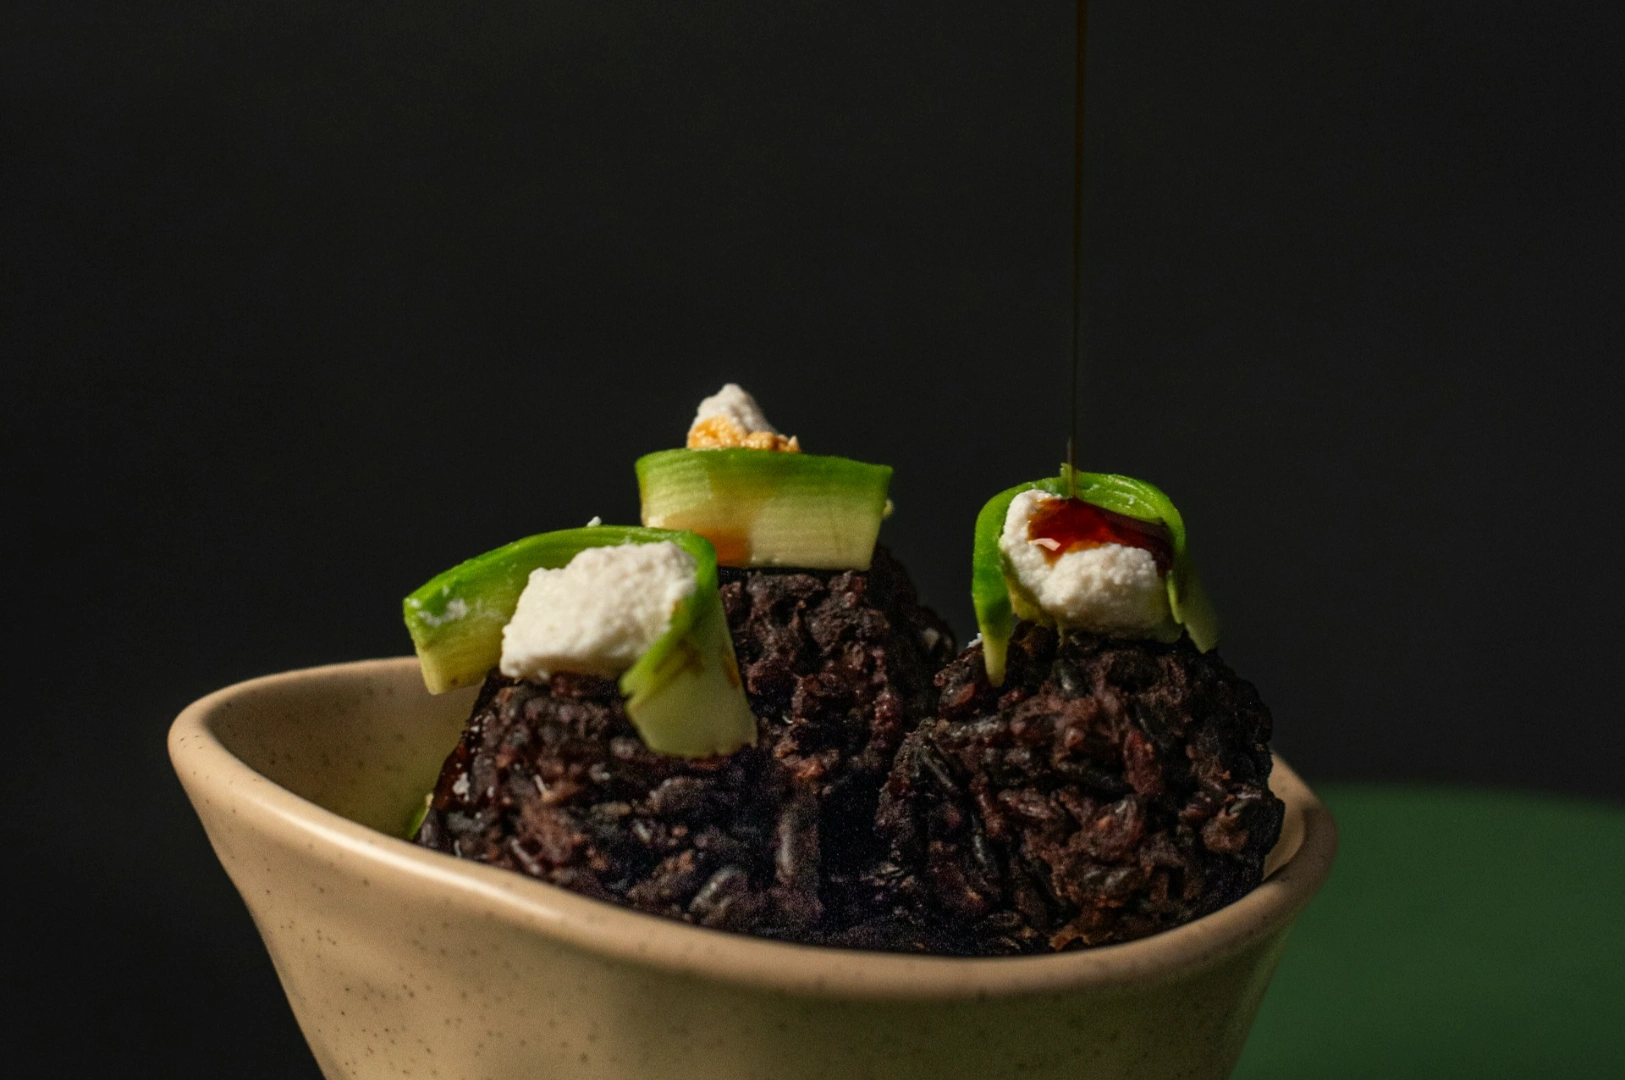
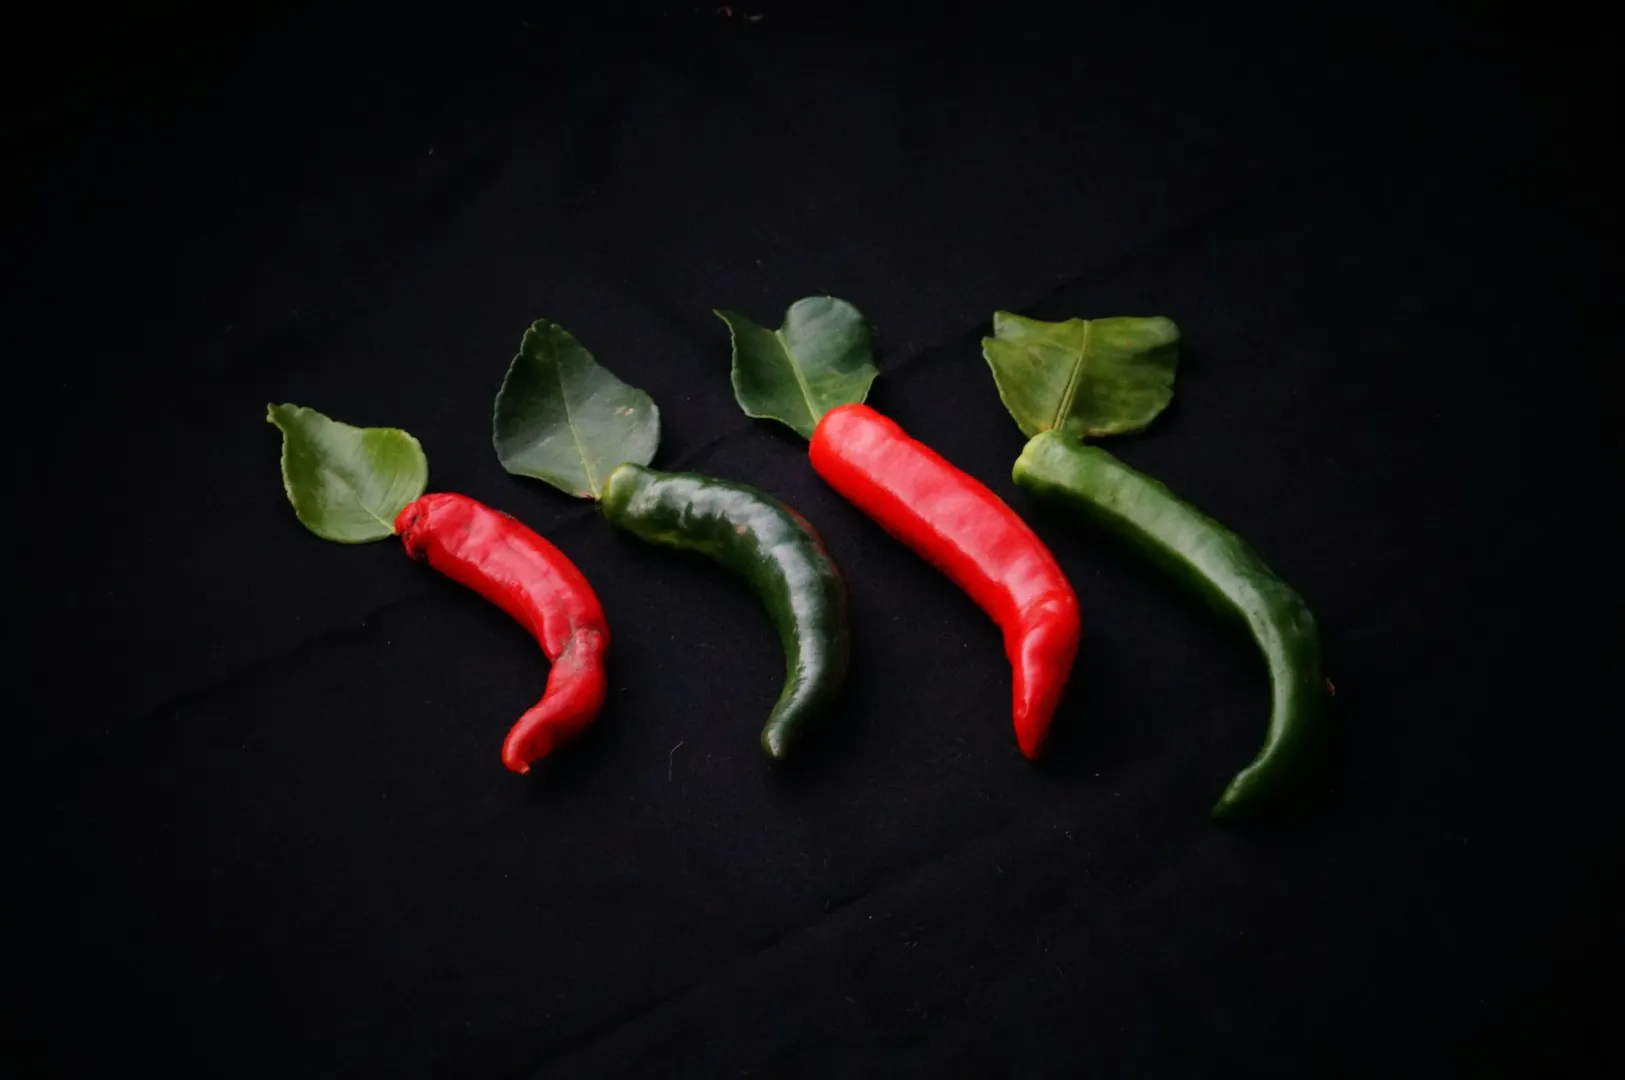
One of the most common traps in food styling Singapore businesses fall into is the urge to add “more.” There is a misconception that a plain dish needs to be dressed up to look expensive. You might feel the need to sprinkle sesame seeds on everything, add excessive fresh greens, or surround the plate with too many props.
The result? The food looks cluttered, messy, and worst of all, inedible. It stops looking like a meal and starts looking like a chaotic art project. When you try to create perfection by forcing elements that don’t belong, you lose the real life appeal of the dish.
How to Fix It:
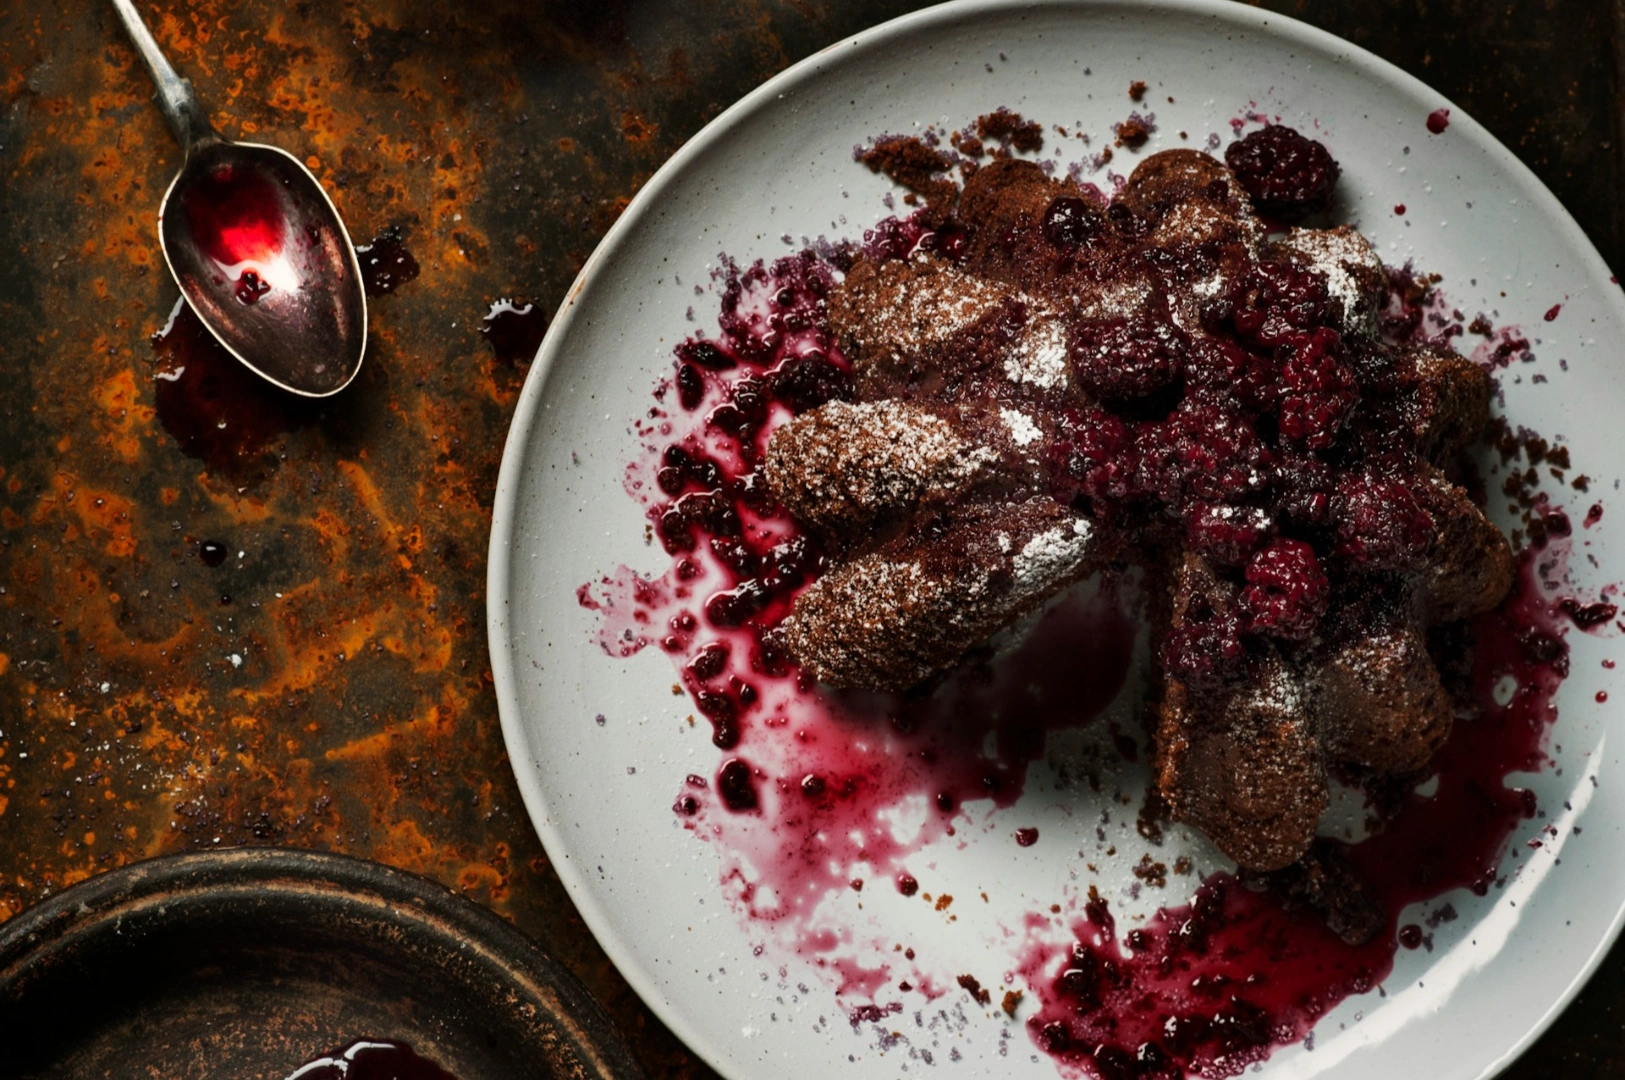
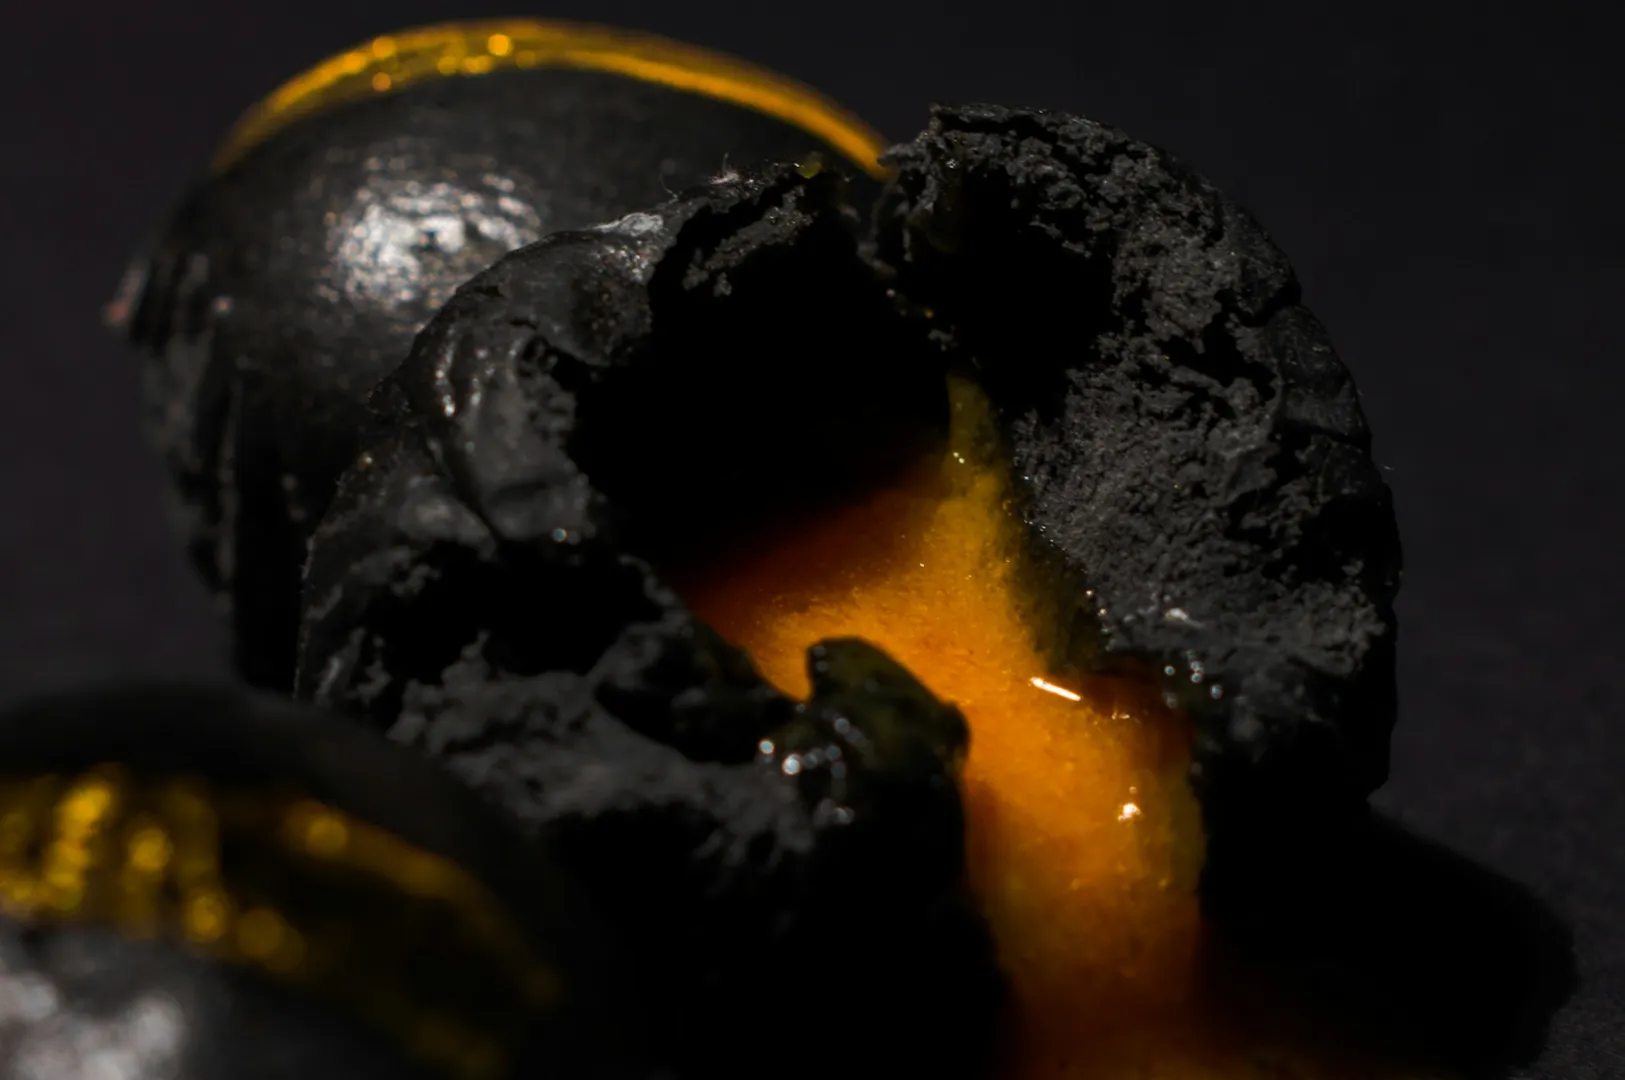
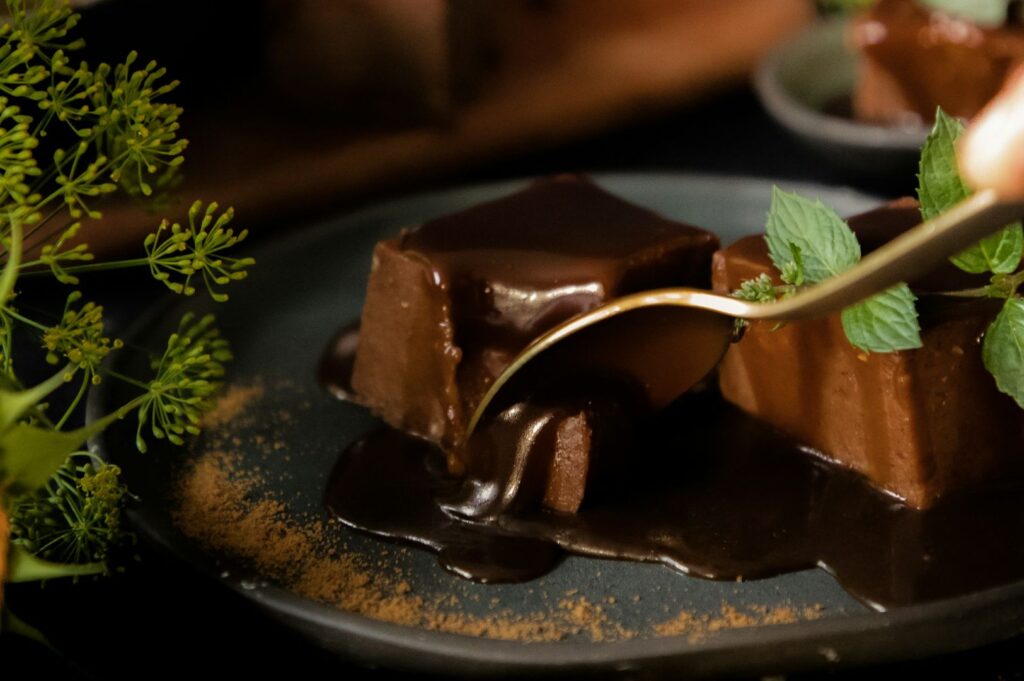
Let the food speak for itself. If you are photographing a rich, dark chocolate cake, you don’t need a confetti of unrelated berries or mint leaves unless they are in the recipe. Trust the texture of the cake. Focus on the crumb, the gloss of the ganache, or the way the light hits the slice.
For home cooks and chefs alike, the rule is simple: edit yourself. Place one or two elements that add visual interest, perhaps a single mint sprig or a dusting of cocoa powder, and then stop. If an element doesn’t enhance the flavor profile or the story, it doesn’t belong in the frame.
Mistake 2: Ignoring the Dish's Story in Food Photos
Every dish has a story. Is it a comforting bowl of porridge meant for a rainy day? Is it a vibrant, spicy salad meant for a quick lunch? A major mistake we see is styling food in a way that contradicts its narrative.
Imagine seeing a rugged, spicy bowl of Laksa styled on a delicate, floral bone China plate with a lace napkin. It feels wrong. It creates a disconnect for the viewer. Similarly, styling a casual street food dish with stiff, packaging-style precision robs it of its soul. If you treat a messy, delicious burger like fine dining, you lose the sense of indulgence.
How to Fix It:
Before you pick up a camera or a prop, ask yourself, “What is the vibe?“
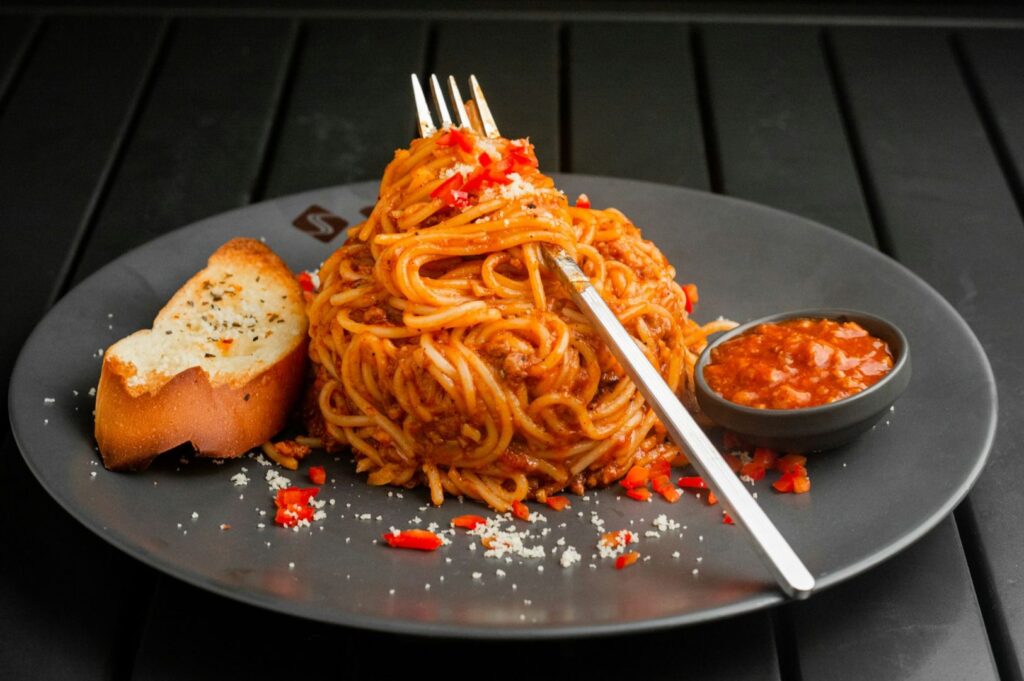
Comfort Food: Use warm colors, softer light, and perhaps a slightly “messy” arrangement that suggests abundance and eating.
Fine Dining: Focus on precision, negative space, and elegant lines.
Singapore Classics: For something like Kaya Toast, the story is often about the start of the day. Keep it simple. Show the contrast of the crisp bread against the soft egg. Don’t overcomplicate a breakfast staple with dinner-style props.
Aligning your styling with the cuisine’s identity is the perfect way to make the food look authentic and appealing.
Mistake 3: Fighting Against Time
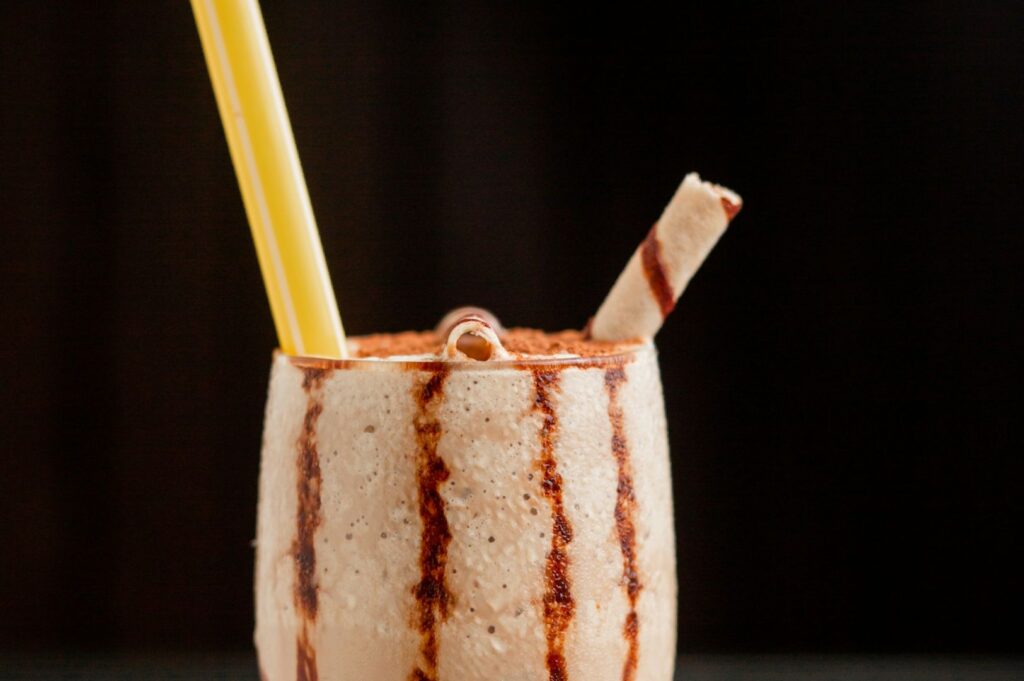
In food photography, time is your enemy. This is especially true in Singapore’s humid climate. Ice cream melts, fresh herbs wilt, foam on coffee dissipates, and pasta loses its shine within minutes.
A classic amateur mistake is plating the food, then spending 20 minutes adjusting the lights and props. By the time you are ready to shoot, the “fresh” salad looks sad and tired. Even professional food stylists sometimes underestimate how quickly a dish degrades under hot studio lights.
How to Fix It:
Preparation is everything.
Stand-ins: Use a “stand-in” object, like a bowl of crumpled paper or an empty plate, to set up your lighting and composition first. Only bring out the hero dish when you are 100% ready to snap the shutter.
The Ice Trick: For cold drinks or desserts, use fake ice (acrylic cubes) if you aren’t planning to consume it. If you must use real ice cream, freeze it on the serving plate beforehand or use dry ice to keep the plate cold.
Refresh: Keep a spray bottle of water handy to mist fresh greens and herbs right before the shot. Use a small brush with oil to add shine back to meat or pasta that has gone matte.
Be Fast: When the hero food hits the table, shoot fast. You have a golden window of about 2-5 minutes before the food starts to die.
Mistake 4: Missing the Human Elements in Styling Food
Have you ever looked at a photo of a table full of food and felt… nothing? It might be perfectly lit and sharp, but it feels sterile. This happens when the styling lacks a human touch. A static plate shot can look like a museum exhibit rather than a meal.
Food is meant for eating. If you remove all traces of consumption, you remove the desire. We often see photos of perfectly sliced cakes or untouched bowls of soup that feel distant. They lack the action of eating.
How to Fix It:
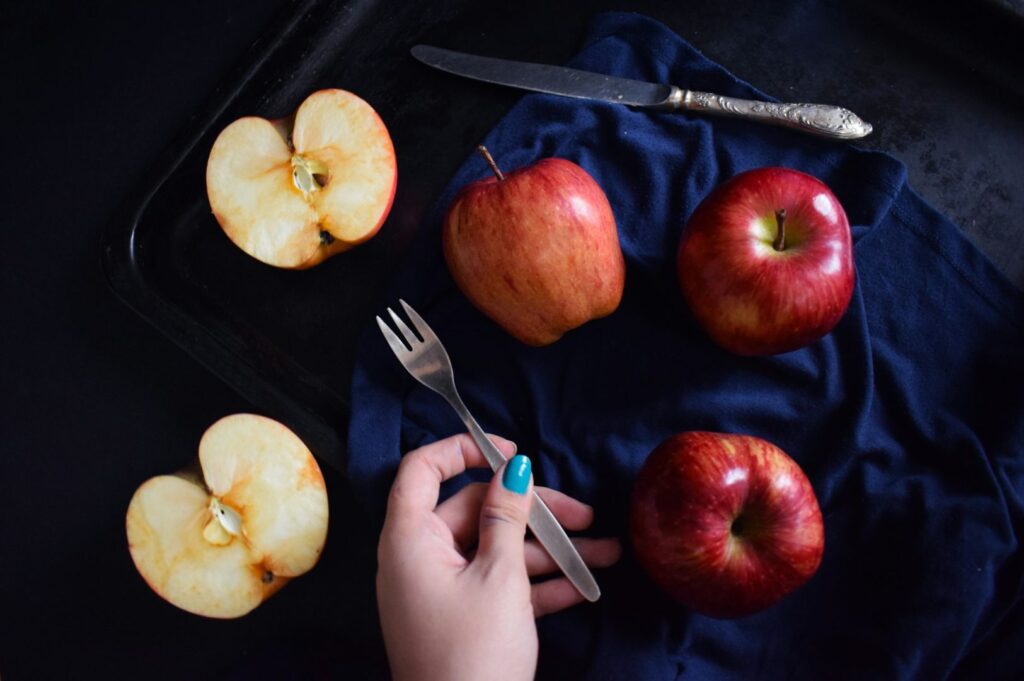
Inject life into the frame. You don’t always need a full model; sometimes just a suggestion of a human presence is enough.
Action: Show a hand reaching for a slice of pizza. Capture a spoon mid-drizzle over a dessert. Show cheese being pulled from a slice of pizza.
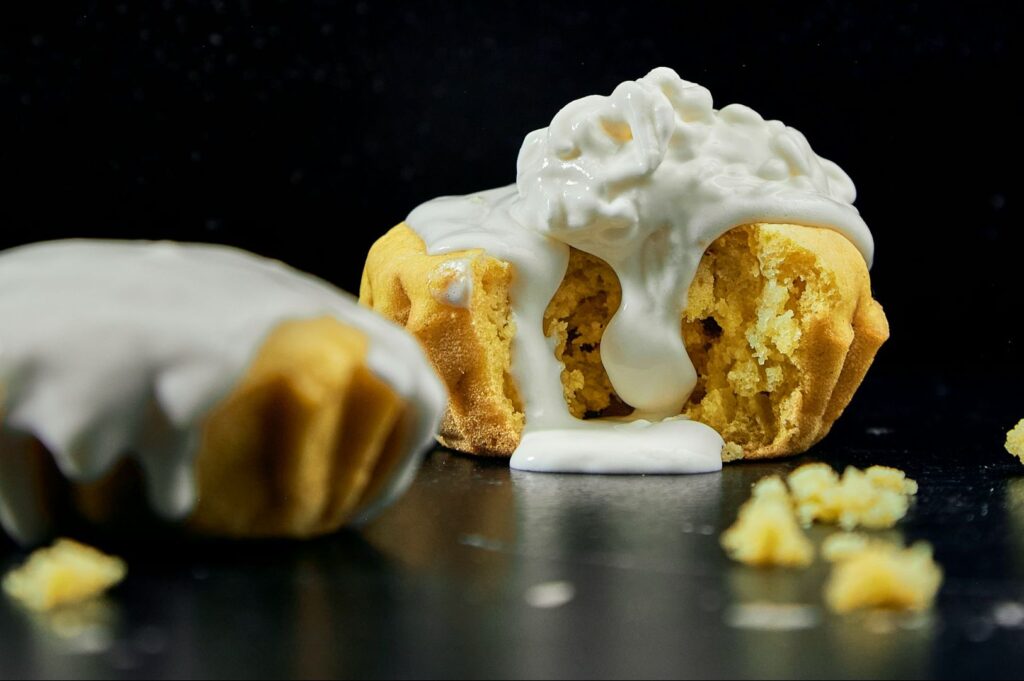
Imperfection: Take a bite out of a cookie. Leave a few crumbs on the table. Show a napkin that has been slightly crumpled.
Process: Show coffee being poured into a cup, creating ripples.
Adding these elements helps the viewer imagine themselves at the table. It transforms a nutritious meal into an experience they want to participate in.
Mistake 5: Wrong Food Photography Props
Props can make or break a photo. A common mistake in food photographers make is choosing props that compete with the food.
We’ve seen bright, neon-colored napkins used under a subtle, pale dessert. We’ve seen busy, patterned tablecloths that swallow up a complex bowl of noodles. When the props are too loud, the viewer doesn’t know where to look. Another error is using props that physically overwhelm the food, like putting a small portion of pasta in a giant, deep bowl where it gets lost in the shadows.
How to Fix It:
Your props should be the supporting actors, not the stars.
Neutrality: Invest in matte, neutral-colored ceramics and linens, greys, creams, soft blues, that allow the food’s colors to pop.
Texture: Look for props with texture rather than bold patterns. A weathered wooden board or a linen napkin with a rough weave adds visual interest without distraction.
Scale: Ensure the plate or bowl size fits the portion. You want the bowl to look full and generous, abundance, not skimpy.
Harmony: If you are shooting a rustic chicken curry, use a clay pot or a wooden spoon. Don’t use a delicate silver teaspoon.
Don’t worry about having the “perfect” prop collection. Often, the best props are simple items you already have in your kitchen that add contrast and depth.
Mistake 6: Over-Relying on Editing
“I’ll just fix it in post.” This is the most dangerous sentence in photography. Many beginners, and even some pros, think they can save a poorly styled shot with editing software. They believe they can digitally add shine to dry meat, fix the color of wilted vegetables, or crop out a messy background.
While technology is amazing, it cannot fix bad lighting or poor styling choices. If the sauce looks congealed on set, it will look congealed in the photo. If the composition is cluttered, no amount of filtering will make it clean. Relying on editing makes you lazy on set and often results in photos that look fake or “plastic.”
How to Fix It:
Get it right in the camera. Spend that extra minute wiping the smudge off the rim of the plate. Adjust the spinach leaf so it catches the light. Make sure the sauce is dripping naturally, not Photoshopped on later. A food stylist who nails the details on set saves hours of editing time and produces a far more authentic, delicious image.
Conclusion
Food styling is an art, but it is also a skill that improves with practice. The mistakes we covered, over-styling, ignoring the story, poor timing, lack of human element, wrong props, and relying on editing, happen to everyone. Even the most experienced food styling services professionals have days where the ice melts too fast or the props just don’t work.
The key is awareness. Now that you know what to look for, you can catch these errors before you press the shutter. Remember, the goal isn’t just to make a pretty picture; it’s to make the viewer hungry. It’s to capture the taste, the smell, and the joy of the meal.
So, the next time you set up a shoot, take a deep breath. Slow down your mind, but speed up your hands. Keep it simple, tell a story, and most importantly, have fun with it. Every shoot is a chance to learn and create something delicious.
For more in-depth guidance on mastering these techniques, check out our complete guide to food photography and styling tips for Singapore businesses.