In Singapore’s fast-paced F&B industry, time is a luxury most restaurants simply don’t have. You know you need beautiful food photography for your menu, social media, and delivery apps, but the idea of an elaborate, hours-long food styling session seems impossible during a busy service day. This creates a problem: how do you get professional food photos without disrupting your entire operation?
The solution lies in mastering quick, effective food styling techniques and a streamlined food shoot process. This guide on food styling tips Singapore offers a practical framework for achieving stunning results in just 15 minutes per dish. It’s about working smarter, not harder, to create eye-catching food photography that captures attention and drives orders, even when you’re short on time. Restaurants that already understand strategic food styling ideas tailored to your cuisine story often find that execution becomes faster and more intuitive during a time-pressed shoot.
With these helpful tips, you can elevate your restaurant’s visual appeal and consistently produce high-quality food images that resonate with your audience.
Why Quick Food Styling Skills Matter for Singapore Restaurants
In today’s visually-driven market, your food photos are your most important first impression. Before customers ever experience the taste of your food, they judge it based on the images they see online. A dish competes on social media and food delivery platforms, and beautiful food photography is what makes it stand out.
While a professional food photographer and dedicated professional food stylists are essential for major campaigns or menu launches, restaurants need skills to handle daily content needs. Learning quick food styling skills allows you to create high-quality food images for daily specials, Instagram updates, or new menu items without a full-scale production. The ROI is clear: better food photos lead to more orders, higher perceived value, and a stronger brand presence. For most restaurants, mastering these quick techniques is the key to maintaining a competitive edge.
The 15-Minute Food Styling Framework
This framework breaks down the process into manageable steps, proving that you don’t need hours to create a great shot.
Minutes 1-3: Plate selection and background setup.
Minutes 4-8: Core dish plating and styling food.
Minutes 9-12: Adding elements and props.
Minutes 13-15: Final touches and the photo shoot.
Technique 1: Master the Plate Foundation
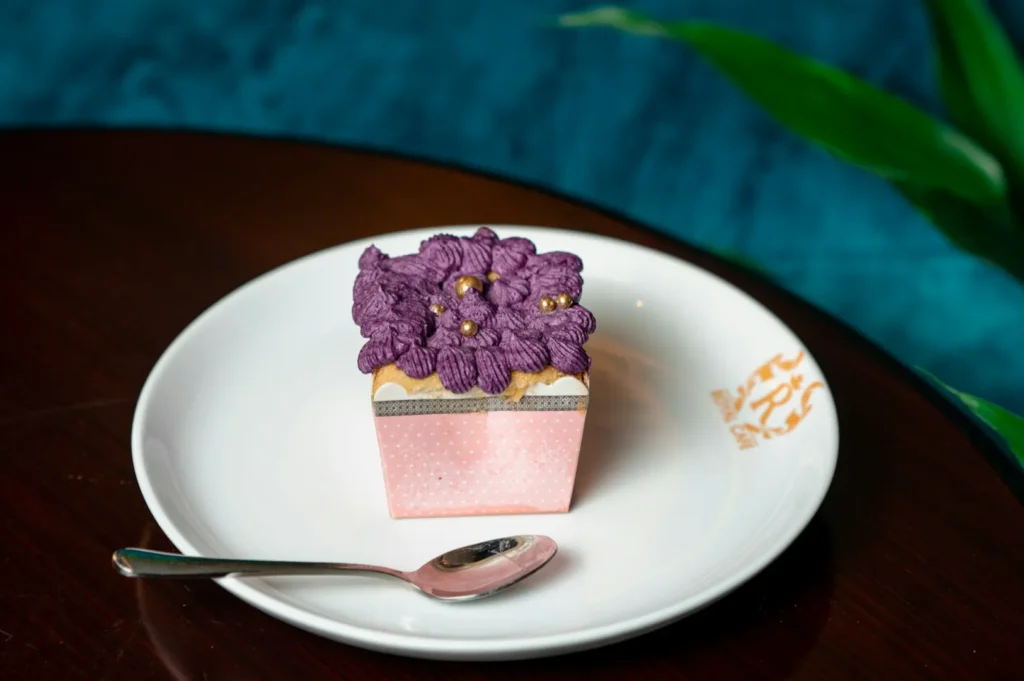
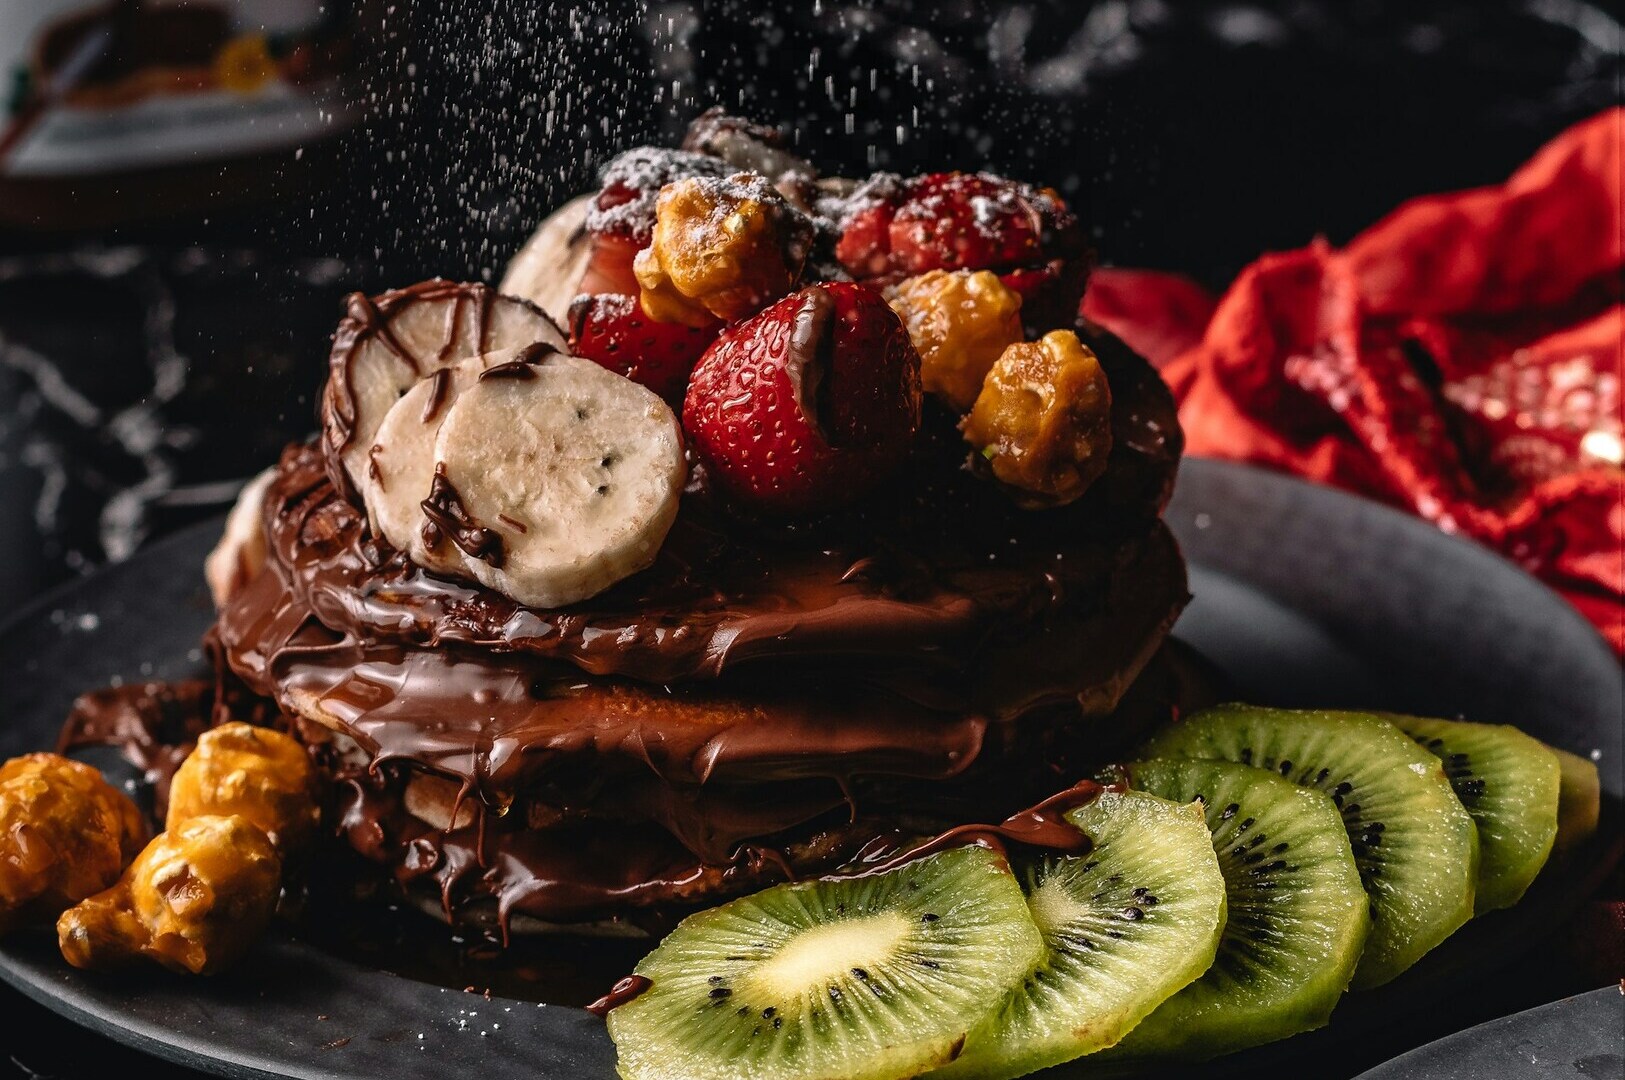
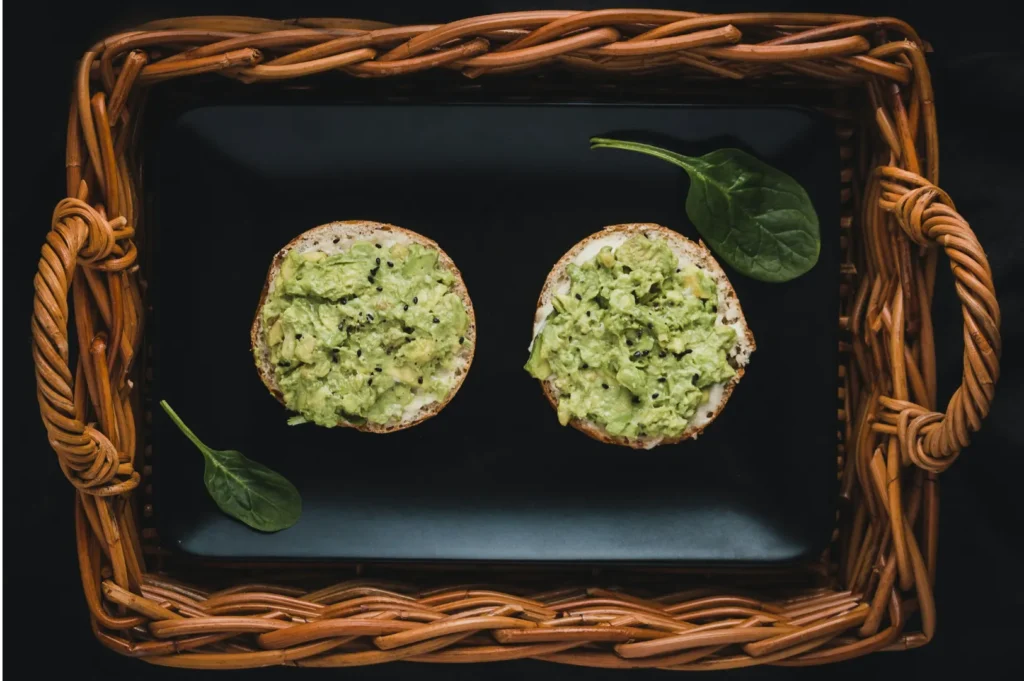
Your choice of plate and background sets the stage for the entire photo. You should be able to make these foundational decisions in under 60 seconds. For most dishes, classic white plates are a safe and effective choice; they are clean, versatile, and make the colors of the food pop. For lighter-colored dishes, like a smoothie bowl or desserts with powdered sugar, a dark plate can provide beautiful contrast.
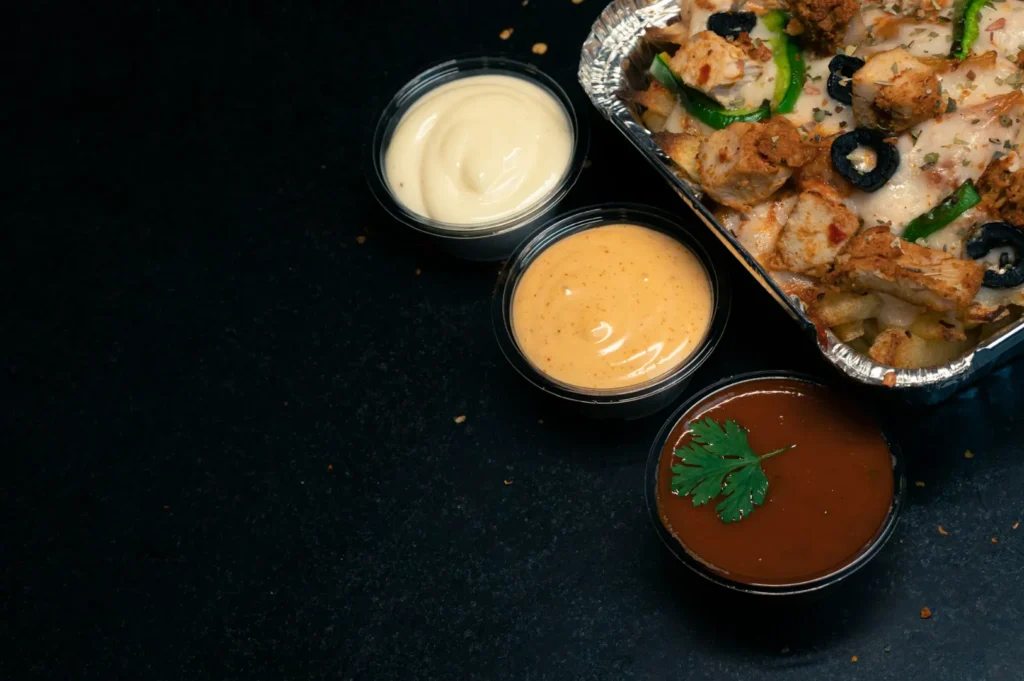
When it comes to heritage dishes, using authentic, traditional plates is crucial to maintaining cultural context. Position small bowls for sauces and condiments strategically to add depth and interest. Remember the principle of negative space: don’t overcrowd the plate. Letting the dish breathe gives it a more sophisticated and appealing look.
For the background, neutral wooden surfaces, simple marble slabs, or textured linens go hand in hand with most cuisines. Avoid using vintage props unless they genuinely align with your restaurant’s concept and brand story.
Technique 2: Strategic Natural Light Positioning
Natural light is your best friend when it comes to quick food styling techniques. It’s the most flattering light for food photography, and setting it up should take two minutes at most. Position your dish near a window, ideally with the light hitting it from the side at a 45-degree angle.
Avoid harsh, overhead artificial lights at all costs, as they create deep, unflattering shadows that kill the visual appeal of your food. On a bright day, if the window light is too strong, soften it with a simple diffuser like a sheer curtain or a sheet of parchment paper. To fill in shadows, use a white reflector card—even a clean paper napkin or a white menu can work in a pinch. An overcast day provides ideal soft, diffused light for your food images, while the warm glow of early morning or late afternoon is perfect for rich, savory dishes.
Technique 3: The Fresh Garnish Arsenal
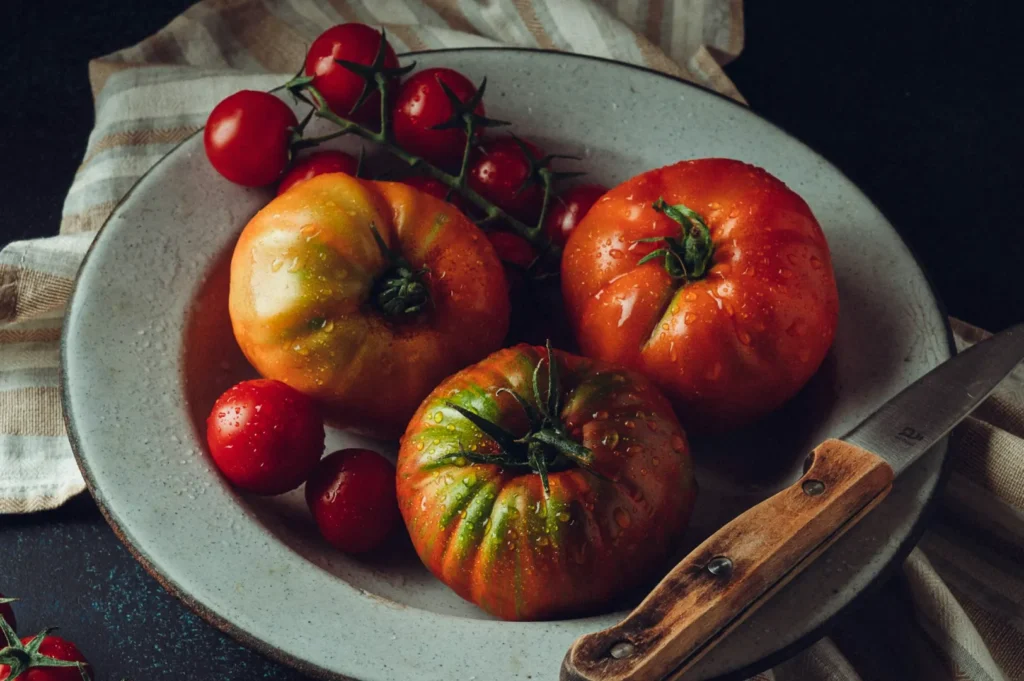
A well-chosen garnish is the fastest way to elevate a dish. Your key ingredient for an instant visual upgrade is freshness. Keep a “garnish arsenal” ready to go so you can add texture and create depth in seconds.
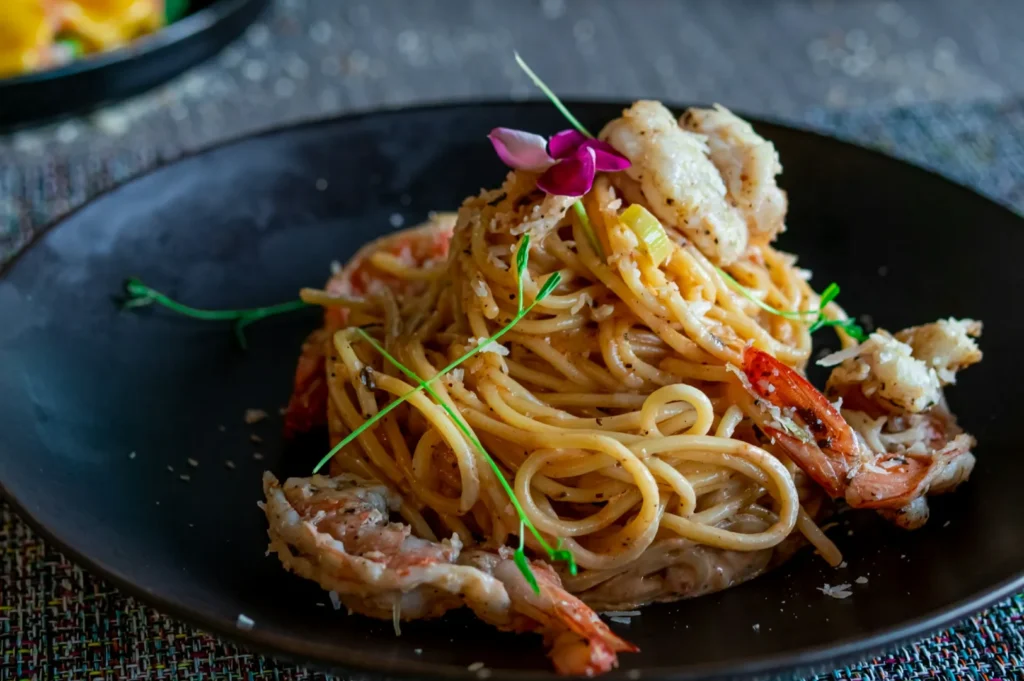
For authentic Singapore flavor, use fresh herbs like cilantro, Thai basil, or mint. Delicate fresh greens such as microgreens or baby arugula can create lines and add an additional layer of sophistication. A sprinkle of sesame seeds on Asian dishes can instantly add interest and create texture. For premium dishes, edible flowers add a pop of color and elegance—always use real ones, as fake flowers photograph poorly. You can also use fresh flowers as out-of-focus background props to create depth.
Scatter extra ingredients from the dish itself artfully around the plate. Don’t forget the human element; sometimes, a hand reaching for a piece of food creates a powerful connection with the viewer. Take a tip from many professional food stylists and prepare a garnish kit ahead of time. The most important elements to avoid are wilted herbs, browning avocado, or melted garnishes.
Technique 4: Quick Composition and Camera Angles
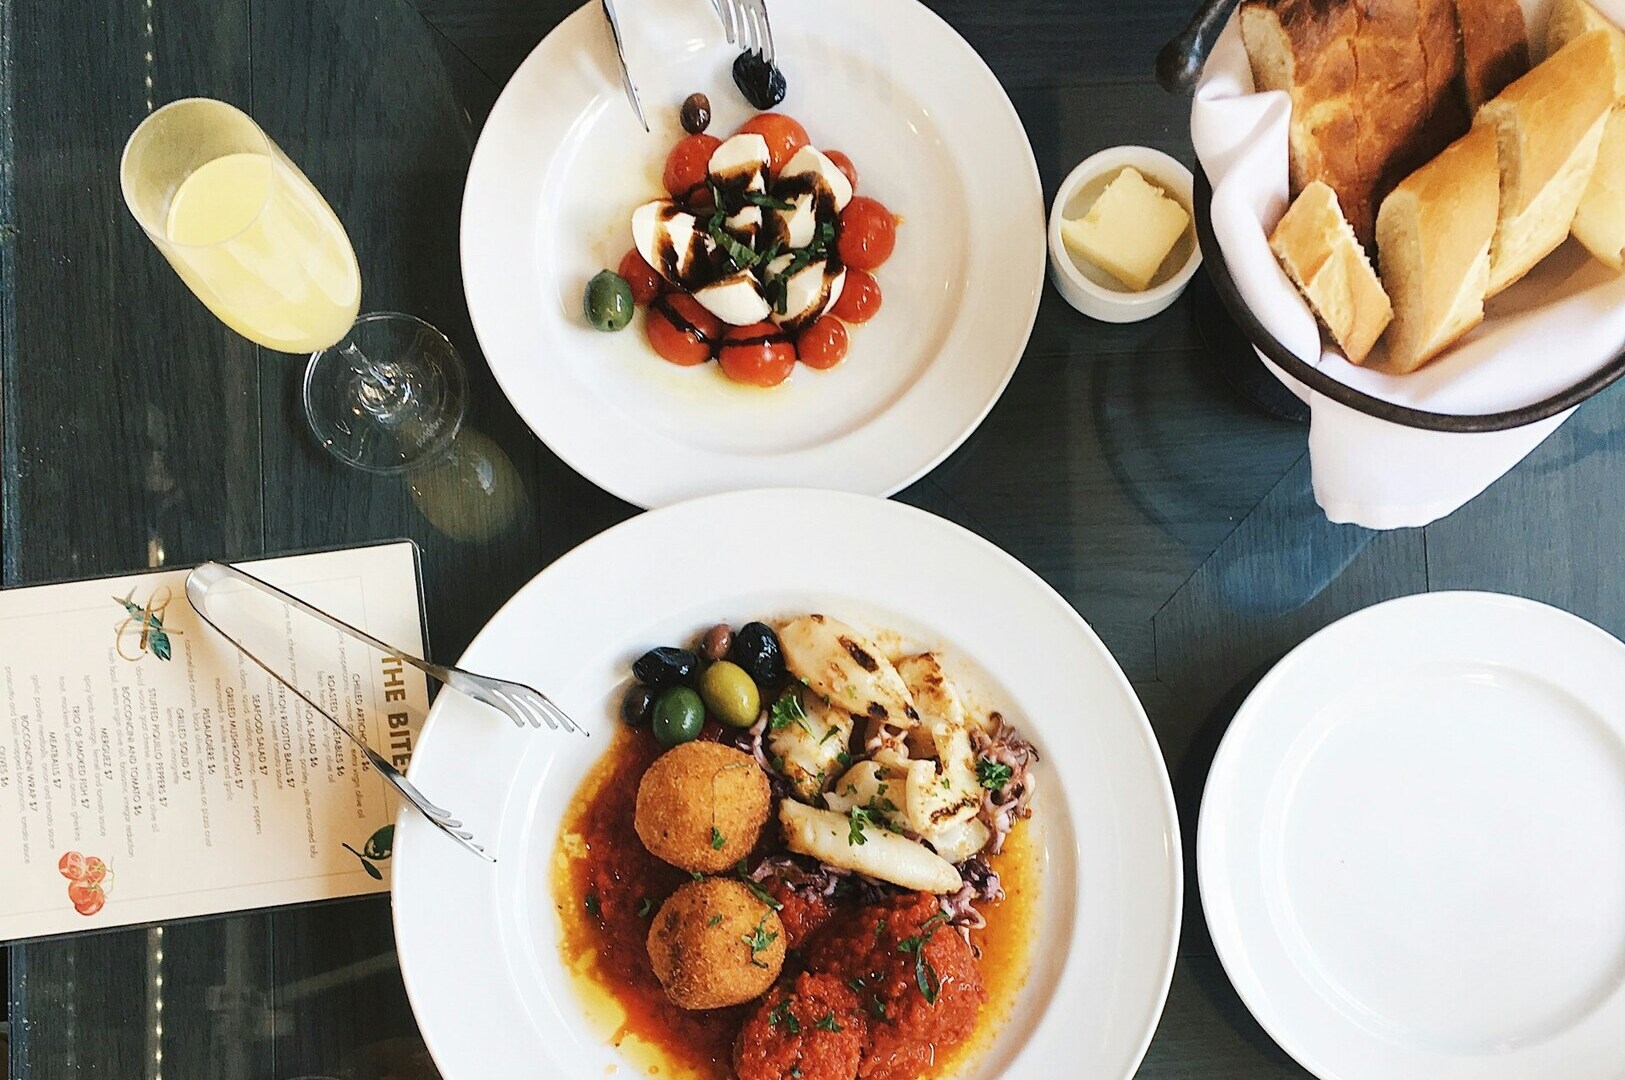
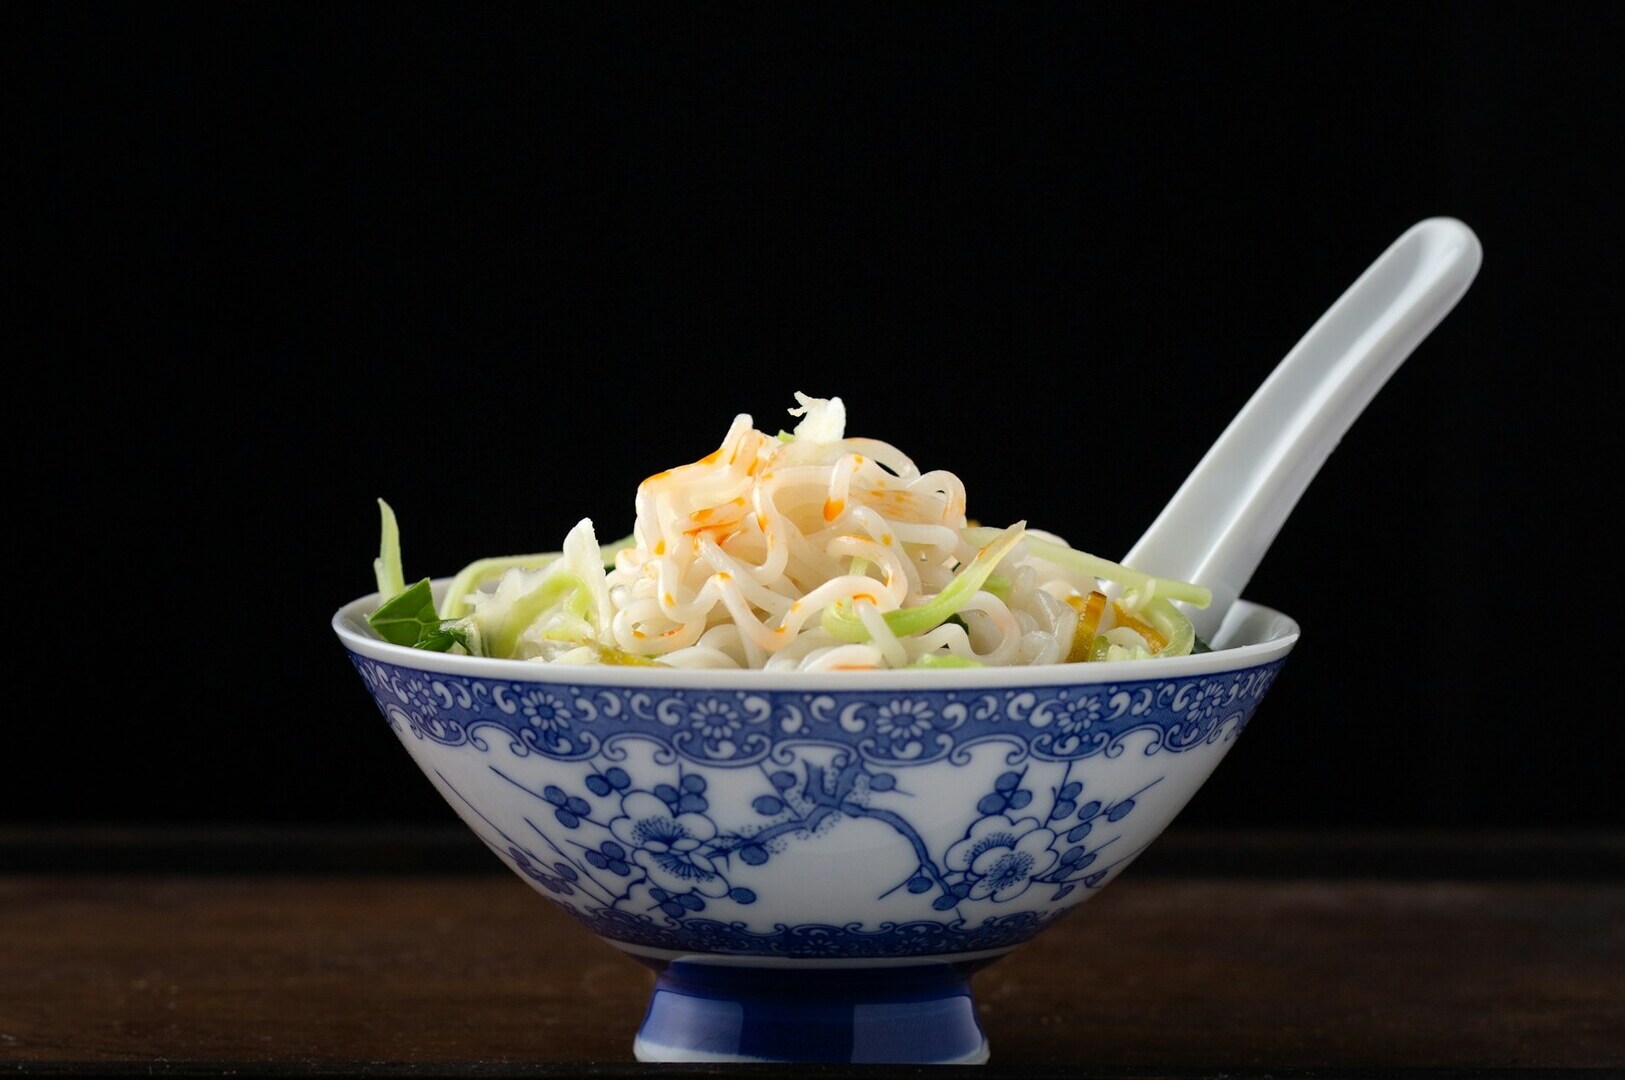
Mastering a few essential camera angles will dramatically improve your photos. The overhead or “flat lay” angle is perfect for showing all the things in noodle bowls, rice dishes, or sharing food platters. The 45-degree angle is the most versatile for the majority of dishes, as it shows height and helps create depth. Close up shots are fantastic for highlighting the texture on a burger or your hero food item.
Use the rule of thirds to position your main dish slightly off-center for better focus. Taking photos from different angles tells different stories and gives you more options in post-production. You can use any camera to create images quickly, even your smartphone.
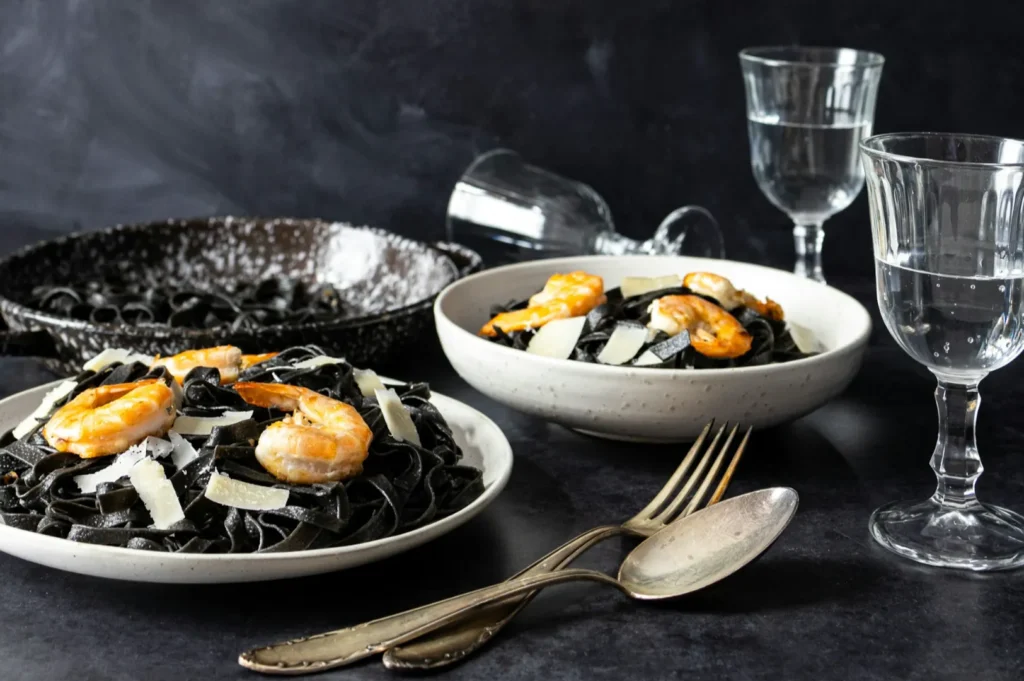
Shoot more photos than you think you need; editing software can help you select the best ones later. To create depth, include other elements like a drink or a side dish slightly out of focus in the background. Leaving negative space on one side of the composition helps balance the image and makes the viewer feel calm. Simple props like cutlery or napkins add context without competing with the food.
Technique 5: The Art of Layering and Texture
Quickly add texture and visual interest to make your food look more dynamic. Instead of mixing everything together, layer different ingredients so each one is visible. Create height by stacking elements vertically; this makes the dish look more substantial and generous.
Juxtapose different textures, like placing a smooth sauce next to a crispy element. Use garnishes and sauces to create lines that guide the viewer’s eye through the plate. A few dots of sauce or a skillful drizzle can add a professional food stylist’s touch. Don’t hide the whole set of components; showcase the wide array of elements in your dish. A few intentionally scattered crumbs or seeds can also add interest. Each food item should be identifiable.
Technique 6: Singapore-Specific Styling Food Considerations
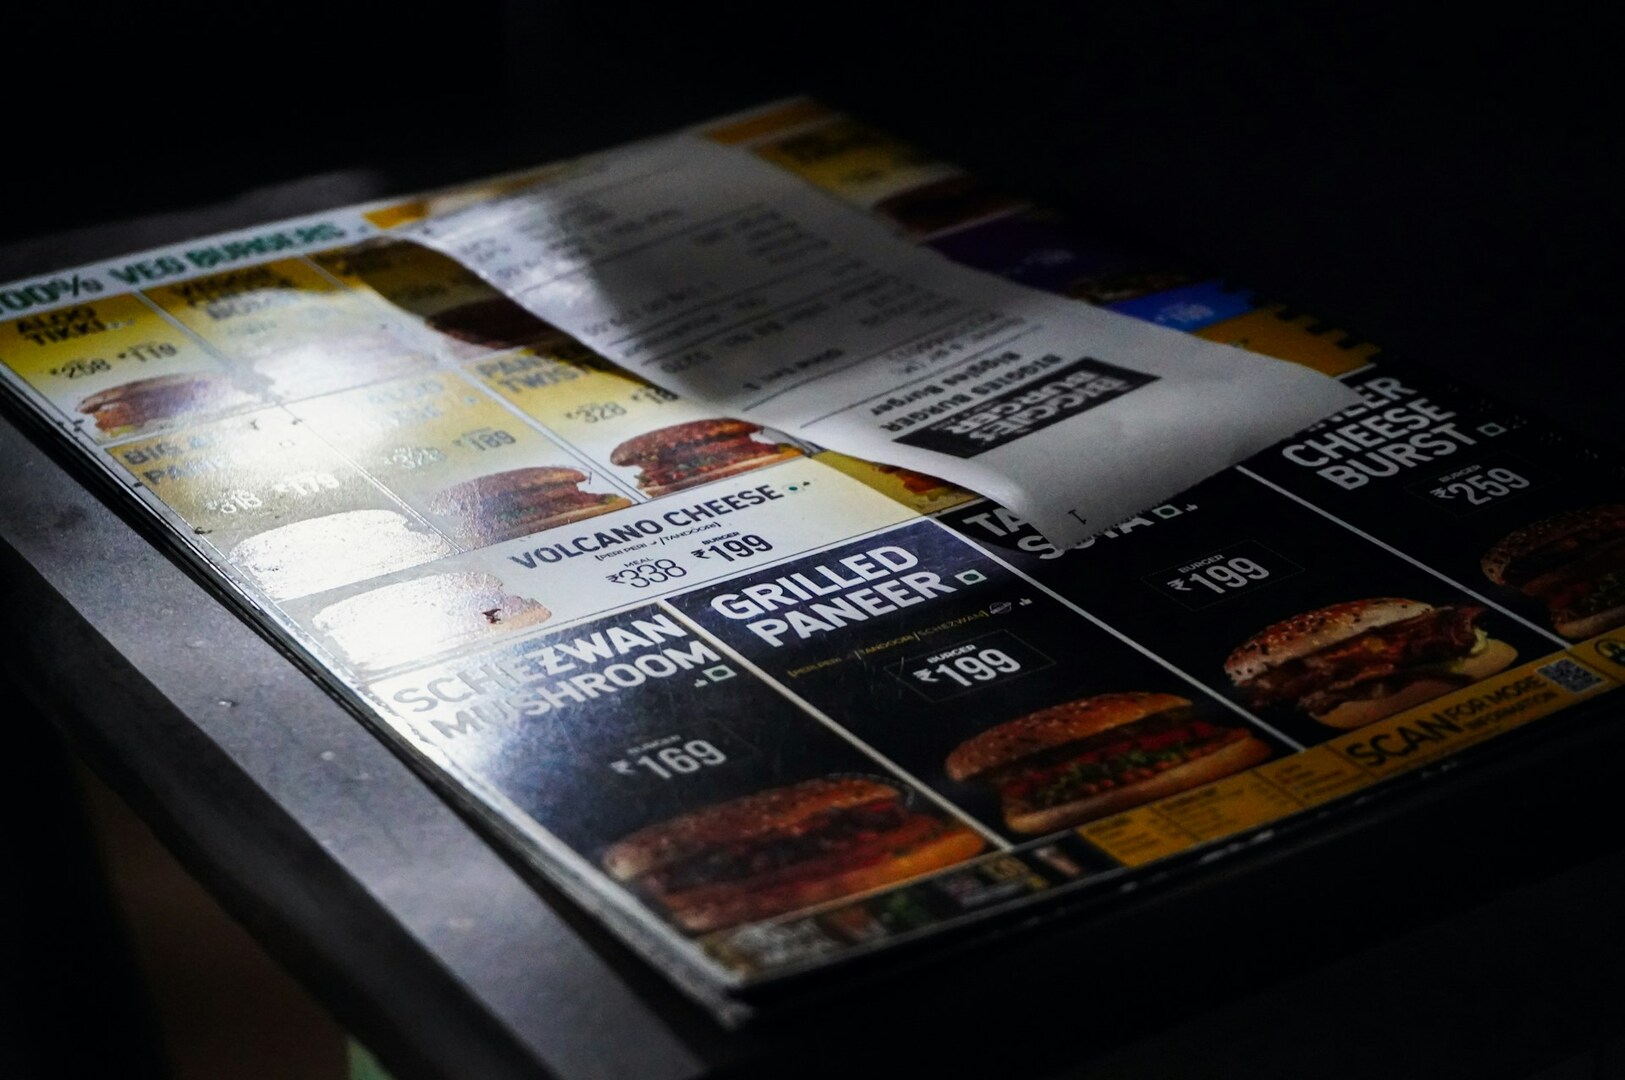
Great food styling tips must suit our local context. Heritage dishes need a delicate balance of authenticity and modern appeal. For hawker food, use authentic melamine plates for social media but modern plates for menu photos.
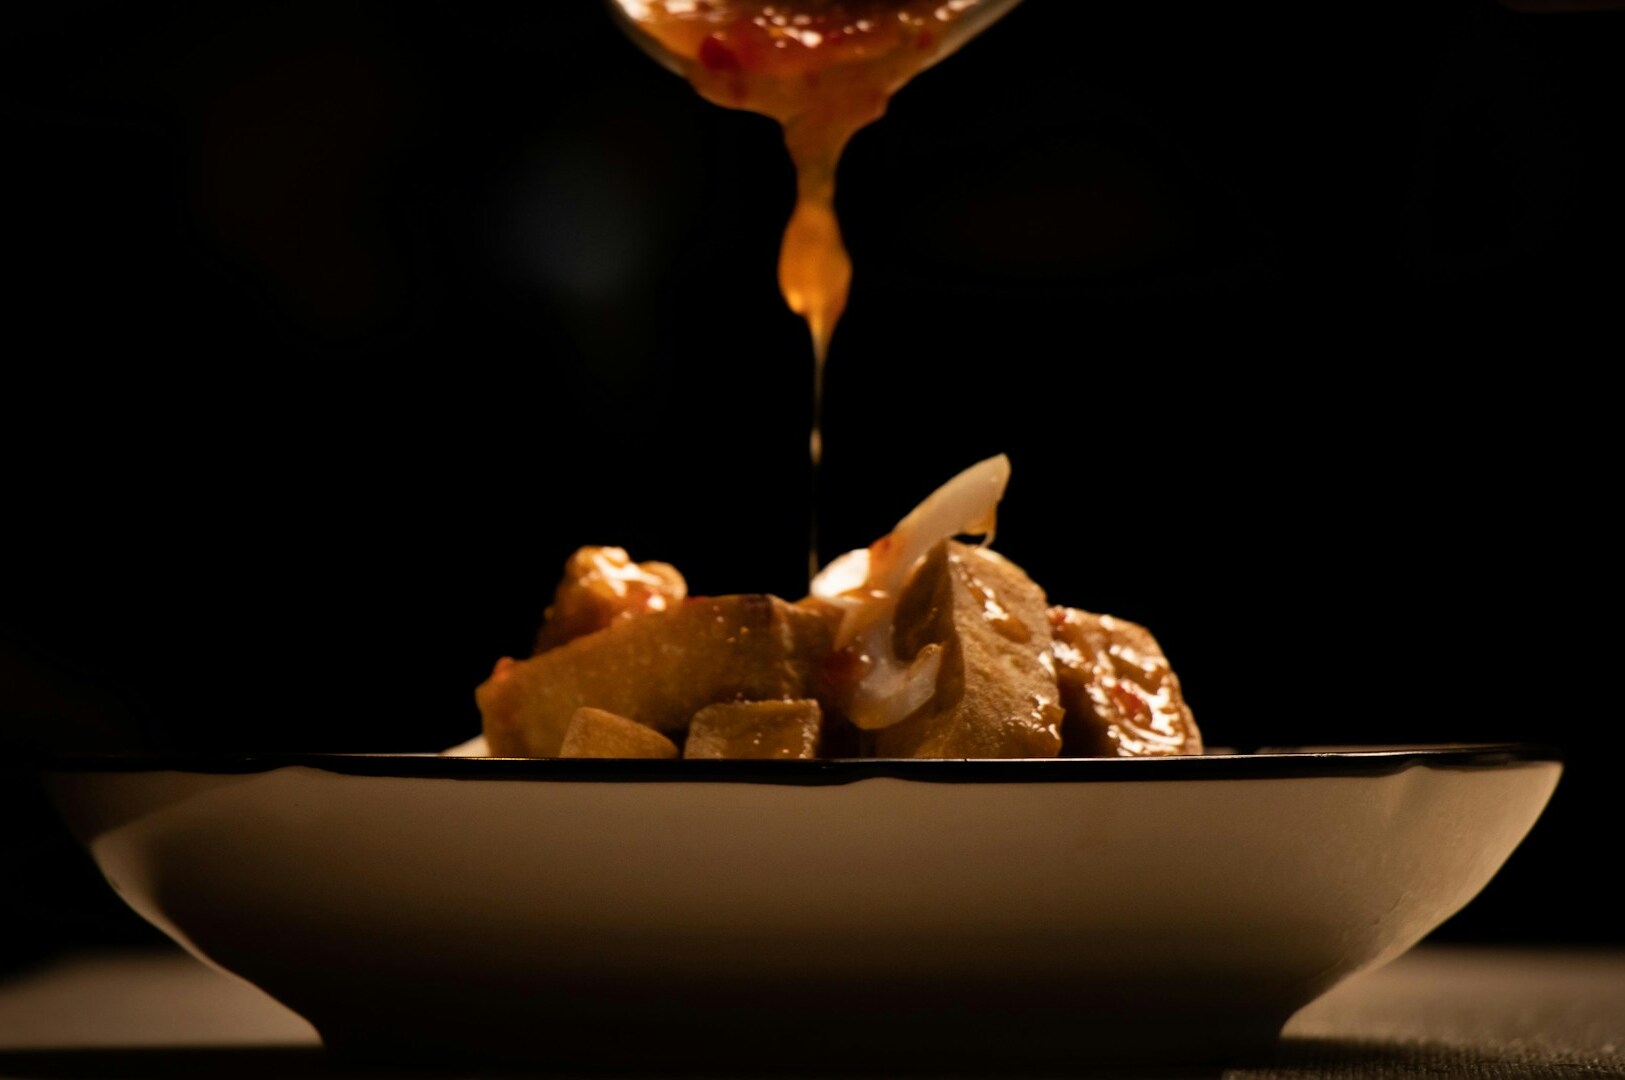
Our humid climate demands quick styling and shooting to prevent condensation and wilting. Reflect our sharing food culture with generous but not overwhelming portions. For savory dishes with rich sauces, avoid drowning the food; let the sauce highlight key ingredients.
Work with challenging elements like banana leaves by adding fresh greens or edible flowers. Multicultural dishes have varied aesthetic expectations. Professional food photographers in Singapore know that understanding the chef’s story and audience is key. Ask: what will make customers’ taste buds imagine the flavor? Often, it’s the sight of steam, fresh ingredients, and visible textures.
Common Quick-Styling Mistakes to Avoid
When you’re short on time, it’s easy to make mistakes. Here’s what to avoid:
Over-Garnishing: Putting all the things on the plate makes your food look cluttered, not appetizing.
Using Fake Garnishes: Avoid fake ones. Food photographers and savvy customers can always tell.
Ignoring Temperature: Don’t let a hot dish get cold or a cold dish get warm while you are styling.
Bad Lighting: Harsh artificial lights or the wrong natural light angle will ruin even the best styling.
Too Many Props: Remember, other elements and props should support the food item, not compete with it.
Inconsistent Styling: Develop a signature idea or style for your menu so your photos look cohesive.
The Power of Food Photography: Quick Styling for Maximum Impact
Food styling doesn’t require hours of preparation; with the right quick food styling techniques, restaurants can create images that capture attention and drive orders. These 15-minute methods balance speed with quality, allowing you to shoot food that showcases your menu while maintaining operational efficiency. Whether you capture photos yourself or work with food photographers, understanding these fundamentals helps you create beautiful food photography efficiently.
For comprehensive guidance on both food styling and food photography techniques, including advanced tips and equipment recommendations, read our complete guide: Mastering Food Styling and Food Photography: Tips for Making Food Look Irresistible.
Ready to elevate your restaurant’s food images? Contact Food Photographer Studio for professional food photography that makes your dishes irresistible.