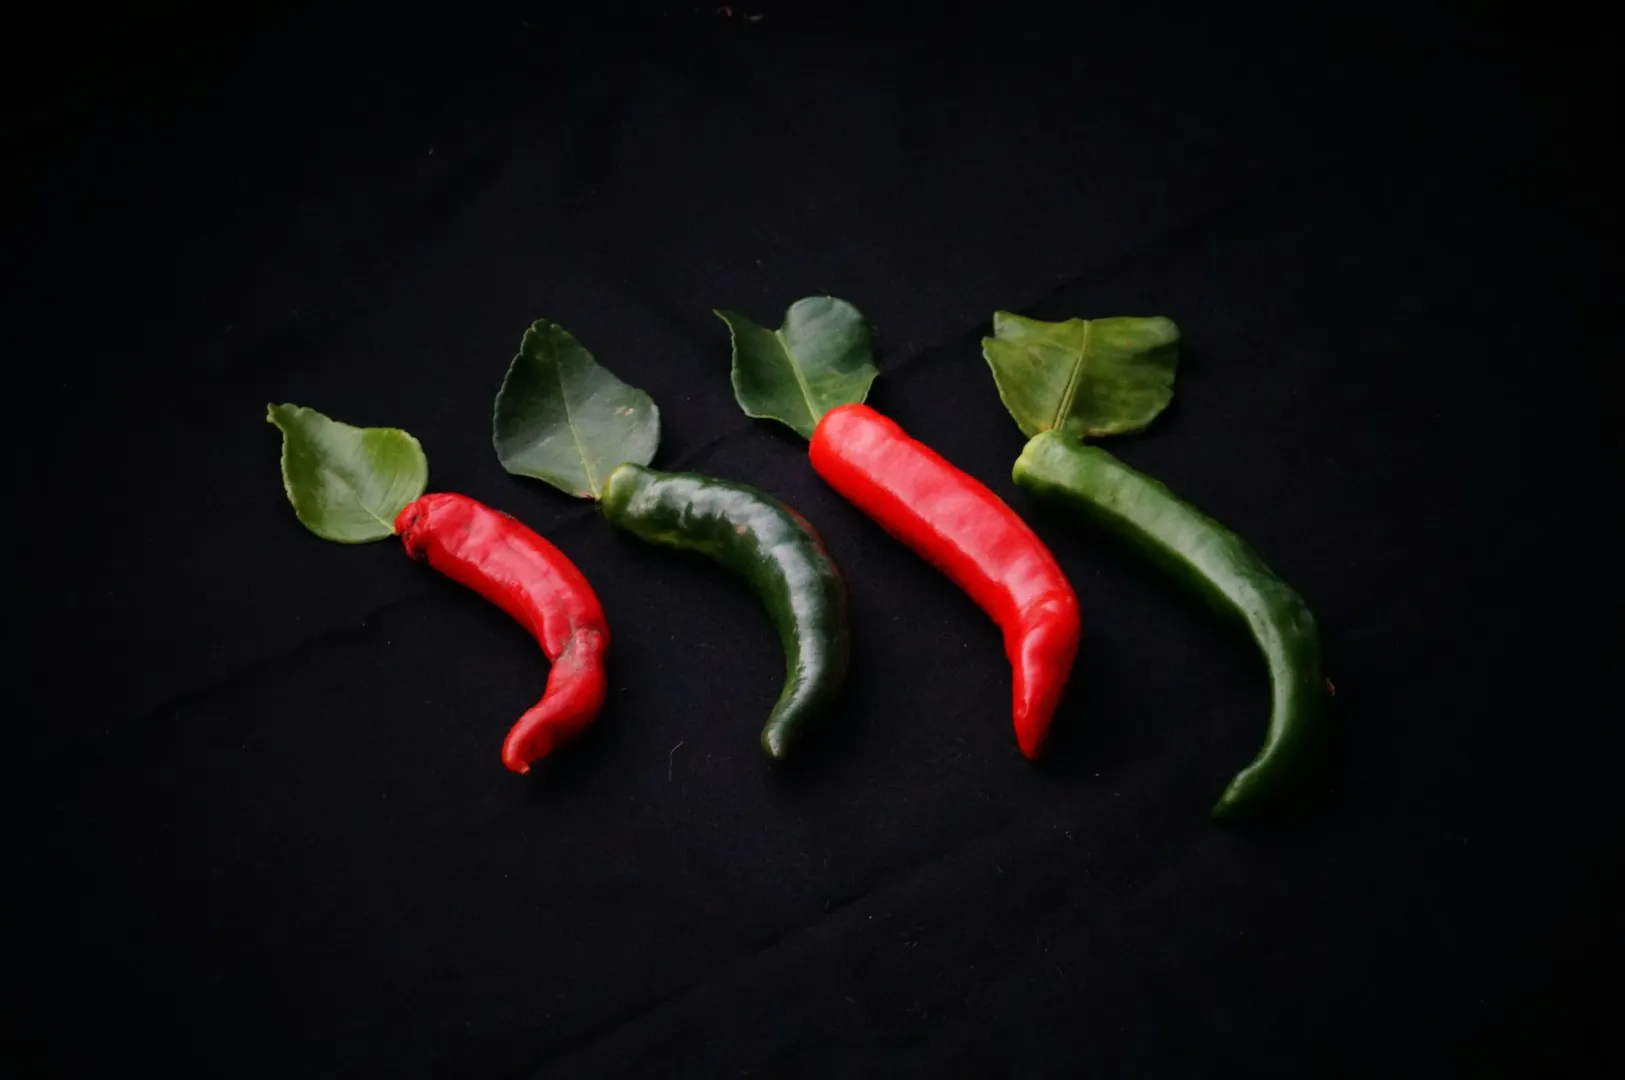
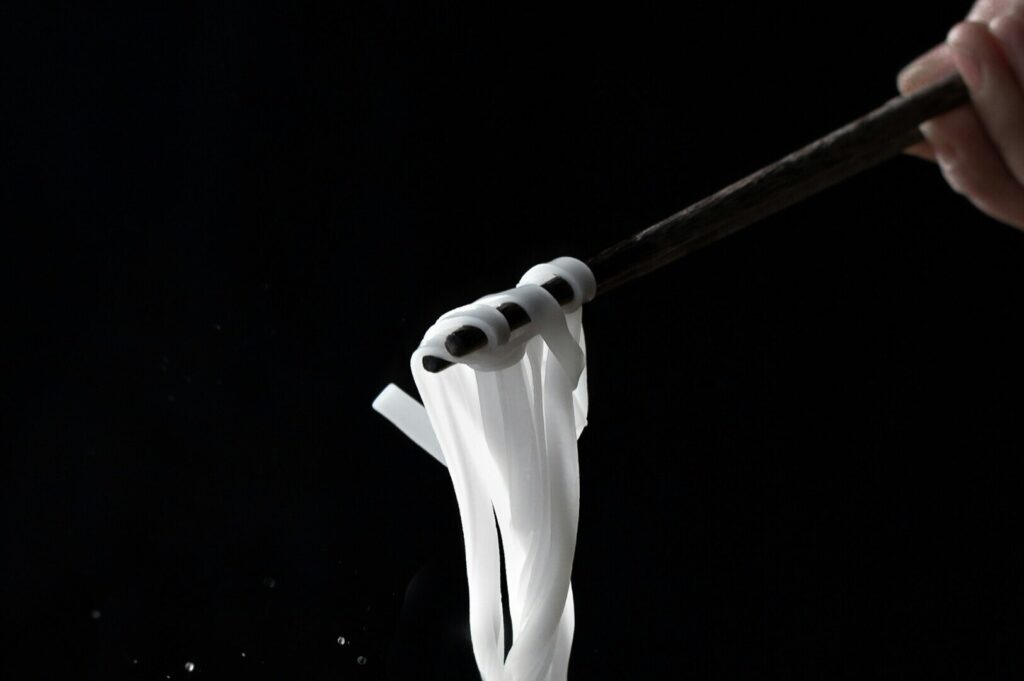
We get it. The lunch rush is on, orders are stacking up, and the last thing your team wants is a full photo shoot. But this is also when people are scrolling, deciding where to eat based on one image, which is why menu-ready photos that sell matter more than most teams realise. In Singapore’s F&B scene, how to take good pictures quickly isn’t a “nice to have”. It’s a practical skill that helps your food get picked.
Whether you’re snapping shots yourself or working with a professional like Food Photographer Studio, the good news is: you don’t need the golden hour or a studio. You need a repeatable routine, decent good light, and a few decisions made before the main subject hits the table. Below is a five-minute system your staff can actually use: whether they’re taking photos on a phone or a digital camera.
How to Take Good Pictures Fast: The 60-Second Setup
Speed comes from removing choices. Set up once, then repeat.
Lock in your “good light” spot. Pick one table near a window with bright, indirect natural light. Golden hour is lovely, but it’s not realistic for most restaurants. You’re aiming for consistent light you can access every day.
Keep one clean background ready. A wooden board, a neutral tabletop, or a slate tile works. The goal is to avoid a distracting background like a service station, tissue box, or random clutter.
Prep your camera settings in advance. On a phone, Auto mode is fast and smart. On a digital camera, set a simple baseline (more on this below). If your camera has exposure compensation, know where it is.
Make a tiny prop kit. 3–5 items only: a neutral napkin, one fork/spoon, a small bowl, and one texture piece. This creates a “studio corner” without slowing anyone down.
This is how you shoot with a “camera properly” mindset: the setup is done before the plate arrives.
Great Photos Without Stress: The 2-Minute Shot Checklist
Once the dish is down, follow this checklist and move.
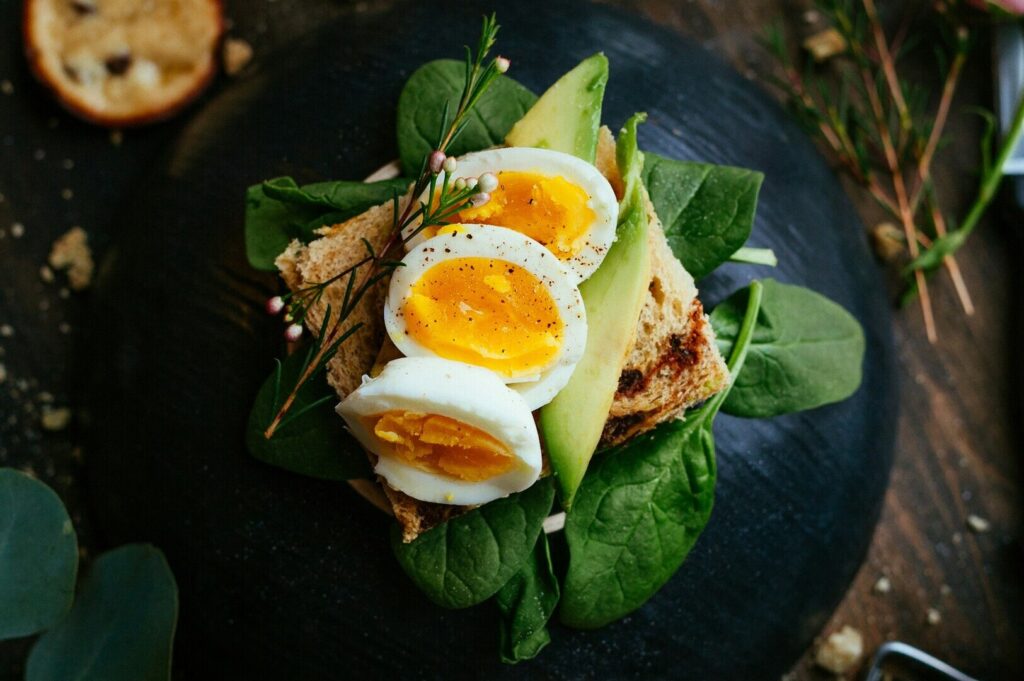
Turn on grid lines (rule of thirds). Place the dish slightly off-center. The rule of thirds is the fastest way to get a more interesting composition without overthinking it.
Find the light direction. Angle the dish so window light comes from the side. This creates interesting shadows and helps create depth.
Avoid the camera’s built in flash as it causes flat, harsh light and ugly shine.
Tap to set your focal point. Pick one detail (char, gloss, steam, crispy edge). That becomes the focal point. The rest can fall slightly softer.
Shoot three angles, quickly.
Overhead (flat lay)
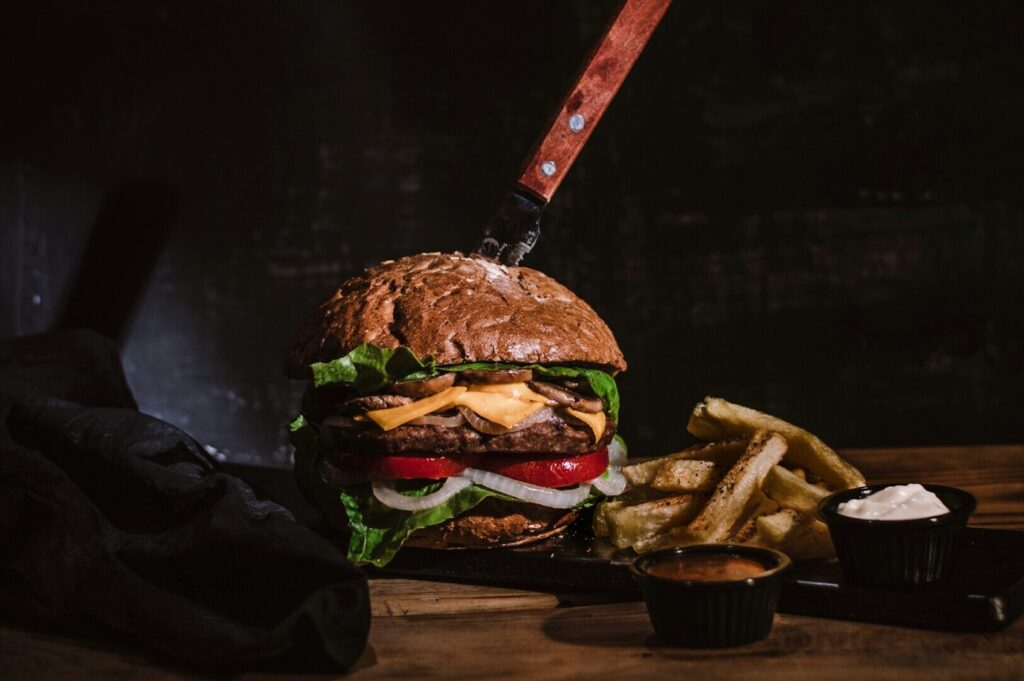
45-degree (how diners see it)
Straight-on (for tall items)
Use burst mode. Take more pictures than you think you need. One blink or shake is all it takes for blurry photos.
Check negative space. Leave a little empty space so the subject pop. Crowding the frame is one of the fastest ways to kill an interesting photo.
Camera Settings That Work When You’re Busy
If you’re on a phone, keep it simple: avoid flash, use window light, tap-to-focus, and don’t zoom too much.
If you’re using a digital camera and want a quick baseline:
Shutter speed: aim for 1/125 or faster to reduce blurry photos, especially during service.
Aperture / wide aperture: use a wider aperture to get shallow depth and isolate the main subject.
ISO: raise it slightly in low light rather than using the camera’s built in flash.
If you know your exposure triangle, this is it: shutter speed for sharpness, aperture for depth, ISO for brightness.
You don’t need the camera’s manual mode to get results, but knowing where these controls are helps your team stay consistent.
Better Photos Under Pressure: Common Mistakes and Instant Fixes
Mistake: Yellow tint from overhead lights
Fix: Move to your window spot. Overhead lights create ugly color casts. If you must stay put, turn off nearby warm lights if possible and rely on one window or one light source.Mistake: Messy background
Fix: Remove everything that isn’t helping. One clean board beats ten random props. Negative space sells.Mistake: Shaky hands → blurry photos
Fix: Brace elbows on the table, or lean your phone against a cup/napkin holder. If you can, increase shutter speed. A cheap tabletop stand also helps more than people expect.Mistake: “Everything is sharp, but nothing feels appetising”
Fix: Choose one main point (crispy edge, sauce sheen, steam). Tap to focus there and let the background soften. That small shift draws viewer’s attention instantly.
Better Photos in 5 Minutes: Quick Mobile Editing
You don’t need heavy editing software for daily content. A clean, consistent look beats dramatic filters.
Do these three edits only:
Brightness / Exposure: lift slightly if the photo is dim or if people tend to shoot in low light conditions (especially in rainy day light).
Contrast: add a bit so food looks more dimensional.
Warmth: nudge warmer to make dishes feel more appetising without turning everything orange.
Skip one-tap filters that create a “bad photo” vibe. If your phone or most cameras allow, save a preset so staff can apply the same look every time. That’s how you build an own unique style without slowing down service, even when there isn’t enough light for perfect shots.
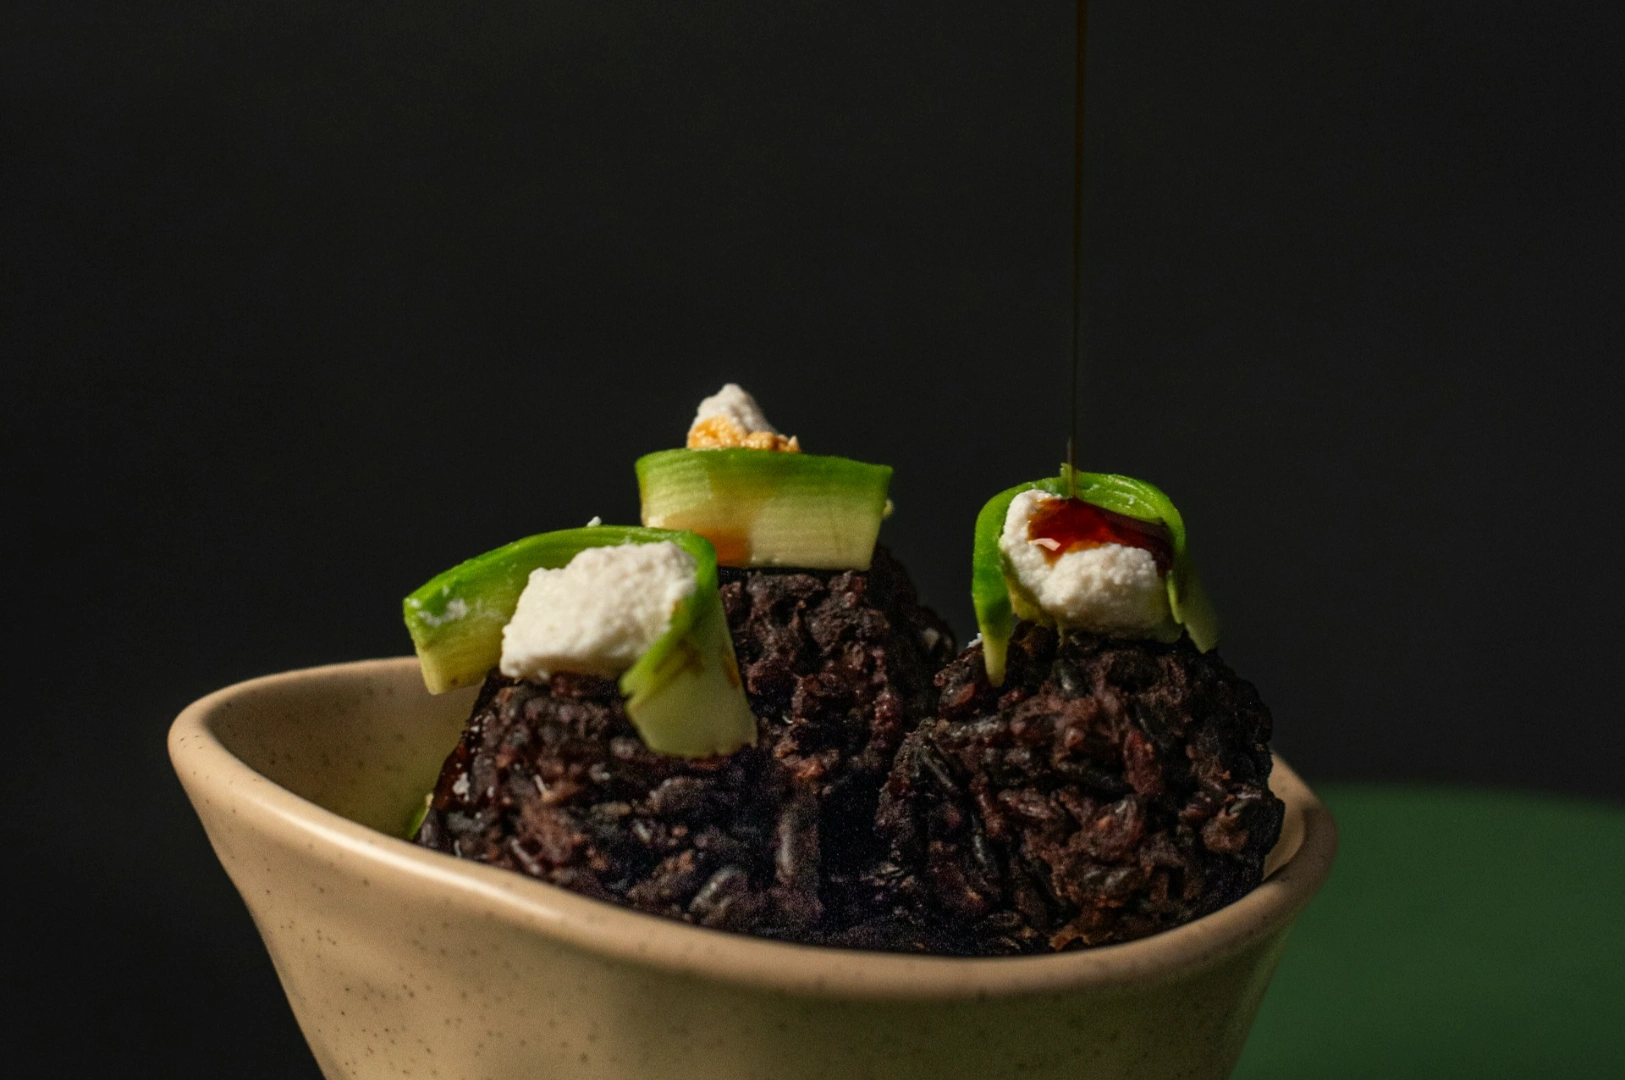
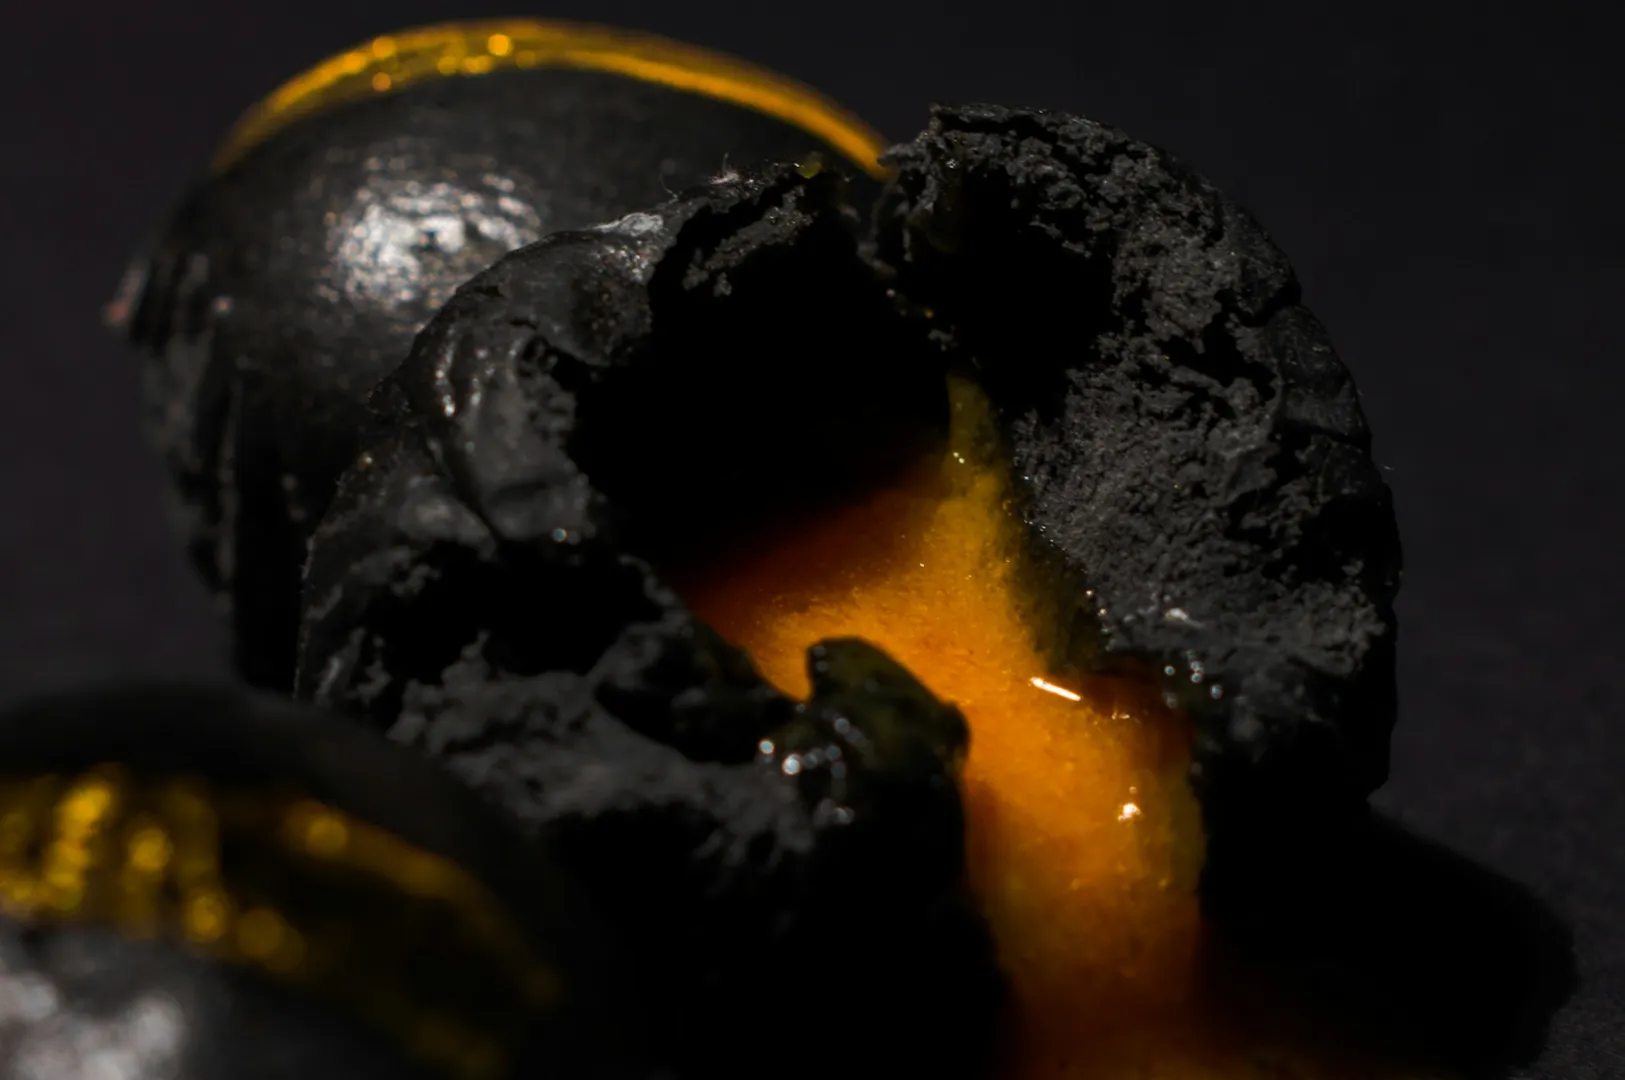
Create Depth Fast: Tiny Styling Moves That Work
This isn’t food styling school. It’s quick wins.
Add one texture layer: napkin under plate, bowl on plate, or board under bowl. This helps create depth instantly by introducing important elements that make your photograph more visually appealing.
Use garnish with intention: one herb sprig or a clean scatter. Too much looks forced and distracts from the important elements of the photograph.
Watch shine: wipe plate edges, remove random sauce smears, and rotate the dish so highlights sit where you want them, emphasizing the important elements in your photograph.
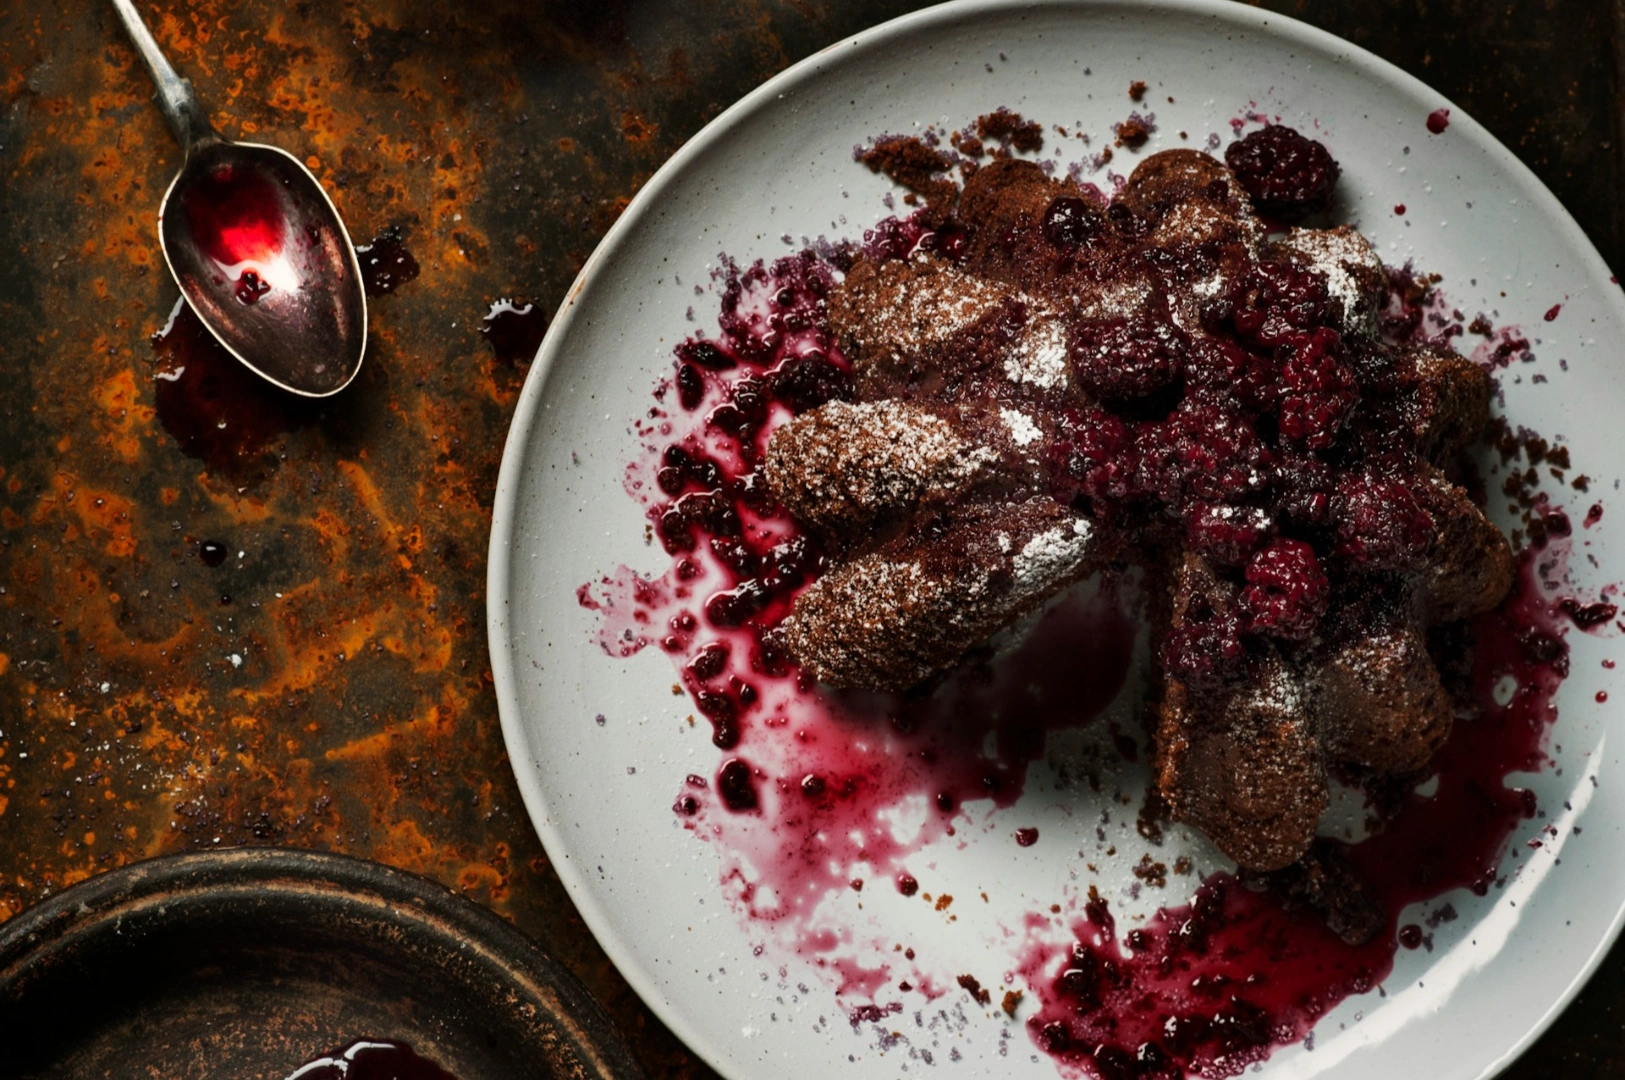
Shoot fresh: hot dishes lose steam fast. Cold drinks melt. Plate last, then start shooting to capture the photograph at its best.
Exposure Triangle Habits That Make You Faster Over Time
You don’t need staff to become a better photographer overnight. Instead, equip them with a powerful tool: a simple, repeatable routine that builds muscle memory.
Same window spot
Same background
Same three angles
Same quick edits
Same approach, different dish (same subject rules apply)
Encourage your team to practice daily with this routine, and watch their skills grow faster than any course. Sharing and learning from other photographers can also provide valuable photography tips and inspire trying out interesting effects to keep your food photos fresh and engaging.
Golden Hour vs Real Restaurant Life
Yes, golden hour looks nice. But restaurants run on service time, not sunset time.
Instead of chasing golden hour:
chase good light you can use every day,
avoid the camera’s built in flash,
and keep a repeatable routine.
That’s how you get great photos consistently even during busy hours.
Conclusion
Learning how to take good pictures in five minutes is less about talent and more about systems. By focusing on a fixed light spot, a clean background, and a short shot checklist that encourages exploring interesting angles, even beginner photographers can quickly improve their skills. Incorporating elements in the middle ground helps add depth and balance to your shots, making your images more engaging when taking pictures under time pressure.
Use these quick wins for daily posts and delivery updates to keep your content fresh and vibrant. Remember, photography should be the most fun part of your team’s routine, so encourage creativity within these simple steps. Then, when you need hero images for your website, menu redesign, or major campaigns, bring in professional photographers who can provide the time, equipment, and consistency your brand deserves.
If you want to see what that looks like in practice, explore how professional food photography can complement your quick content strategy with high-impact hero images.