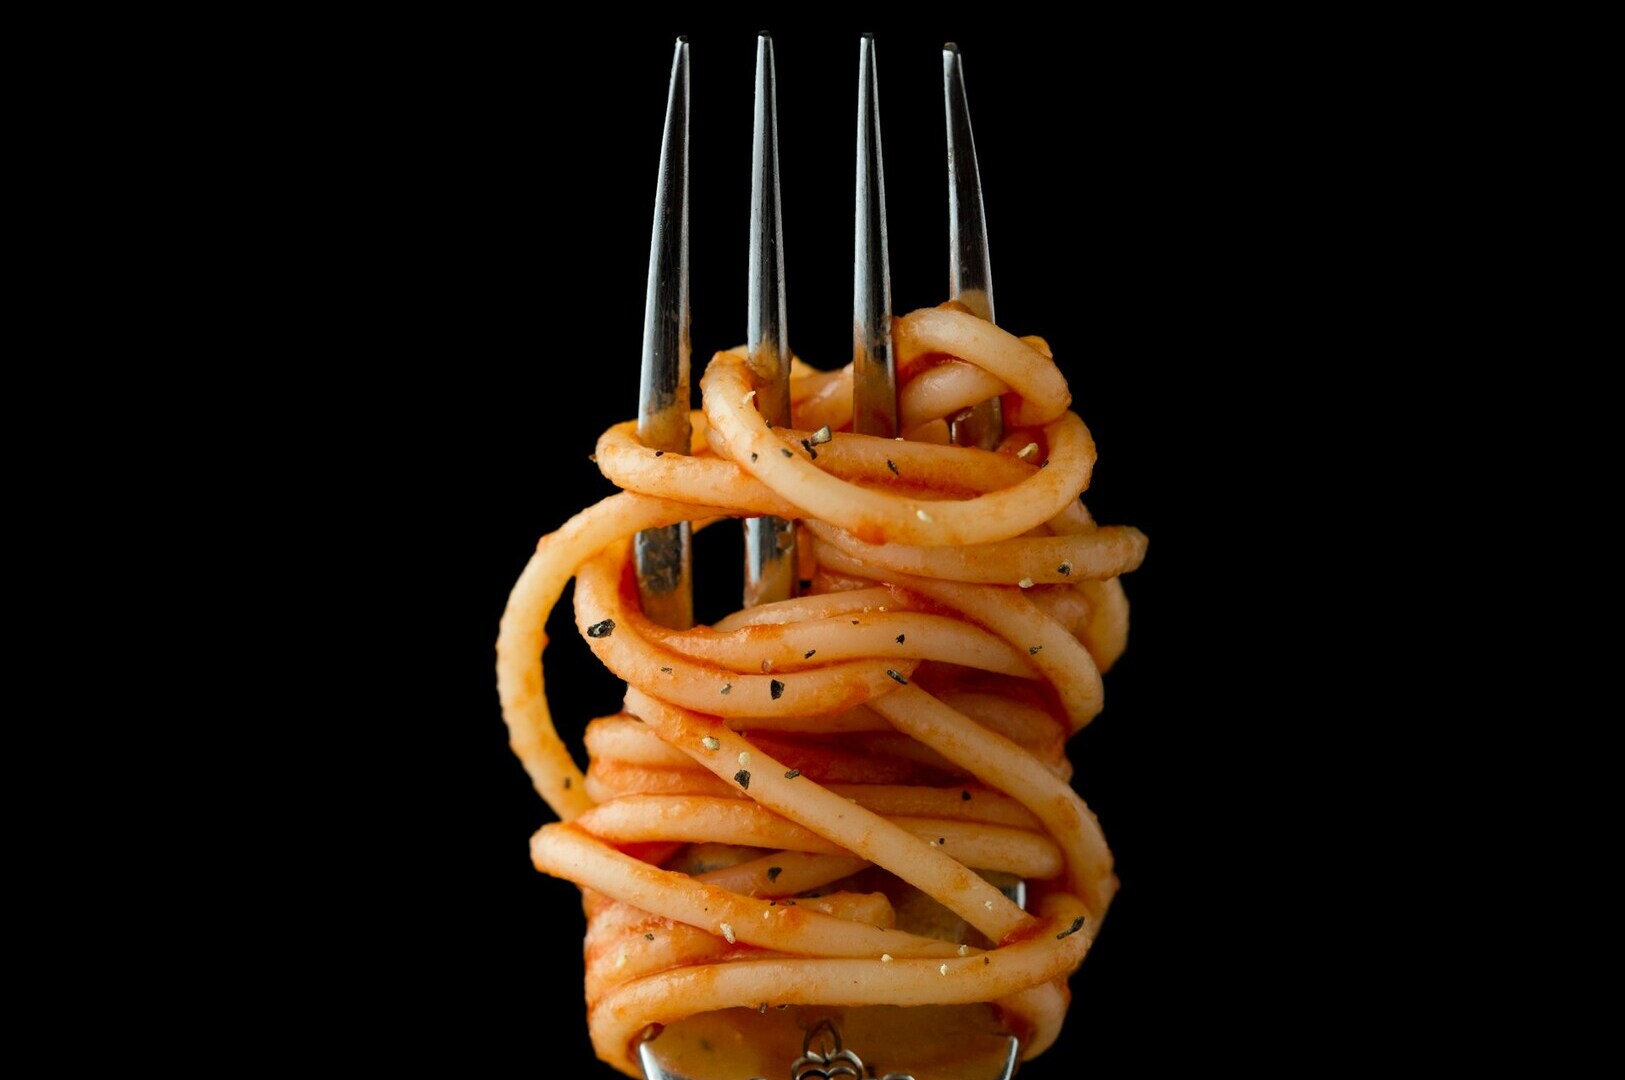
Have you ever tried capturing food only to realize the intricate details are completely lost in the final image? Whether it is the vibrant laksa garnishes, the smoky char kway teow texture, or the thick kaya toast layers, Singapore’s diverse cuisine demands to be seen up close. That is exactly why mastering macro food photography matters so much for F&B businesses today.
A good photo does more than just show the dish; it makes your customers hungry before they even look at the menu. If you are wondering how to do macro food photography right, it all starts with understanding your gear. As a professional food photographer, we can tell you that the right tools make a world of difference. This comprehensive macro photography equipment guide will walk you through exactly what you need to shoot stunning, mouth-watering details. Let’s dive into the essential gear that will elevate your restaurant’s visual marketing.
Understanding Macro Photography Equipment Basics
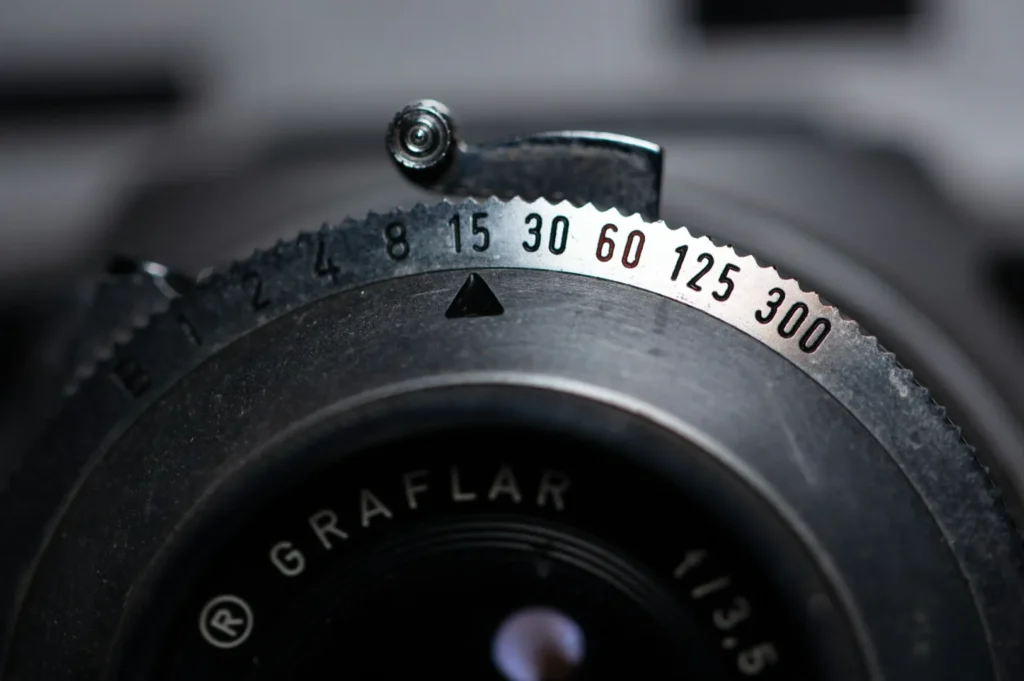
To truly excel at macro food photography, you need to understand what makes specific equipment suitable for this specialized macro work. Standard cameras and lenses are great for wide, general shots, but they struggle when you get too close to a food subject. This limitation comes down to the minimum focus distance; the absolute closest your lens can be to a subject while still keeping it sharp. For stunning macro photos, you need gear that allows for a very short minimum focus distance while maintaining a comfortable working distance from the plate.
The relationship between your camera sensor and the lens dictates your overall image quality. A high-quality sensor captures more light and color data, which is crucial when shooting macro subjects in dimly lit spaces like a bustling hawker center. Furthermore, true macro photography requires higher magnification than standard photography. You want the subject to appear life-size on the sensor. When you are shooting the intricate details of a rich satay glaze, this higher magnification ensures every single drop of peanut sauce looks incredibly appetizing and real.
Choosing Your Macro Lens for Food Photography
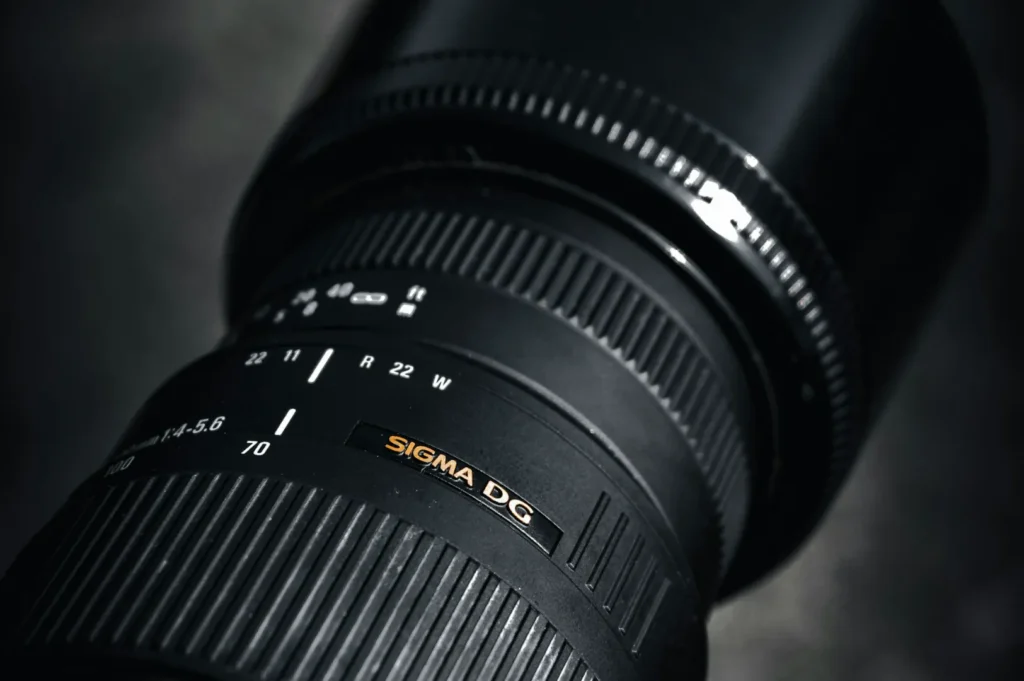
Dedicated Macro Lens Options
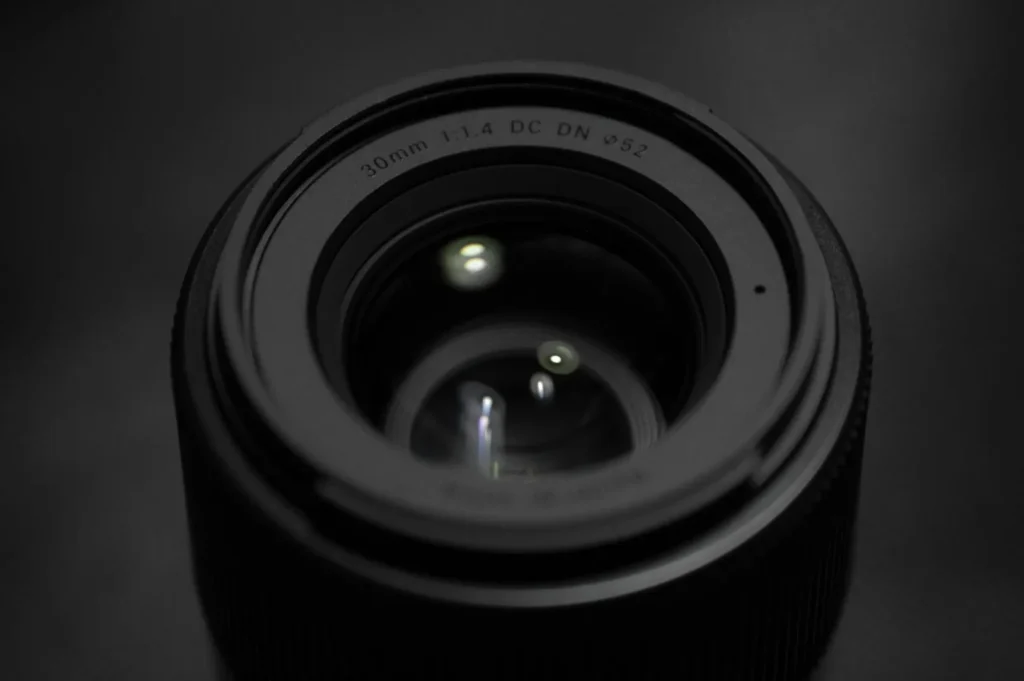
The most important piece of macro photography equipment you can own is a dedicated macro lens. Unlike standard kit lenses, a dedicated macro lens is optically optimized to achieve incredibly sharp focus at very close ranges. When looking at focal length options, a 50mm lens is fine for top-down overhead shots, but a longer focal length like 90mm, 100mm, or 105mm is heavily preferred by macro photographers.
A longer focal length gives you more working distance. This means you will not cast unwanted shadows over your dish or get your lens fogged up by hot steam. You can find many macro lenses at local Singapore retailers like Alan Photo or Cathay Photo, offering excellent options tailored for professional food photography.
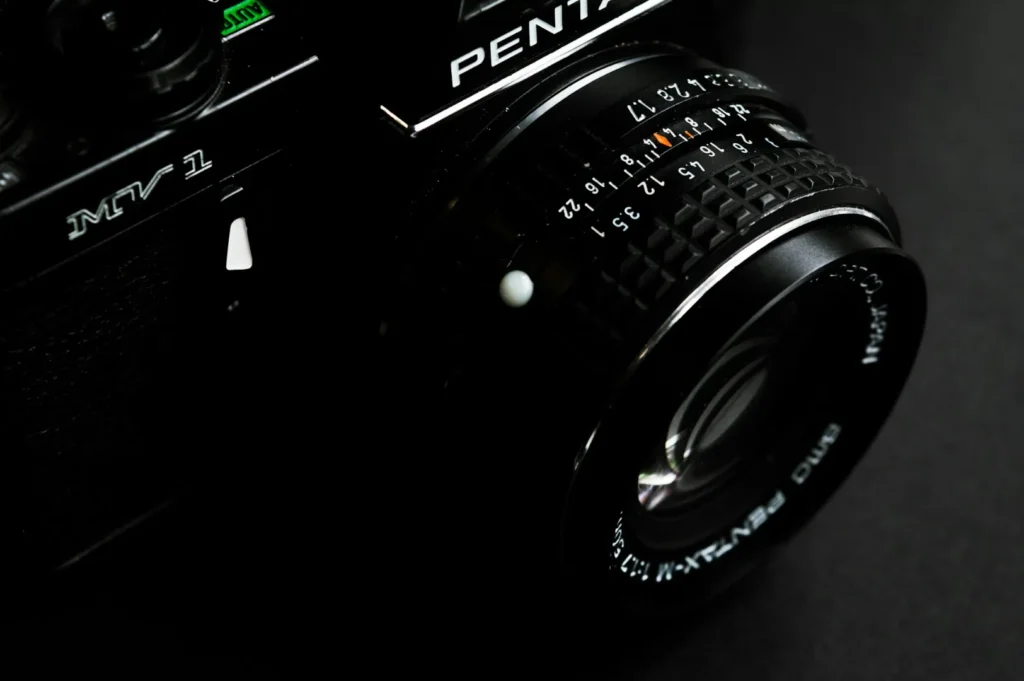
Budget Alternatives: Extension Tubes and Reverse Lens Technique
If you are not ready to invest heavily right away, there are budget-friendly ways to learn how to do macro food photography. Extension tubes are a brilliant minimal investment option. These hollow tubes fit between your camera body and your regular lens, moving the lens further from the sensor to increase magnification.
Another creative option is the reverse lens technique, which involves mounting your standard lens backward using a special, inexpensive adapter ring. While these methods allow you to capture great macro shots, they do come with trade-offs. You will experience a much shallower depth of field and a slight drop in overall image quality. For testing the waters, you can easily find affordable extension tubes at Sim Lim Square or browse secondhand options on Carousell.
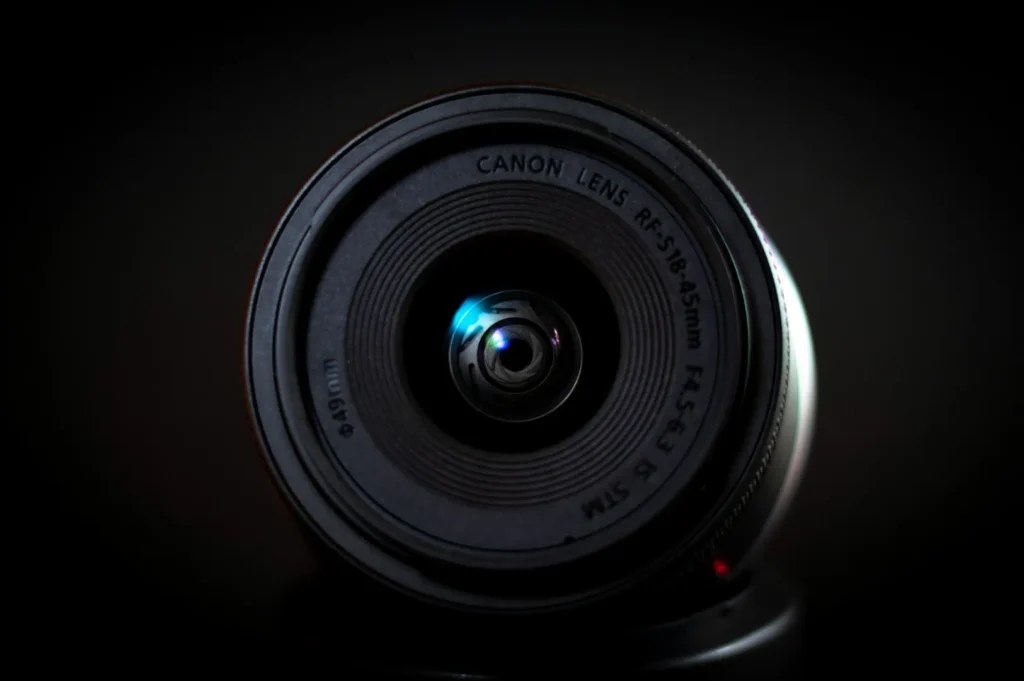
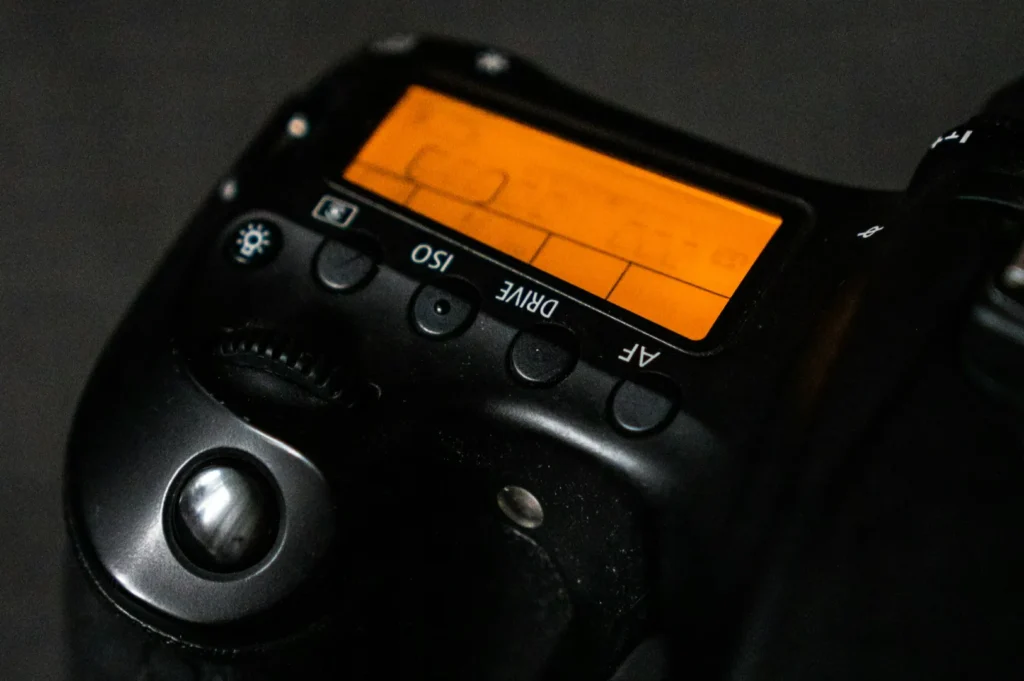
Camera Body Considerations
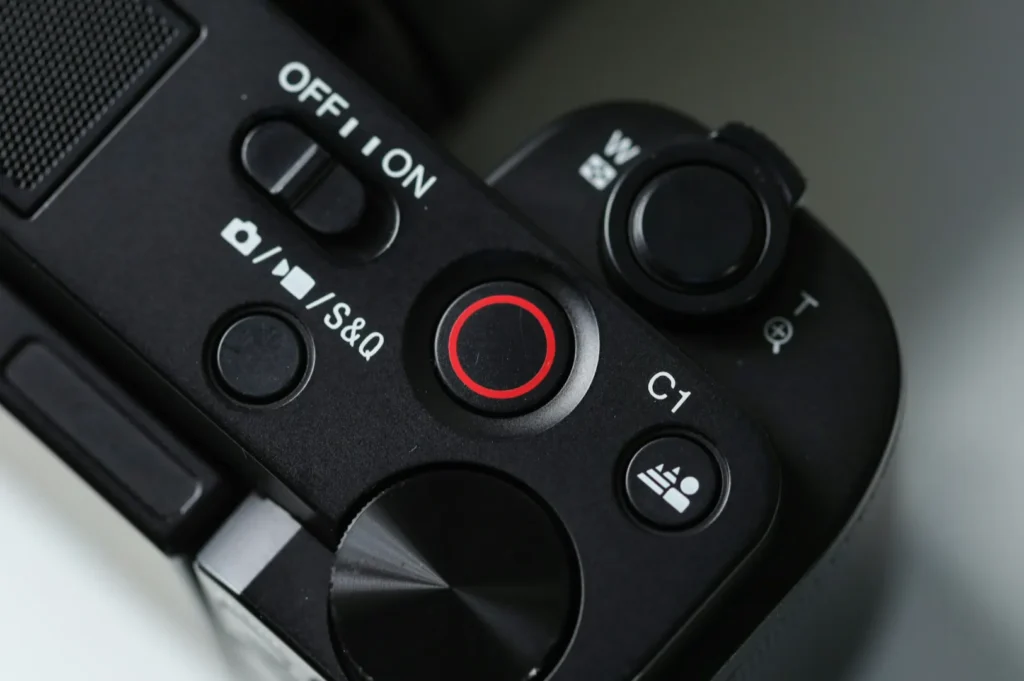
When assembling your macro photography equipment, choosing the right camera body is a fundamental step. Today, many photographers debate between using a mirrorless camera and a traditional DSLR. For macro food photography, a mirrorless camera often holds a distinct advantage because of its advanced focus peaking features. This visual aid highlights the sharpest parts of your image on the screen, making manual focus incredibly intuitive.
When taking pictures up close, autofocus often misses the most important details. Having robust manual focus capabilities allows you to pinpoint the exact focus point on a dish, such as the glistening skin of Hainanese chicken rice. Additionally, modern mirrorless camera bodies feature excellent in-body image stabilization. This technology is a lifesaver if you are shooting handheld in a busy café, helping you capture good macro photos without the blur caused by natural camera shake.
Essential Support Equipment for Close Ups
Tripods and Focusing Rails
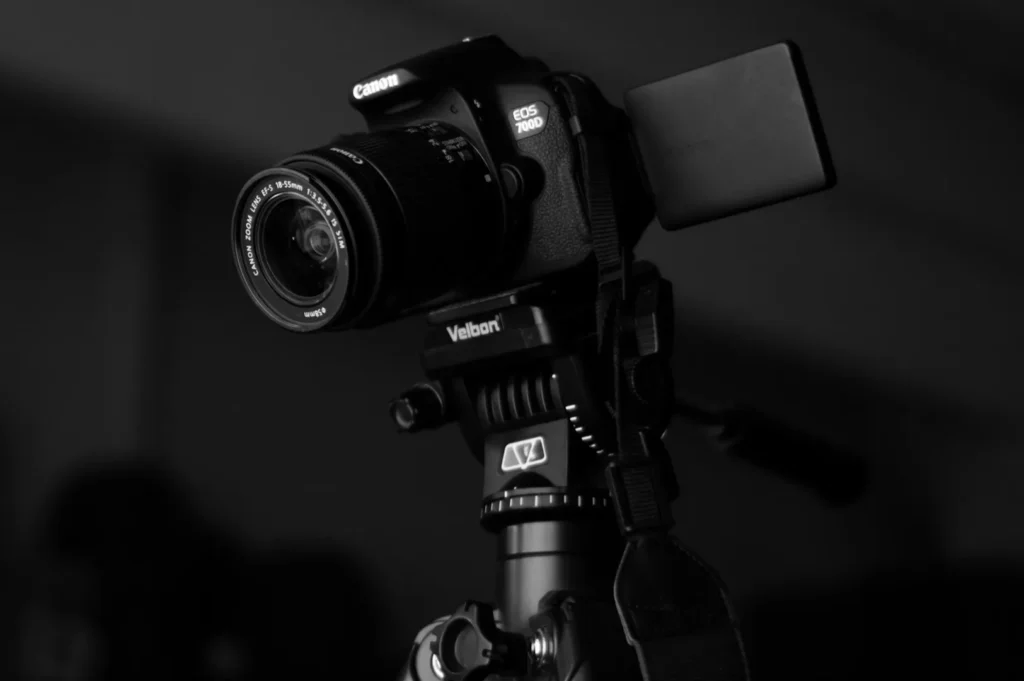
At high magnifications, even your own breathing can ruin a perfectly composed shot. This is why a sturdy tripod is absolutely non-negotiable for static subjects. A sturdy tripod locks your camera in place, ensuring sharp focus across the entire scene and eliminating blur.
To take your close ups to the next professional level, a focusing rail is a fantastic addition. This specialized tool mounts directly to your tripod and lets you move the camera forward or backward by mere millimeters. It is essential for focus stacking, an advanced technique we will cover shortly. You can find excellent, reliable tripods and rails from brands like Manfrotto or Benro at local camera equipment stores across Singapore.
Light Modifiers and Reflectors
Lighting is everything in photography, and to make your food pop, you need tools to reflect light and create even illumination. In Singapore’s tropical lighting conditions, natural light from a large window is often beautiful, but it can create harsh shadows on one side of the plate. Simple white reflectors or foam boards help bounce natural light back onto the food to fill those shadows.
If you are relying on artificial light, side light techniques are perfect for bringing out the interesting texture of a dish, like the crispy flakiness of fresh roti prata. Consider adding ring lights or continuous LED lights to your setup. These pieces of other equipment ensure you always have enough light to work with, regardless of the weather outside or the dim ambiance of the restaurant.
Lighting Equipment for Macro Food Photography
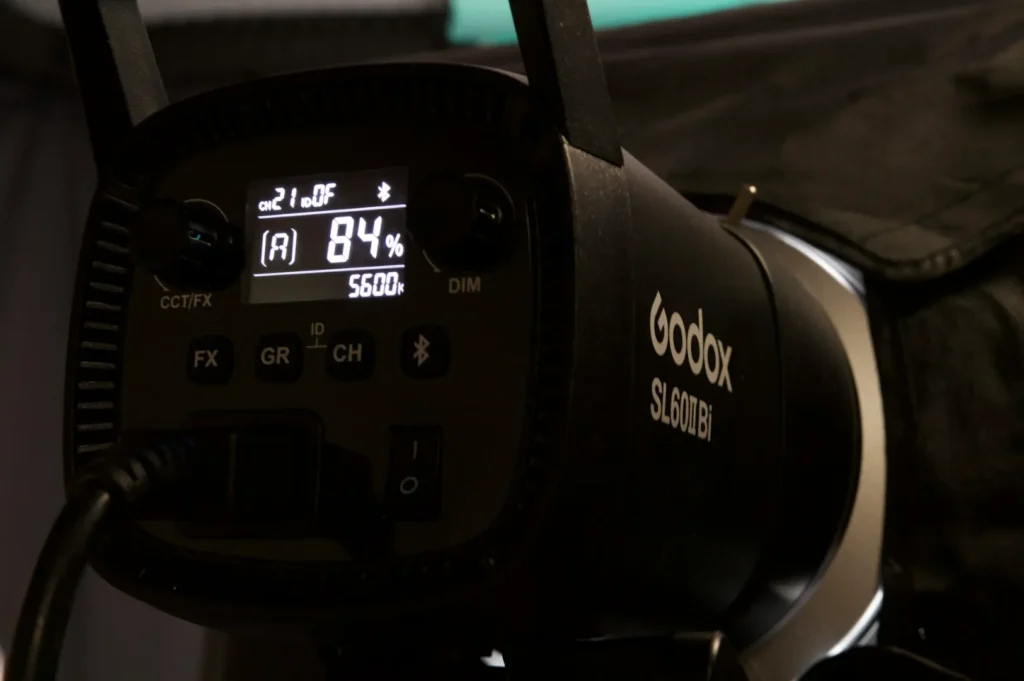
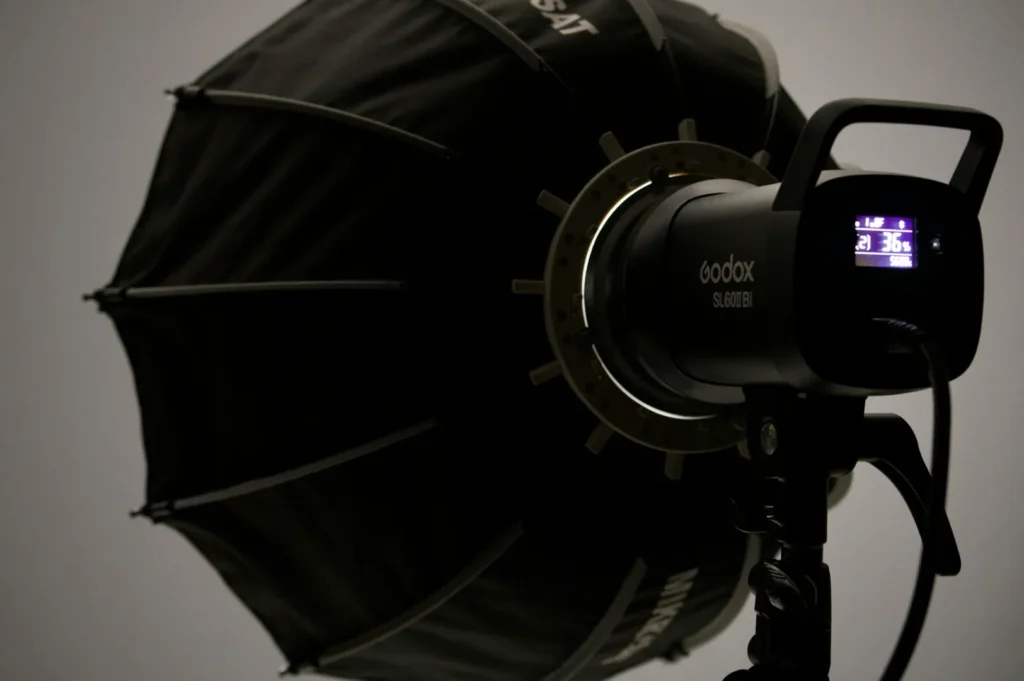
When natural window light isn’t enough, dedicated lighting equipment becomes vital for high-quality macro food photography. The secret to making food look appetizing is meticulously controlling your flash power. If the flash power is set too high, you risk completely blowing out the delicate details and colors of the food. Many photographers use multiple flashes strategically placed around the dish to balance artificial light with the ambient natural light of the room.
This careful balance is especially crucial for glossy Asian dishes, like the rich, thick sauce of a chili crab. Poor lighting creates harsh, distracting specular highlights; those bright white reflections that hide the food’s actual texture. By using softboxes or diffusers with your artificial light source, you transform those harsh spots into smooth, appealing gradients. For budget setups, you can find affordable speedlights around $150 SGD, while professional studio strobes can run upwards of $1,000 SGD. Proper lighting ensures your food always looks vibrant.
Accessories for Better Macro Photos
Beyond the camera and lights, a few small accessories can dramatically improve your macro photos. Protective UV filters or circular polarizing filters attach directly to your lens’s filter threads. A polarizer is incredibly helpful for managing unwanted reflections on wet or shiny food surfaces, allowing the true colors of the broth or sauce to shine through.
In a controlled studio environment, using a dedicated subject stand helps elevate the dish, making it much easier to arrange the perfect composition and background. Of course, no piece of equipment replaces the value of a talented food stylist. Collaborating with a professional food stylist ensures the food looks its absolute best before you even press the shutter. Finally, if you are shooting top-down flat lay compositions (a very popular style in Singapore’s F&B marketing) a c-stand or heavy-duty overhead boom arm is an essential piece of other equipment.
Advanced Techniques: Focus Stacking and Higher Magnification
As you dive deeper into learning how to do macro food photography, you will inevitably encounter the frustrating challenge of a shallow depth of field. When you are capturing extreme close-ups of chili crab details or the delicate, floating spices in a laksa broth, only a tiny sliver of the image will actually be in focus.
To overcome this shallow depth, professionals rely on a technique called focus stacking. This involves taking a base photo, then adjusting the focus ring slightly to take a second shot, and repeating this process across the entire depth of the dish. You then blend these multiple shots together using editing software. This method is especially crucial when using higher magnification lenses. It is the ultimate secret to achieving stunning clarity throughout the frame, ensuring every single crumb, herb, and droplet is perfectly sharp.
Putting It All Together: Your Macro Food Photography Setup
Building your macro photography equipment kit doesn’t have to be overwhelming. Here are three practical budget tiers tailored for the Singapore market:
Beginner ($500-$1000 SGD): Use your current camera body paired with affordable extension tubes (easily found at Sim Lim Square), a basic white foam board to reflect light, and natural window light.
Intermediate ($1500-$3000 SGD): Upgrade to a crop-sensor mirrorless camera, a 90mm dedicated macro lens (available at Alan Photo), a sturdy tripod, and a continuous LED light panel.
Professional ($4000+ SGD): Invest in a full-frame mirrorless camera, a 105mm pro macro lens (Cathay Photo or TK Foto), a precision focusing rail, multiple flashes with softboxes, and heavy-duty c-stands.
Whatever your tier, properly managing your light and focus is exactly how you shoot food with vibrant colors and capture consistently good macro photos.
Conclusion
Capturing the intricate beauty of Singapore’s vibrant F&B scene requires the right tools, patience, and a bit of practice. From selecting a sharp macro lens and a sturdy tripod to mastering your lighting setup, this macro photography equipment guide gives you the foundation needed to elevate your restaurant’s visual marketing. We know that different businesses have different investment levels, but the powerful impact of high image quality is universal across the industry.
While the right equipment helps you capture stunning close ups, working with an experienced food photographer ensures consistently professional results. At Food Photographer Studio, we bring professional macro photography equipment and expertise to showcase your dishes with stunning clarity; making every detail count. To learn more techniques, read our comprehensive guide on master macro food photography tips.
Visit our website for more details.