Great lighting completely makes or breaks the texture and freshness of your culinary creations. When you shoot close-ups, the camera exaggerates every tiny glare and harsh shadow on the plate. This makes mastering your macro food photography lighting absolutely essential for creating mouth-watering images.
We will explore three reliable setups, practical modifier choices, and quick fixes for common lighting problems. You can easily build a professional macro lighting setup in the tightest café corners or hawker stalls. Let us look at how you can capture stunning, shadow-free details that drive massive customer appetite.
Why Light Behaves Differently in Macro
Light behaves very differently when you move your camera just inches away from your subject. Tiny angle movements change the highlights drastically at such close distances. Specular highlights easily form on wet sauces, cooking oils, sticky glazes, and cold glass surfaces.
In Singapore F&B environments, you often face the challenge of mixed indoor lighting and warm tungsten casts. You might be shooting a hot bowl of laksa under fluorescent kitchen tubes while daylight pours in from a nearby window. The most reliable principle to remember is to make the light bigger and closer, then control it.
When you enlarge your light source relative to the subject, the shadows naturally become softer. Diffused lighting for macro work ensures that the intricate details of your food remain visible and highly appetizing. Understanding this simple concept changes your entire approach to close-up food photography.
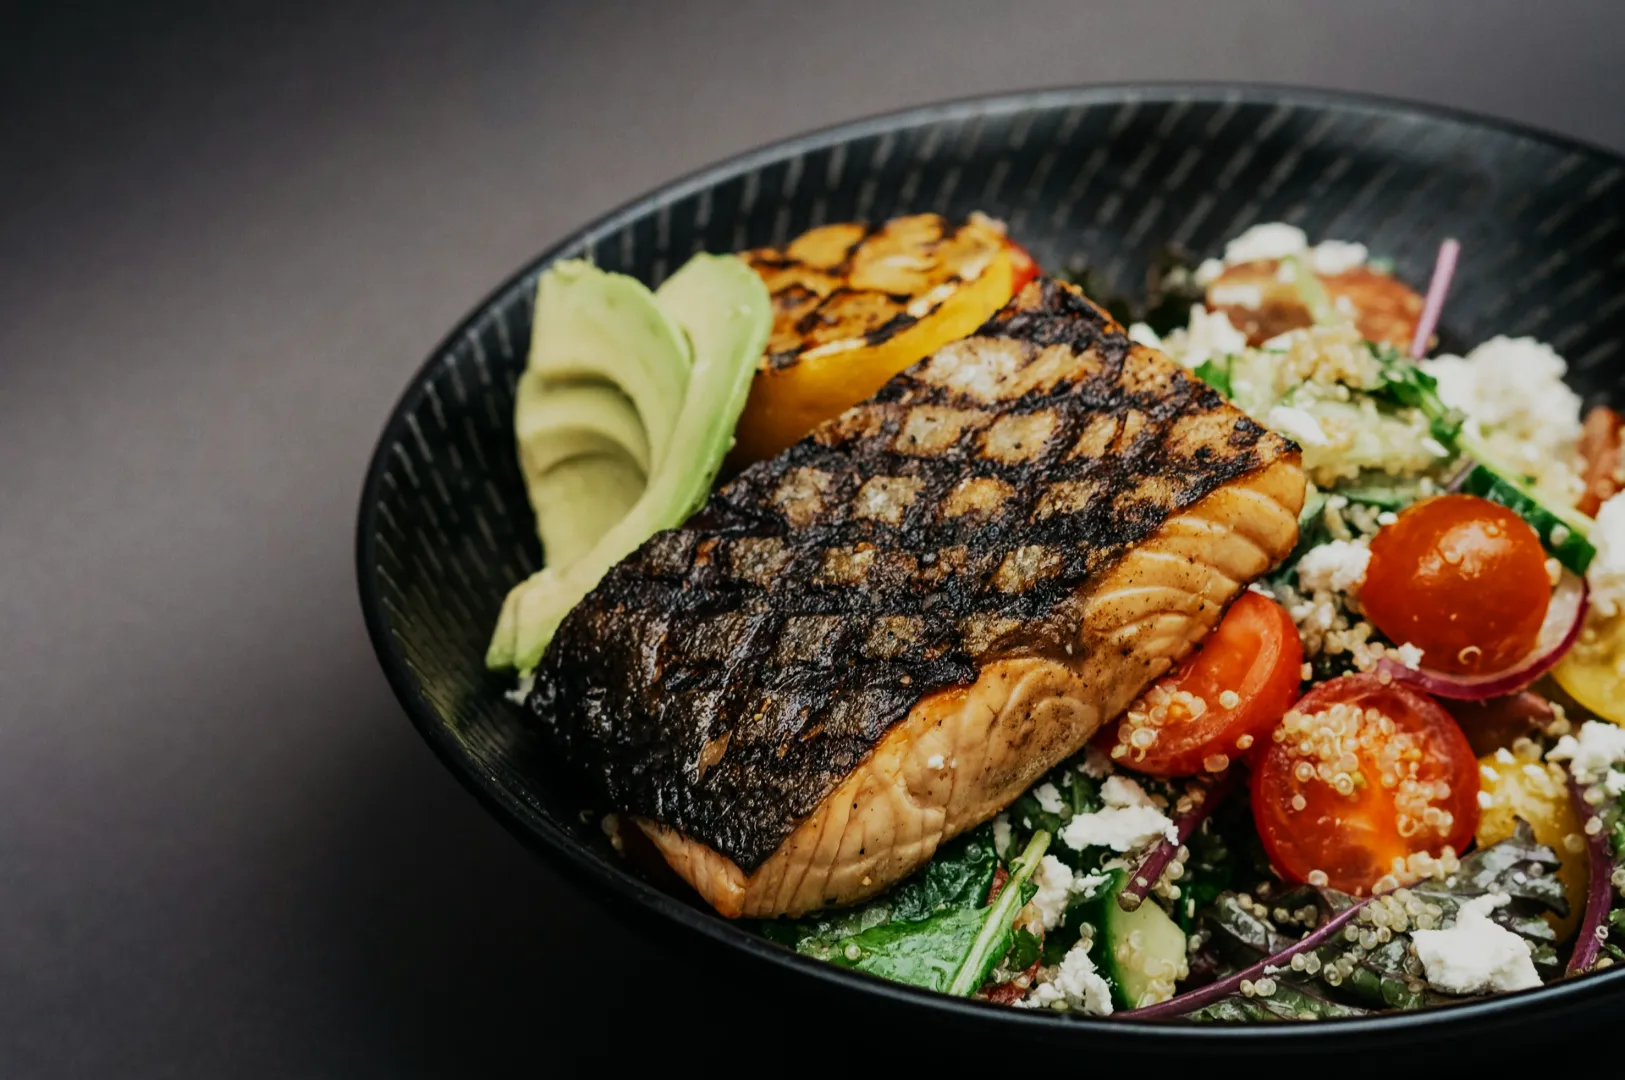
Setup 1: Window Light Plus Diffusion for Natural Texture
Using natural window light is often the fastest way to build a beautiful macro lighting setup. You want to position your table so the window acts as a side light or a 45-degree angle light. This specific direction naturally reveals the highest amount of texture in your food.
Direct sunlight is usually too harsh, so you must add proper diffusion to soften the shadows. You can use a sheer curtain, professional diffusion fabric, or even simple baking paper. Always keep DIY modifiers safely away from hot kitchen equipment or open flames.
Place a white reflector card opposite the window to bounce gentle fill light back into the darkest shadows. You can easily adjust the fill strength by moving the card closer to or further from the dish.
- Do this: Look for soft, creamy transitions between the highlights and shadows on your plate.
- Avoid this: Do not let harsh, un-diffused sunlight hit the food directly, as it will blow out the textures.
This setup perfectly highlights the delicate sheen on a slice of kaya toast. It is also excellent for capturing the tiny, appetizing oil droplets floating on a fresh bowl of laksa.
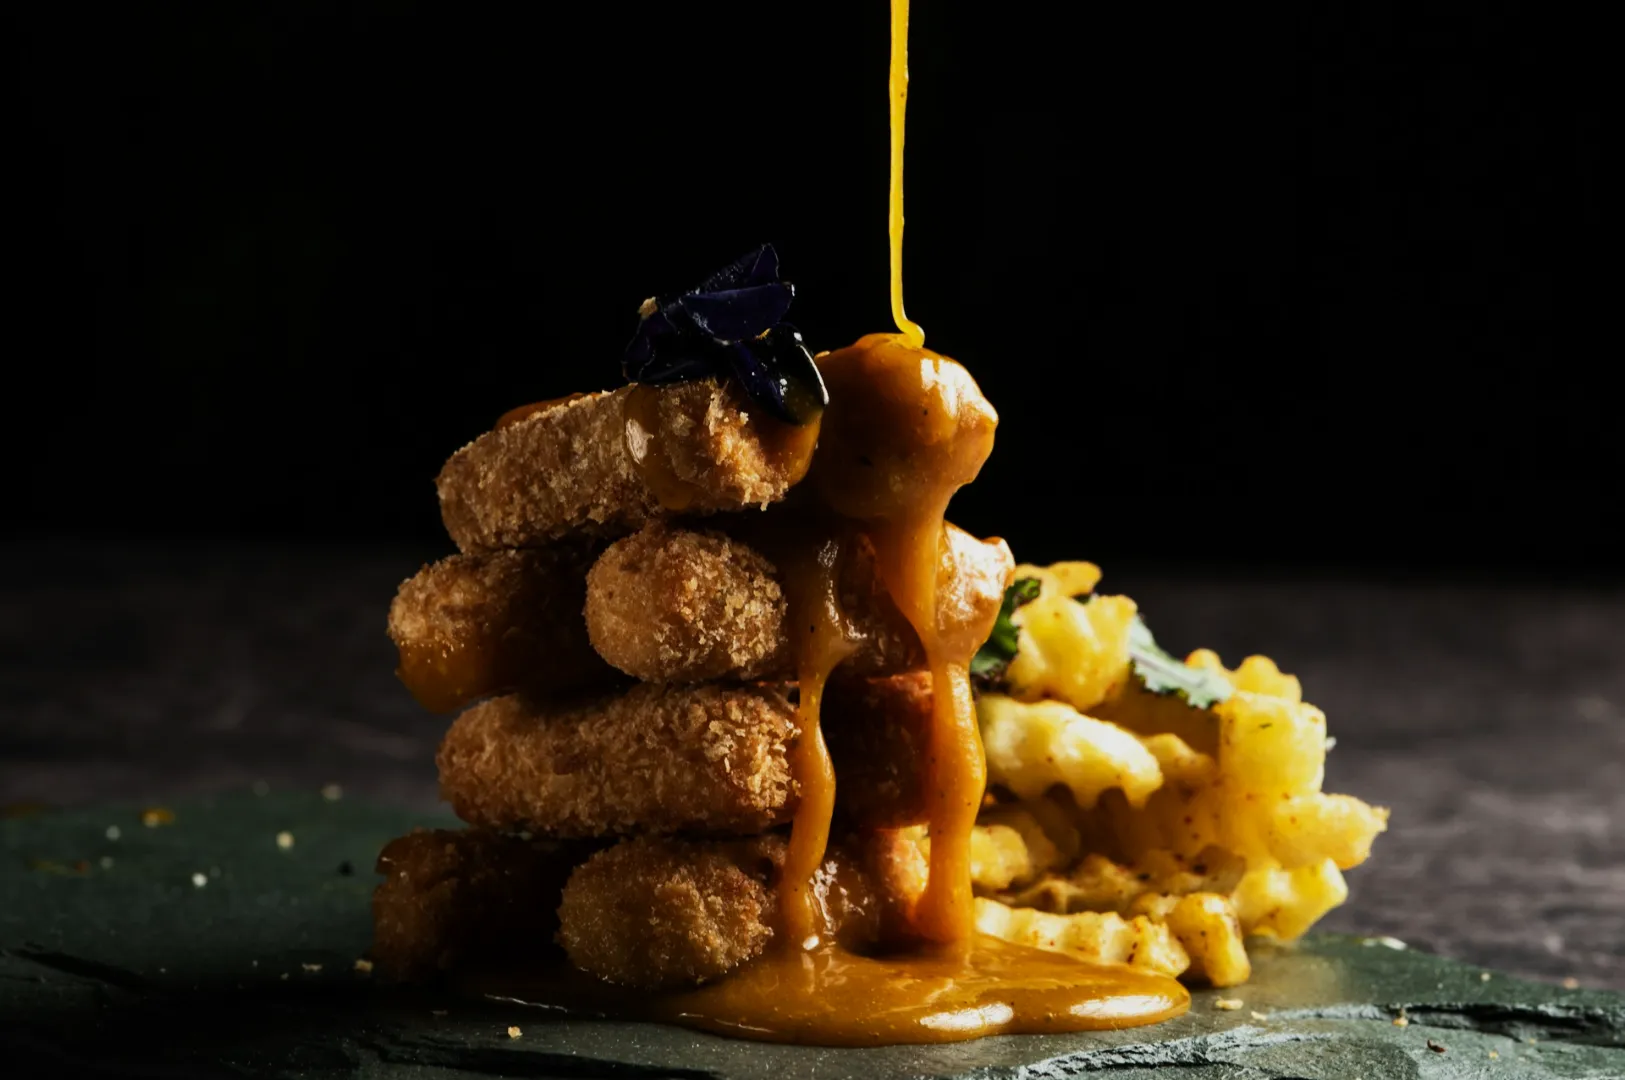
Setup 2: One Continuous Light Plus Softbox for Consistency
A single continuous light is often much better than a flash for small teams and fast restaurant workflows. It allows you to see exactly where the shadows fall in real-time before you press the shutter. You only need a medium-sized softbox for a macro lighting setup because the subject is incredibly small.
Position your softbox as a side light for texture, keeping it slightly angled toward the back for shine control. You must match your light’s color temperature to your camera settings to avoid strange, unappetizing food tones. Set your camera’s white balance to daylight if your continuous light outputs a standard 5500K daylight color.
Start with these baseline camera settings and adjust as needed:
- Aperture: f/8 for a safe, moderately shallow depth of field.
- Shutter Speed: 1/125s to prevent minor camera shake while on a tripod.
- ISO: 200 to 800 depending on the brightness of your continuous light.
This predictable lighting setup works wonders for capturing the sticky, red glaze on roasted char siew. It is equally effective for highlighting the rough, smoky char marks on fresh sticks of beef satay.
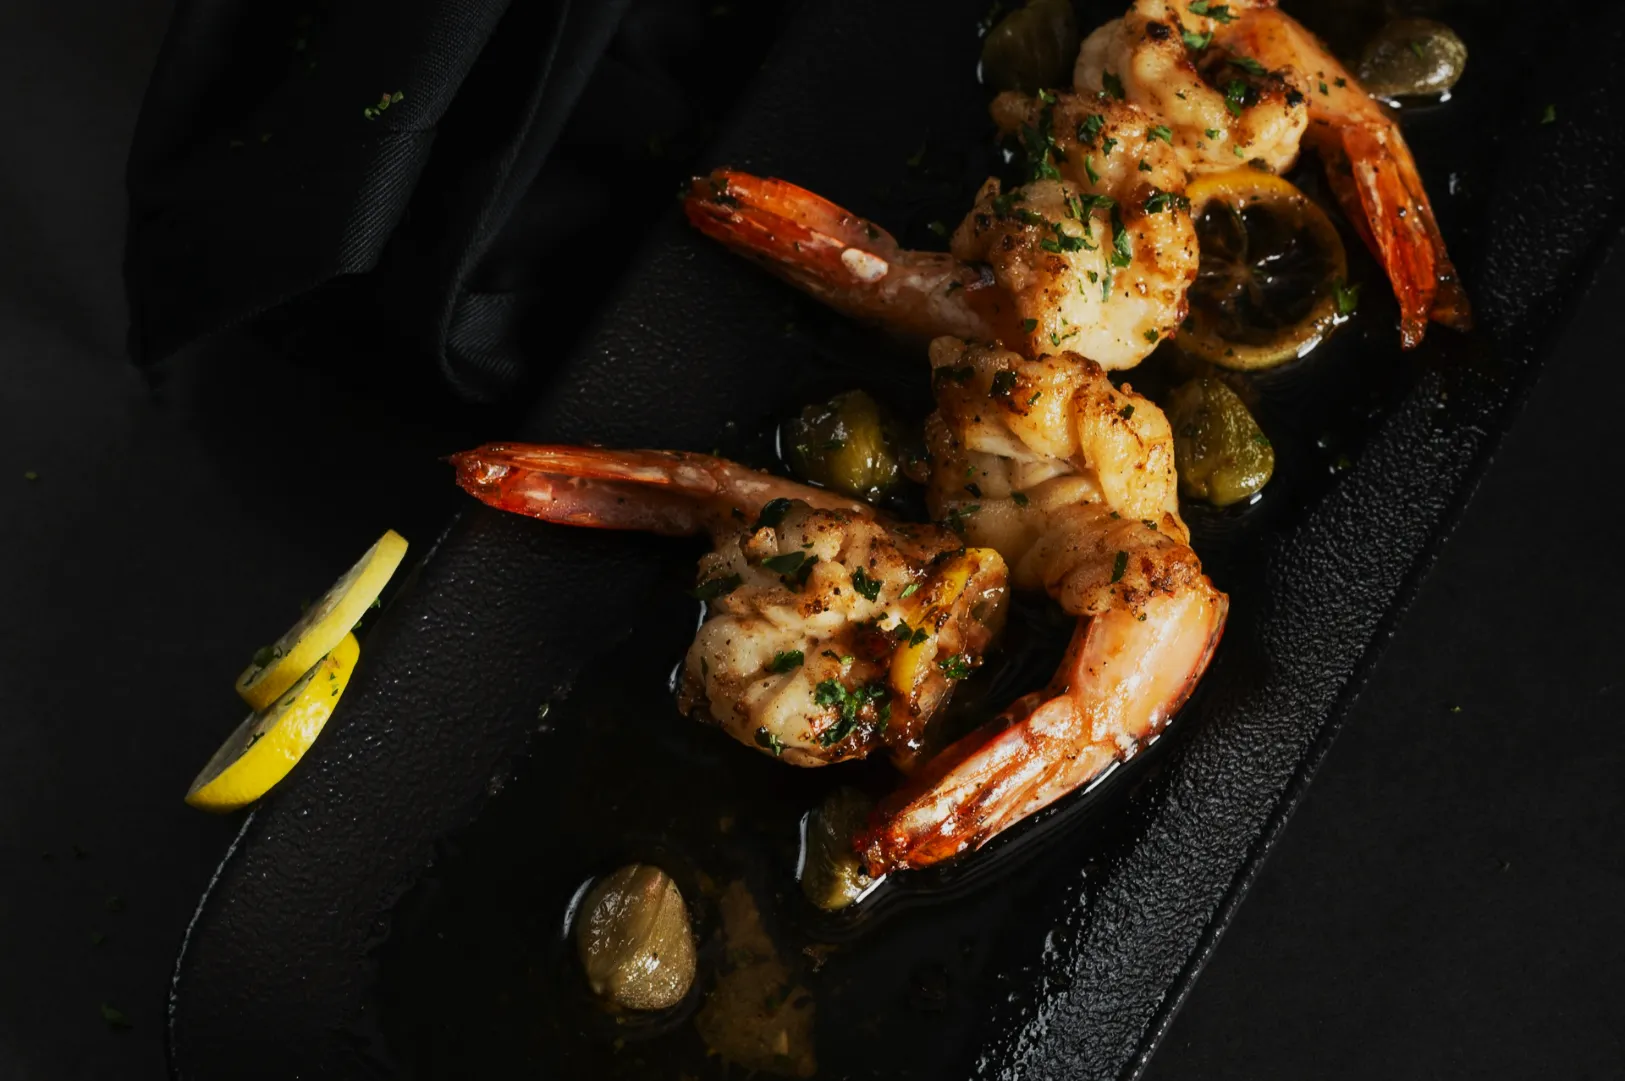
Setup 3: Backlight for Steam and Translucent Ingredients

Sometimes you need to highlight the internal glow of your food rather than just the surface texture. A strong backlight is incredibly effective for capturing rising steam, hot soups, glossy surfaces, and translucent citrus slices. Placing the light directly behind the food makes these specific elements glow beautifully.
The main challenge with backlighting is keeping the intense light from washing out the front of the subject. You must use careful flagging and negative fill to hold the contrast in your macro food photography lighting. Placing black foam boards just outside the camera frame blocks excess light from hitting the front of the dish.
- Symptom: The front of the food looks completely dark and muddy.
- Likely cause: The backlight is too strong and there is no frontal fill.
- Fix: Add a small white reflector near the camera to bounce a tiny bit of light back onto the food.
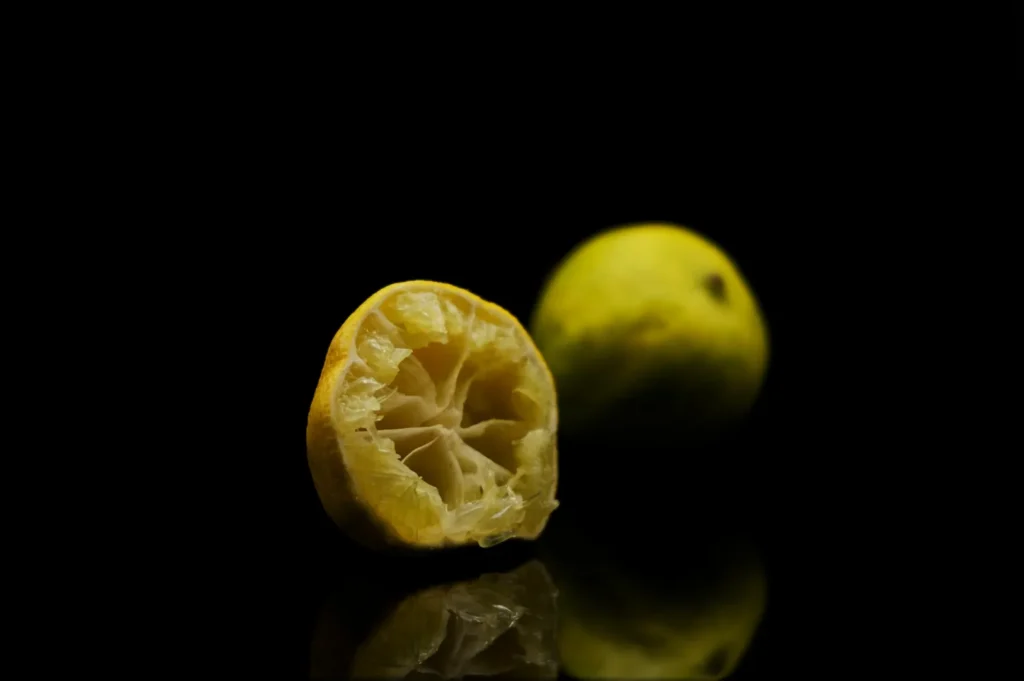
This dramatic setup is perfect for capturing the thick, bubbly crema on a freshly pulled cup of kopi. It also beautifully illuminates the rising steam from a hot bowl of fishball soup or the translucent details of sliced limes.
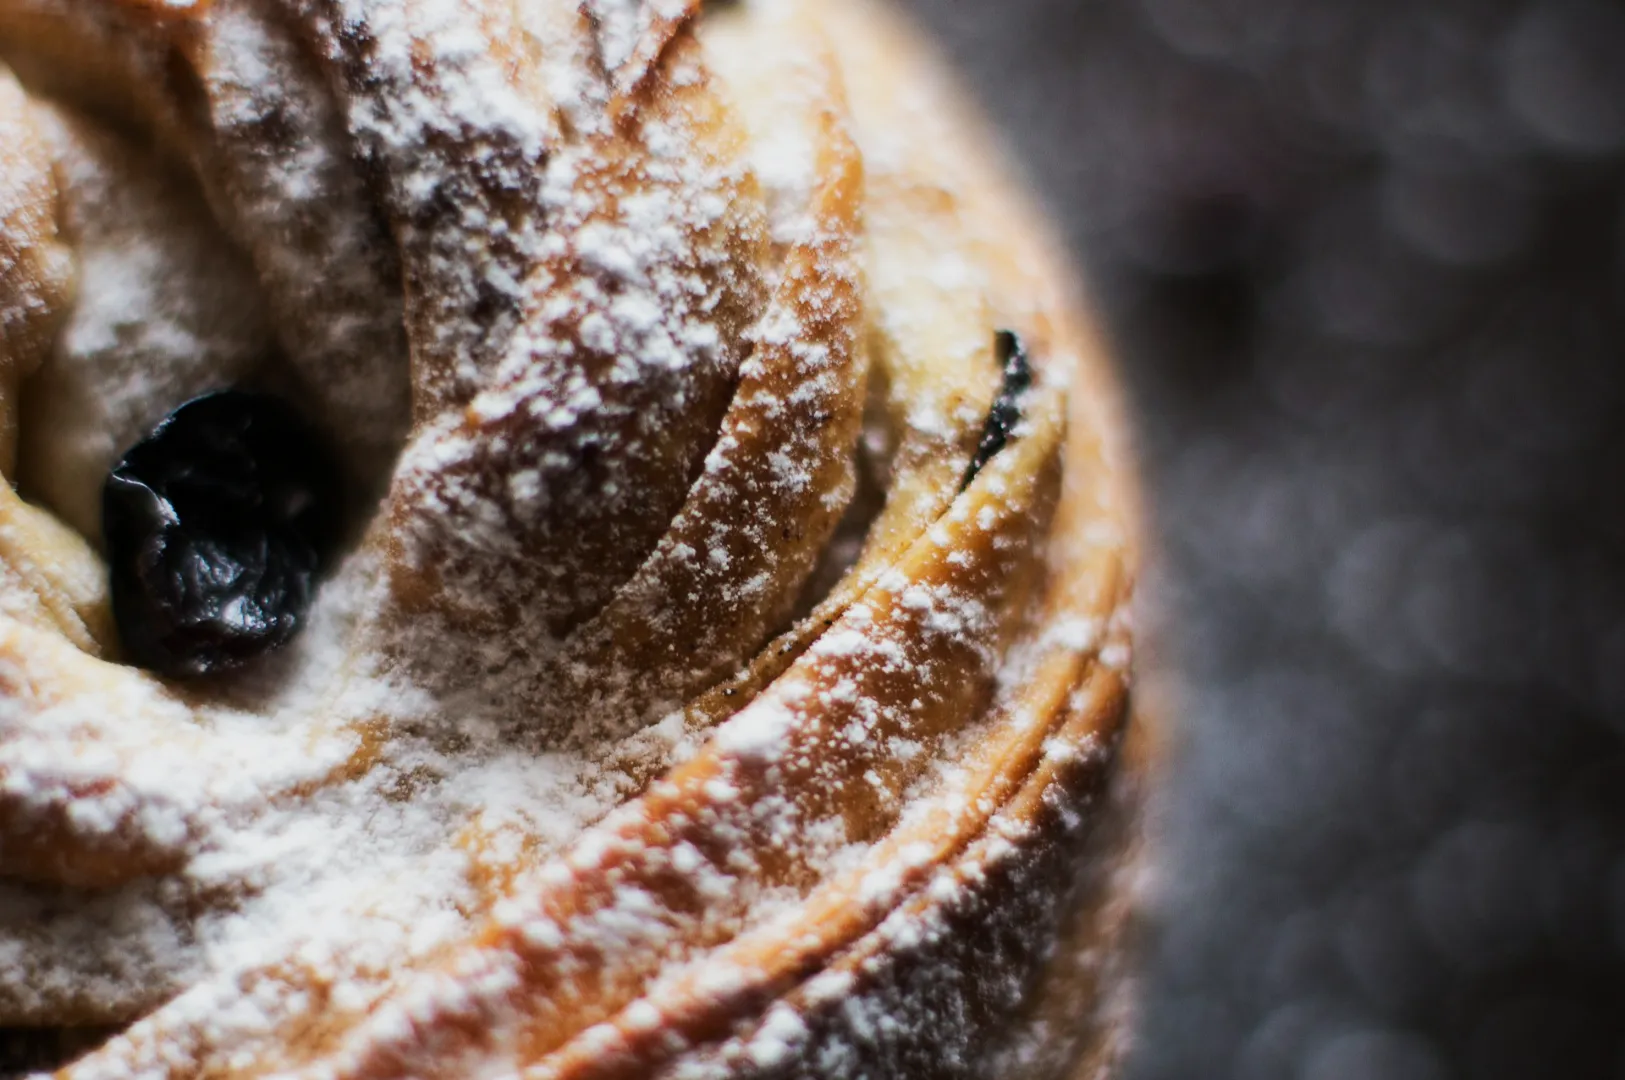
Controlling Glare on Glossy Surfaces
There is a huge difference between distracting glare and a highly appetizing “good shine” on your food. Distracting glare creates pure white hotspots that completely hide the actual texture of the dish beneath it. You can fix this by making practical angle adjustments to move the hotspot reflections off key details.
Reflective stainless steel tables and glossy ceramic plates make this challenge much harder. Macro lenses amplify these reflections, making matte props a much safer choice for tight close-ups. Macro light modifiers like black cards are essential for blocking these unwanted reflections from hitting the glossy food.
A circular polarizing filter is another fantastic tool for your macro lighting setup. It magically cuts through the glare on wet surfaces, revealing the true color of the sauce or broth underneath. However, a polarizer cannot fix completely blown-out highlights caused by a bare, un-diffused light bulb. This technique is mandatory when photographing highly glossy dishes like chili crab or the heavy condensation on iced drinks.
Quick Troubleshooting Checklist
Even with a perfect plan, you will encounter tricky lighting situations in real Singapore F&B environments. Use this fast troubleshooting checklist to fix common macro food photography lighting issues on the spot.
- Too shiny: Soften your light source, move the light angle, add heavy diffusion, or reduce your fill light.
- Too flat: Increase your side light angle, add negative fill to deepen shadows, and create more visual separation.
- Too noisy: Raise your continuous light output, lower your camera ISO, and stabilize the camera on a sturdy tripod.
- Too warm or green: Correct your custom white balance and turn off any mixed ambient lights in the room.
These fast physical fixes are crucial when shooting in a dim hawker stall with limited space. They are equally helpful when battling a café environment that mixes warm tungsten bulbs with bright window sunlight. Mastering these quick adjustments keeps your photoshoot moving quickly and efficiently.
Conclusion
Building a great macro lighting setup does not require a massive studio or expensive, complicated gear. By mastering window light, continuous softboxes, and strategic backlighting, you can reveal incredible textures without harsh shadows. We highly encourage you to repeat the exact same setup for consistency across your entire menu or social media content series.
Learning how to control your macro food photography lighting transforms ordinary dishes into captivating visual experiences. To elevate your restaurant’s imagery even further, read our comprehensive guide on mastering close-up food images today. For professional results that guarantee customer engagement, the team at Food Photographer Studio is always ready to help your F&B business shine.