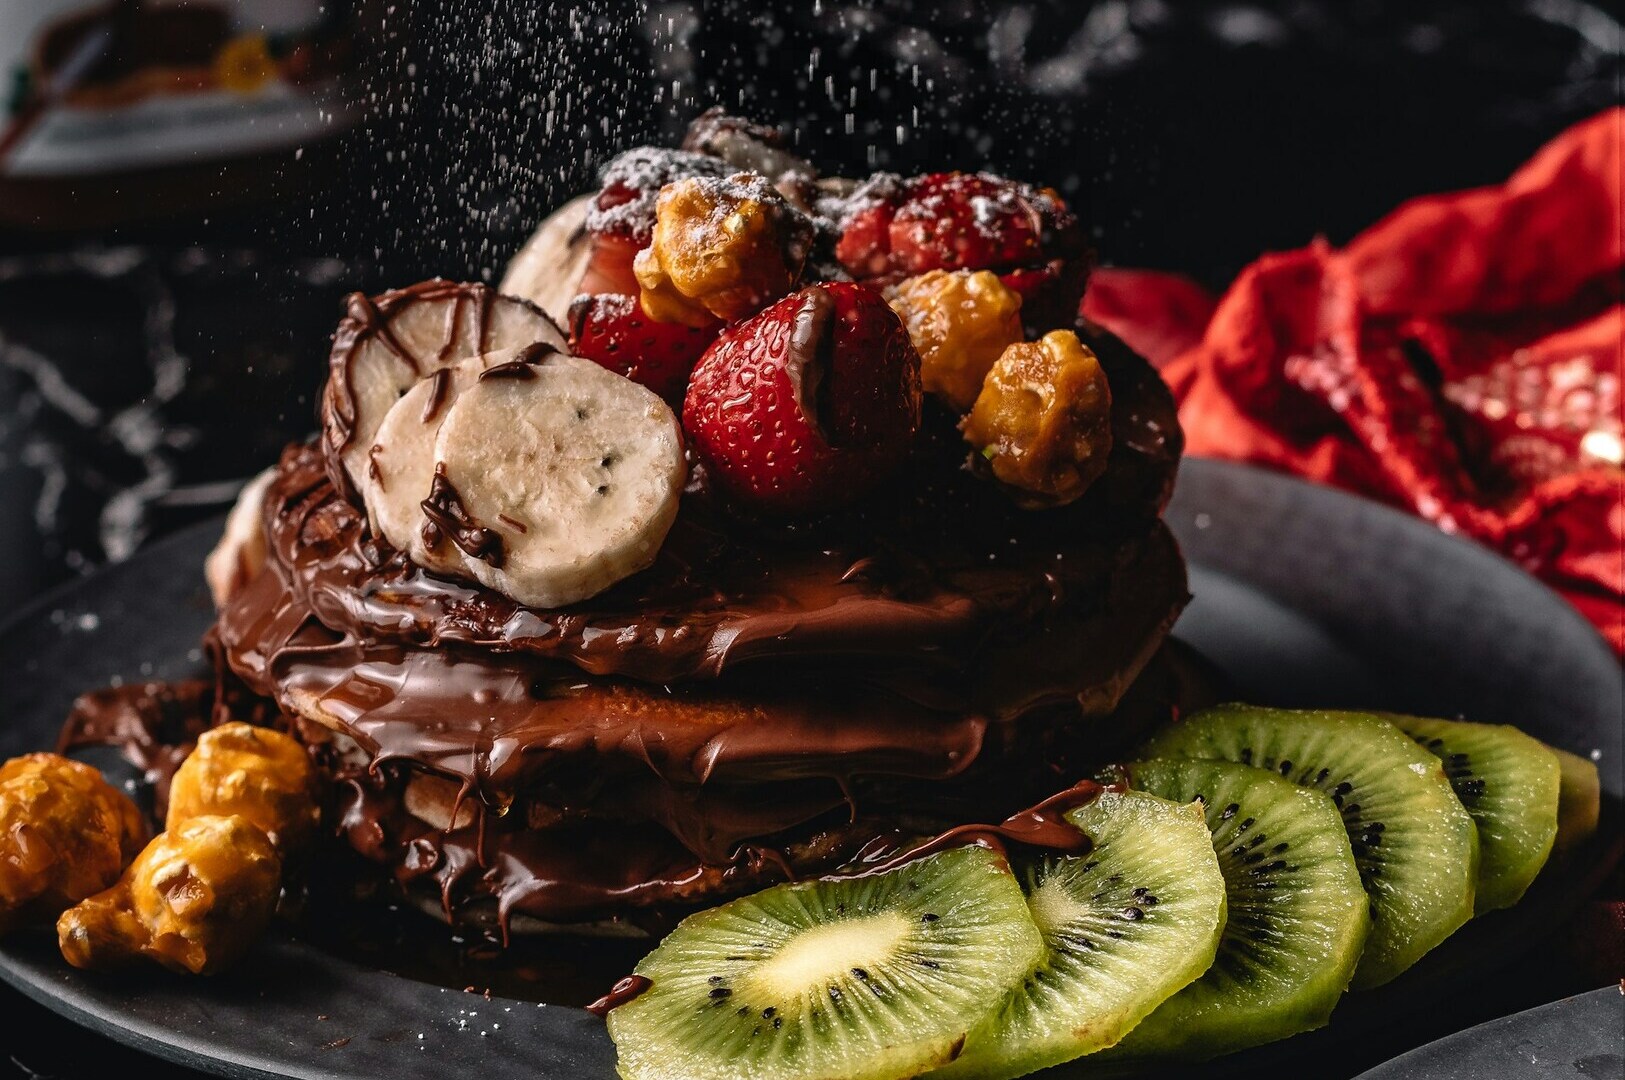
Brilliant lighting is the secret ingredient that transforms a flat, documentary-style photo into an appetizing, mood-rich image. When you are shooting extreme close-ups, the way light interacts with your food becomes incredibly obvious. A simple glint of light can make a sauce look irresistible, while a harsh shadow can ruin the entire composition.
Because your lens is so close to the subject, every highlight, shadow, and reflection is amplified. This makes proper macro photography lighting an essential skill for any F&B business looking to capture high-quality menu images. Excellent food photography lighting will dictate whether a customer scrolls past your post or stops to make a reservation.
In this guide, we will explore the fundamental techniques you need to make your close-up shots shine. We will cover the differences between natural and artificial sources, practical diffusion methods, and effective shadow control to help your culinary creations look their absolute best.
Natural Light vs Artificial Light for Macro Food Photography
Choosing between natural and artificial sources is the first major decision in food photography lighting. Both approaches offer distinct benefits and specific challenges for restaurant owners. Natural light is often preferred for its beautiful ability to emphasize texture and cast soft, appealing shadows. However, it is highly unpredictable and changes constantly throughout the day.
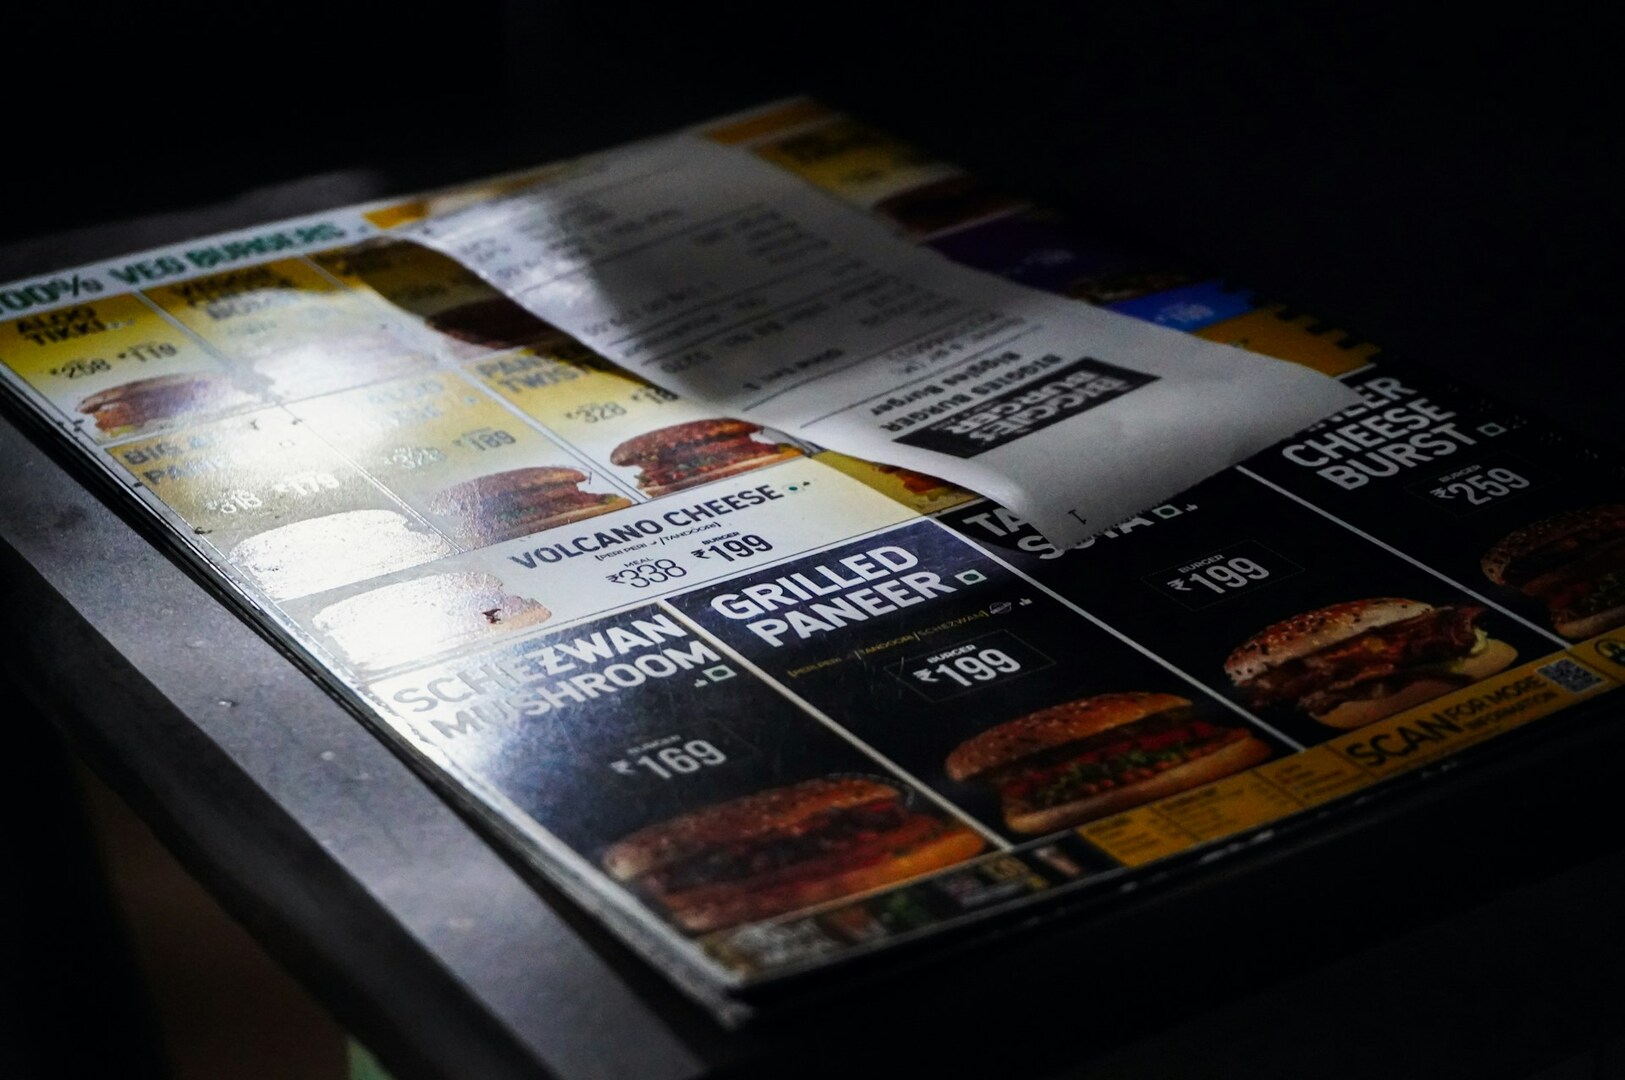
Artificial lighting for macro shots becomes necessary when you need absolute consistency and control. If you are shooting an extensive menu over several hours, or if you need to photograph dishes in a dimly lit restaurant during evening service, artificial lights are your best tool. They allow you to replicate the exact same look across dozens of different plates.
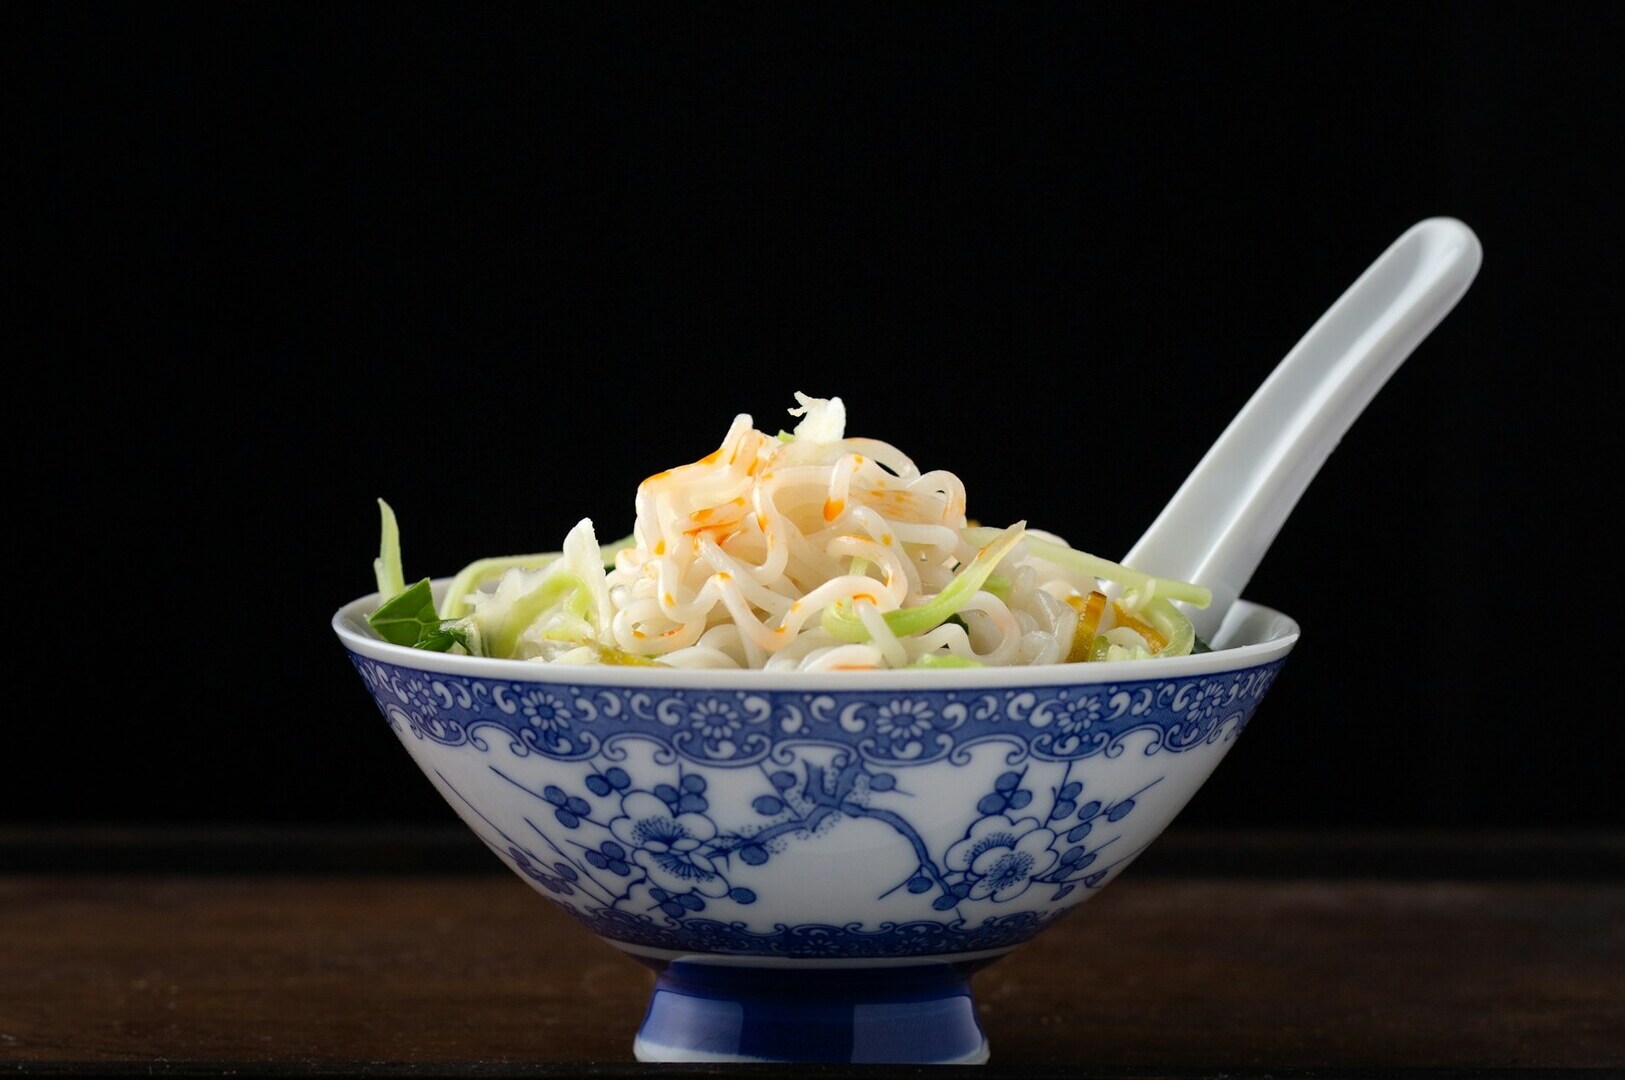
In Singapore, we deal with intense tropical sunlight that can easily overexpose a shot, along with varying indoor restaurant conditions. A steaming bowl of laksa might look stunning under gentle morning window light, showcasing its rich, oily broth. Conversely, capturing the smoky, dark details of char kway teow often requires a carefully controlled studio setup to highlight the dish without losing it in the shadows.
Mastering Natural Light for Macro Shots

Window Light Positioning
When utilizing natural light macro photography, the position of your food relative to the window is crucial. Side lighting is generally the most flattering angle because it naturally enhances the physical texture of the food. Backlighting, where the window is behind the food, is excellent for highlighting translucency and making liquids glisten.
In Singapore, the midday sun is incredibly strong and direct. You will usually get the best results by shooting in the early morning or late afternoon when the light is softer and more diffused. If you must shoot during peak sunlight, the distance from your table to the window matters greatly. Moving your setup just a few feet away from the glass can dramatically soften the light hitting your plate.
Using Reflectors and Diffusers
Even with perfect window placement, you will likely need to modify the light to get a professional result. Bounce cards are simple white boards placed opposite the window to reflect light back onto the food. This technique fills in dark shadows that often occur in tight close-up shots.
When the tropical sunlight is too harsh, diffusion materials are essential. You can use professional diffusion panels or simple white curtains drawn across the window. This softens the sunlight before it hits your food. Managing this strong light is vital when photographing the glossy peanut glaze on satay or highlighting the delicate, flaky layers of fresh roti prata.
Artificial Lighting Setup for Macro Food Photography
Continuous vs Flash Lighting
When setting up your artificial macro photography lighting, you must choose between continuous LED panels and flash lighting like speedlights or strobes. LED panels stay on continuously, allowing you to see exactly how the light falls on the food in real time. This makes them incredibly helpful for close-up work, as you can adjust your focus and composition with perfect visibility.
Flash lighting provides a powerful burst of light that easily freezes motion, but it requires test shots to see the final result. One critical factor to keep in mind is heat. Continuous lights, especially older models, can generate warmth when placed very close to your subject. This heat can quickly melt ice cream or wilt fresh herbs, so modern LED panels are highly recommended for food photography lighting.
Key Light Placement for Texture
The position of your main light (the key light) determines how appetizing your dish will look. A 45-degree positioning from the back or side is the gold standard for maximizing texture revelation. This angle creates tiny micro-shadows across the surface of the food, giving it dimension and life.
You must adjust the height and angle of the light based on the specific surface you are photographing. A lower angle will drag shadows across the plate to emphasize rough textures, which is perfect for highlighting crispy Hainanese chicken rice skin or the porous surface of kaya toast. A higher angle is better for capturing the wet, glossy moisture of chili crab without creating massive, distracting glare spots.
Diffusion Techniques for Soft, Appetizing Light
Soft light is the foundation of appetizing food imagery. In macro photography lighting, soft light is crucial because it prevents blown-out highlights and eliminates harsh, unappealing shadows. When light is too hard, it creates bright white reflections that completely hide the actual color and texture of the food beneath them.
To achieve this softness, you must employ proper diffused light techniques. Professional photographers use large softboxes or shoot-through umbrellas to scatter the light source. If you are on a tight budget, DIY options like baking paper or frosted shower curtains work surprisingly well when clipped over a window or an LED panel.
At a macro range, the distance between your light, the diffuser, and the subject is critical. Moving the diffuser closer to the food actually makes the light source appear larger and softer. For F&B applications in Singapore, mastering these diffusion methods means you can create consistent, high-quality menu images regardless of the time of day or the location of your shoot.
Avoiding and Managing Harsh Shadows
Shadows add depth to an image, but they become highly problematic when they are too dark or sharp in macro photography. Because the camera is zoomed in so tightly, a deep shadow can easily swallow up the most important details of your dish. Managing these dark areas requires a delicate touch and a solid understanding of fill light.
You can introduce fill light by placing a simple white reflector on the opposite side of your main light source. Alternatively, you can use a secondary, heavily dimmed light panel to gently lift the shadows without overpowering the main lighting. Sometimes, you might actually want to deepen the shadows to add drama and contrast. In this case, you can use a black foam board (called negative fill) to block ambient light from hitting the dark side of the food.
These techniques are essential for preventing dark shadow pools inside deep laksa bowls. They are equally important for managing the tiny shadows cast by fresh garnishes on complex hawker dishes.
Creating Mood with Light Direction and Quality

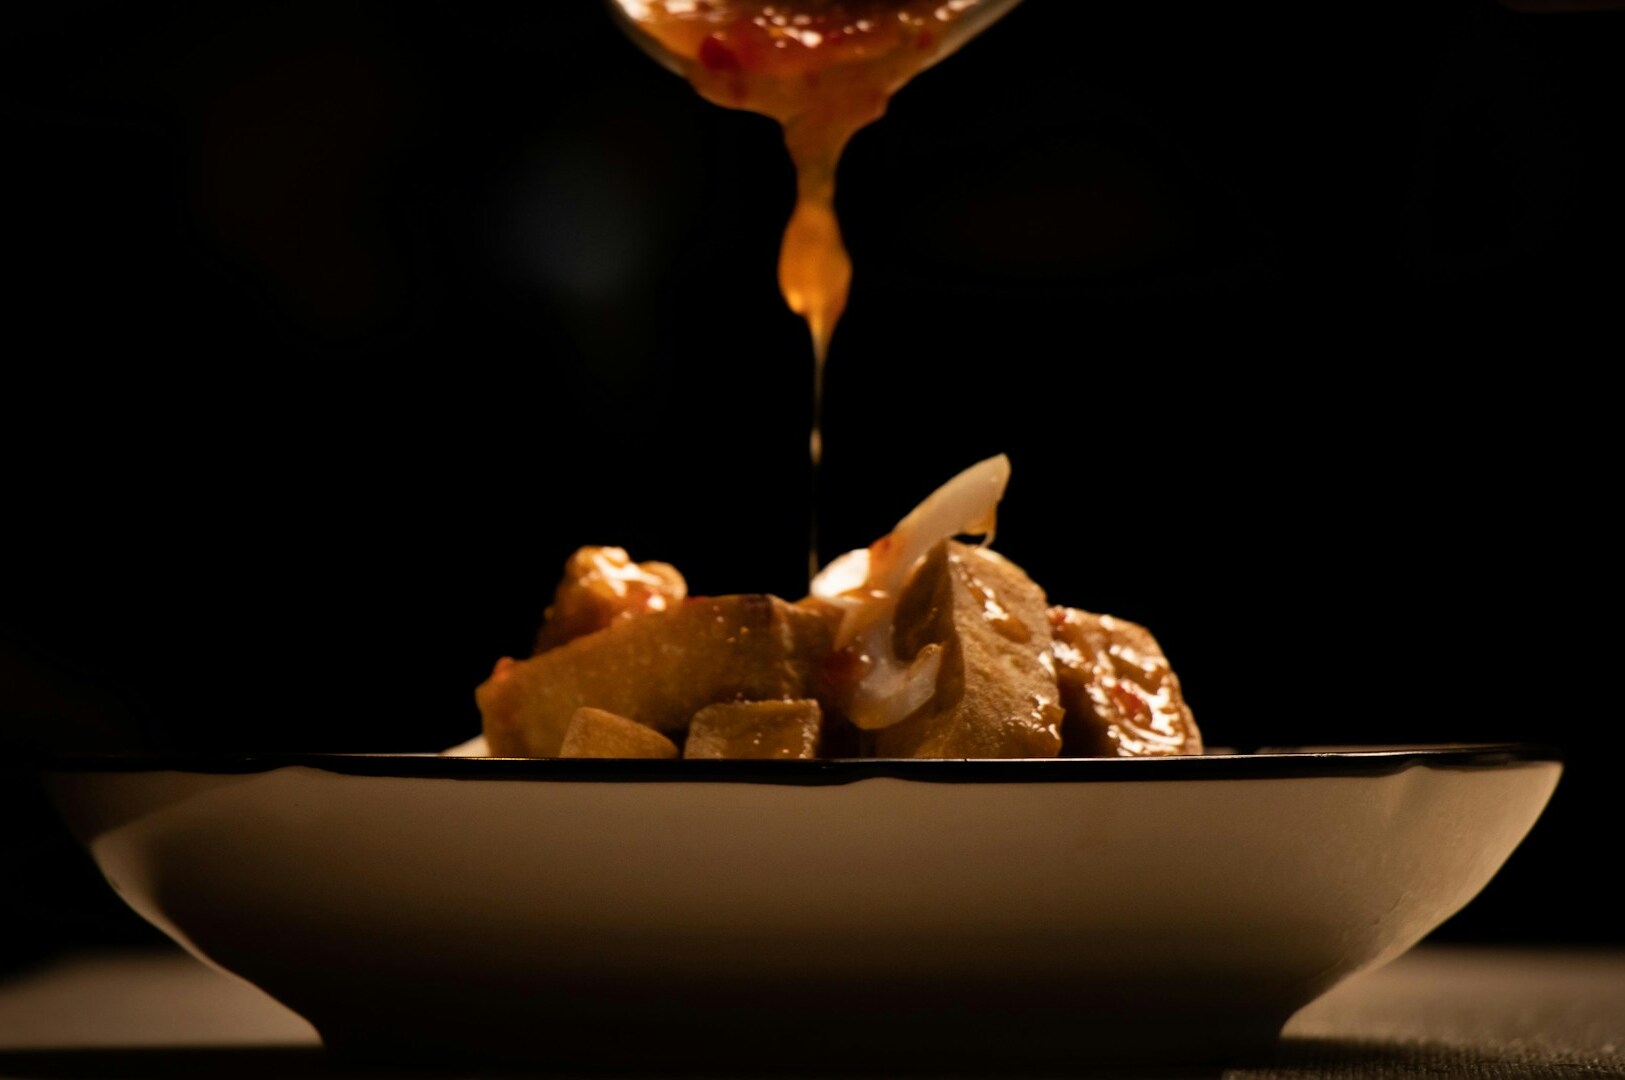
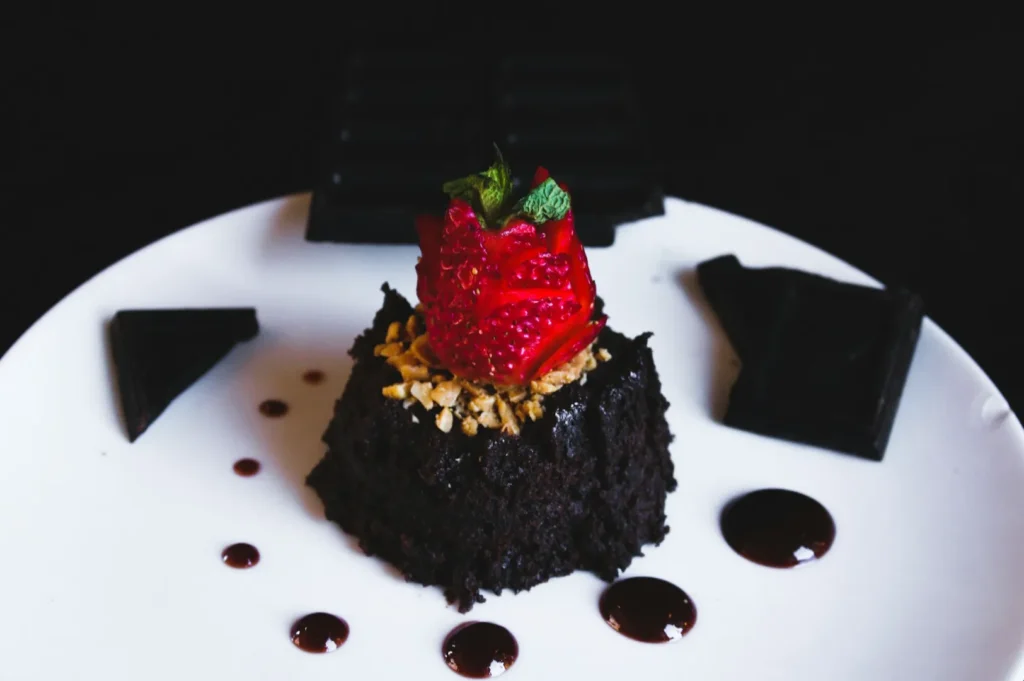
The direction and quality of your light do more than just illuminate the food; they create the entire mood of the photograph. Bright, evenly distributed light feels fresh, clean, and inviting. In contrast, directional light with deeper shadows creates a dark, moody, and premium atmosphere.
You must align your food photography lighting with your restaurant’s branding. Hard, direct light can occasionally be used to create a punchy, high-contrast look for modern, vibrant cuisines. However, soft light remains the safest and most appetizing choice for the vast majority of F&B marketing. Backlighting is especially powerful for establishing mood, as it beautifully highlights rising steam or the vibrant translucency in sweet and sour sauces.
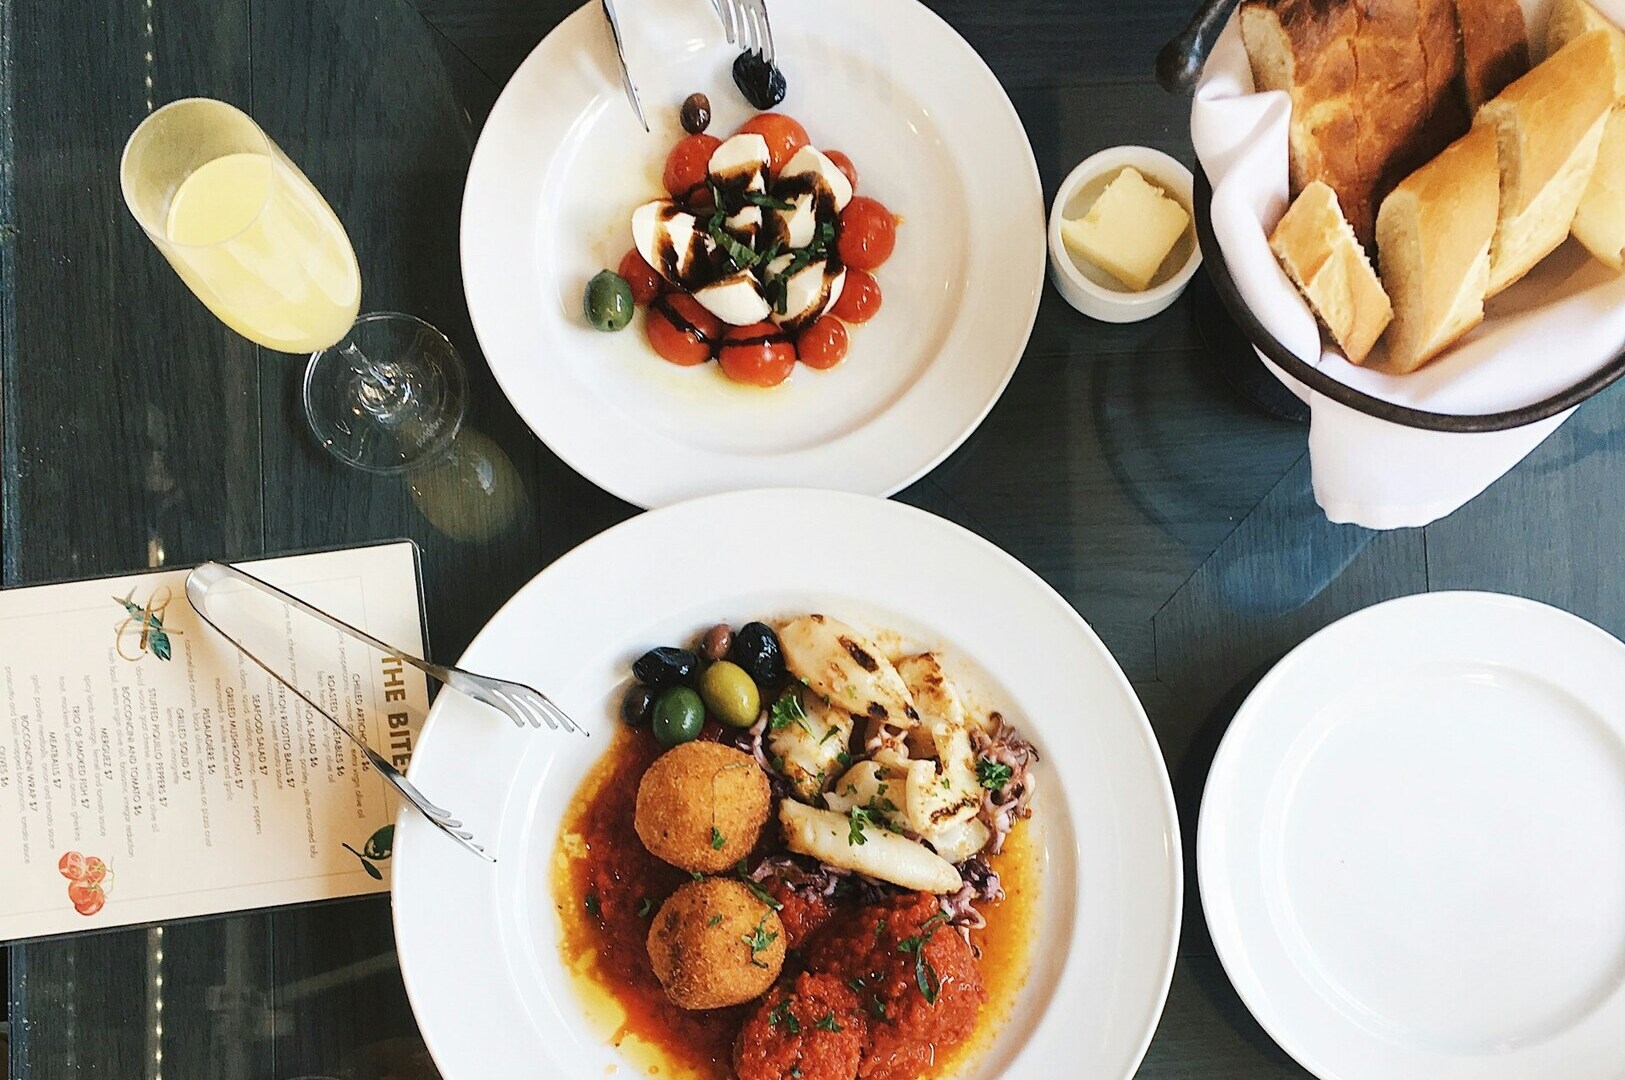
In the Singapore dining scene, these lighting choices are highly visible. Casual cafés often utilize bright overhead or window light to convey a breezy, accessible vibe. Meanwhile, high-end fine dining establishments rely heavily on dramatic side-light to emphasize elegance and exclusivity.
Practical Lighting Checklist for Singapore F&B
To help you achieve perfect macro photography lighting every time, run through this practical checklist before taking your final shot:
- Identify light source: Decide clearly between natural or artificial light based on your environment.
- Check for harsh shadows: Look closely at the subject and use bounce cards to fill dark spots.
- Verify highlight detail: Ensure there are no completely blown-out white areas hiding the food’s texture.
- Confirm texture visibility: Adjust your light angle to a 45-degree position to maximize surface details.
- Test color temperature consistency: Make sure your lights match to avoid weird color casts on the food.
- Assess overall mood alignment: Verify that the lighting style accurately reflects your restaurant’s brand identity.
Conclusion

Mastering macro photography lighting requires an understanding of how light direction, diffusion, and shadows interact with your ingredients. By learning to manipulate both natural and artificial sources, you can showcase the vibrant textures and colors that make your menu unique. Remember that lighting mastery takes patience, practice, and a willingness to experiment with different setups.
While mastering these lighting techniques takes practice, working with experienced food photographers ensures consistently lit menu images that showcase your dishes in their best light. At Food Photographer Studio, we combine technical lighting expertise with artistic vision to create appetizing images that drive customer appetite and elevate your brand. To learn more about capturing stunning close-ups, read our comprehensive guide.