A menu shoot goes sideways for the same reason service goes sideways. Nobody owns the plan.
When menu photography is treated like “just take some pictures”, it usually turns into last-minute plating, missing dishes, tired garnishes, and a kitchen that feels interrupted for no good reason. Then the photos come back inconsistent, and you end up using only a handful.
This is why a menu photoshoot checklist matters. Not because you need more admin, but because you need fewer surprises. A good checklist protects your time, your team, and your brand. It also gets you the kind of menu photos that actually help customers decide.
If you are building your menu image system from scratch, start with our broader guide on what makes strong menu images work: menu photography that sells in Singapore.
1) Decide What “Menu Photography Success” Looks Like
Before you list a single dish, decide what the photos must do.
For most Singapore F&B operators, menu photography has three practical goals:
- Reduce doubt (customers can tell what they are ordering)
- Set expectation (what arrives looks like the photo)
- Increase conversion (more clicks, more add-ons, more orders)
This affects everything: how tight the crop is, which angles you shoot, how consistent the set looks, and whether you prioritise clarity over mood.
A simple rule we use: if a customer sees the photo for two seconds, can they describe the dish accurately?
2) Build A Shot List That Matches How People Order
The most useful menu photoshoot checklist starts with a shot list that is based on behaviour, not just your menu layout.
Start with priority tiers
- Tier 1: signatures, bestsellers, high-margin items, new launches
- Tier 2: supporting items that complete an order (sides, drinks, desserts)
- Tier 3: utility items that do not need photos unless they are confusing
If you photograph everything, you often end up with visual noise. If you photograph only signatures, your menu can feel incomplete. A tiered list keeps it balanced.
Group dishes by “how fast they die”
Food changes quickly under lights and air-conditioning.
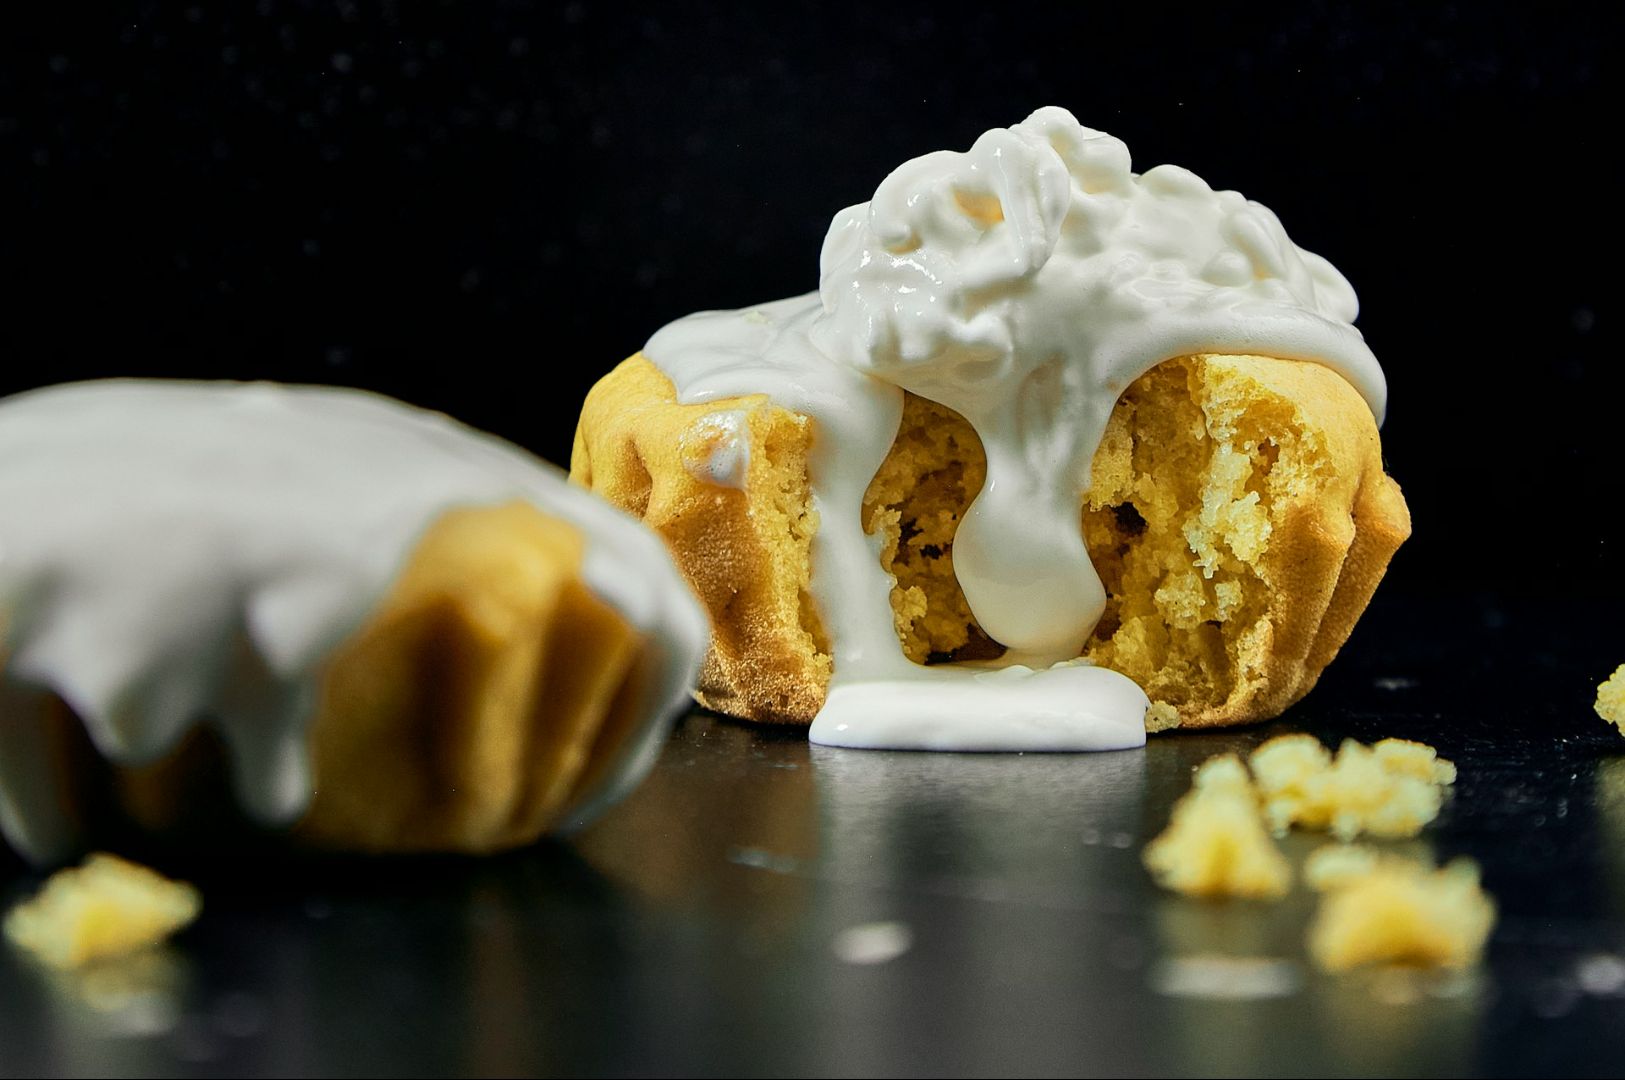
- Fast-fading: ice cream, shaved ice, whipped cream, soufflé pancakes
- Steam-dependent: soups, noodles, claypot, grilled items
- Gloss-sensitive: curries, stir-fries, lacquered meats
- Glassware issues: iced drinks, cocktails, anything reflective
When you group like this, you waste less time resetting, and your final menu set looks more consistent.
3) Lock Your Visual Standards Before You Plate Anything
A huge chunk of menu inconsistency comes from “we will decide on the day”.
Before the shoot, agree on these basics:
Angle logic
You do not need one angle forever, but you need a repeatable system.
- Overhead for bowls, rice sets, sharing platters, anything with components
- 45-degree for height, layers, texture (burgers, pasta, mains with garnish)
- Eye-level for tall items (burgers, stacked desserts, drinks with layers)
If you want a mix, decide which angle is your “default”, and which dishes are exceptions.
Background and surfaces
Menu photography should feel like one brand, not a collage of random shoots.
Pick 1 to 2 surfaces that work across most dishes (neutral tones usually win), then reserve a third surface for specific cuisines or moods. This is where many menus go wrong. If every dish has a new table, a new plate, a new colour cast, your brand looks undecided.
Portion and plating standards
Your photo should match what you serve.
If you “style up” the dish beyond your actual portioning, you are buying short-term clicks with long-term distrust. In Singapore, customers notice. They also screenshot.
4) Prep The Kitchen So The Shoot Does Not Hijack Service
This is the part owners underestimate. A menu shoot is not just photography. It is kitchen coordination.
Here is the practical workflow we recommend:
Do a pre-plating rehearsal
Even 15 minutes helps. Identify what slows you down:
- sauces that separate
- garnishes that wilt
- items that lose structure (noodles, fried items)
- plating steps that are too fiddly
If something is fragile, adjust the sequence so it gets plated last and photographed immediately.
Stock “backup ingredients”
Your menu photos are only as good as your last garnish.
Have extra:
- herbs and greens
- sauces for touch-ups
- clean plates and cloths
- replacement portions for dishes that collapse
If you are shooting in a real restaurant environment, plates get bumped. Sauce drips happen. Backup ingredients keep you calm.
Assign one person as the shoot lead
This is not always the chef.
It can be a manager or marketer who has authority to say: “Next dish is ready” and “Hold plating, we need 2 minutes.” If nobody owns the rhythm, the shoot drags, and food quality drops.
5) The Five-Minute On-Set Checklist That Saves The Whole Shoot
Once you start shooting, keep the checklist short and repeatable.
Before each dish:
- Is the plate clean (rim wiped, no random drips)?
- Are the key ingredients visible (protein, toppings, texture cues)?
- Is the garnish fresh (not bruised, not wilted)?
- Is the light consistent with the rest of the menu set?
- Is the angle consistent with your system?
One more thing: take a “menu-safe” version first (clean, clear, readable), then take one slightly more atmospheric version for social.
That way you are never stuck with a moody photo that looks nice but does not sell.
6) Editing, File Delivery, And Where These Photos Will Live

Menu photography is only useful if you can deploy it quickly.
Agree on output sizes
At minimum, most Singapore F&B brands need:
- Delivery platforms (tight crops, readable thumbnails)
- Website (hero images, category images)
- Social (vertical options for Stories and Reels covers)
If you do not plan these formats upfront, you will crop randomly later and lose consistency.
Set an editing direction
Editing should protect appetite, not create fantasy.
A good menu set has:
- whites that look clean (not yellow, not grey)
- greens that look alive
- meat tones that look edible
- sauces that look rich, not muddy
At Food Photographer Studio, we build this consistency intentionally, and we turn around edited menu sets fast (often within 48 hours) so launches do not get delayed.
A Menu Photoshoot Checklist Is Really A Revenue Checklist

Menu photography is one of the few marketing assets that works while you sleep. It sits on your delivery listings, your menu screens, your Google surfaces, and your website. It reduces hesitation and helps customers order faster.
A menu photoshoot checklist is how you make sure the photos are not “nice”, but usable. Clear. Consistent. Honest. And aligned with how Singapore diners actually choose what to eat.
If you want menu photos that look cohesive across platforms without disrupting service, Food Photographer Studio can help you plan the shoot, run the workflow, and deliver a menu set that supports ordering behaviour, not just aesthetics.