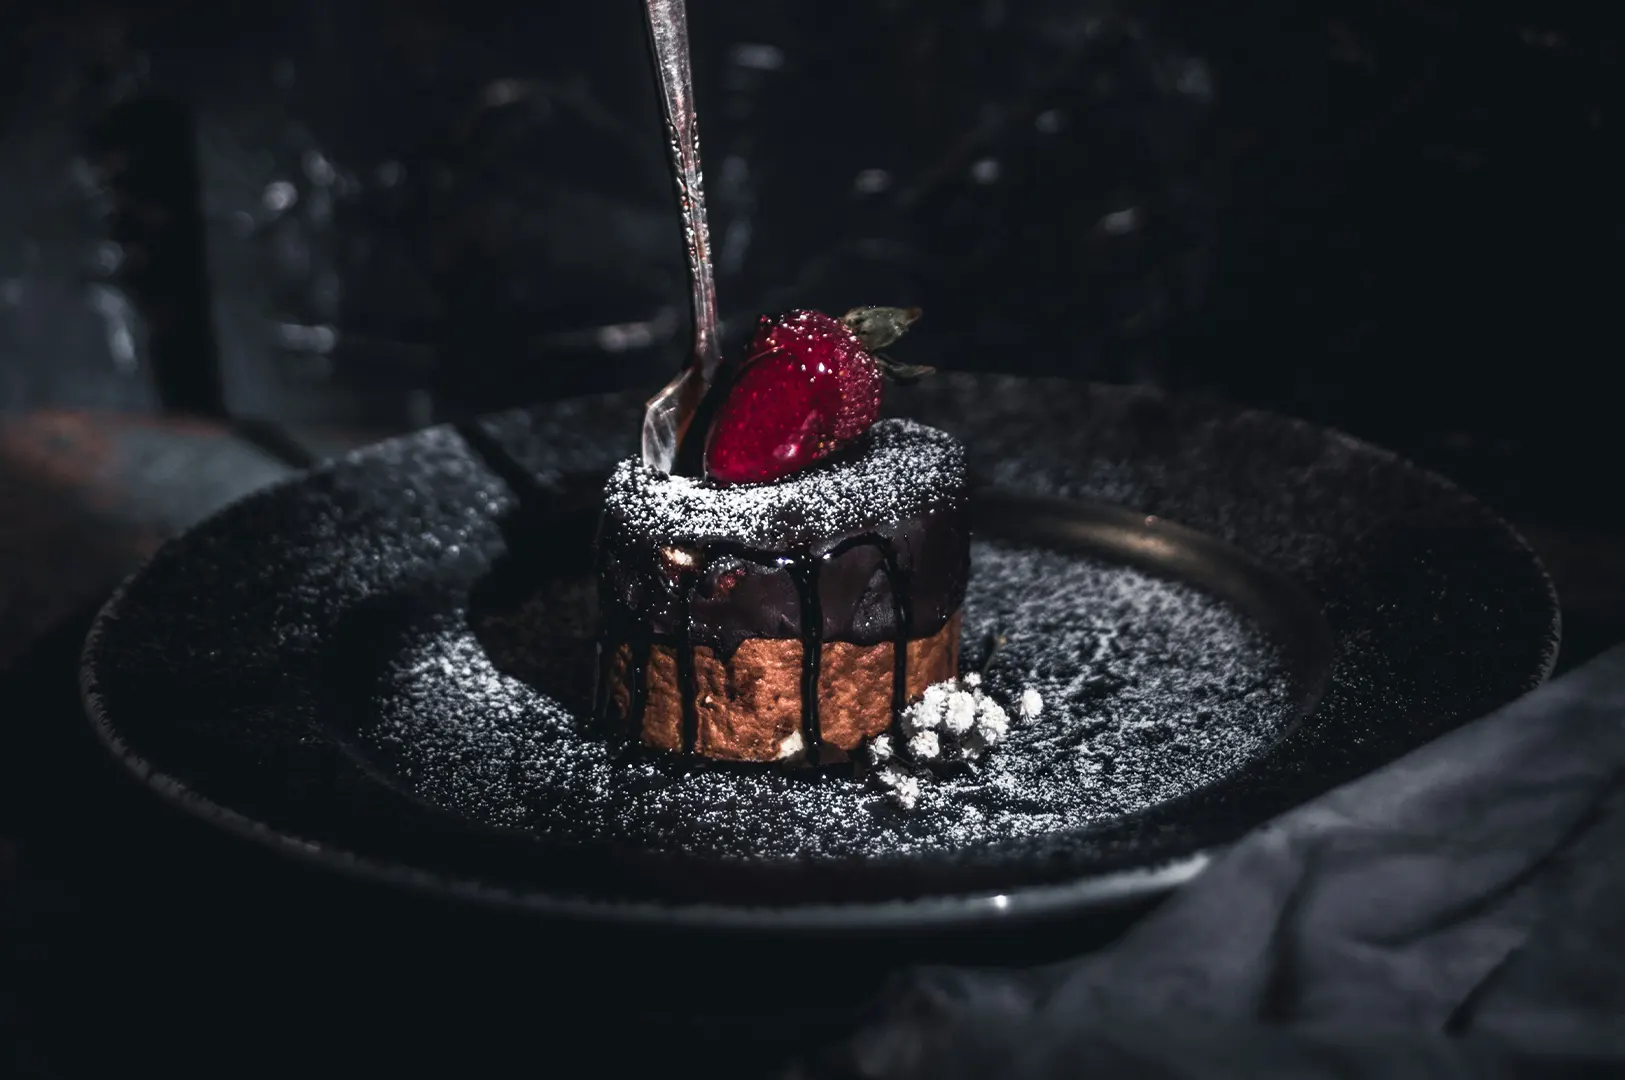
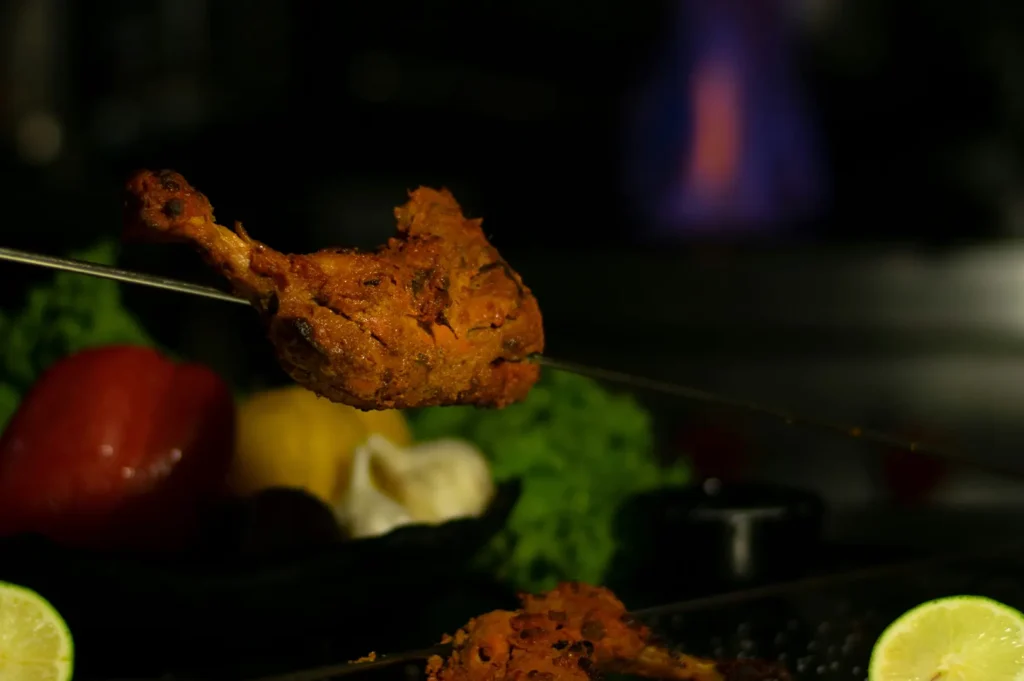
Fried food is either irresistible or sad. There is rarely an in-between.
In real life, texture sells: the crackle of skin, the crunch of batter, the char on a grill, the sheen of roast meat. In photos, texture is fragile. One wrong light angle and crispy looks oily. One wrong exposure and char looks burnt. One slow shoot and everything turns flat.
This is a focused guide to making texture read fast, especially for hawker, grills, chicken, tempura, pastries, and anything with crunch. For the broader framework, keep our photography tips handy.
The Texture Triangle: Light, Angle, Timing
If texture looks weak, one of these is failing:
- Light is too flat.
- Angle is hiding surface details.
- Timing is too slow and the food is dying.
Fix these before you touch editing.
Fried Food: How to Show Crisp Without Grease
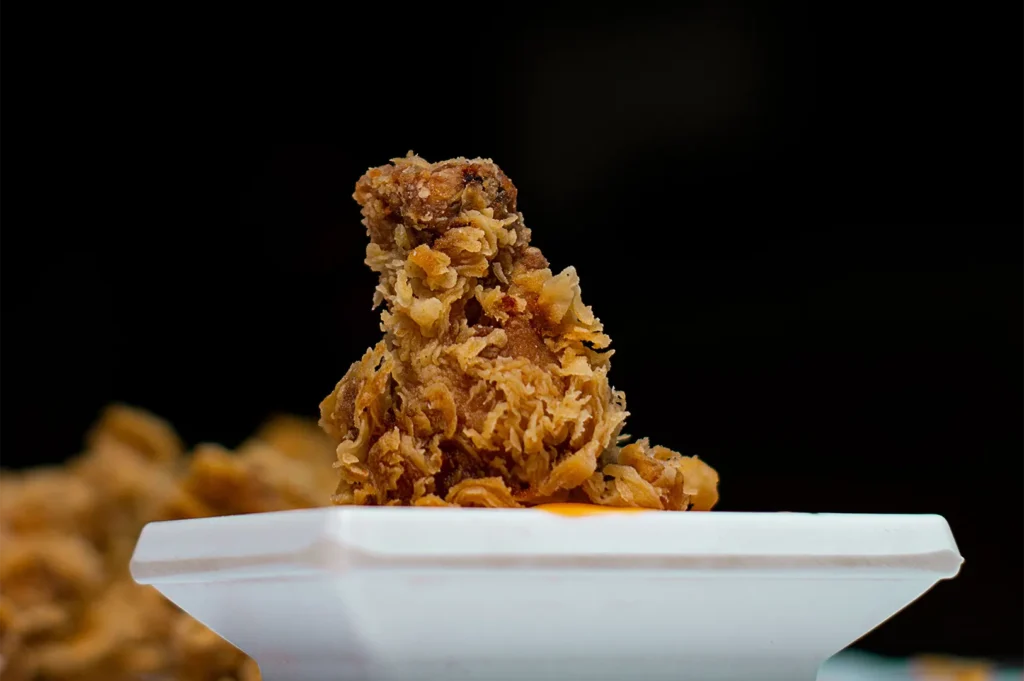
The number one mistake is shooting fried food under overhead lights. It creates random shine and makes batter look wet.
Better approach:
- Use side light from a window or a soft LED, not top-down restaurant lights.
- Keep the dish slightly angled so highlights land on edges, not across the centre.
- Blot excess oil gently before shooting. Do not overdo it or you lose the appetising sheen.
If you need “freshness”, add a small garnish of green herbs or a lemon wedge. It signals brightness and cuts the visual heaviness.
Char and Grill Marks: Make Them Look Intentional
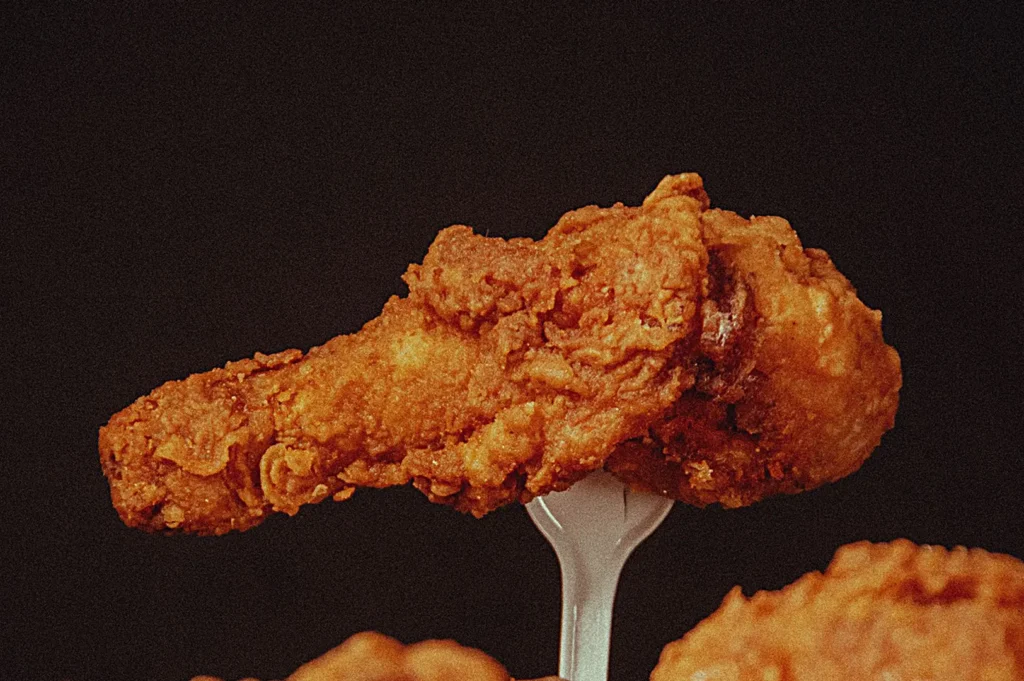
Char reads as premium when it looks controlled. It reads as burnt when it looks blotchy.
To shoot grills:
- Use side light at about 45 degrees. This reveals grill ridges.
- Avoid flat overhead light that makes everything look the same tone.
- Keep the background darker than the meat. Texture reads better with contrast.
For satay, grilled chicken, steak, and roasted pork, small highlights on the surface are good. But glare is not. If you see bright white streaks, diffuse your light or use a flag (a menu folder works) to cut reflections.
Juiciness: The “Cut Moment” Trick
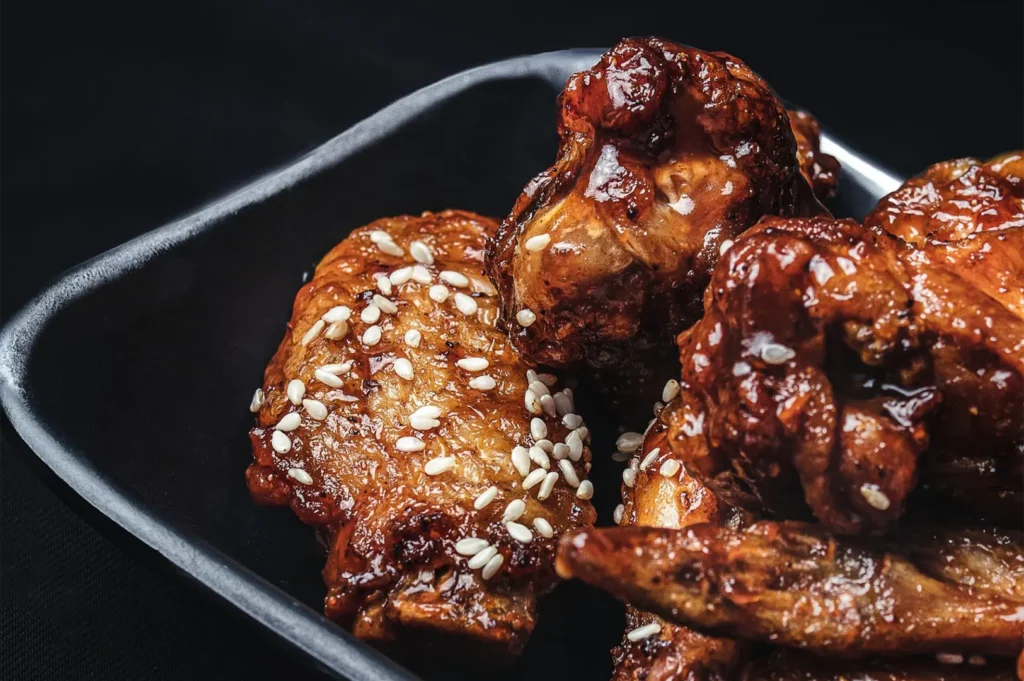
Juice is not a styling trick, it is a timing trick.
If you want juicy steak, roast chicken, or char siu to look alive:
- Shoot it soon after cutting.
- Let the cut side face the light, not the camera flash.
- Keep a brush and a little oil to touch up only the dull areas.
Do not repaint the whole surface. You want controlled shine, not wetness.
Pastries: Flakes, Layers, and Bubbles
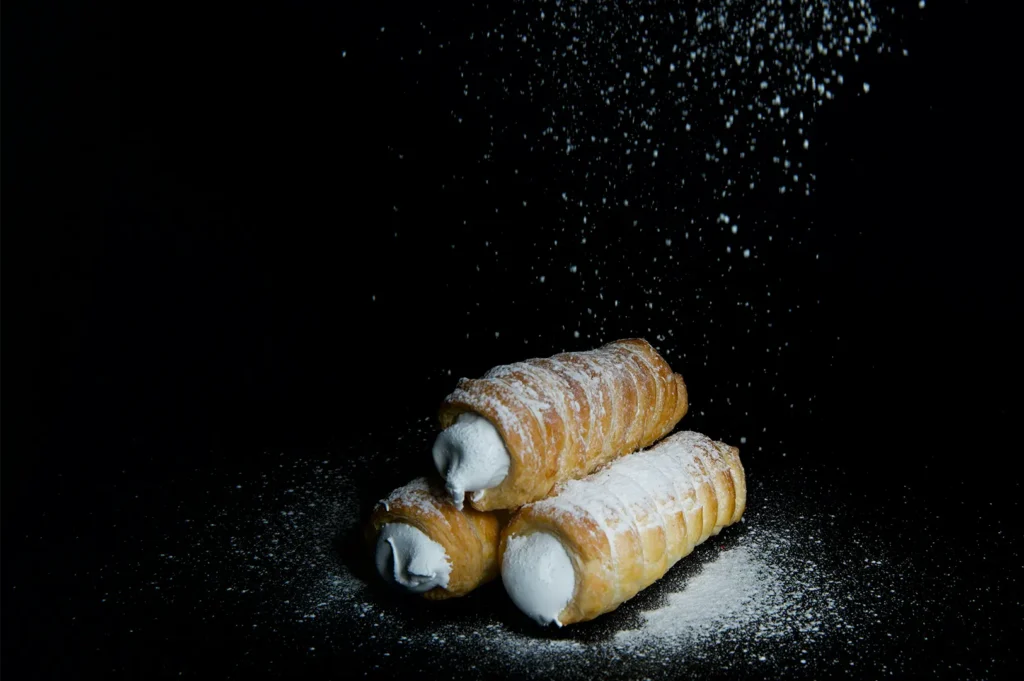
Pastries die visually when the light is too soft. You need enough direction to show layers.
For croissants, roti prata, puff pastry:
- Side light is your best friend.
- Slightly higher angle than eye level often shows layers well.
- Break one piece open. Interior layers sell the crunch.
Crumbs are not always messy. They can be the story. Use them strategically.
The Best Angles for Texture
- Eye level or low angle: great for burgers, fried chicken stacks, grills.
- 45 degree: the workhorse angle for most dishes.
- Overhead: good for spreads, but it can flatten texture unless the light is directional.
If you are shooting fried food overhead, keep the light coming from the side so shadows create texture.
Editing Texture Without Making It Fake
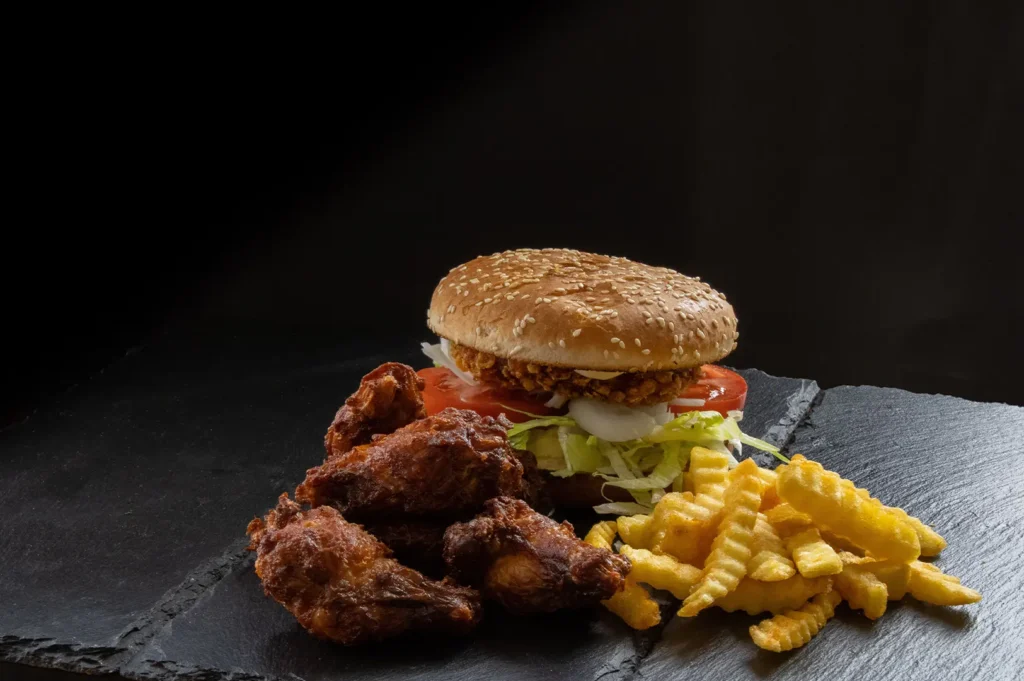
Editing should support what you captured, not invent it.
Keep it simple:
- Correct white balance so browns look rich, not grey.
- Increase contrast slightly, but avoid crushing shadows.
- Sharpen lightly. Over-sharpening makes crumbs look harsh.
The fastest way to ruin texture is heavy clarity sliders. Use restraint.
Texture Is a Promise
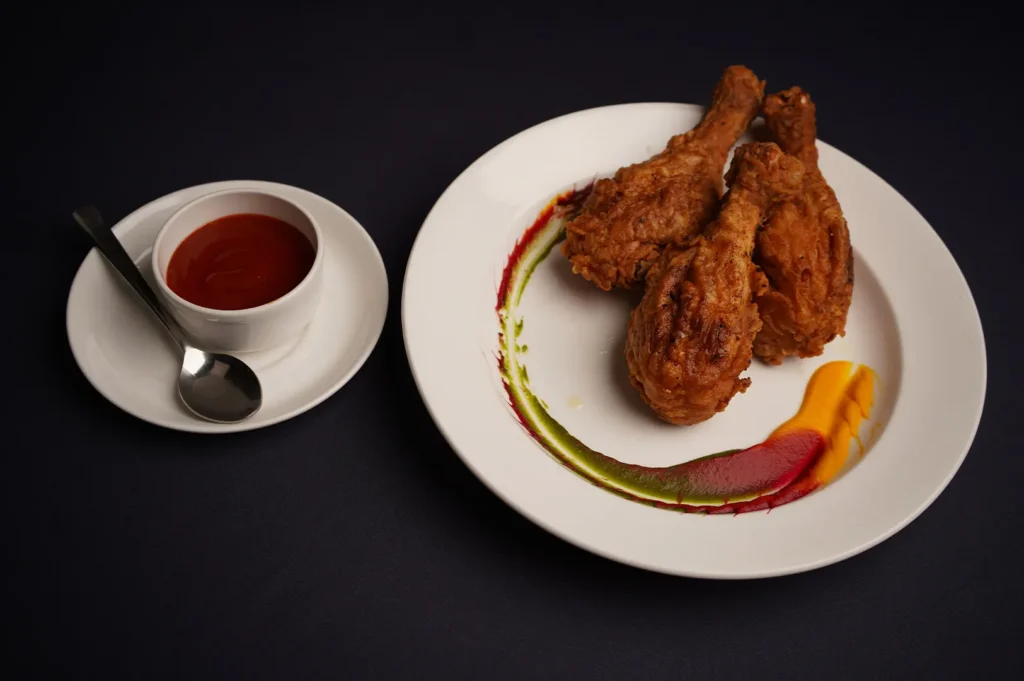
In Singapore, fried and grilled foods are comfort, indulgence, and “worth it” in one bite. Your photo needs to make that promise quickly. When texture reads fast, orders follow.