In the bustling Singapore F&B scene, your menu’s first impression happens online. Before a customer decides to visit your café or order from your restaurant on a delivery app, they see your food images. Crafting mouth-watering food images is no longer a luxury; it’s a fundamental part of modern culinary marketing. While many Singapore brands have recently started their food photography journey with smartphones, mastering the art of professional food photography often requires working with an experienced culinary visual storyteller behind the camera, alongside advanced knowledge of lighting, composition, and editing to consistently create great photos that captivate potential customers.
This guide delivers actionable tips for food photography and expert insights for restaurant owners, chefs, and marketers who want to elevate their food photos. Whether you’re planning your next food shoot or seeking inspiration from a food blog, these great tips will help anyone move from ordinary snapshots to professional food photos brimming with visual appeal.
The Foundation: Mastering Light in Professional Food Photography
The most important thing in any food shoot is light, it dramatically affects mood, texture, and the way colours appear in final food images. Good food photography is built on understanding how to achieve enough light for every shot.
Natural Light: A Food Photographer’s Best Friend
For most F&B businesses, natural light is the best friend of any aspiring food photographer. It is powerful, forgiving, and available at low cost.
Optimal Setup: Position your main subject near a large window for soft, beautiful light that enhances colors without harsh highlights or deep shadows.
Plan Ahead: If you anticipate a busy schedule, set up your shoot in advance to ensure you’ll have the best natural lighting conditions for your images.
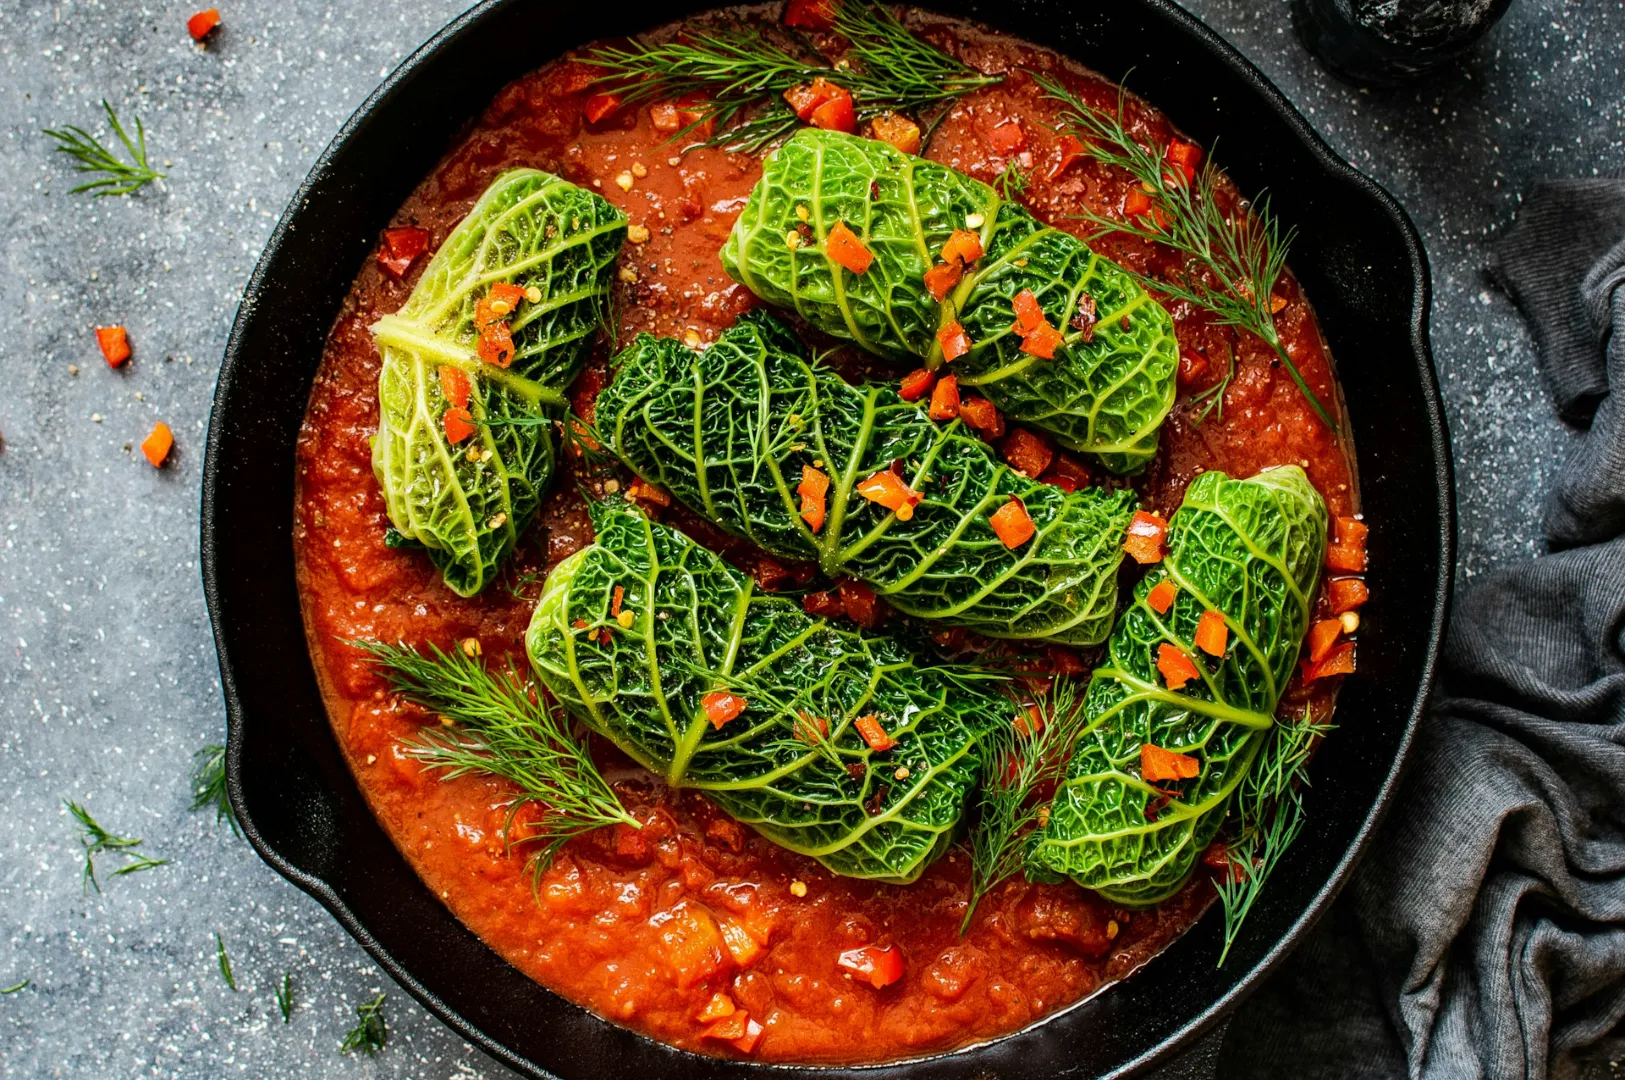
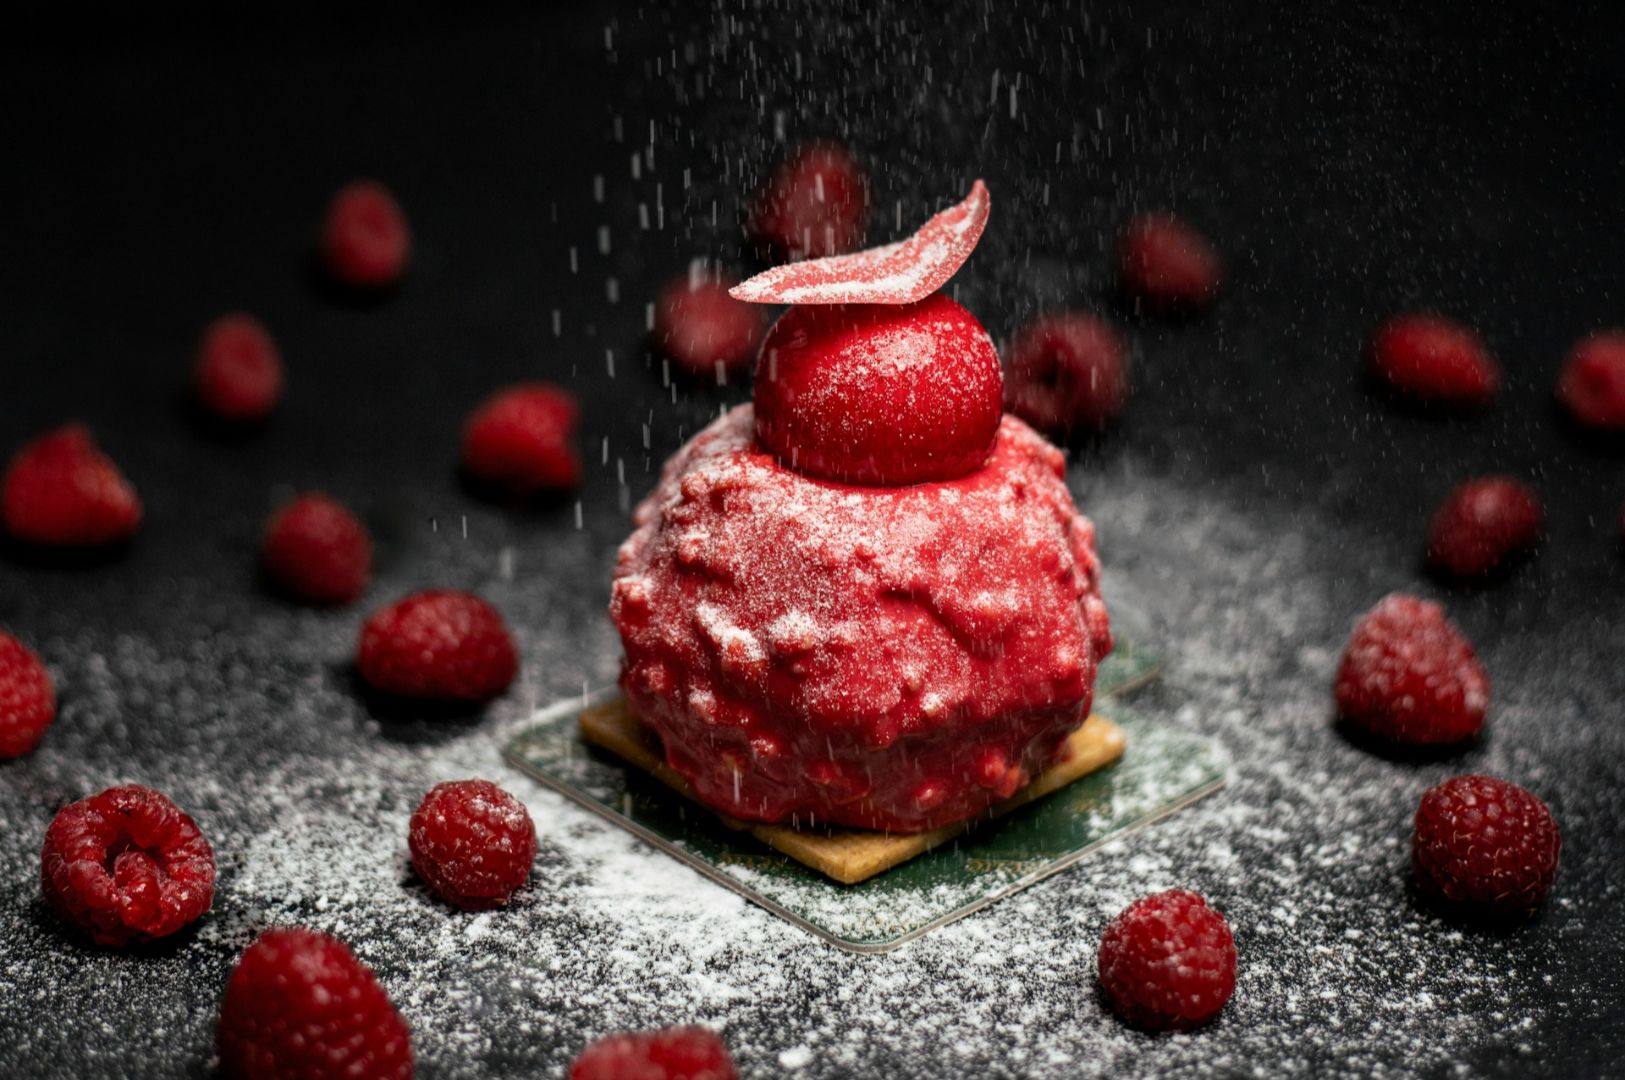
Add Shadows for Depth: Sidelight especially will highlight interesting textures and add shadows, bringing out more depth in dishes like salads or pastries.
Artificial Light: Controlled Flexibility in Food Photography
There are plenty of situations, like dinner services or dimly lit venues, when artificial light becomes essential in food photography.
Choosing Artificial Light: Invest in artificial light sources such as LED panels or studio lights designed for photography. These allow for on location shoots even when you lack enough light.
Diffusion and Texture: Use diffusers to soften harsh artificial light. Sheet diffusers taped to windows or softboxes over lights make a huge difference in food images, especially on shiny surfaces or white plates.
Watch White Balance: Artificial light can create unusual colour casts, so always adjust your white balance for accurate, natural-looking food photos.
Composition: Arranging Your Shot for Visual Appeal
Careful styling and thoughtful composition are what set professional food photography apart from ordinary food shots. Every food photographer should aim for balance between their own style and what showcases the food best.
The Power of Negative Space and Wooden Boards
Negative space, the uncluttered area around your main subject, gives eyes a place to rest, making food images feel modern and eye catching. Pairing wooden boards or textured surfaces with simple backgrounds brings more life and authenticity, adding both context and interesting textures.
Mastering Camera Angle in Professional Food Photography
Changing your camera angle can turn an average shot into an image that’s truly visually appealing.
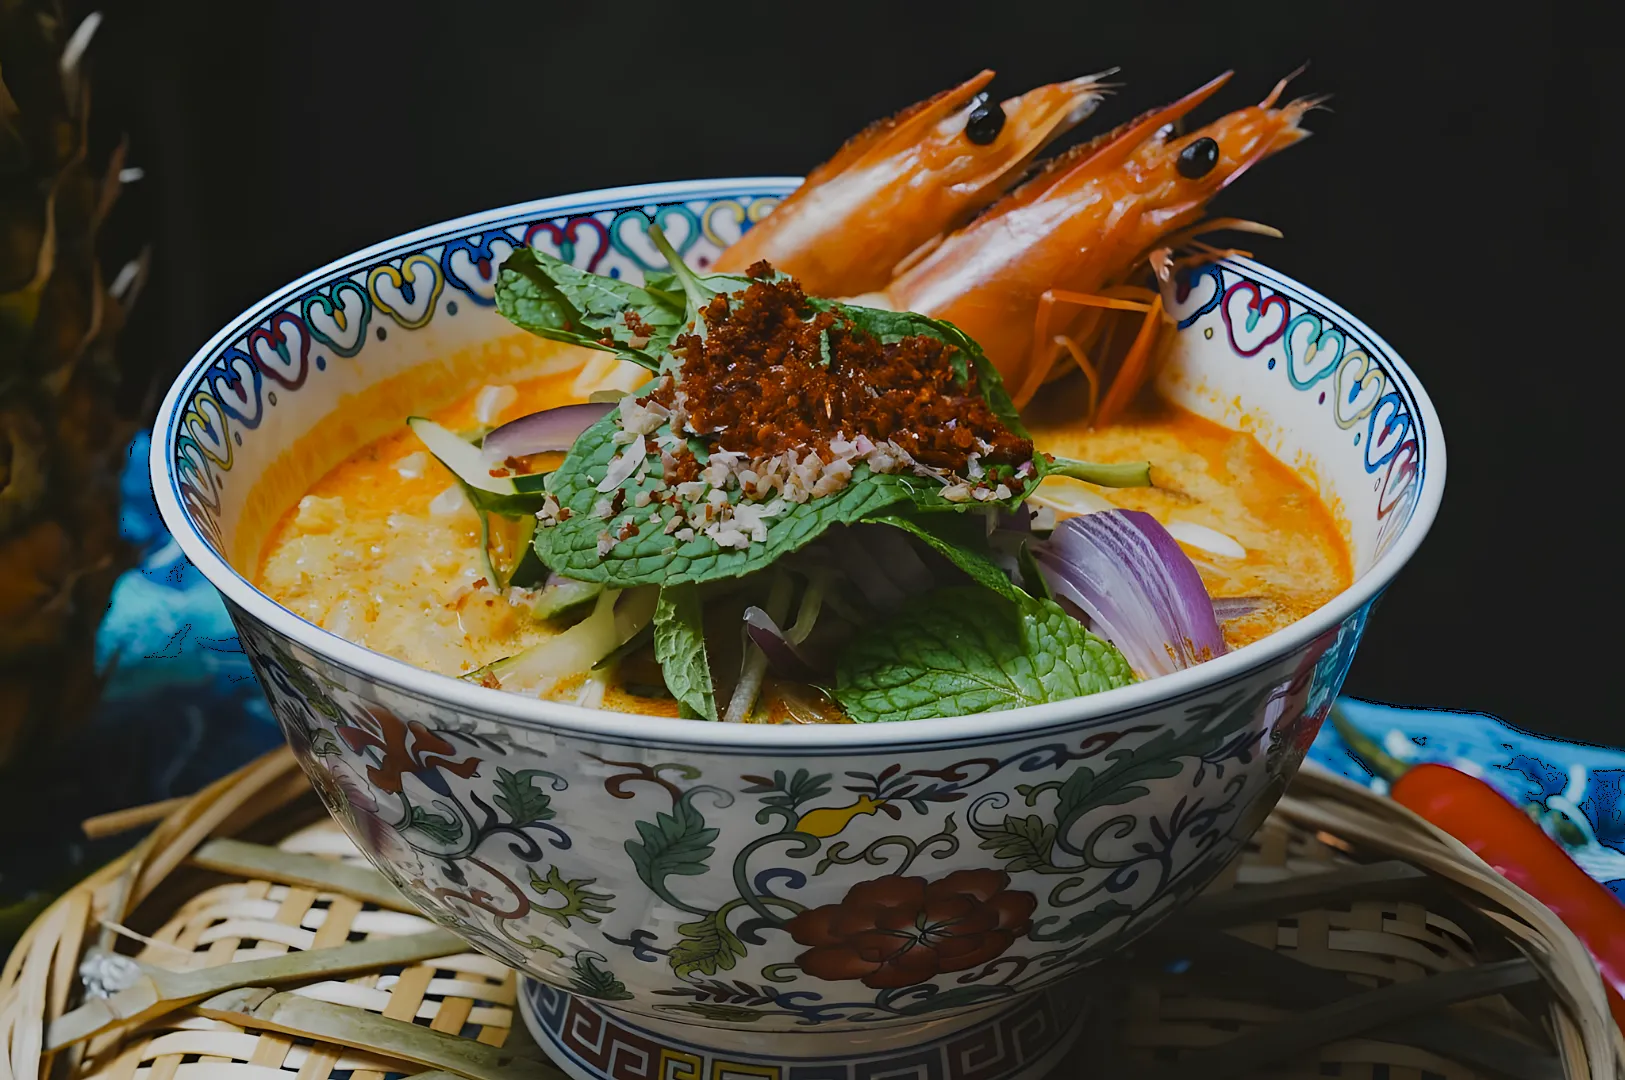
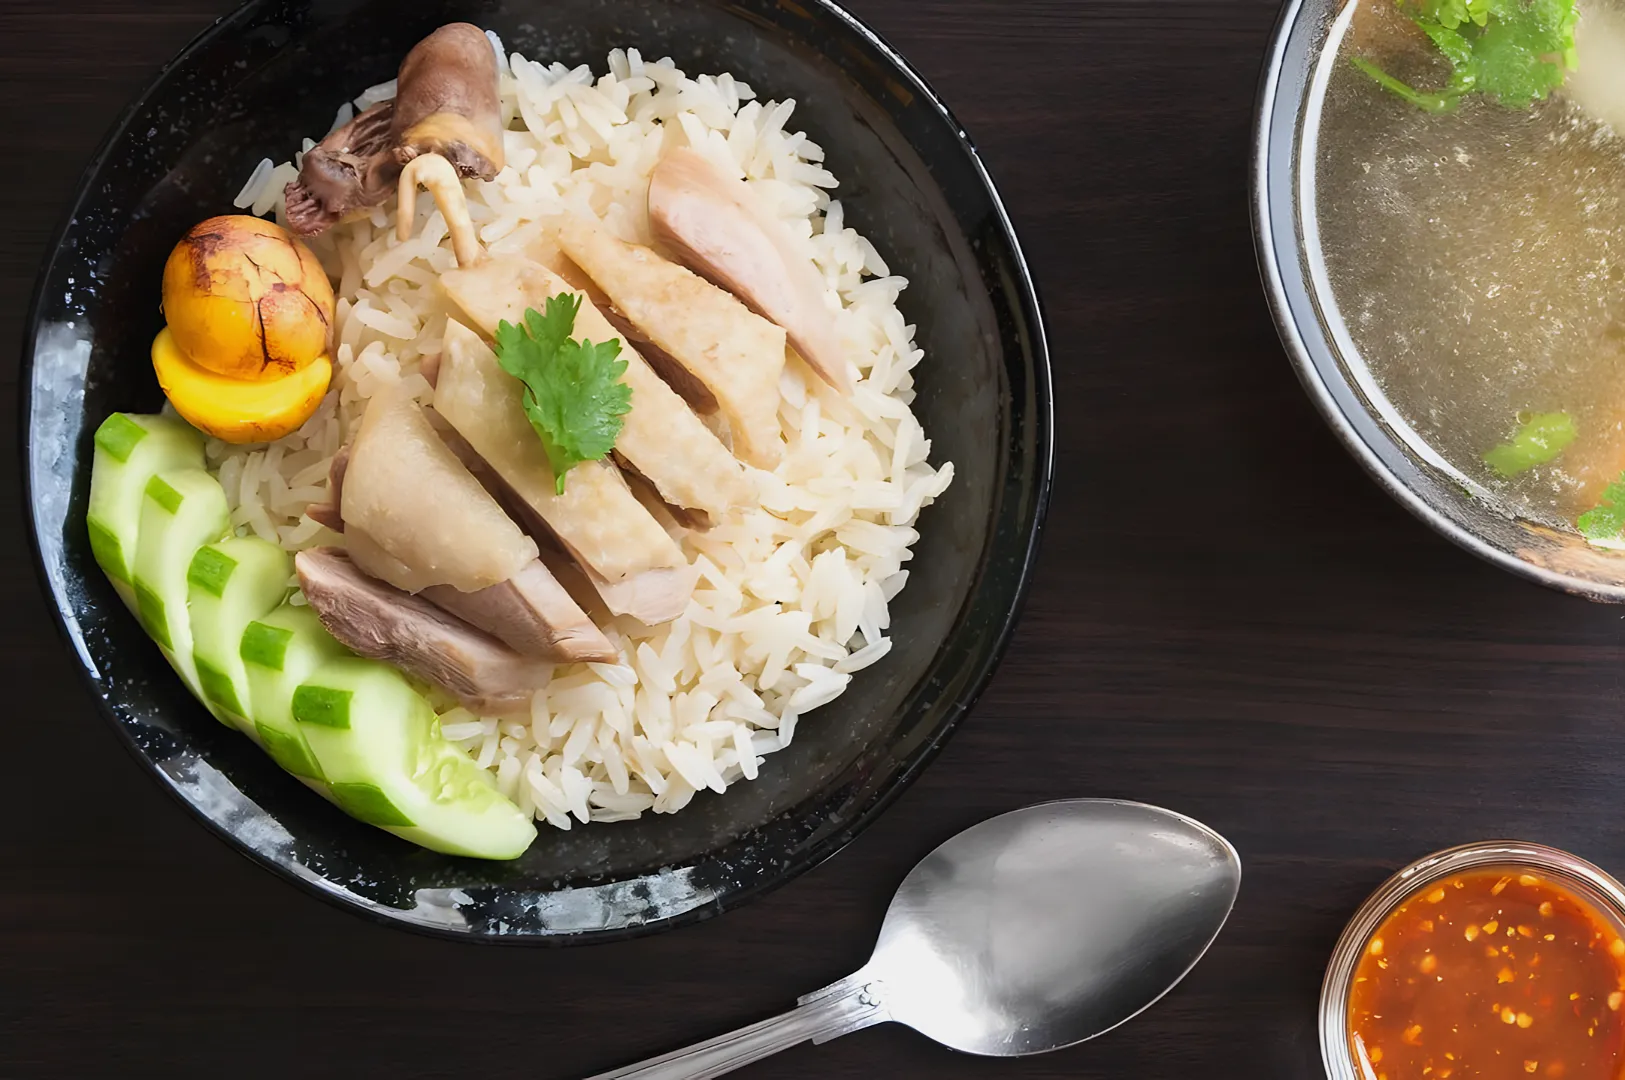
Overhead Shot (90°): Ideal for flat foods like pizzas or grain bowls. This camera angle is helpful for blog posts, social content, and still life photography.
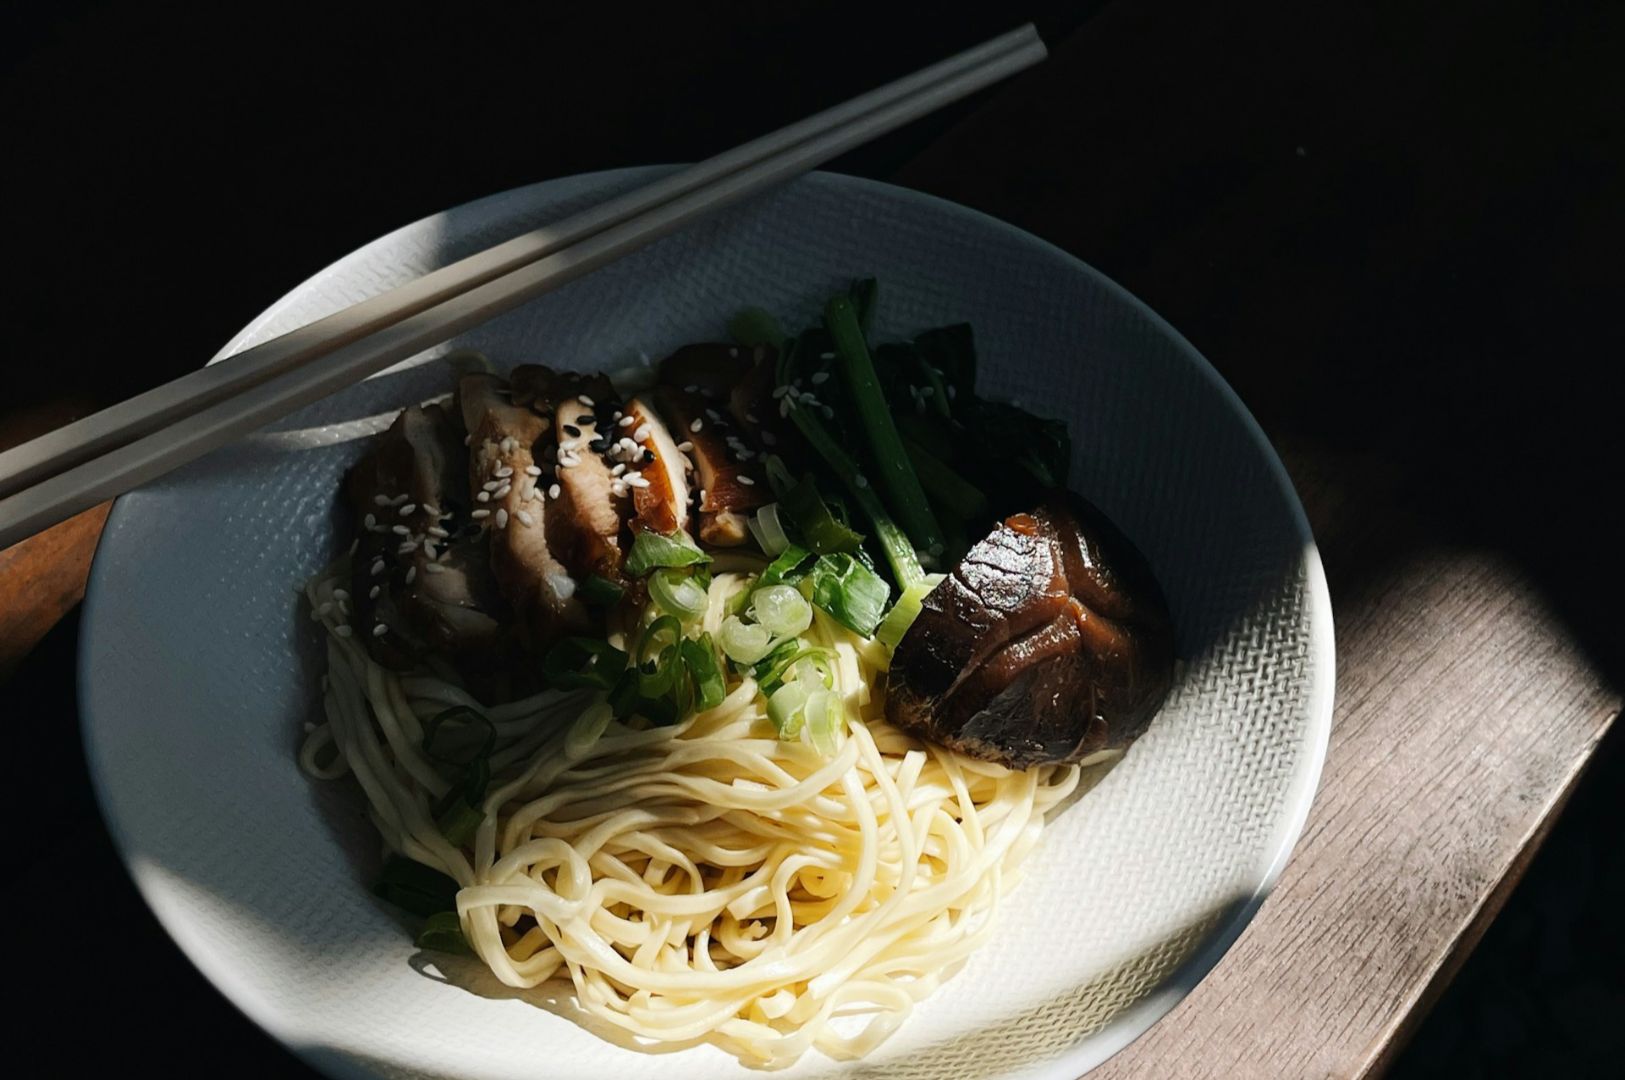
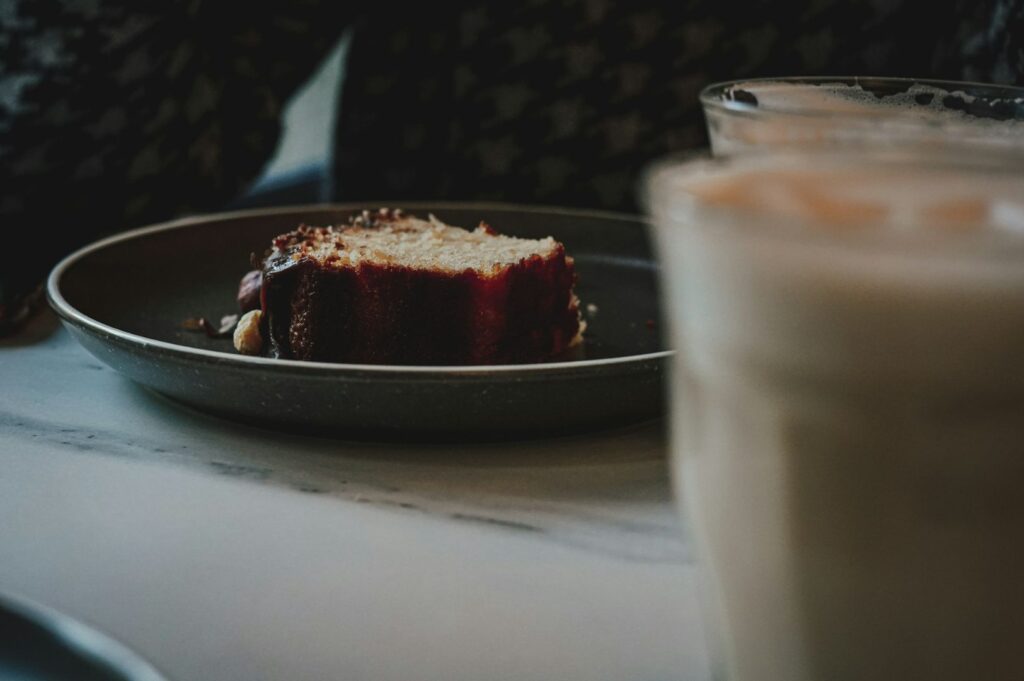
45-Degree Angle: The workhorse of food styling. This angle makes layered foods, cakes, burgers, parfaits, look mouth-watering.
Straight-On Shots and Vertical Shots: Tall foods such as burgers or a stack of pancakes benefit from this camera angle. Remember, vertical shots are better for Instagram Stories and menu boards.
Aim to shoot from a few different angles, it only takes seconds but offers more options and makes your photography session more versatile.
Food Styling: Final Touches for Beautiful Food Photos
Great food styling transforms your dish into a stunning photo.
Human Element: Show hands pouring sauces or adding garnishes. This adds action, a sense of scale, and draws the viewer in. Including a human element is a proven way to add warmth and relatability.
Add Shadows and Texture: Sprinkle crumbs, fresh herbs, or a drizzle of olive oil to enhance subtle texture. Play with cold water on glassware to add visual interest with dew drops.
Technical Tips for Sharper, Professional Food Images
Capturing clear, sharp photos is the hallmark of a great photographer. Mastering a few technical elements makes a huge difference.
Controlling Depth of Field and Background Blur
A shallow depth of field ensures your main subject stands out from the background.
Choose the Right Lens and Focal Length: A prime, fixed focal length, lens at f/1.8 creates stunning background blur.
Position for More Shallow Depth: The further your subject is from the backdrop, the more blur you’ll achieve.
Add More Depth: Layer plates, utensils, or napkins to create the feeling of depth within the one frame.
Shutter Speed, Blurry Images, and Camera Shake
Proper handling of your camera and intent control over shutter speed can prevent blurry images.
Tripod as a Saving Grace: Use a tripod or stable surface to avoid camera shake, especially in low light.
Set Shutter Speed Accordingly: The rule of thumb, your shutter speed should be at least the reciprocal of your lens’s focal length, e.g., 1/50s for a 50mm lens.
Plan Ahead: If you need to add more light, consider a longer exposure but stabilize your camera.
Using Different Lenses and Zoom Lens Options
While kit lenses are a good place to start, different lenses can offer new creative options.
Macro Lenses: Show off interesting textures or tiny details that are otherwise missed.
Zoom Lenses: Offer flexibility on location and during fast-paced shoots; useful for capturing two photos from different perspectives without moving your setup.
Post Production: From Shots to Stunning Food Images
Post production shouldn’t change what the food is: it should make the image match what your human eye experienced.
Shooting in RAW Format for Maximum Control
Professional food photographers almost always use RAW format. This file format keeps more image detail so you can adjust white balance, exposure, and colours after the fact.
Using Photo Editing Software: Final Touches
Modern photo editing software is extremely user friendly and can elevate any food photo.
Correct White Balance: Achieve natural colours, especially important for dishes on white plates or with lots of vegetables.
Enhance but Don’t Overdo: Make subtle tweaks, a touch more contrast or highlight boost is often all that’s needed.
Preserve Own Style: Develop your own style that complements your restaurant’s brand and aesthetic.
Practical ideas that work well in Singapore
Shoot signature dishes in your real environment: context adds story – hawker energy, café calm, kitchen action.
Wooden boards + shallow depth: a reliable setup for warm, inviting brand visuals.
Cold water misting: makes greens and drinks look fresh instantly.
Use local food blogs for inspiration: you’ll spot local styling cues that “feel Singapore,” not generic.
Conclusion: Bring Your Food Story to Life
Applying these tips for food photography will help you consistently produce striking, professional food images, whether you’re posting a new creation on your food blog or refreshing your restaurant marketing materials. From harnessing natural light and experimenting with artificial light to styling with negative space and perfecting your camera angle, a few strategic changes can make a huge impact on both visual appeal and business outcomes.
For those times when you need flawless, high-resolution images, campaign launches, new menus, or website revamps, professional photographers with technical and creative expertise can help you go further and achieve your F&B goals. If you’re looking to work with a team that knows how to craft mouth-watering food images tailored to Singapore’s culinary scene, explore more on our website and discover how professional food photography can be the final touch that transforms your business.