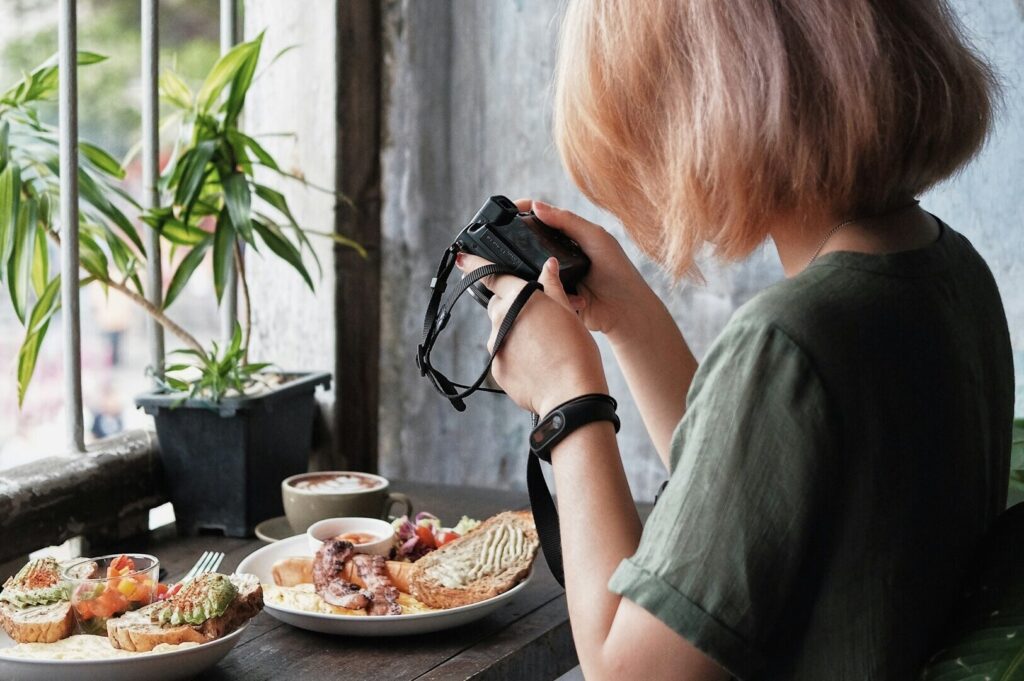
Most diners decide fast. They scan a menu, glance at a few photos, and their human eye makes a judgment before they read a full description. That’s why taking photos for your café or restaurant isn’t just about a “good photo”. It’s about reducing doubt and creating appetite.
In Singapore, where the same subject (a chicken rice set, a latte, a burger) appears everywhere, the brands that win aren’t always the ones with the fanciest camera. They’re the ones who understand good light, clean framing, and honest presentation. Let’s break down the practical techniques that help your food photos convert.
Taking Photos That Sell Starts With One Idea: Clarity First
A selling image answers three questions instantly:
What is it? (clear ingredients, clear portion)
How will it feel to eat? (texture, warmth, freshness)
Is it worth the price? (value cues, neat styling, clean background)
Research consistently shows that visual quality and “aesthetic deficiency” can influence perceived value and purchase intention. That’s the business reason to care about lighting, color and composition, NOT to be artsy but to be understood.
Transition: once you accept that clarity is the goal, the next step is controlling your setup.
Camera Settings: Simple Controls That Make a Good Picture
You don’t need a full course in photography, but you do need to understand three camera settings. They decide whether your dish looks sharp, bright and real OR muddy and low light.
Shutter speed (sharp vs blur)
If your hands shake, your photo blurs.
On a phone, use a tripod. On a camera, raise shutter speed (example: 1/125 or faster) so you capture clean detail.
ISO (brightness vs noise)
In low light, cameras boost ISO to “fake” brightness.
High ISO often looks grainy, especially on sauces and rice. If you keep seeing noise, you don’t need more editing. You need enough light.
Focus (what you want people to notice)
Decide your main subject: the yolk? the crispy edge? the foam texture?
Tap-to-focus on phones. On cameras, set a single focus point and aim it where the appetite lives.
Remember one important thing: don’t fight the camera with settings. Fix the light first. That’s where the next section helps.
Taking Pictures With Available Light: The Window Is Your Best Tool
Forget the “golden hour” myth. Restaurants don’t run on sunset schedules. The goal is good light, not romantic light.
The easiest setup (works in most locations)
Put your dish near a window using available light
Turn off overhead lights (they create ugly mixed color)
Use a white foam board to bounce light back into shadows
Side light gives texture. Back light gives glow (great for drinks, soups, noodles). If your local area is dark (deep shophouse, tight kitchen, no window) you’ll need a consistent light source.
When you don’t have enough light
Use one LED panel as a stable light source
Place it slightly to the side, slightly above the dish
Diffuse it (thin cloth or a small softbox) to avoid harsh shadows
Good light makes food look fresh. Bad light makes food look tired — even when it’s delicious.
Camera’s Built In Flash: Why It Ruins Food (And What to Use Instead)
A camera’s built in flash is a common “panic button” and it usually kills appetite.
What it does:
Creates harsh reflections on soup, glossy meat, and glass
Flattens texture (everything looks pasted on)
Throws weird shadows behind the plate
If you need flash:
Use an external flash bounced off a wall/ceiling, not pointed at the dish
Or skip flash entirely and use a constant LED light so you can see what you’re getting
Flash is not evil, direct flash is. Food needs shape, not glare.
Camera Lens Choices: Don’t Let Wide Angle Lenses Make Food Look Wrong
A common mistake is using wide angle lenses too close to the plate. Phones do this naturally when you zoom out.
Wide angles can:
Distort bowls (they look stretched)
Exaggerate portions (customers feel cheated later)
Make plates look oddly shaped
Quick fix:
Step back a bit (distance matters)
Use 2x/3x on your phone (less distortion)
On cameras, a “normal” lens perspective often looks more natural
A camera lens is not about status, it’s about perspective. If the dish looks strange, it’s usually lens + distance and not your cooking.
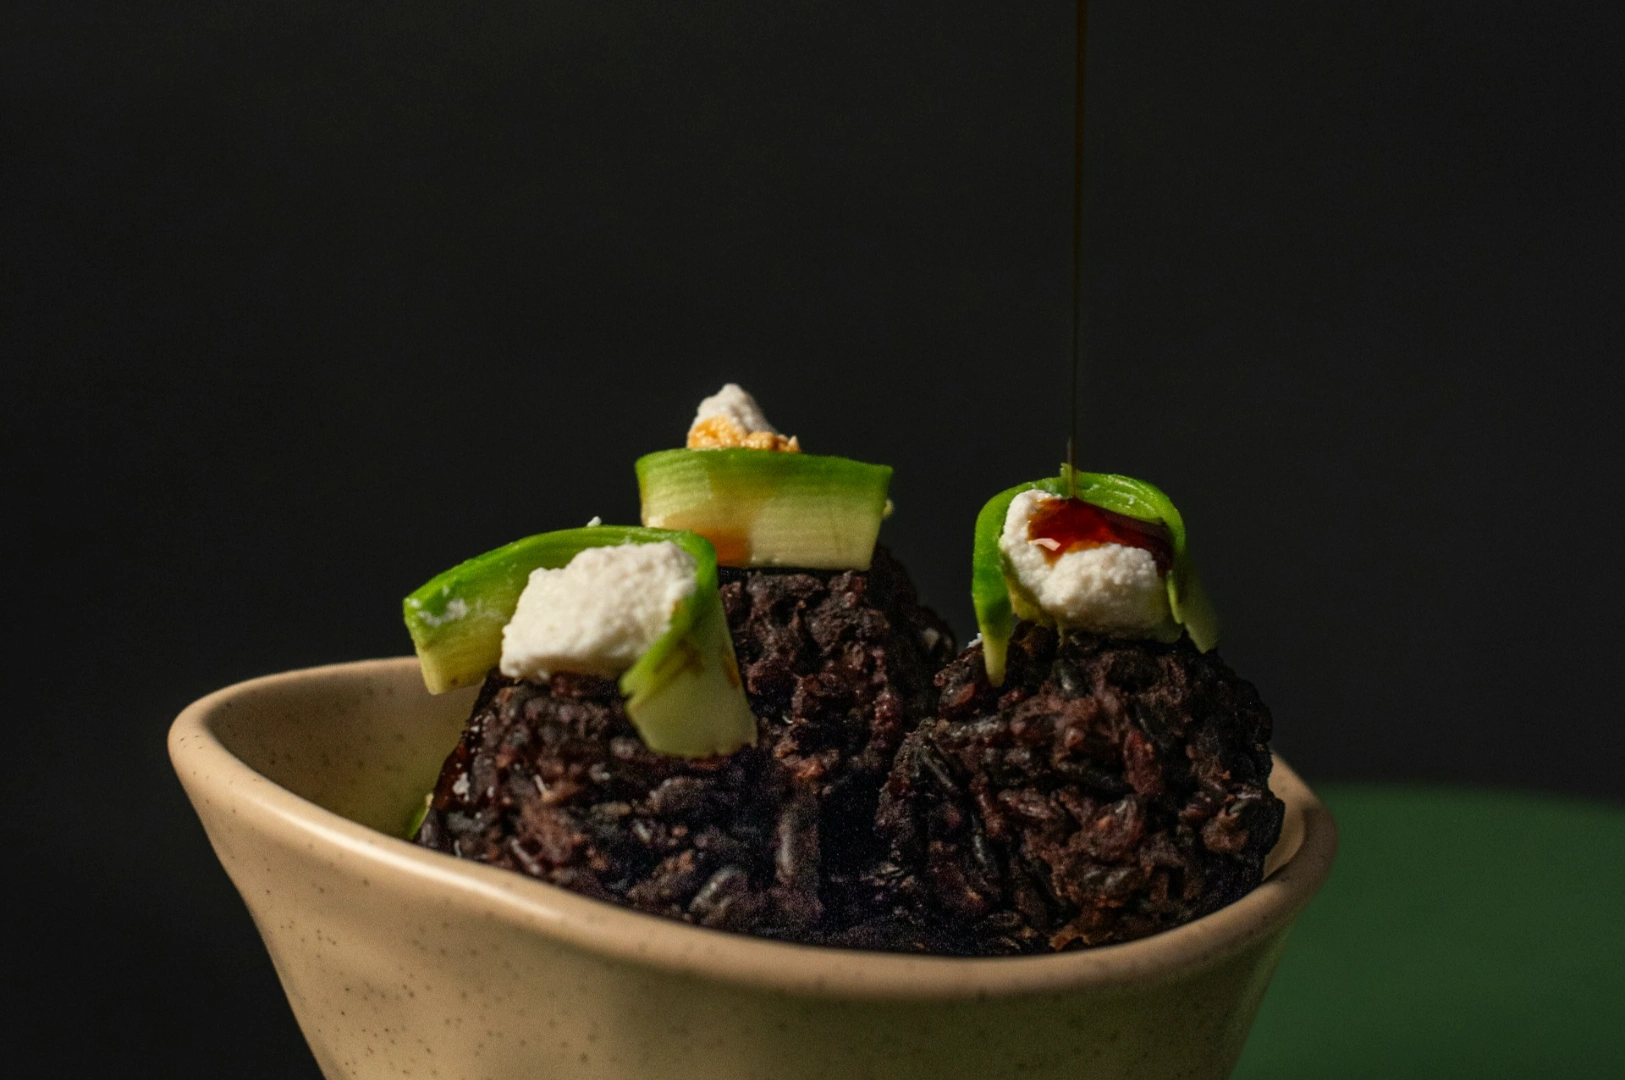
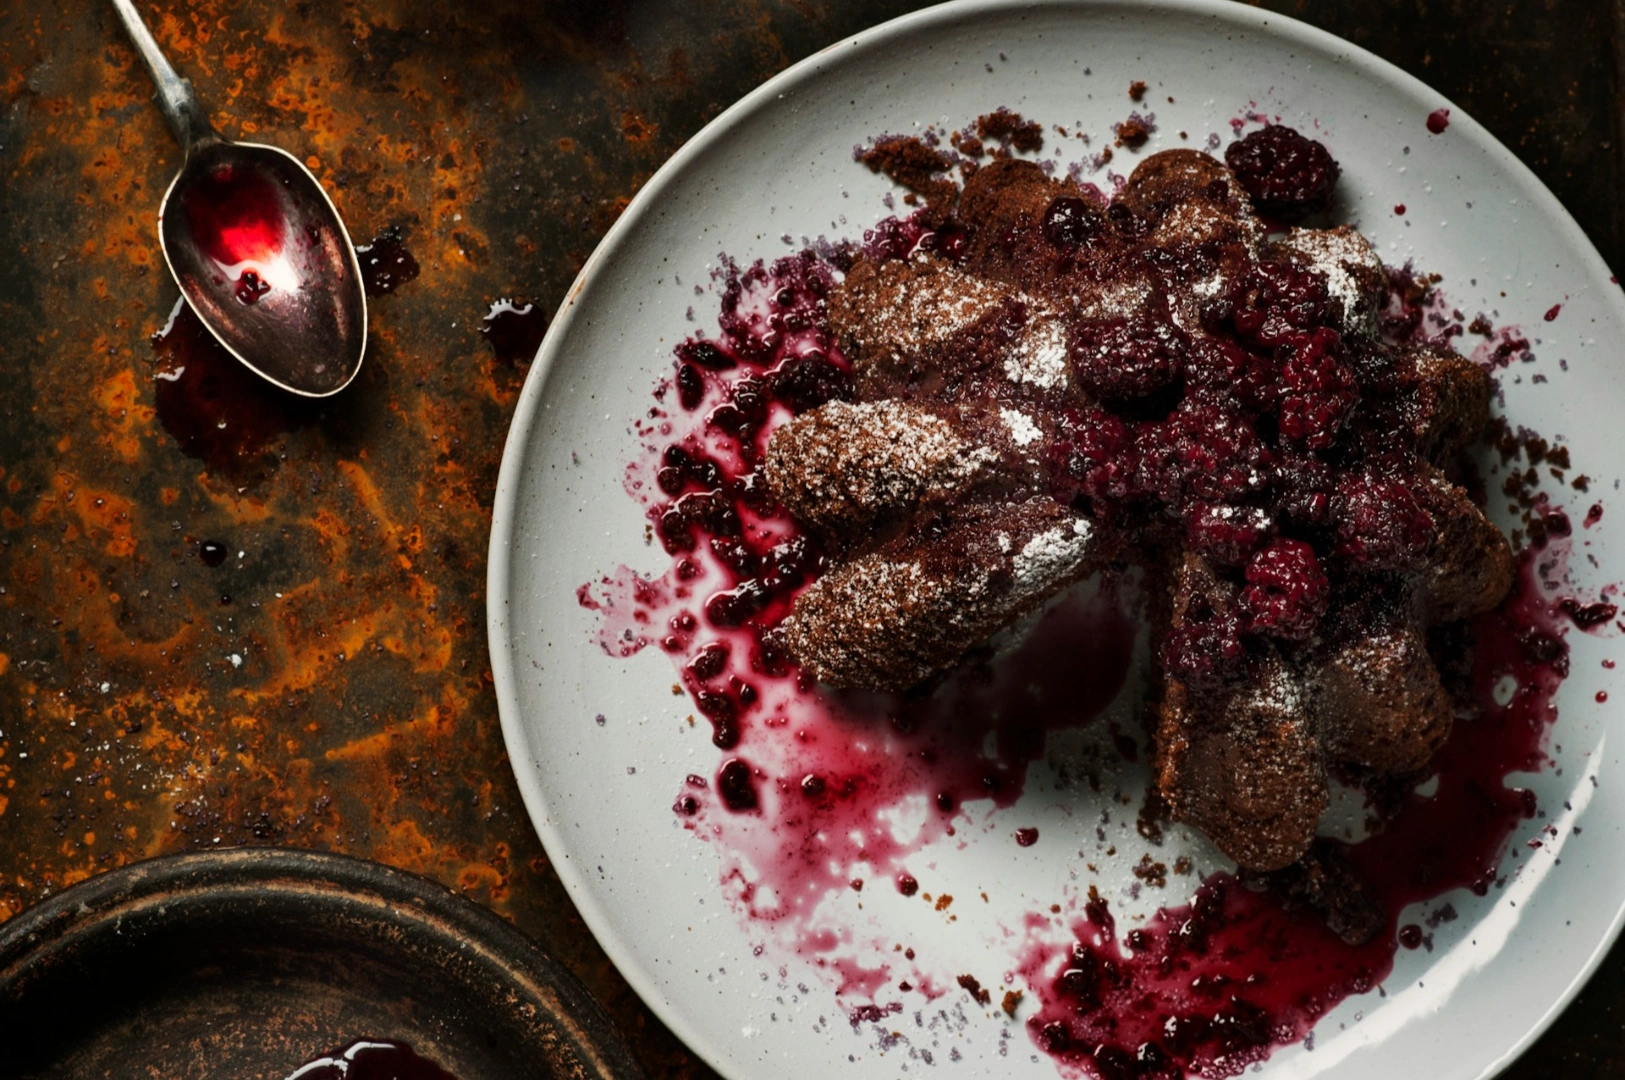
More Interesting Composition: How to Guide the Viewer’s Eye
A more interesting composition doesn’t mean more props. It means the viewer’s attention goes exactly where you want.
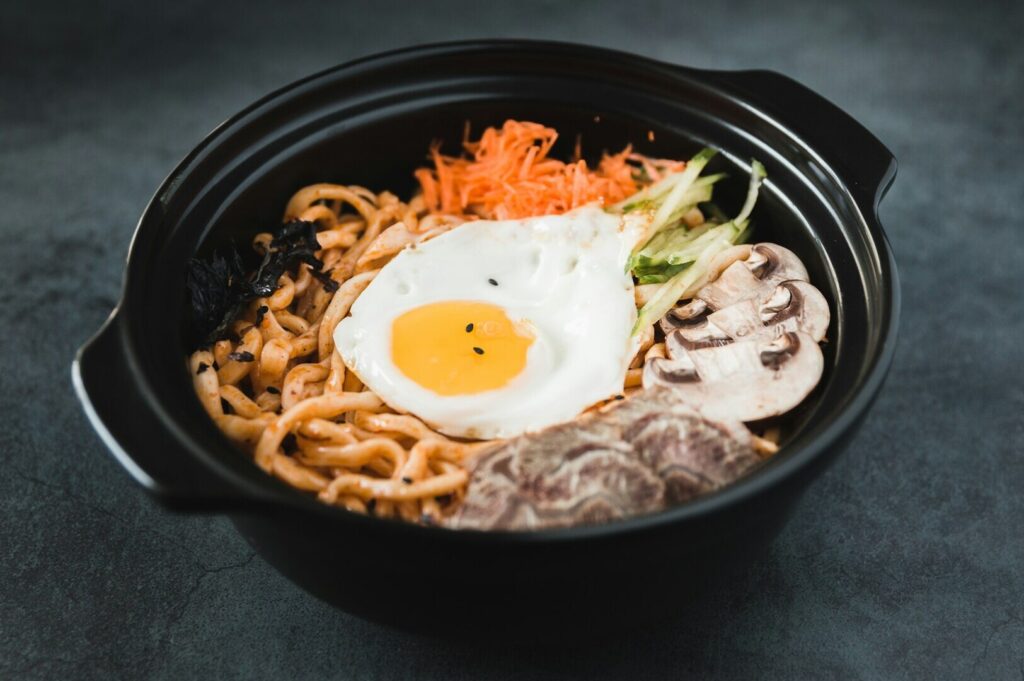
Use angles that match how people eat
45-degree: most versatile (mains, bowls, plated dishes)
Overhead: spreads, sets, sharing platters
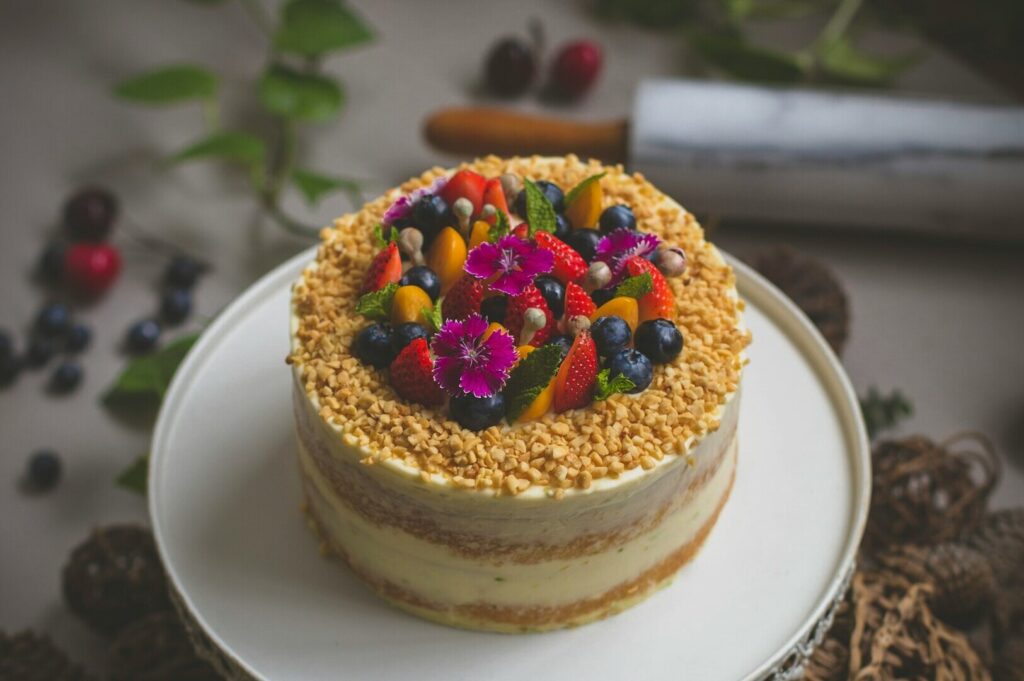
Eye-level: burgers, layered cakes, tall drinks
Keep the background quiet
Background clutter steals the scene. If you want a clean, “sellable” frame:
Use a neutral surface
Remove “kitchen noise” (towels, order slips, random stuff)
Keep the same background style across a shoot for consistency
Build depth without chaos
Depth helps food feel real. Add one supporting element:
A spoon, a glass, a small side dish
A small garnish placed with intention
A hand moment (a pour, a lift) if it fits your brand
If you feel stuck, borrow a lesson from landscape photography: a strong photo still needs structure (foreground, subject, breathing space) even if you’re not shooting a tree, sky, or nature scene at sunset.
Taking Photos for Different Platforms: Menu, Social, Website
A good picture can fail if you use it in the wrong place.
Delivery platform images
Prioritize clarity over mood
Avoid heavy shadows that hide ingredients
Keep color consistent so rice stays white, greens stay green
Social posts
You can go tighter, more emotional, more “moment”
Keep cropping in mind (vertical works better)
Shoot more pictures than you think you need: hero, close-up, wide, detail
Website hero banners
You need space for text overlays
Use cleaner backgrounds and strong framing
Ensure the image holds up on large screens
If you want a benchmark for what ‘clean and sellable’ looks like across formats, browse our photography portfolio and note how framing and light stay consistent dish to dish.
Practical habit: After a shoot, back up your final images on a hard drive (or cloud) and label by dish + date. When you need to post fast, you won’t be digging through random photos from friends’ WhatsApp threads.
A Fast Workflow for Busy Operators
This is the simplest “do it weekly” system:
Pick 3–5 dishes (don’t attempt the whole menu)
Set up near your best window (tripod ready)
Shoot: overhead + 45-degree + one tight detail
Edit lightly (brightness, contrast, crop, white balance)
Post and track results (orders, clicks, saves, comments)
Treat it like a small experiment. Adjust one thing each time (light, angle, background, framing) and keep notes.
Conclusion: Sell With Light, Clarity and Truth
Taking photos that sell is not magic. It’s a repeatable skill that combines creativity with practical techniques: control light, keep the frame clean, show the dish honestly, and make composition choices that guide the viewer’s eye to find interesting details.
If you want a simple next step: pick one signature dish, reshoot it with good light by a window, and watch how this wonderful approach can inspire better engagement and orders. Use this as inspiration to explore new ways to present your food and find interesting angles that highlight its appeal.
And when you hit limits such as low light dining rooms, big menu changes, or campaigns needing precision that’s when working with experienced photographers becomes a practical upgrade, not a luxury.
If you’d like, paste your current best-selling dish photo and the platform you use it on (menu / delivery / IG), and we’ll tell you what to change first.