The tips to choose good cameras you’ll find in most camera reviews focus on specs you’ll never use. They obsess over burst rates for sports, video features for filmmakers, and pixel counts for billboard printers. Here’s what those reviews miss: none of those things matter when you’re trying to photograph a bowl of laksa in a dimly lit Singapore restaurant. The disconnect between tech reviewers’ priorities and the reality of food photography is huge.
This guide provides the unconventional insights we wish we had when we started. It’s about finding the right camera by focusing on workflow compatibility over specifications. We’ll show you how your shooting environment, image destination, and total budget, not just the flashy features, are the keys to making a smart purchase. These practical tips to choose good cameras complement the fundamental principles we establish in Choosing a Camera for Beginners in Food Photography (where we reveal what actually matters beyond marketing claims).
Tip 1: Test the Digital Camera in Your Actual Environment, Not a Store
A camera store is a terrible place to test a camera for food photography. The bright, even lighting bears no resemblance to the moody, challenging conditions of most restaurants and cafes. Before buying, you must test the camera where you’ll actually use it.
Arrange to borrow or rent a few top contenders. Many local shops offer rental services for interchangeable lens cameras or even a high-end compact camera. Take them to your own cafe or a friend’s restaurant. Sit down and conduct a real food photography session. This is where you’ll discover what matters. How does the autofocus system perform when hunting for focus on a shiny sauce in low light? Do you experience camera shake when you have to use a slower shutter speed? A camera that feels light in the store might feel unwieldy after holding it for 30 minutes at an awkward angle. Real-world testing reveals a camera’s true character.
Tip 2: Prioritize Screen Quality and Camera Settings Over Sensor Size
For food photography, a fully articulating screen or tilting screen is often more valuable than the difference between a full frame sensor and an APS-C sensor. Think about it: how often do you shoot directly from above (flat lays) or from very low angles? A flexible screen means you can get these shots without standing on a chair or lying on the floor. It completely changes your workflow.
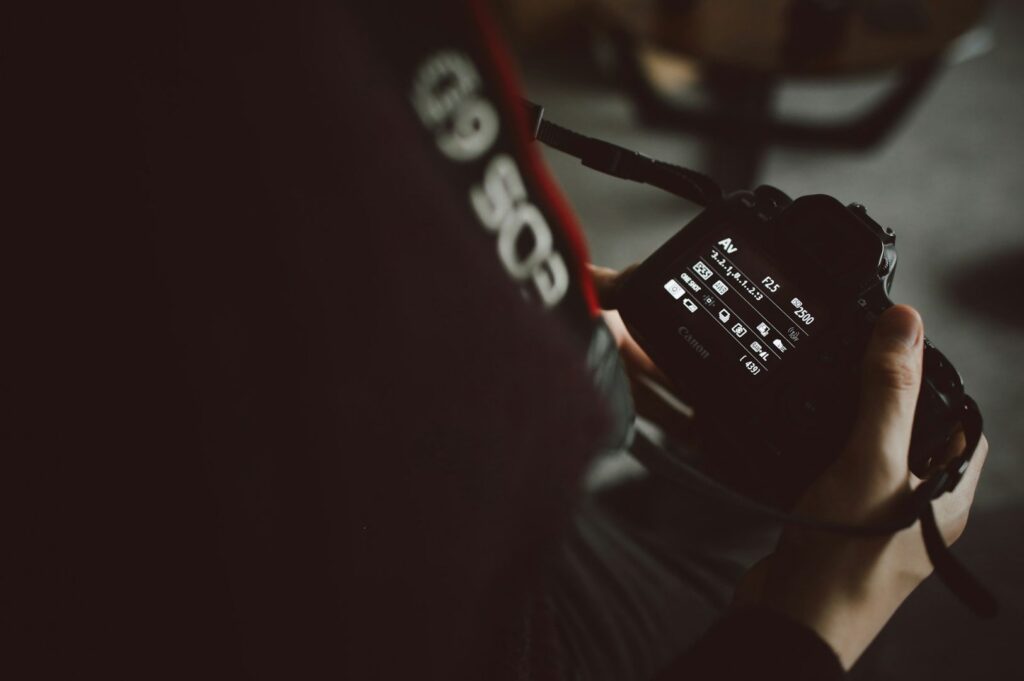
The best camera options have bright, clear screens you can actually see in various lighting conditions. When choosing between an electronic viewfinder and an optical viewfinder, consider your environment. An EVF shows you the final exposure in real-time, which is great for beginners. An OVF is better in bright sunlight where screens can wash out. A fantastic camera also needs accessible camera settings. If you have to dig through menus to change your aperture, you’ll miss the shot.
Tip 3: Consider Your Image Destination Before Choosing Your Best Compact Camera or DSLR Camera
Work backward from how you will use the final images. This simple shift in perspective is one of the most powerful tips to choose good cameras. Are your photos destined for Instagram, a printed menu, or a massive website banner? The megapixel obsession promoted by the camera industry is irrelevant if your photos will only ever be viewed on a small screen.
This is where the debate between a full frame, APS-C camera, or micro four thirds system gets interesting. Larger sensors generally offer better dynamic range and low-light performance, which contributes to excellent image quality. However, smaller sensors from a four thirds sensor or APS-C camera are more than capable of producing stunning images for online use. Excellent image quality comes from a sensor’s ability to capture a wide range of tones, not just a high pixel count. A point and shoot camera with a great lens and sensor can easily outperform a mirrorless camera with a poor lens. When you focus on the destination, you realize the “best camera” is a much broader category than you thought.
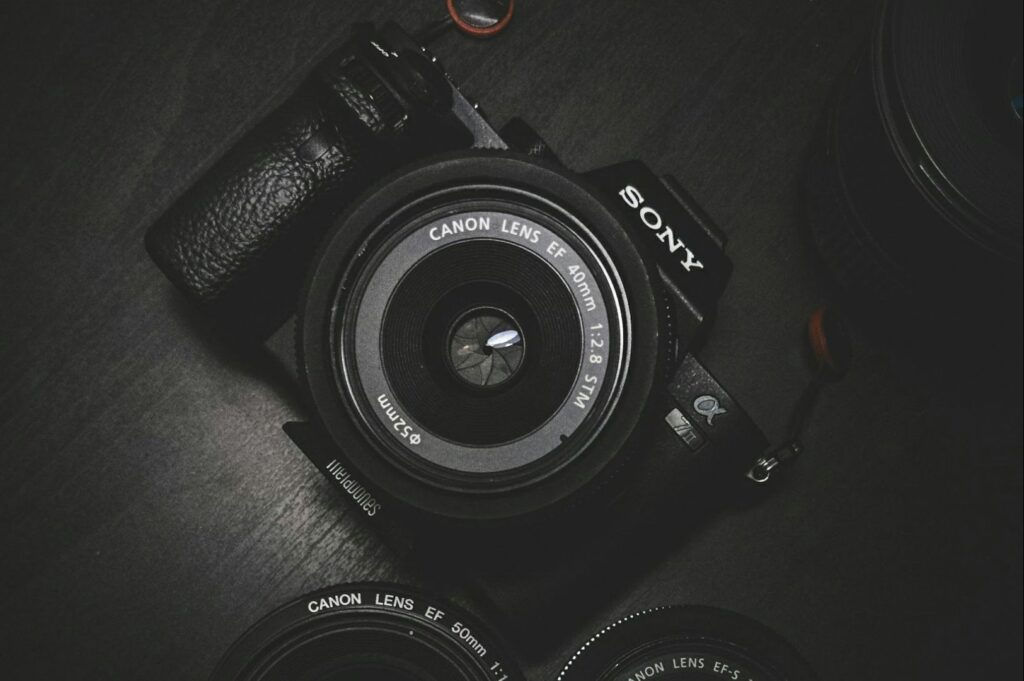
Tip 4: Calculate Total System Cost for Interchangeable Lenses, Not Body Price
A cheap camera body is a false economy if the lenses are expensive. Beginners often make the mistake of spending their entire budget on the body, leaving nothing for the most critical component: the glass. A budget-friendly camera body paired with high-quality interchangeable lenses will always produce better results than an expensive body with a basic kit lens.
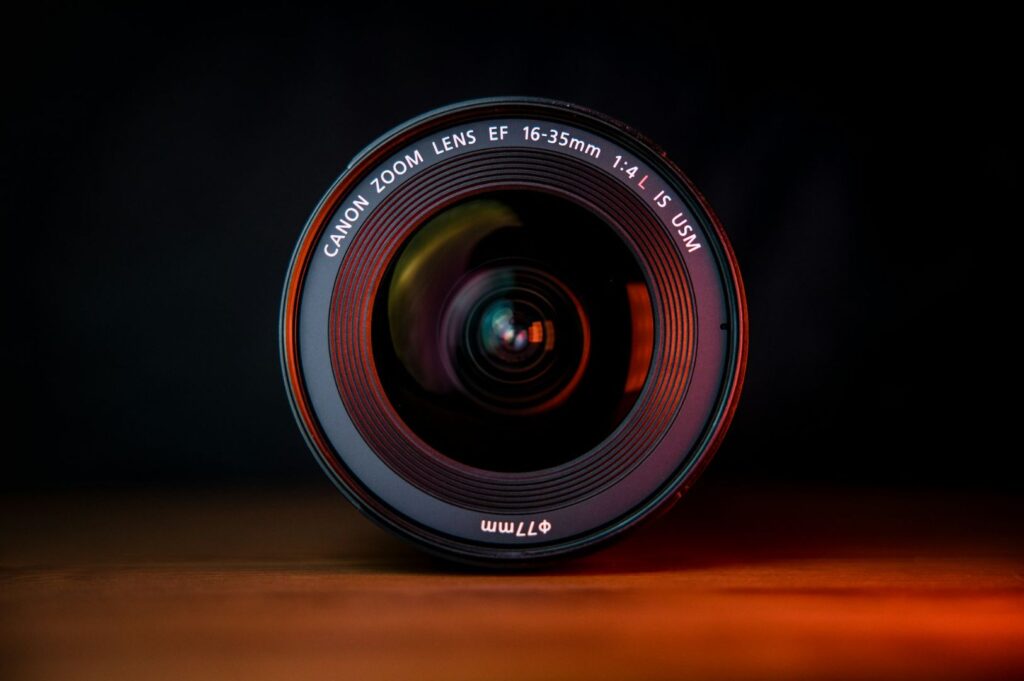
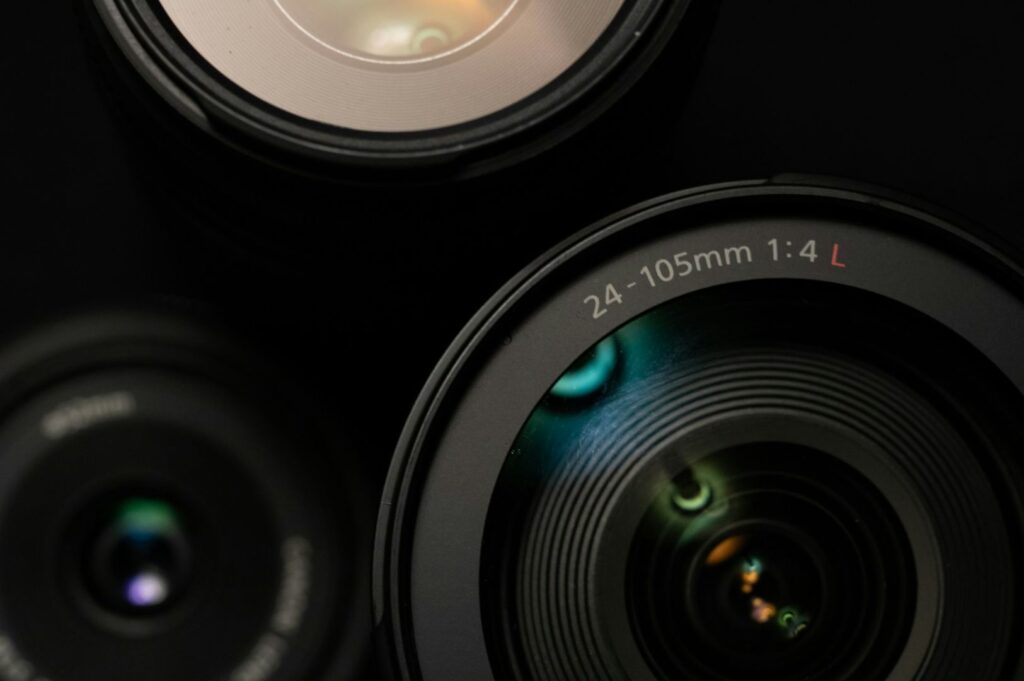
Before committing to a brand like Canon EOS or a thirds camera system, research the cost of the lenses you will actually need. A 50mm f/1.8 prime lens is a food photography staple and is relatively affordable across all brands. But what about a 100mm macro lens for detail shots? The price can vary dramatically. Calculate the total cost of your ideal lens kit (including lighting, memory cards, and backup batteries). In Singapore, the used market for DSLR lens options is vast and can save you thousands. This holistic approach to budgeting is crucial.
Tip 5: Evaluate Battery Life and Handling After 100 Shots, Not 10
Holding a camera for five minutes in a store tells you nothing about long-term comfort. Ergonomic flaws and a confusing menu system reveal themselves during an actual shoot. After an hour of everyday shooting, you’ll notice if a compact body is too small for your hands or if a button is in an awkward place.
Battery life is another critical factor often overlooked. The longer battery life of a DSLR camera is a significant advantage over many modern camera mirrorless options, which can burn through batteries quickly. If your everyday photography involves long sessions without access to a charger, better battery life is not a luxury; it’s a necessity. Camera fatigue is real, and a camera that frustrates you is one that will end up gathering dust.
Tip 6: Assess Advanced Features You'll Actually Use for Beginner Photographers
The camera industry markets a dizzying array of advanced features, but photography beginners only need to focus on a few. In-body image stabilization (or lens-based image stabilization) is genuinely useful, as it allows you to use slower shutter speeds without a tripod. Good low-light performance is also essential. Look for tests showing how a camera performs at high ISOs to gauge its better low-light performance.
However, many other features are less critical. Do you need dual card slots? For professional photographers, they’re essential for backup; for a beginner, they’re overkill. What about video features? If you’re not a dedicated video shooter, don’t pay extra for advanced video modes you’ll never use. Be honest about whether you need to be shooting video at all.
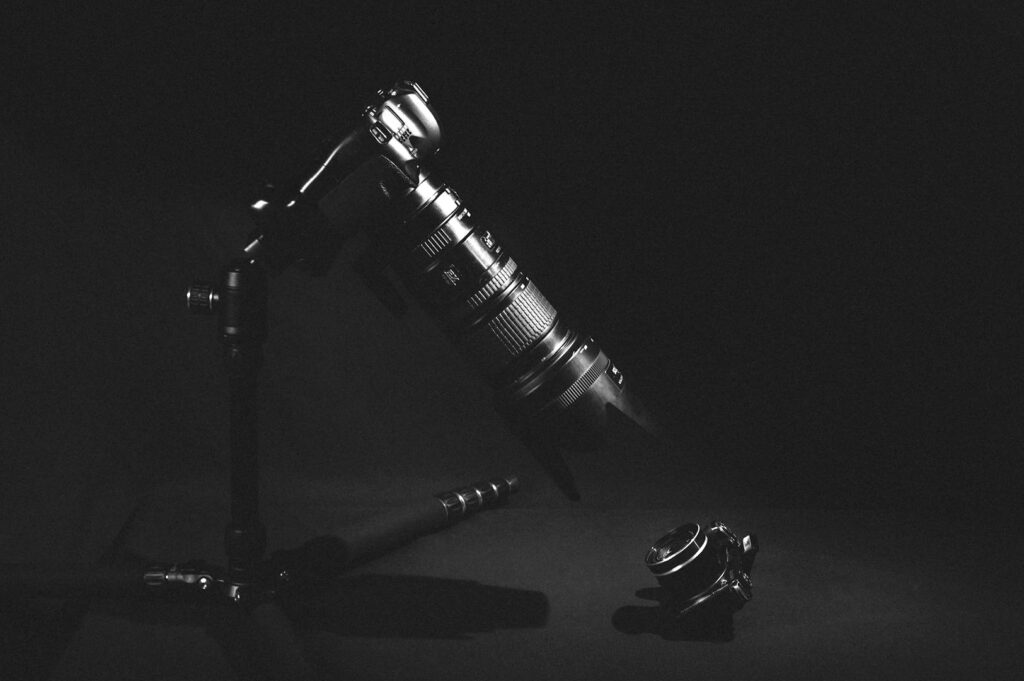
Tip 7: Research Point and Shoot vs. Mirrorless vs. DSLR Trade-offs
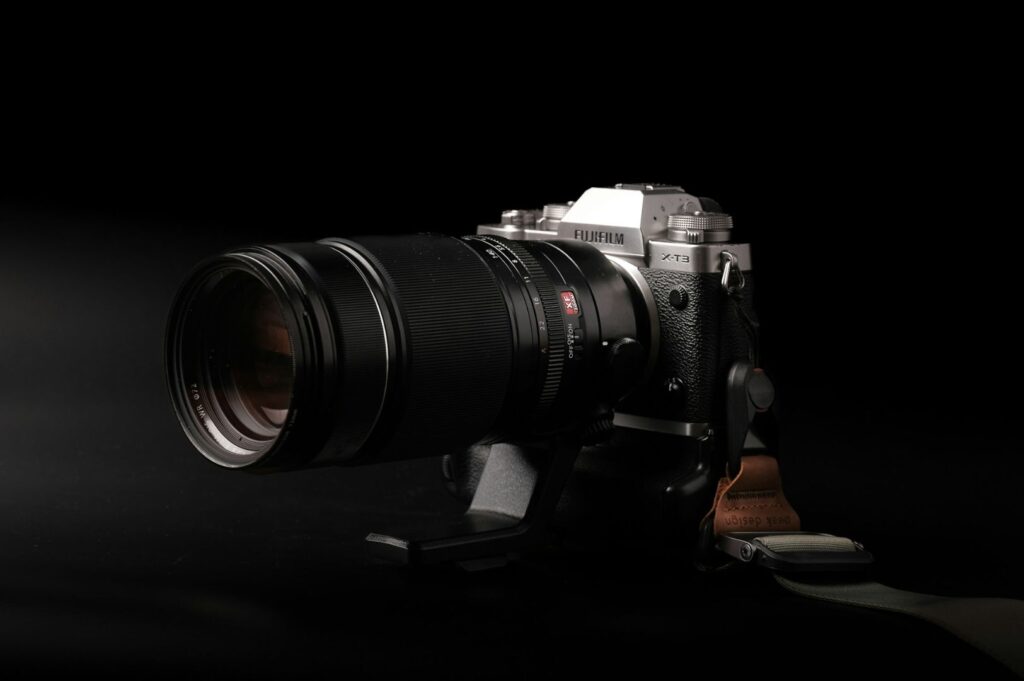
Each camera type has distinct advantages for food photography.
Point and shoot cameras: Their main benefit is the compact body and simplicity. A high-end point and shoot can be a fantastic, portable option.
Mirrorless camera: These offer the latest technology, lighter weight, and superior video capabilities. Be aware of issues like “rolling shutter” in some video modes, which can distort fast-moving objects.
Traditional DSLR camera: Their strengths are the optical viewfinder, excellent battery life, and a mature, affordable lens ecosystem.
Entry-level cameras exist in all three formats. Even exploring a film camera can teach you fundamentals about shutter speed and light that are invaluable. The focal length of your lenses will also behave differently on a full-frame camera versus a system with smaller sensors, which is a key trade-off to understand.
Tip 8: Verify Support Infrastructure and New Camera vs. Used Options
A camera is an investment that needs support. Before you buy, check the location and reputation of the brand’s service center in Singapore. Where will you take your Canon EOS or OM System camera if it needs repair? What is the warranty on a new camera, and does it cover your needs? If you buy used, inspect the camera thoroughly for sensor dust and test all functions. Knowing where to get a reliable repair estimate for things like a malfunctioning dual-pixel AF system can save you from a costly mistake.
The Decision Framework: Strategic Tips to Choose Good Cameras
Stop reading camera reviews and start a systematic process. This is how you find the great camera that works for you.
Define your primary shooting environments (low light, street photography, etc.).
Test your top camera choices in those actual conditions. Evaluate shutter speed range, the autofocus system, and handling.
Calculate the total system cost, including the lens selection you’ll need in the first year.
Be honest about your video needs. Don’t pay for video features you won’t use.
Verify the support infrastructure in Singapore for your chosen brand.
Make your decision.
The best camera for beginner photographers is the one you choose strategically based on your real-world needs, not impulsively based on hype.