If you have ever photographed chicken rice under warm downlights and wondered why the plate looks like it has been dipped in tea, you have met the white balance problem.
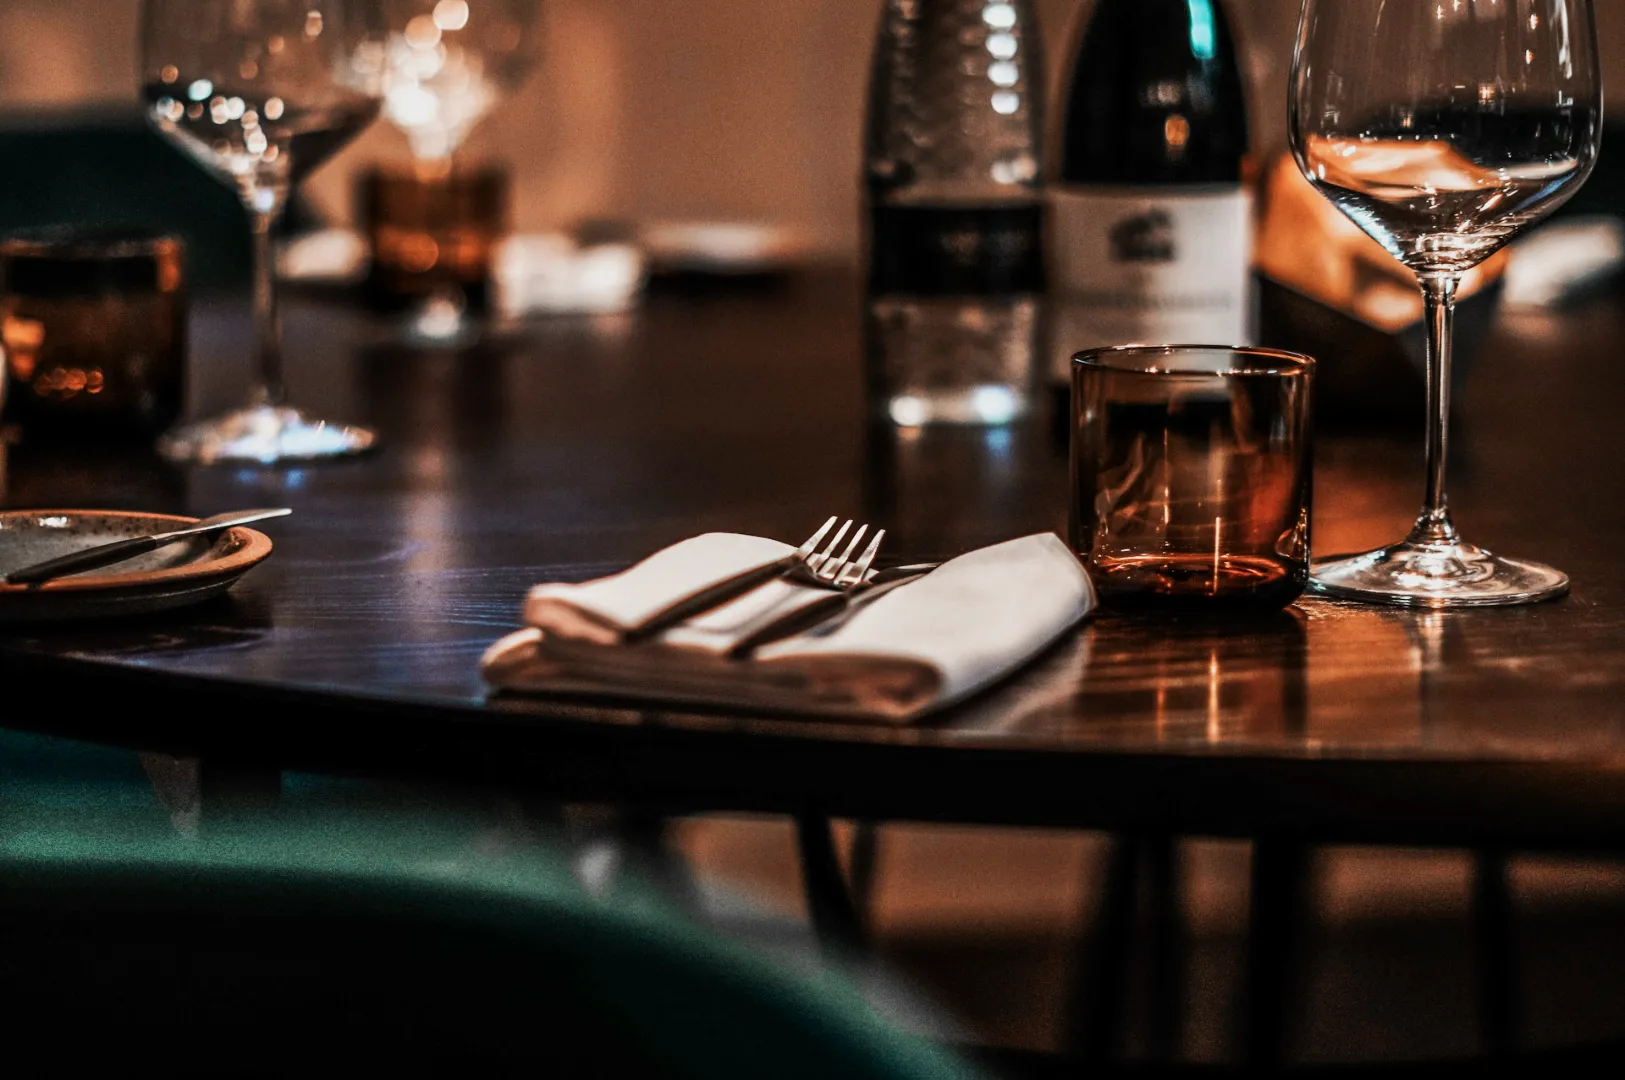
White balance is not a “photographer thing”. It is a business thing. When colour is off, food looks less fresh, less premium, and less trustworthy. In Singapore, where many dining spaces use warm lighting, mixed lighting, or neon signage, this happens constantly.
This article is a practical guide to fixing it fast. If you want the full editing workflow that this plugs into, start with our guide on how to edit photos for Singapore F&B.
What White Balance Actually Controls
White balance decides what your camera thinks is “neutral”.
When it is wrong:
- whites turn yellow or blue
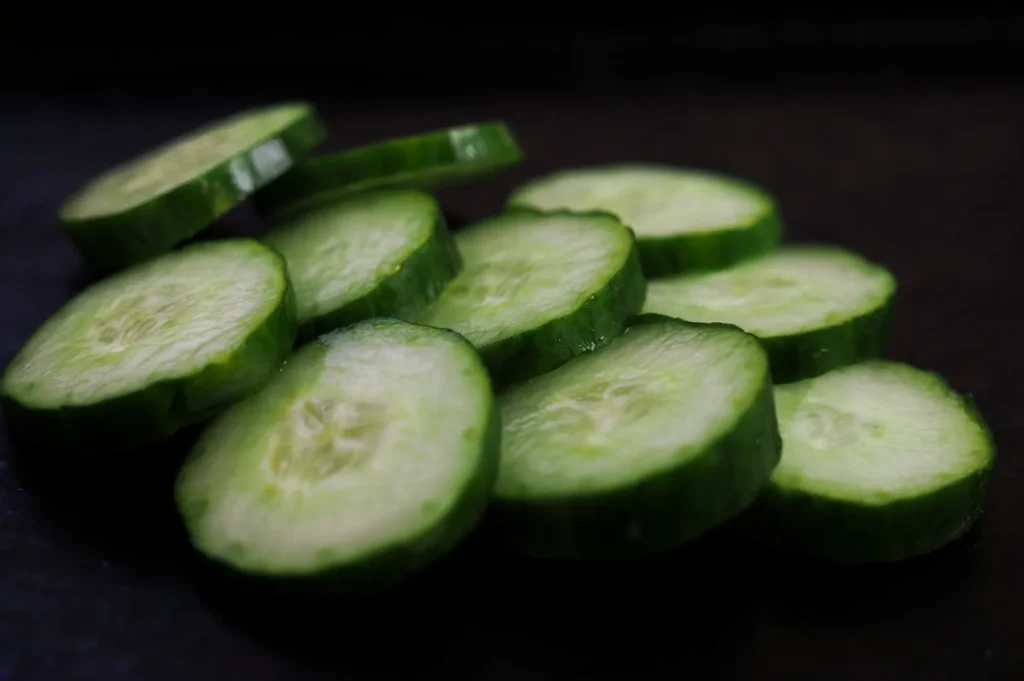
- greens look dull
- meat looks grey
- sauce looks muddy
Food is especially sensitive because diners already know what certain dishes “should” look like.
Why Singapore Restaurants Struggle With White Balance
Three common reasons:
- Warm downlights in dining rooms and cafés
- Mixed lighting (window light + indoor lights + kitchen spill)
- Coloured signage and reflections bouncing onto plates
Your phone or camera auto mode tries its best, but it guesses. That guess is often wrong.
The Fastest Fix: Correct It In Editing
You can fix white balance in Lightroom Mobile, Snapseed, and most editing apps.
Step 1: Find Something That Should Be Neutral
Look for:
- a white plate edge
- rice
- tofu
- a napkin
If nothing is neutral, use the “least coloured” part of the frame.
Step 2: Adjust Temperature First
If the photo is too yellow, cool it down slightly.
If the photo is too blue, warm it up slightly.
Go slowly. Food should feel appetising, not clinical.
Step 3: Adjust Tint Next
If the photo feels greenish, push tint toward magenta a touch.
If it feels pink, pull it back toward green.
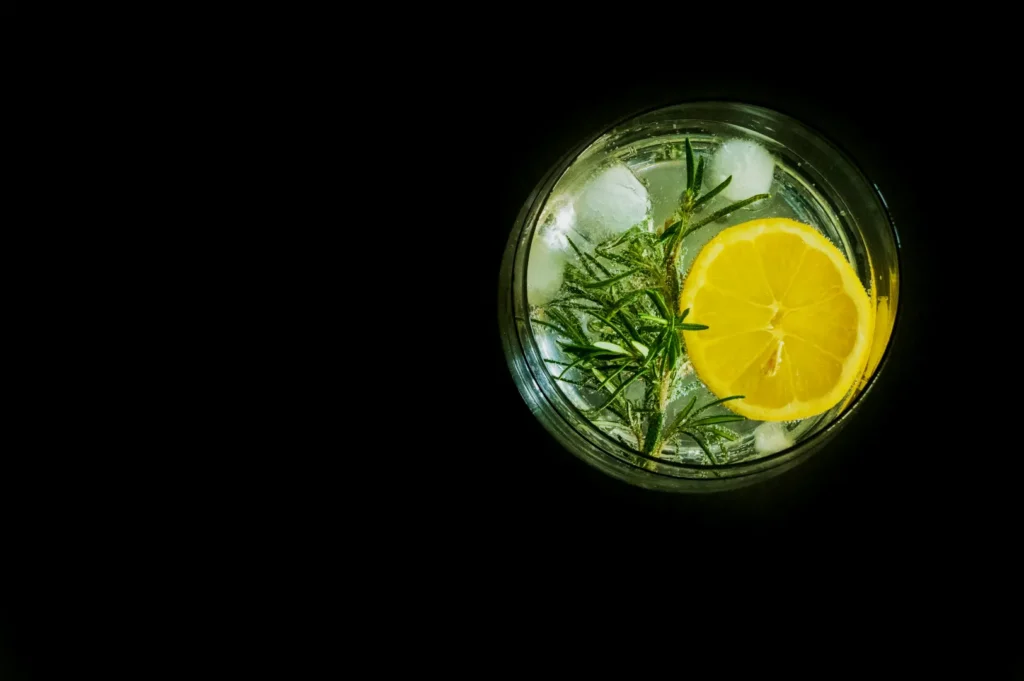
Many restaurant spaces create a slight green cast, especially under certain LED lights.
The “Mixed Light” Problem And How To Handle It
Mixed light happens when your dish is lit by window light, but the background is lit by warm indoor lights.
If you correct the dish, the background can look too warm or too cool. That is fine. Your dish is the main subject.
A clean approach:
- prioritise correct food colour
- allow the background to fall slightly warmer
- keep edits subtle so it still feels like real dining
A Practical Standard For F&B Teams

If you are editing for menus or delivery platforms, aim for:
- whites that are neutral
- greens that look alive
- meat that looks warm, not grey
If you are editing for social, you can keep a slightly warmer mood, but the food should still look like itself.
Prevent It Next Time: One Small Habit
Before you shoot, try this:
- turn off one competing light source if possible For example, if you have good window light, switch off the warm downlights near the dish.
Even reducing mixed lighting by a bit makes editing faster later.
When White Balance Fixes Still Look Wrong
If your food looks correct but still “off”, it is usually one of these:
- the photo is underexposed, so colour breaks when you brighten it
- highlights are blown out, so whites have no detail
- the dish is sitting under a coloured wall reflection
That is why white balance is part of a workflow, not a one-slider miracle.