A restaurant photoshoot can either feel like a smooth service, or like a second dinner rush you did not ask for.
Most kitchen stress during a shoot does not come from the camera. It comes from last-minute decisions. Which dishes are we shooting? Who is plating? Where are we shooting? What is “done” and what needs re-shoot? When nobody answers these early, the shoot starts pulling your team away from prep, your pass gets crowded, and the food starts dying on the table while everyone argues about angles.
This guide is a restaurant photoshoot checklist built to protect your kitchen. It is written for real Singapore operations, where space is tight, humidity is real, and you still need to serve customers.
If you want the bigger framework for running a cool photoshoot without disrupting daily ops, link this phrase to our pillar guide: our cool photoshoot planning playbook for restaurants.
What “Good Planning” Actually Means
A good shoot plan does three things:
- It reduces decisions on the day.
- It keeps food at peak condition when the shutter clicks.
- It protects service flow and staff energy.
Your goal is not “beautiful photos”. Your goal is beautiful photos that do not wreck your kitchen.
Step 1: Lock The Purpose Before You Touch The Menu
Different goals create different shot lists. Decide what you are shooting for, then everything else becomes easier.
Ask these first:
- Is this for delivery thumbnails, a menu refresh, a website hero, or a campaign?
- Do you need consistent angles for 30 dishes, or a smaller set of “hero” visuals?
- Are you updating existing photos or launching a new menu?
A common mistake is mixing everything into one shoot without priorities. That is how you end up with random coverage and half the menu still missing.
Step 2: Build A Shot List That Your Kitchen Can Actually Execute
This is the part that saves your team.
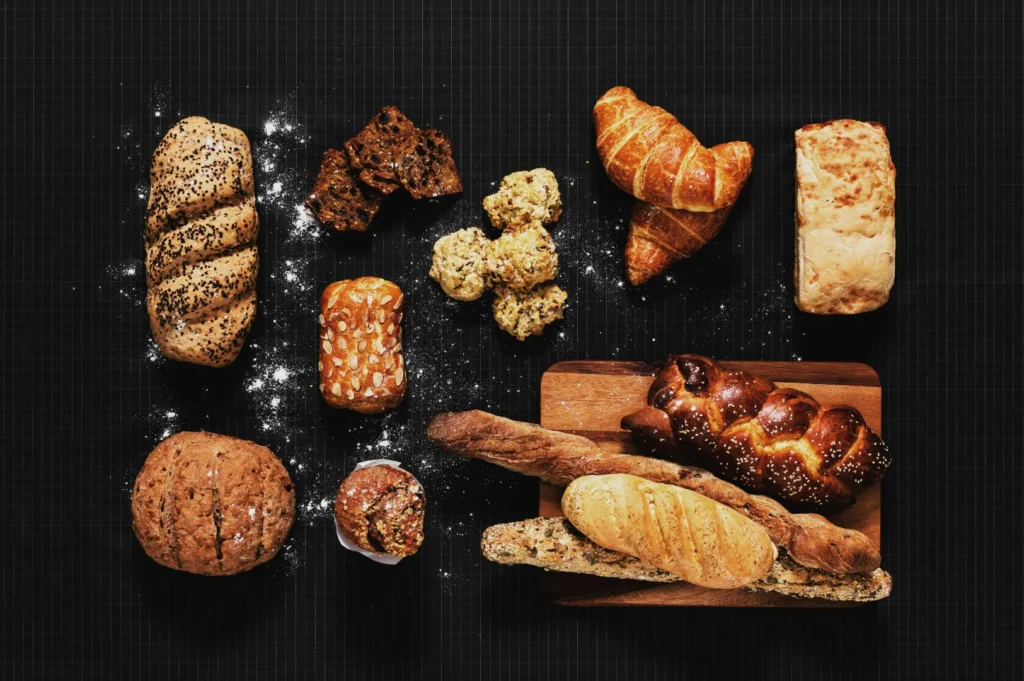
A practical Singapore shot list usually includes:
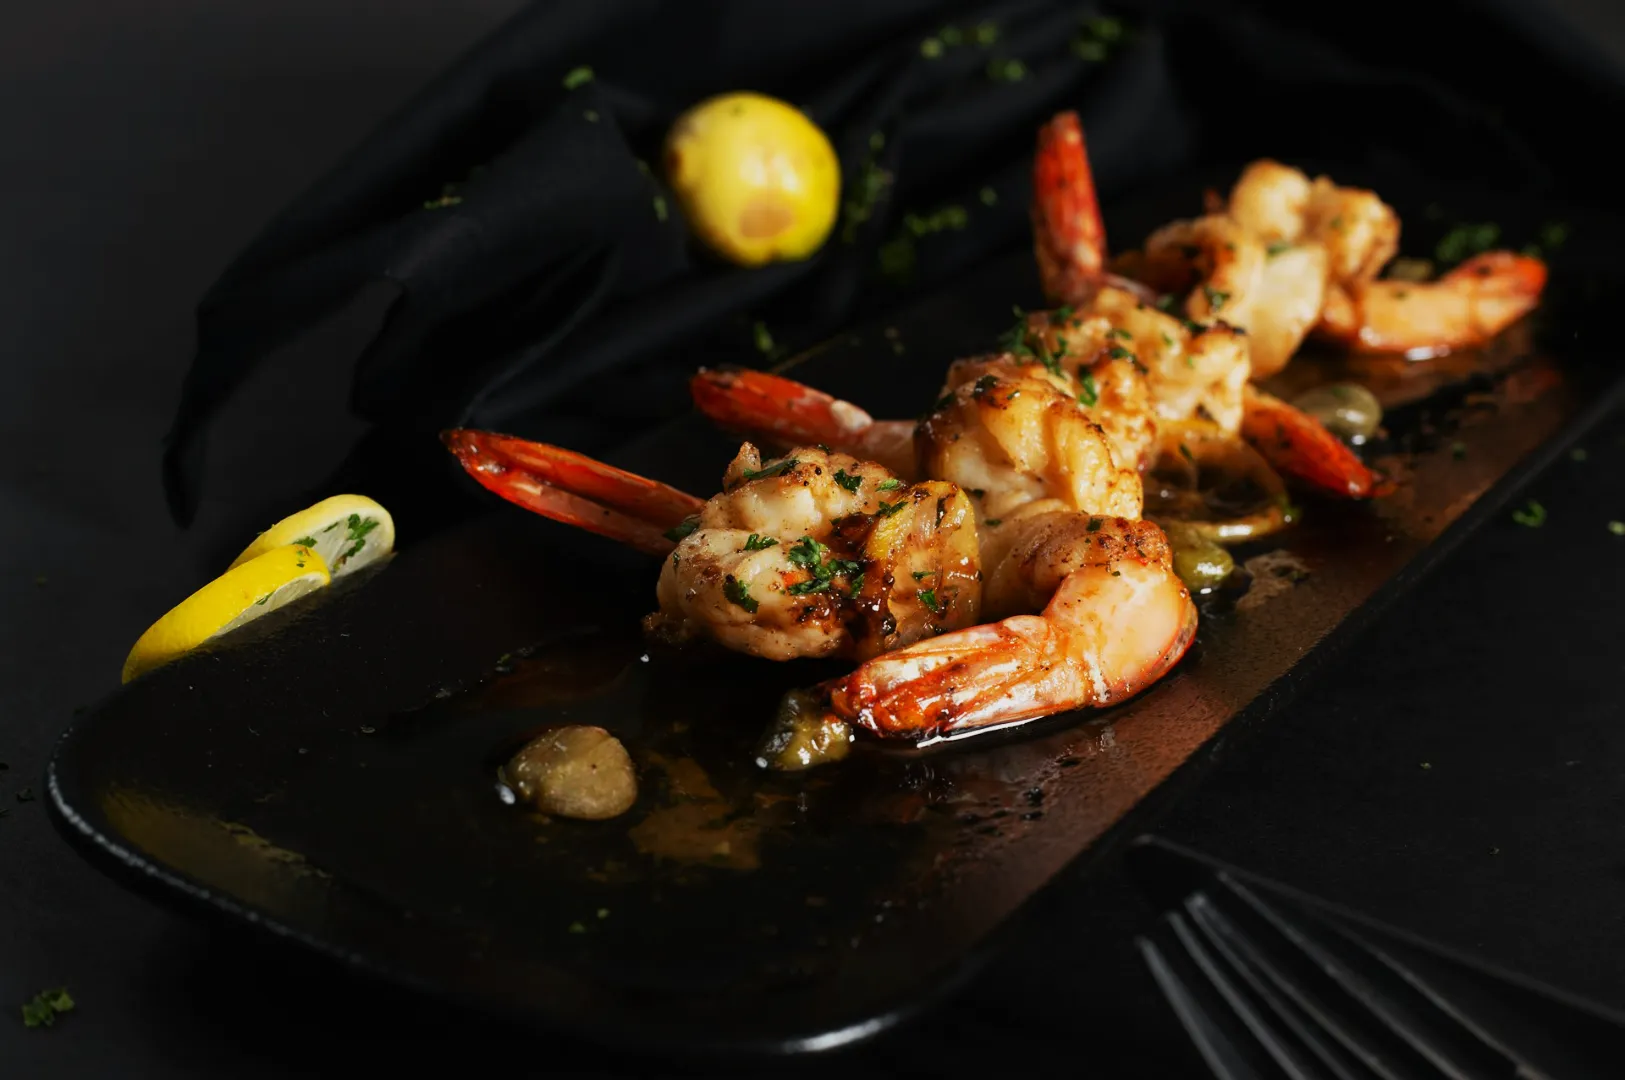
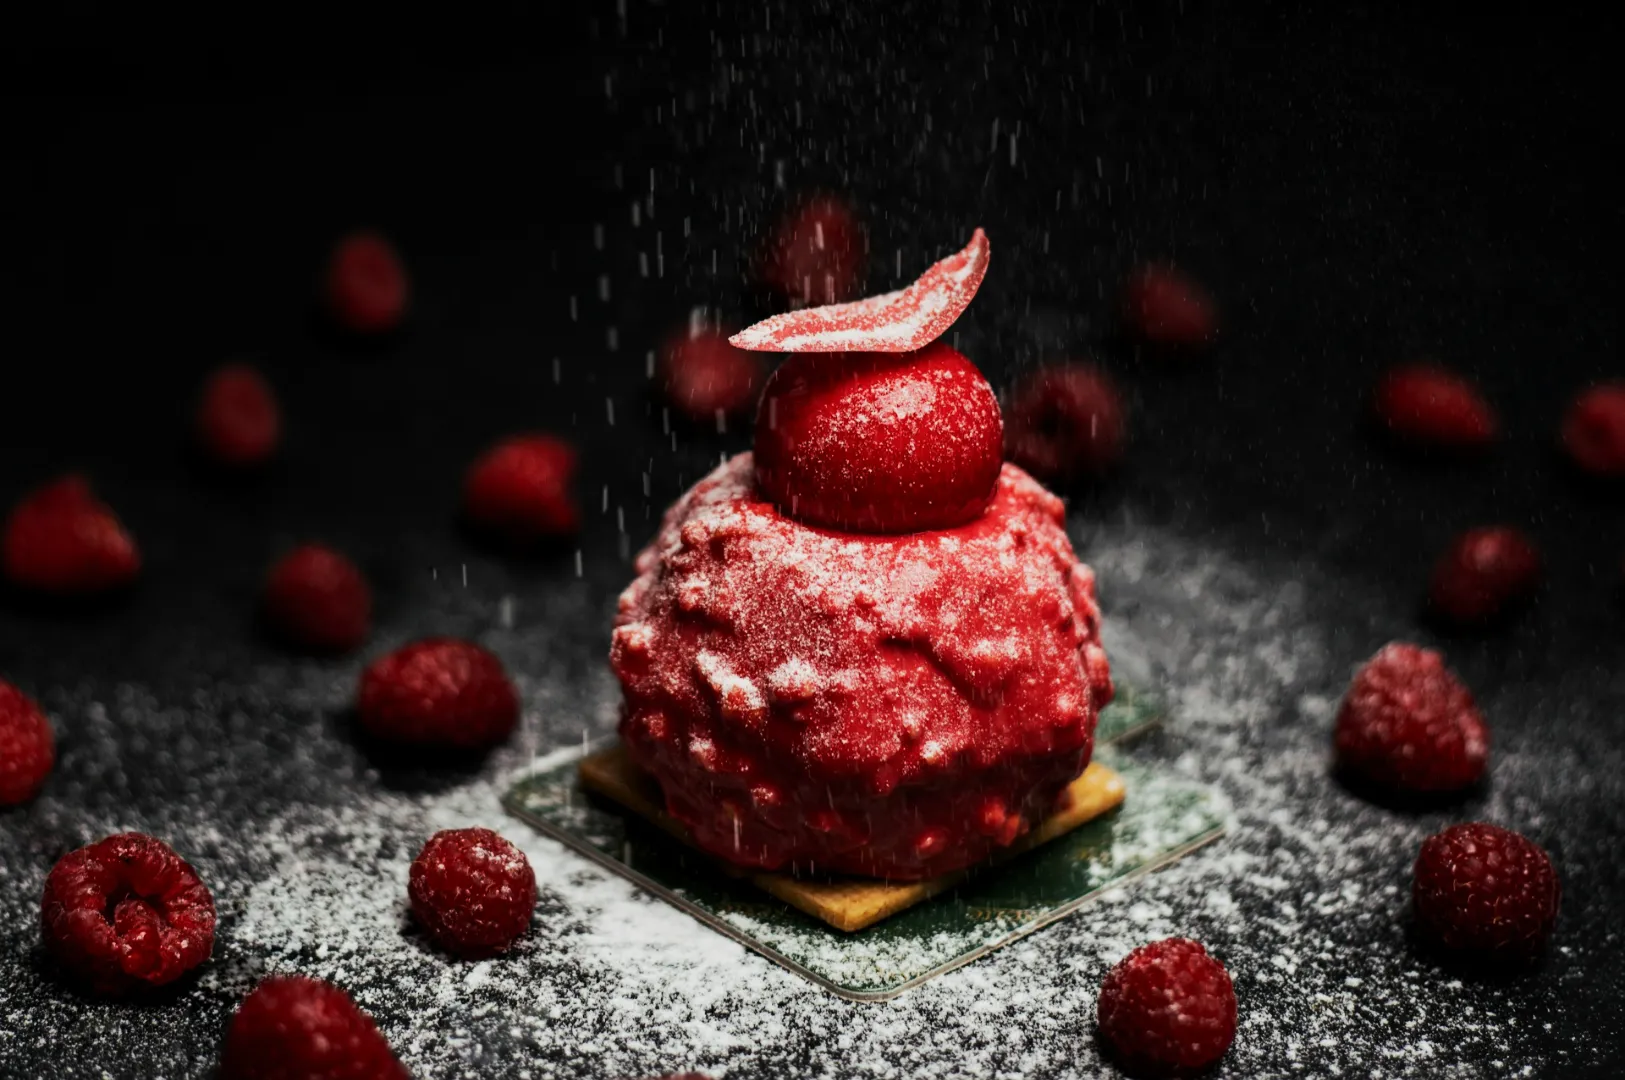
- Menu truth shots (clear, readable, portion accurate)
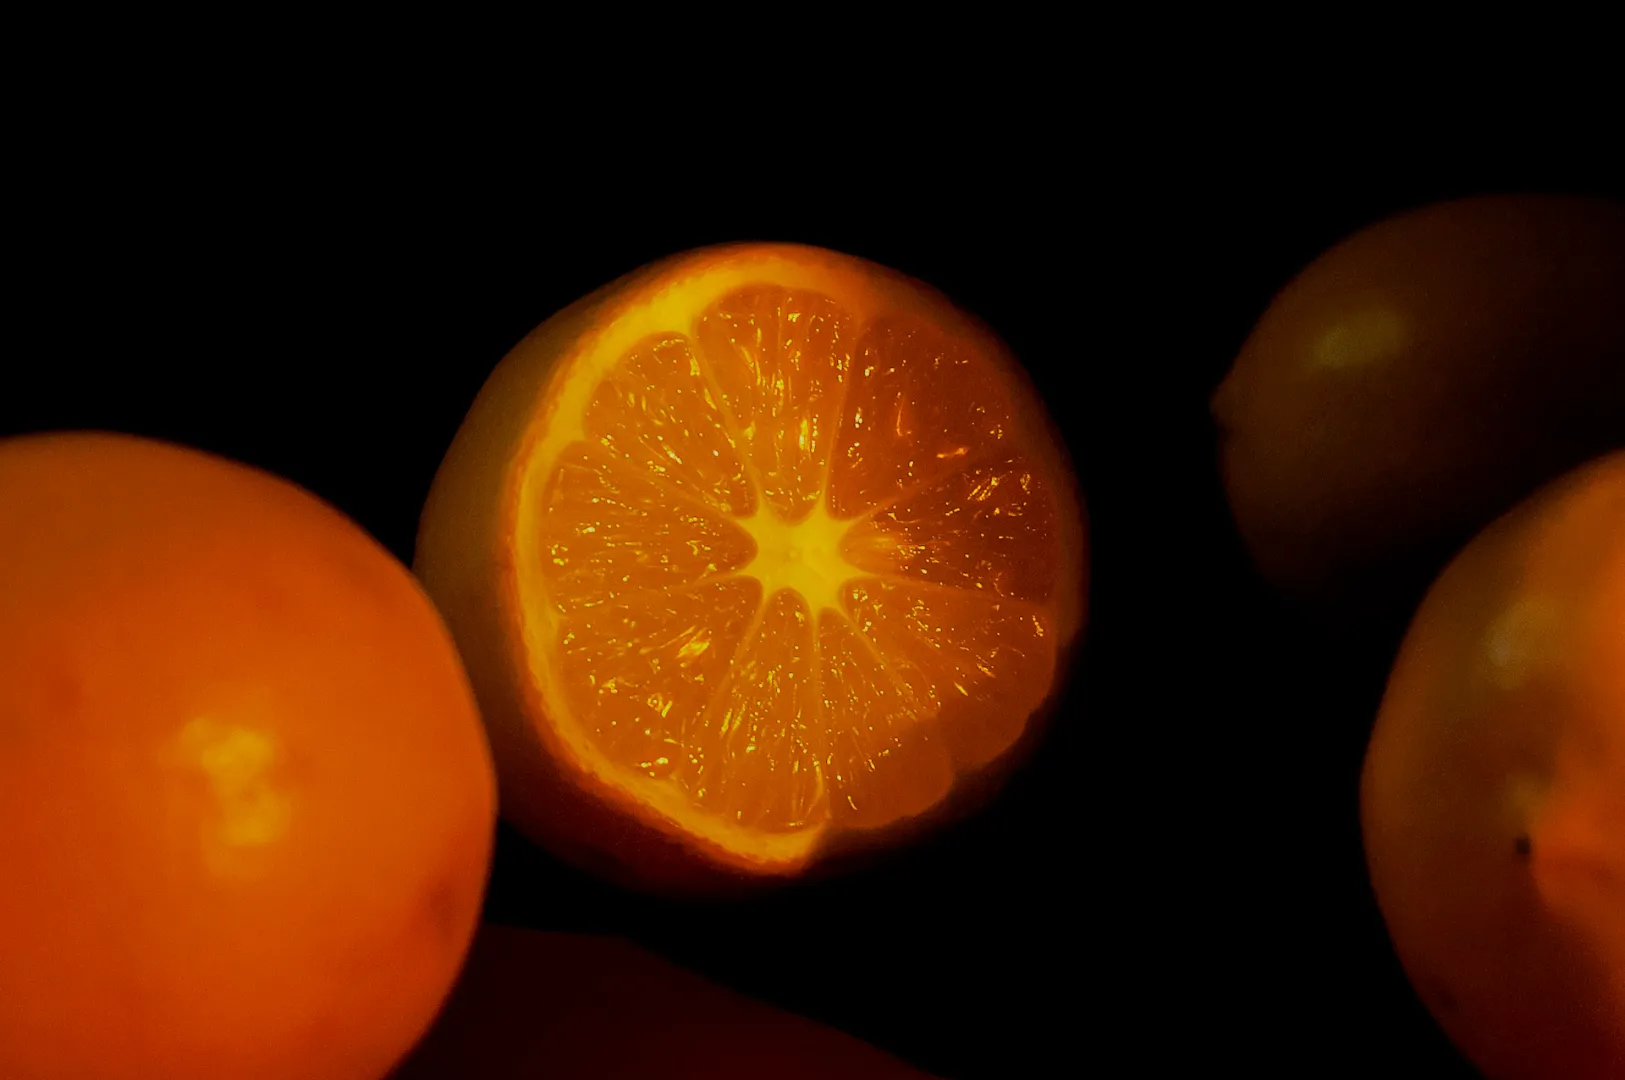
- Texture shots (close-ups that sell crispness, gloss, steam, layers)
- Optional brand shots (hands, pass moments, interior mood)
Instead of listing 40 items and hoping for the best, build a “must-shoot” list.
Kitchen-friendly approach:
- Tier 1: Best sellers, high-margin items, signature dishes
- Tier 2: New launches and seasonal items
- Tier 3: Supporting menu items (only if time allows)
If you only complete Tier 1 and Tier 2, you still win.
Step 3: Choose Your “Photo Station” Like You Choose Your Pass
Your photo station is your second pass. If it is in the wrong place, it will block everything.
Pick one location that has:
- Stable, flattering light (window light or controlled lights)
- A surface that can be cleaned quickly between dishes
- Space for one plating assistant and one photographer, not a crowd
In Singapore, the best photo stations are often:
- A table near a window in the dining area (before opening)
- A quiet corner of the restaurant with controlled lighting
- A backroom space where the team can focus without guests watching
Do not shoot in the middle of the kitchen unless you are doing process content only. It creates traffic, heat, and stress.
Step 4: Assign Roles Clearly (Or You Will Lose Time)
A smooth shoot always has clear owners.
Recommended roles:
- Shoot Captain (Marketing or Manager): tracks shot list, approves “done”, keeps pace
- Plating Lead (Chef): final plating standard, garnish rules, portion accuracy
- Runner (Kitchen crew): brings dishes in sequence, resets plates, clears between shots
- Styling Support (Optional): wipes rims, adds fresh herbs last, controls small mess
When nobody owns approvals, you get endless “maybe one more shot”. That kills both time and food quality.
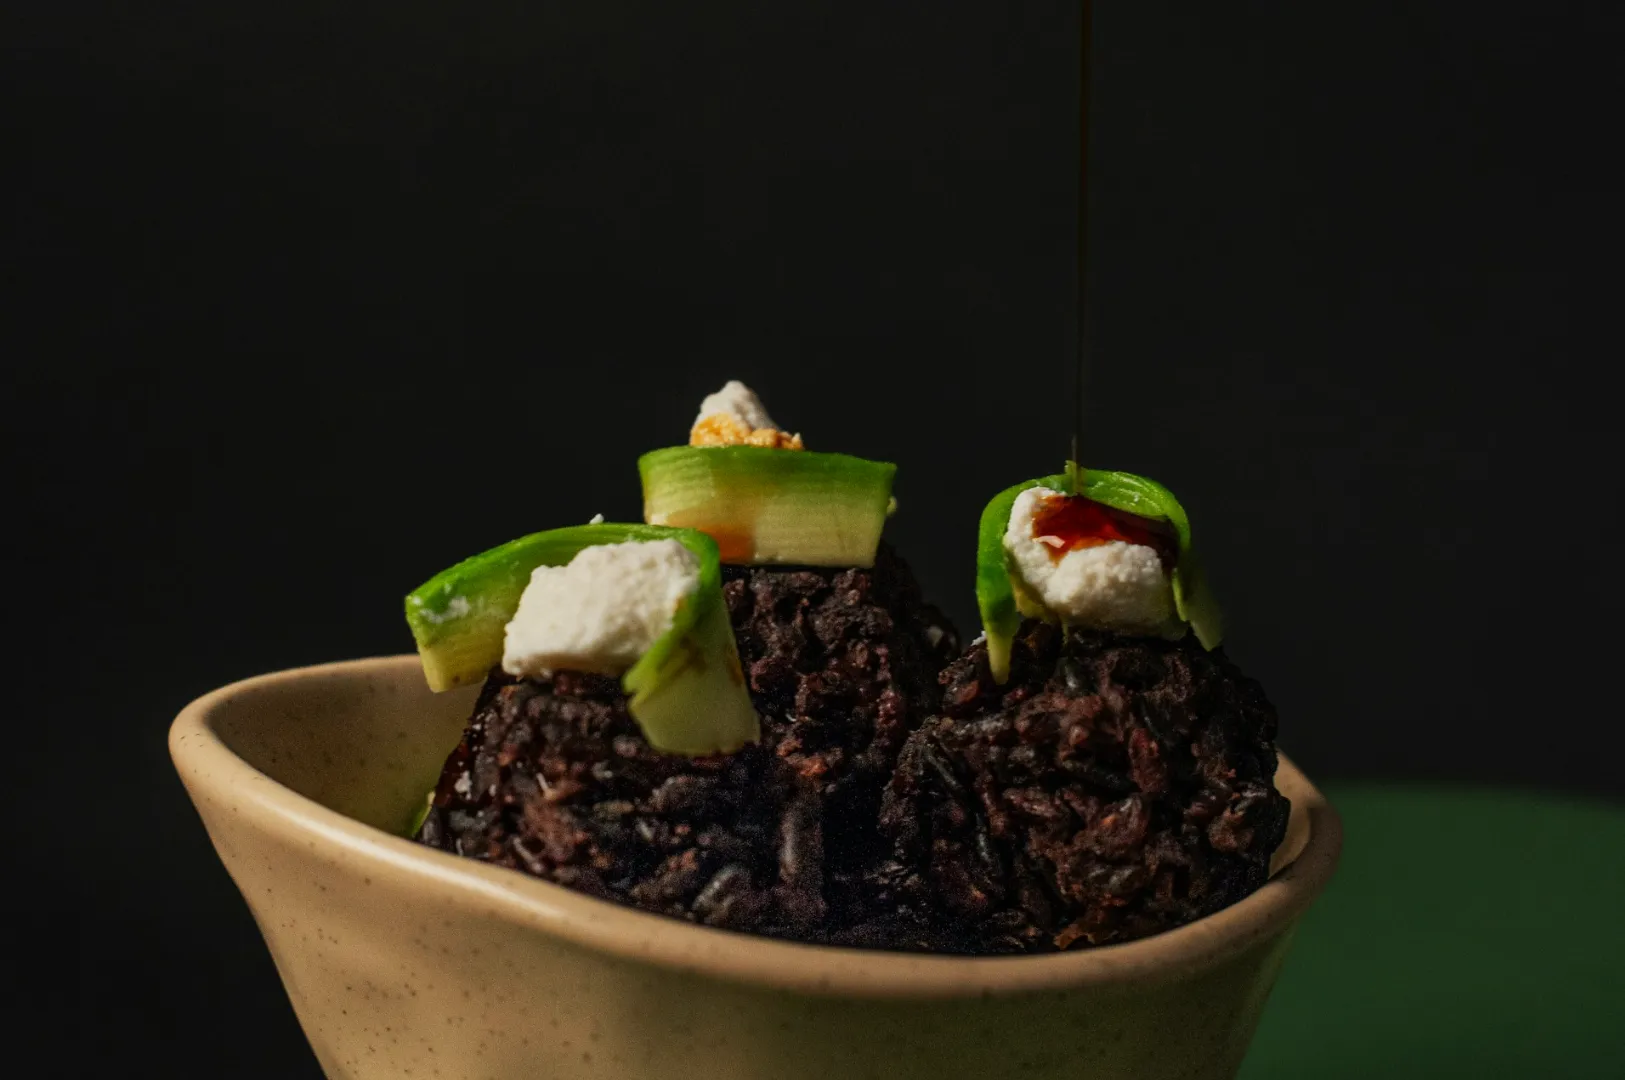
Step 5: Prep The Dishes Like Service, Not Like A Photoshoot Fantasy
Photos fail when the dish looks different from what the customer receives. In Singapore, diners are quick to call out mismatches.
Do this instead:
- Plate as per service, then do small “camera fixes” only:
- wipe rim
- refresh garnish
- rotate the best side forward
- replace soggy elements with fresh ones from backup
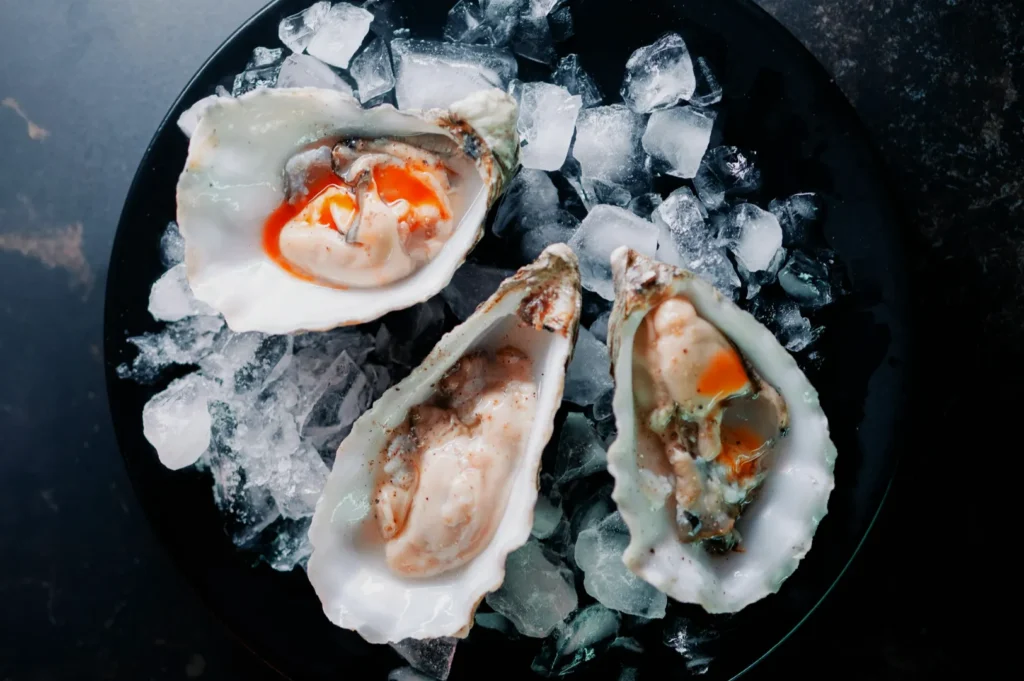
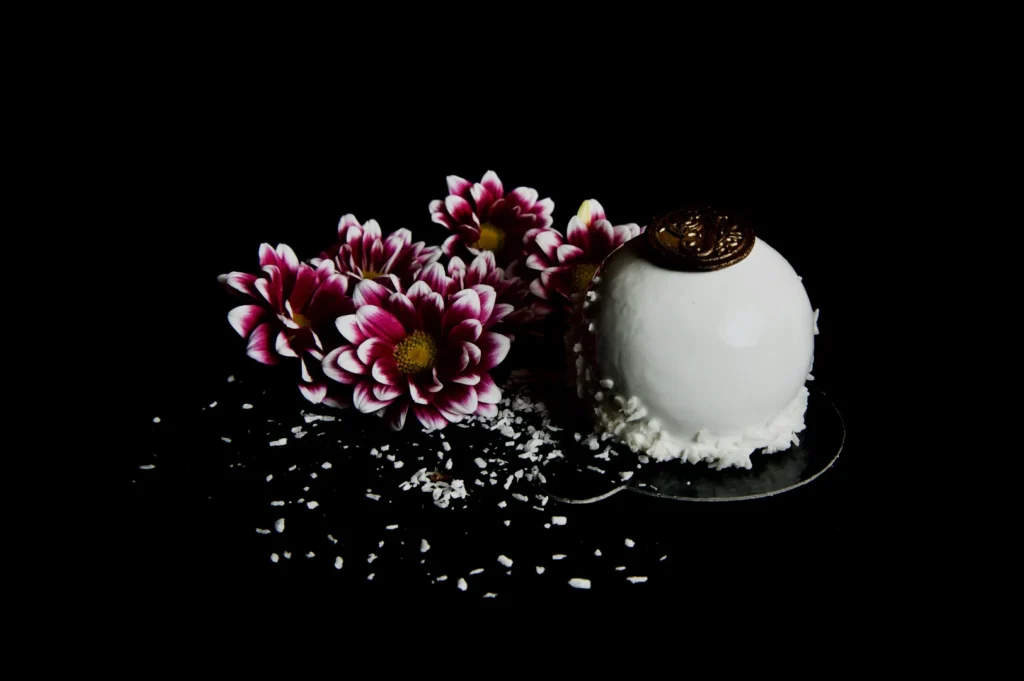
Plan backups for fragile items:
- fried items that soften fast
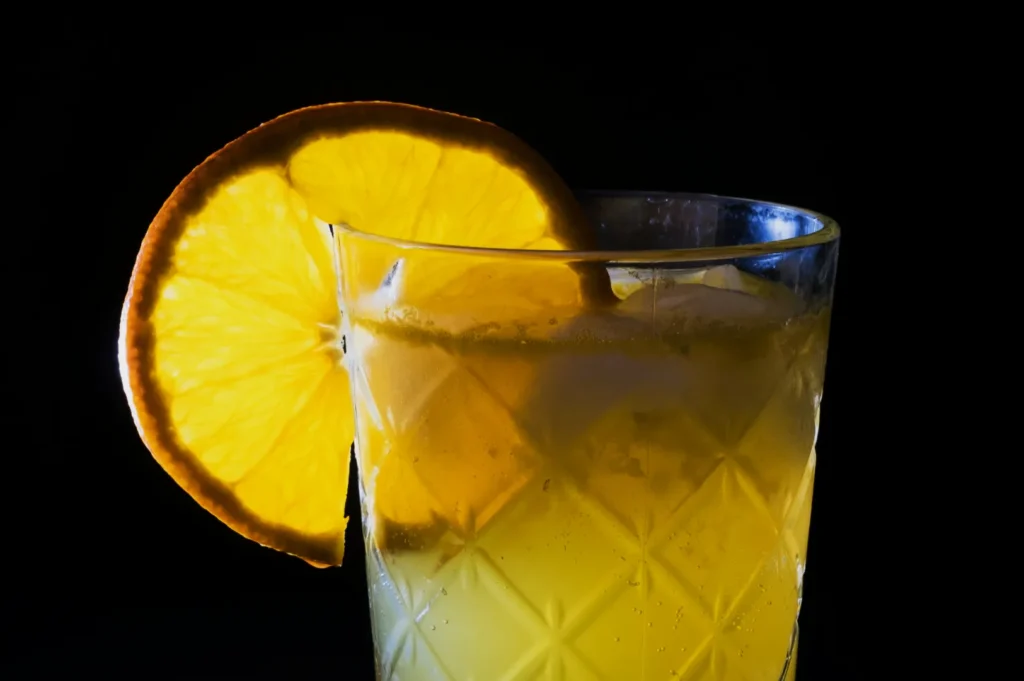
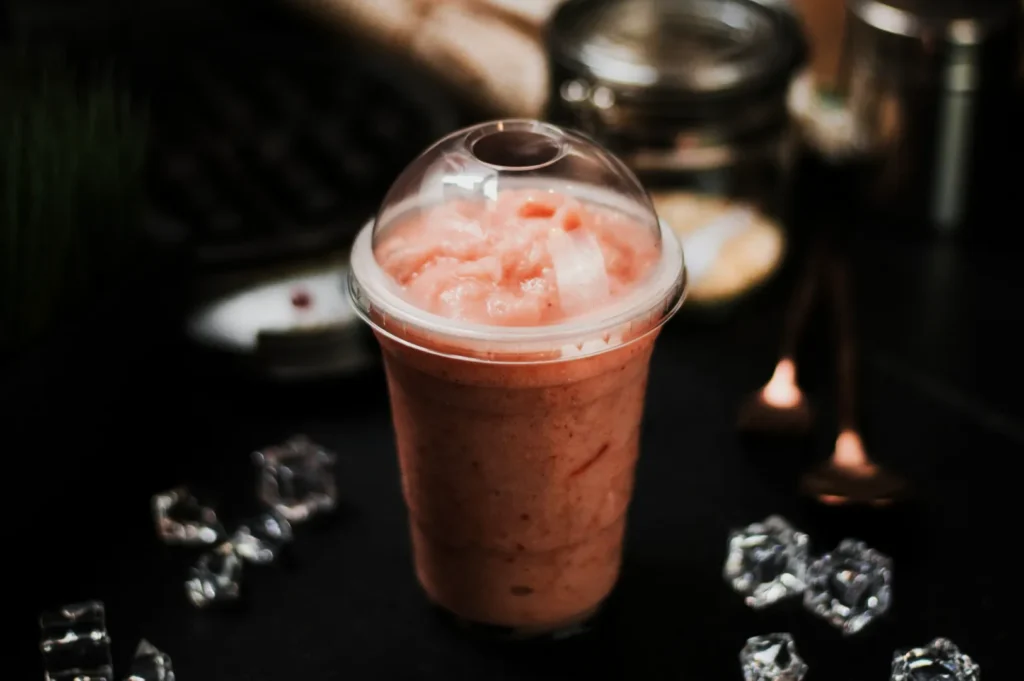
- ice-based drinks
- desserts that melt
- soups where ingredients sink
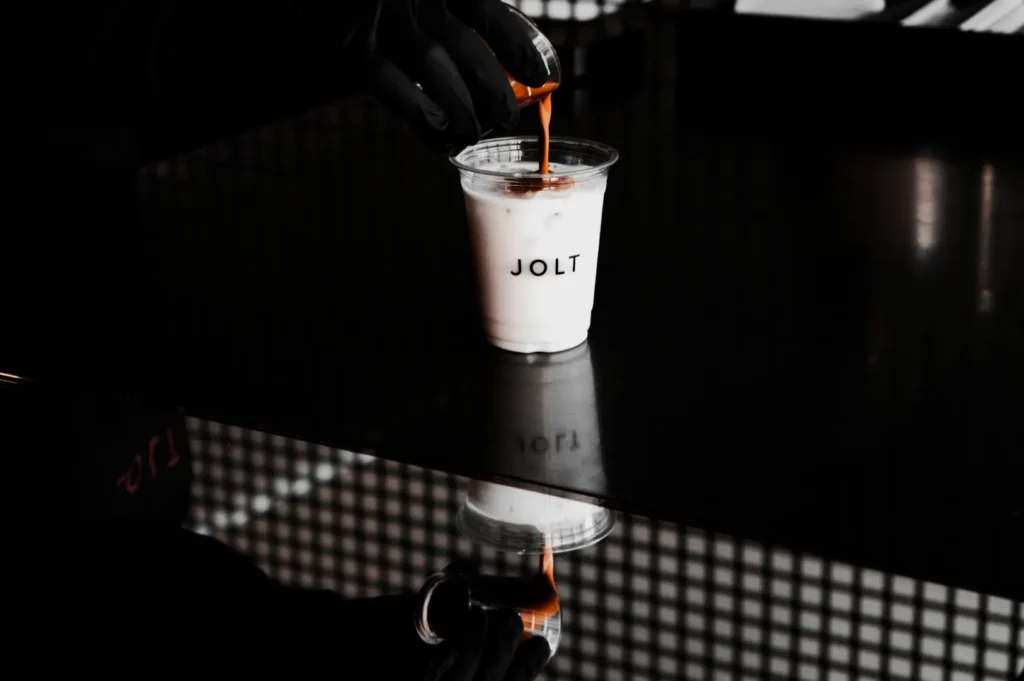
In our shoots, backups are not luxury. They are what keeps pace.
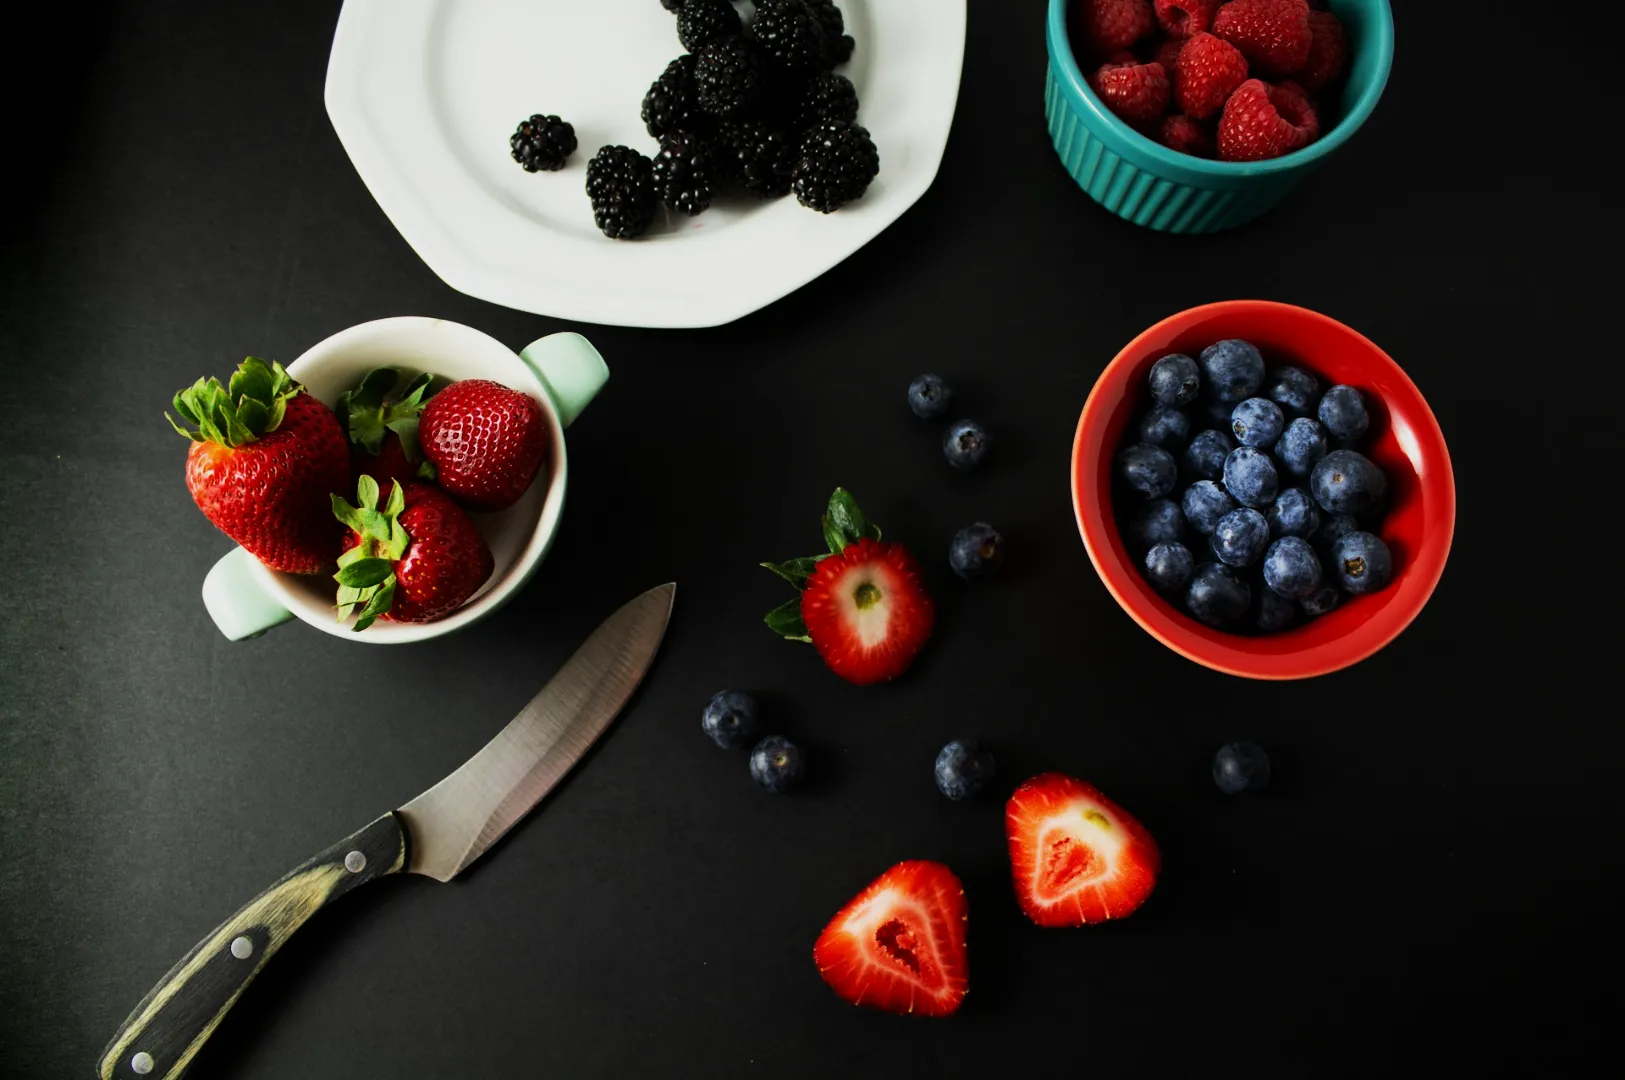
Step 6: Props And Surfaces Checklist (Keep It Tight)

If props become a shopping list, the shoot becomes a styling debate.
Keep it simple:
- 1 to 2 surfaces max (light + dark)
- 2 to 3 plate types that match your brand
- Neutral cutlery and one napkin style
- One “context” prop if needed (kopitiam cup, chopsticks, ceramic spoon)
The food should always be the main subject. Props are supporting cast, not the headline.
Step 7: Timing Plan That Does Not Break Service
The best shoots happen when your kitchen is calm.
Best time blocks in Singapore restaurants:
- Morning before lunch service
- Mid-afternoon lull
- Closed day or half-day with limited menu
Avoid shooting in the middle of peak service unless it is a small, controlled list and your team is experienced.
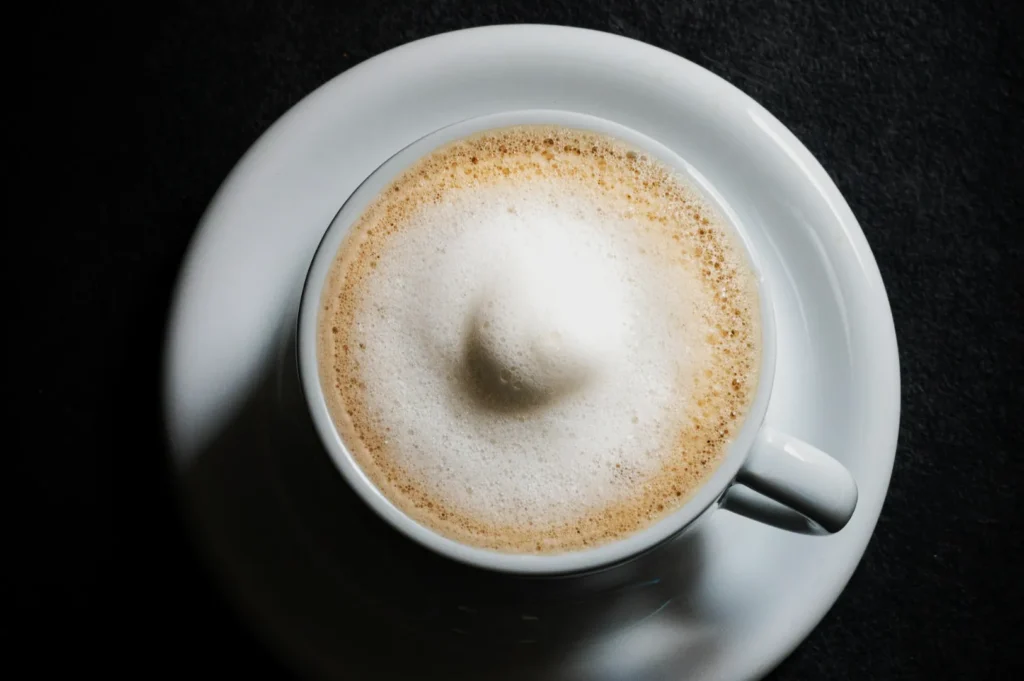
Sequence matters. Plan the run like a menu:
- cold items first
- items that hold well
- hot dishes last
- melted and iced drinks only when camera is ready
This alone can save you 30 to 45 minutes.
Step 8: The Shoot Day Checklist (Print This)
Before the first dish arrives
- Photo station cleaned and ready
- Surfaces wiped, backgrounds set
- Lights tested, white balance checked
- Test shot done with a stand-in plate
- Shot list printed or on a shared device
- Approval person identified
For each dish
- Plate as per service
- Wipe rim and remove distracting spills
- Add fresh herbs last
- Confirm angle requirement (overhead, 45-degree, eye-level)
- Shoot menu truth first, then creative variations
- Mark “done” before moving on
Between dishes
- Reset surface quickly
- Remove crumbs and sauce drips
- Replace any props that shifted
- Keep the station uncluttered
A small detail: Singapore humidity makes food wilt faster. The longer the dish sits under lights, the faster it loses life. Speed is quality here.
Step 9: Post-Shoot Workflow That Protects Your Brand Consistency
Most people think the hard part ends when the camera goes down. It does not.
You need a plan for:
- file naming (dish name, menu category, date)
- selecting hero images per dish
- consistency in editing across the whole set
What to define early:
- brightness level (clean vs moody)
- color style (warm vs neutral)
- crop formats needed (delivery square, website wide, Instagram 4:5)
If you do not define this, you get 30 dishes that look like 30 different brands.
Step 10: The “Approval Rule” That Prevents Endless Re-Shoots
Set one rule before the shoot starts:
Two rounds max.
- Round 1: capture it properly
- Round 2: fix what matters (portion clarity, colour accuracy, obvious issues)
After that, move on. A restaurant photoshoot is not an art gallery. It is an operational project with business outcomes.
When It Makes Sense To Bring In A Professional Team
If you are shooting:
- a full menu refresh (20 to 60 dishes)
- a brand relaunch
- multiple platforms with different crop needs
- low light environments where phone photos struggle
Professional support is usually faster, not slower. At Food Photographer Studio, as professional food photographers we plan shoots around real kitchen rhythms, run tight shot lists, and deliver consistent menus that look like one brand. Our goal is always the same: strong photos, minimal disruption.