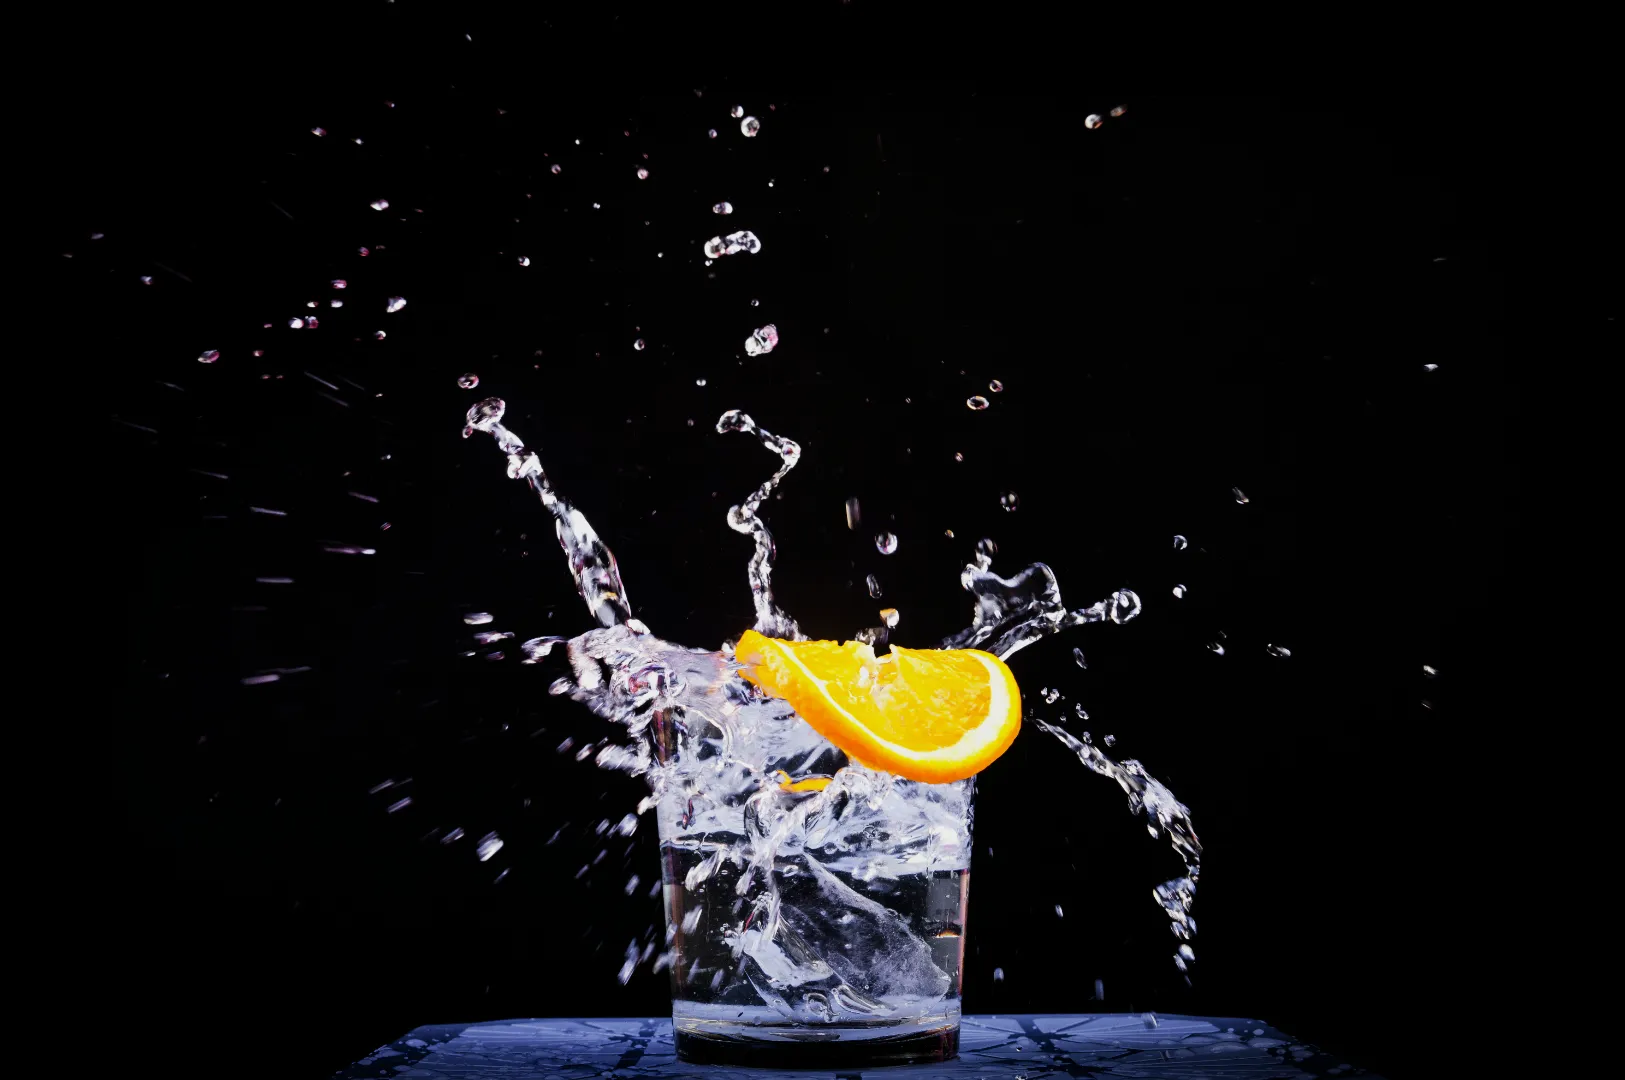
Food is forgiving. Drinks are not.
A plate of food can still look appetising if you miss the perfect moment by 30 seconds. A drink can collapse in 10. Ice melts, foam sinks, condensation dries, and glass starts reflecting everything in the room, including your face and the messy pass behind you.
If you are building a menu that sells, drink photography is not a “nice extra”. It is often the highest-margin section on the menu, and it is usually the first thing customers add on after they decide the main dish.
This article is part of our wider system on menu visuals. If you want the full framework for what converts in Singapore, start here: Menu Photography: The Singapore Playbook For Photos That Sell.
Why Drinks Behave Differently In Menu Photos
Most drink photos fail for the same reason. People shoot drinks the way they shoot food.
But drinks have three problems food does not:
1) Reflections control the photo
Glass is basically a mirror. Every overhead light, window frame and bright wall becomes a distraction. When reflections dominate, the drink stops looking premium.
2) Temperature is part of the story
A cold drink must look cold. A hot drink must look hot. If the visual cues are missing, the photo feels “flat” even if the drink is beautiful in real life.
3) Shape is the product
For drinks, the glass shape and the fill level communicate value. A drink that looks underfilled gets judged immediately, especially on delivery menus and QR menus where customers compare quickly.
The Three Drink Categories And What Each Needs
Coffee And Cafe Drinks: Clean, Crisp And Honest
For coffee, the hero is usually texture: crema, milk foam, latte art, ice clarity, or the colour gradient of an iced latte.
What works well:
- Top-down for latte art and iced coffee if you want clarity and simplicity.
- 45-degree for most drinks because it shows the rim, foam, and drink colour without distortion.
- Neutral backgrounds so the coffee colour reads correctly.
What kills coffee photos:
- Warm yellow restaurant lighting that turns milk grey.
- Too many props that make a simple drink look fussy.
- Shooting too wide so the cup becomes small and the drink loses importance.
A practical cue for Singapore cafe menus: if you sell iced drinks, show at least one photo where the drink looks genuinely cold. A dry glass often reads as “warm” even when it is iced.
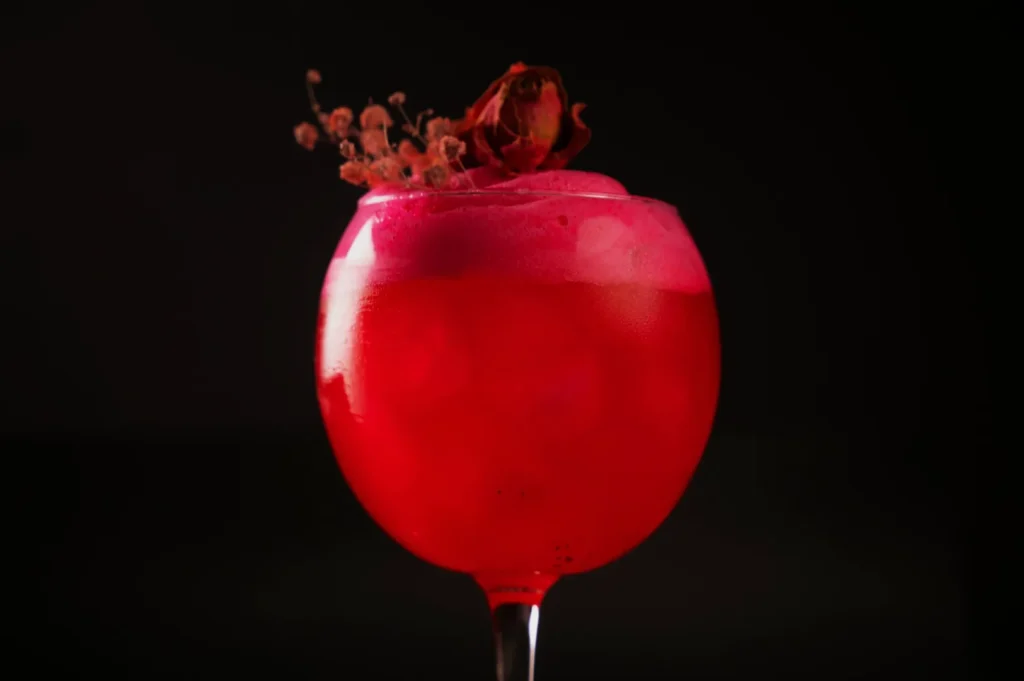
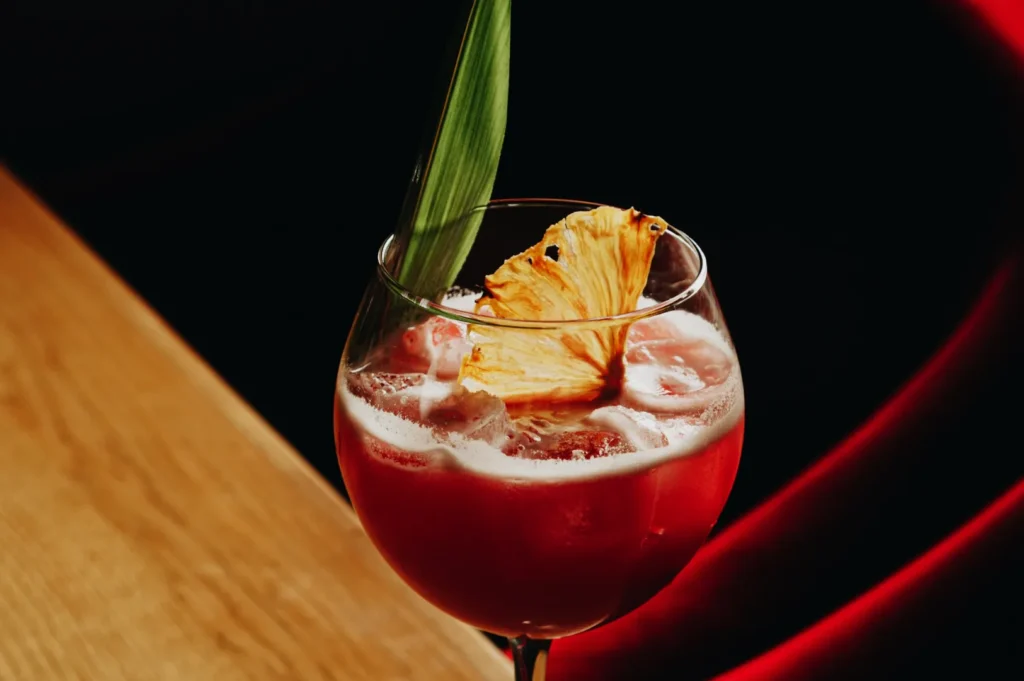
Cocktails And Bar Drinks: Mood, Glow And Controlled Drama
Cocktails sell emotion. But you still need readability. If the photo is too dark, customers hesitate because they cannot tell what they are buying.
What works well:
- Side lighting to create glow through liquids.
- Backlighting for translucent drinks so colours look rich.
- Simple garnish emphasis (a citrus twist, a cherry, a herb sprig) so the drink feels crafted.
Common Singapore problem: bars and restaurants often have mixed lighting. Neon, tungsten, and warm downlights create weird colour casts. If you want cocktails to look premium, you need controlled lighting, even if it is just one consistent light source.
Bubble Tea, Juice, And Non-Coffee Cold Drinks: Cold, Bright And “Thirsty”
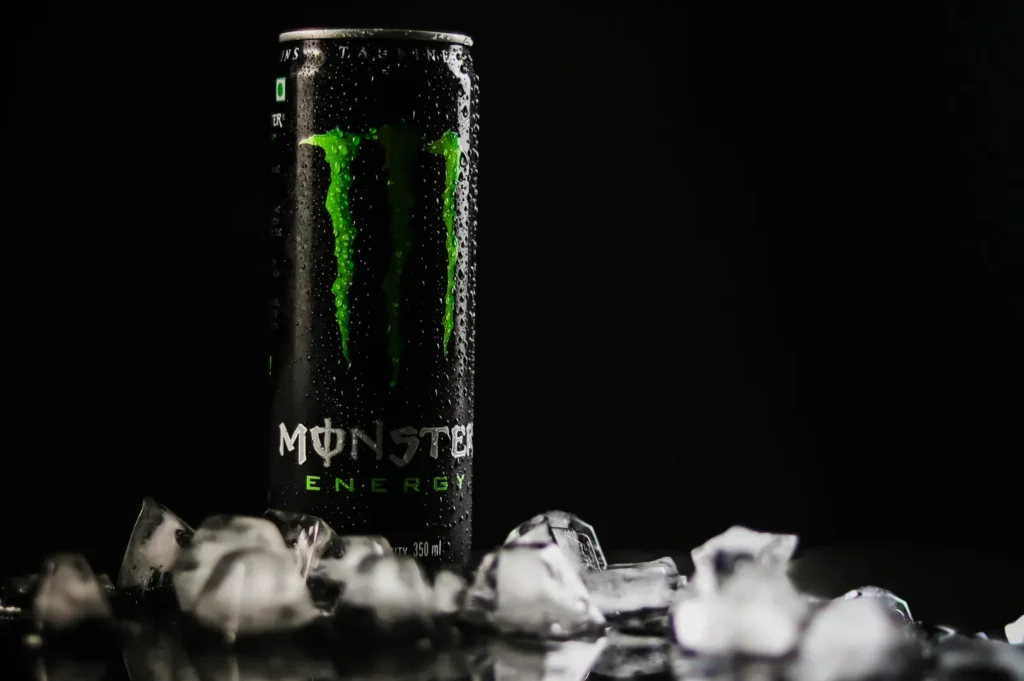
For bubble tea and juices, the photo must trigger thirst. That means clarity, condensation, and strong colour contrast.
What works well:
- Clear layering (milk tea, pearls, foam) with good separation.
- Condensation that looks real (not greasy, not overdone).
- Tight framing so the drink looks generous.
If you sell fruit-based drinks, avoid backgrounds that fight the colour. A watermelon drink on a red background disappears. Make the drink the colour accent, not the background.
The Timing Rules: When To Shoot Drinks So They Look Fresh
Drinks are all about timing. If you shoot them too early, they look stiff. Too late, they look tired.
A simple drink workflow:
- Set the scene first (surface, glass placement, camera angle).
- Prep garnish separately.
- Pour last.
- Garnish last.
- Shoot immediately.
If your team is busy, this matters. Drinks do not wait for you to “just adjust one more thing”.
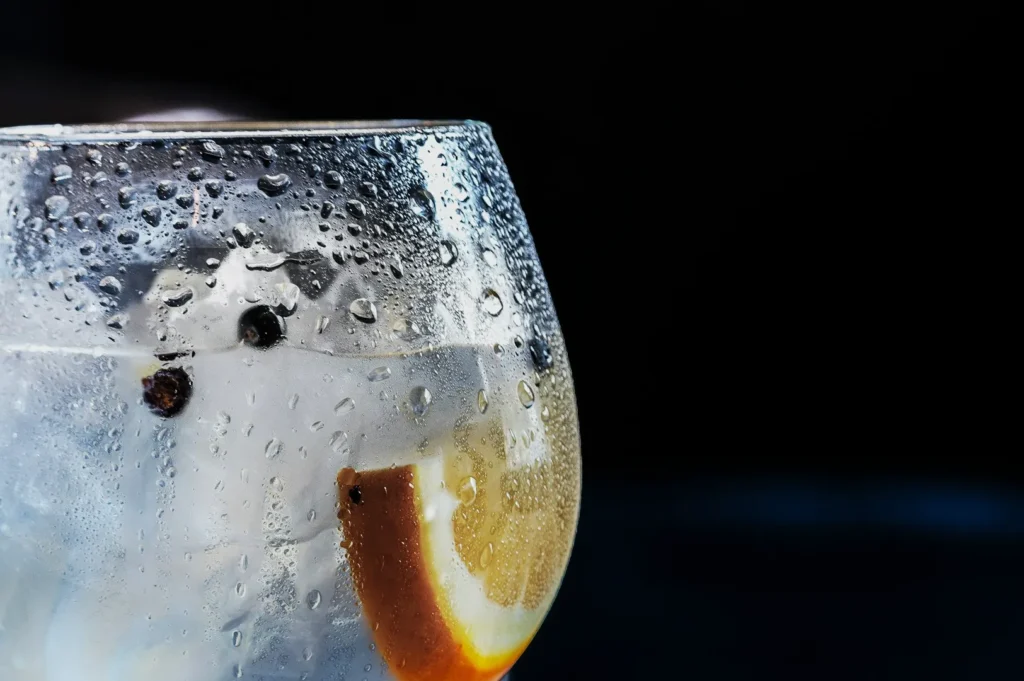
Condensation, Ice, Foam, And Other Visual Signals
Here is what diners read instantly, even if they do not realise it:
Condensation = cold
A cold drink without condensation often looks like it sat out. You do not need to overdo it, but you need some signal of temperature.
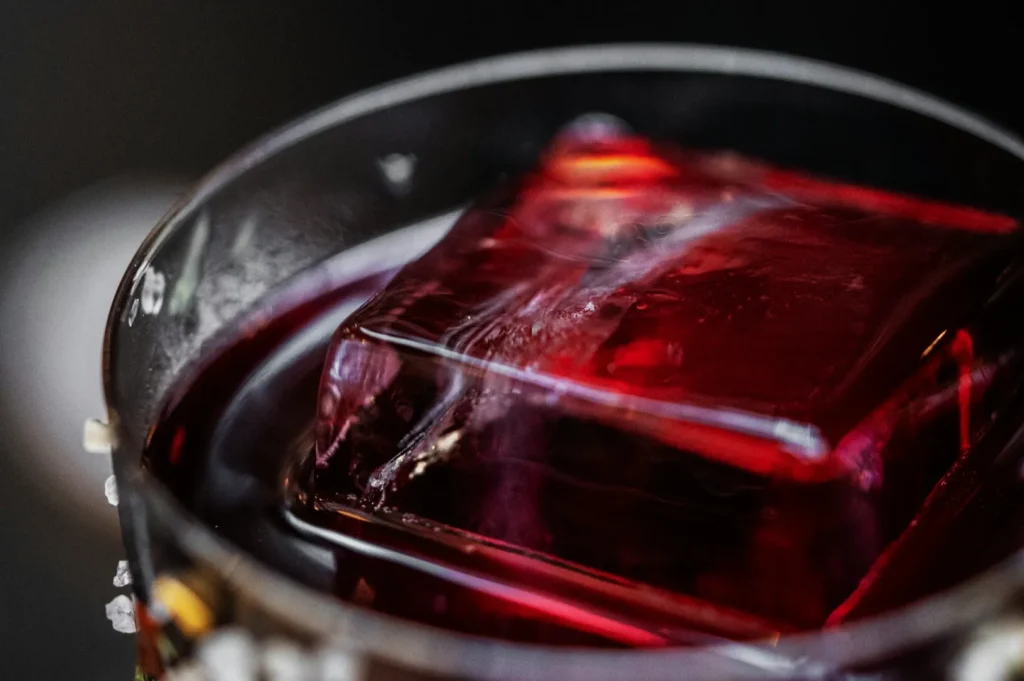
Ice clarity = quality
Cloudy ice reads as cheap. Clear ice reads as premium. If you serve clear ice, show it. It is part of perceived value.
Foam = freshness
Foam that looks stable and creamy suggests the drink was made properly. Foam that collapses looks like the drink is old.
Fill level = value
Half-empty glasses make people feel short-changed. If your recipe requires space at the top, compose in a way that still makes the drink look generous.
A Practical Way To Improve Your Drink Menu Photos This Week
If you want quick wins:
- Pick your top 3 drink sellers.
- Shoot each with one consistent angle.
- Use one consistent surface and background.
- Make sure each drink shows the correct “temperature signal” (cold looks cold, hot looks hot).
- Crop for the format you actually use (QR menu and delivery menus are not the same).
If you want drink photography that stays consistent with the rest of your menu, Food Photographer Studio can help you build a drink photo set that matches your food images, so the menu feels like one brand, not a patchwork of styles.