Imagine a small café owner in Tiong Bahru struggling to attract customers. Their fragrant pandan chiffon cakes and kopi were delicious, but online photos appeared dark and unappetizing. Instead of costly studio setups, they used just a smartphone and window light. Within weeks of posting brighter, well-composed images, foot traffic increased significantly. This proves the power of visual storytelling in Singapore’s food scene.
Many believe expensive gear is necessary for great photos, but compelling food images often come from cramped corners or hawker tables. This guide shares 8 actionable, easy food photography ideas tailored for Singapore’s environment. These simple food photography tips focus on technique over gear, helping you transform marketing visuals without renting a studio. Learn how easy food photography ideas can make a huge difference for your business.
If you haven’t read our guide on creating images that drive restaurant revenue in Singapore, read here.
Idea 1: The Golden Hour Window Trick - Your Best Friend
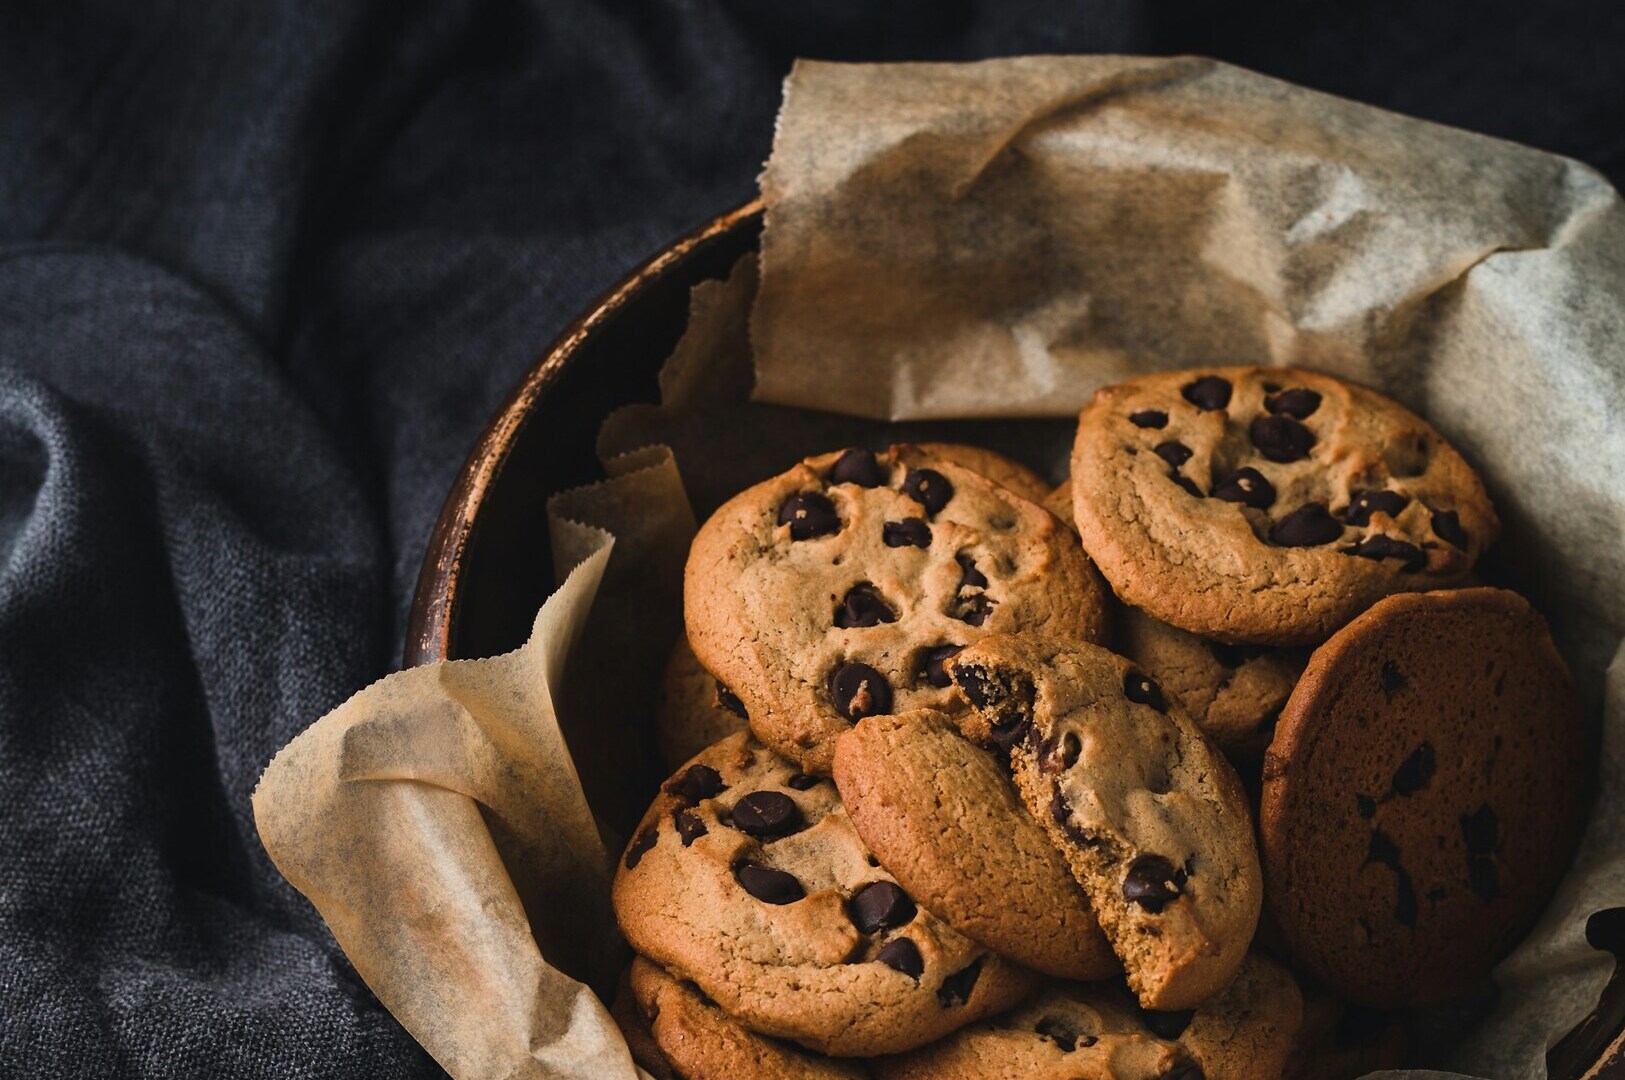
Remember this: natural light is your best friend. It’s free, abundant, and shows food textures better than most budget artificial lights. In sunny Singapore, avoid direct midday sun that creates harsh shadows. Instead, shoot near a large window or shaded outdoor area for soft, directional light.
The “Golden Hour” (6:30–7:30 AM and PM) offers beautiful light but is short. For stronger sunlight, diffuse it with parchment paper or a sheer curtain as a giant softbox. If one side of your dish is in shadow, use a white foam board, menu, or napkin to bounce light onto it. This ensures enough light to reveal details without overexposure. Plan ahead by scouting your spot at different times to find the best lighting zone.
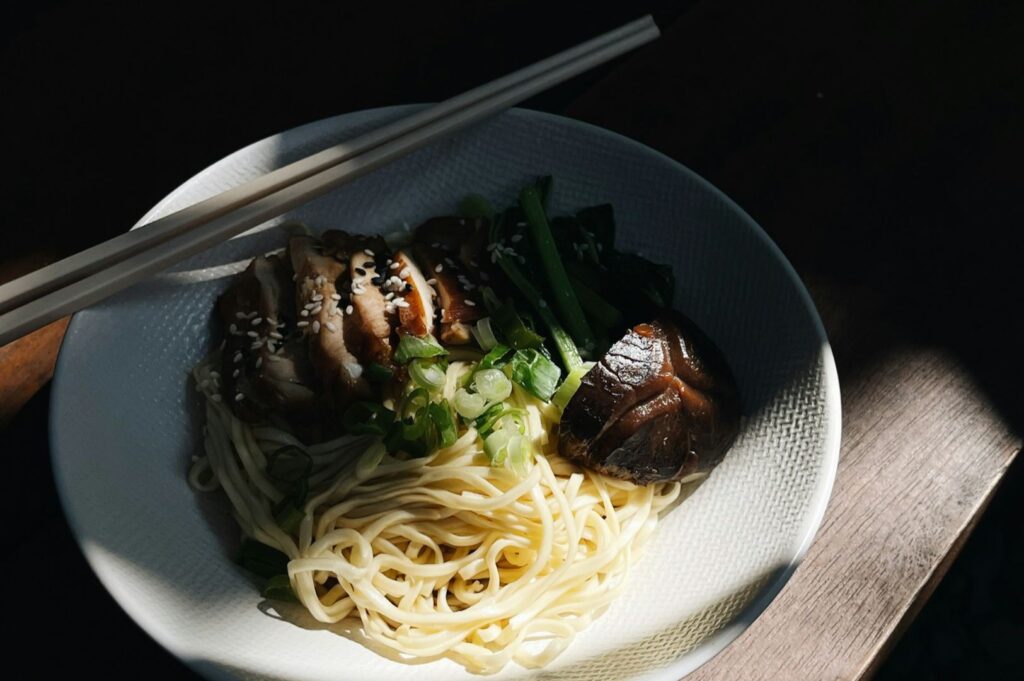
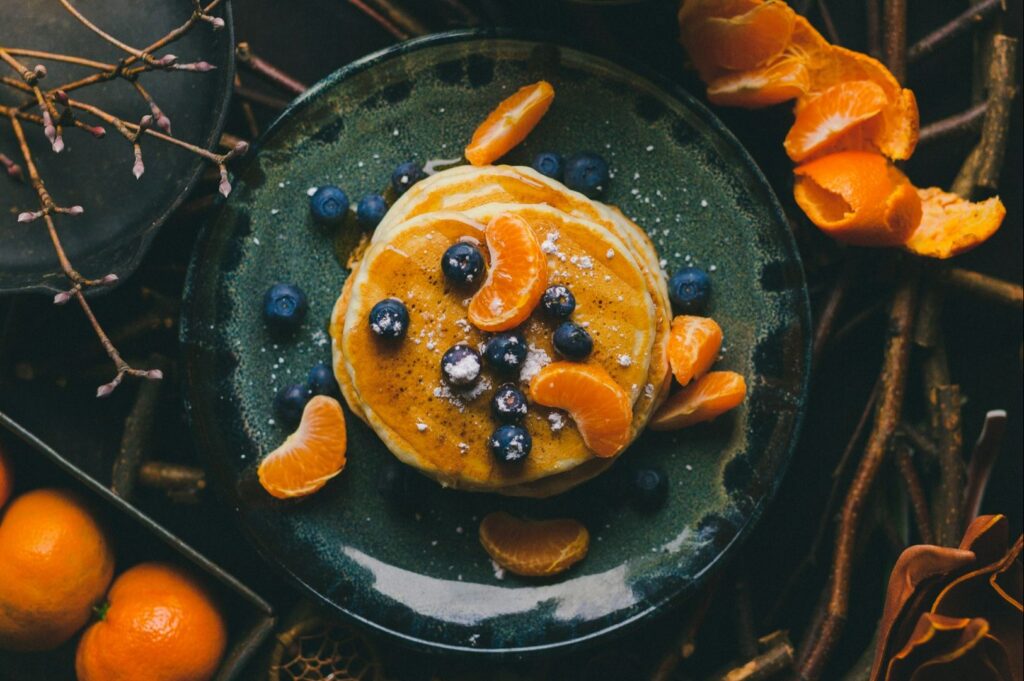
Idea 2: The Overhead Flat Lay for Beautiful Imagery
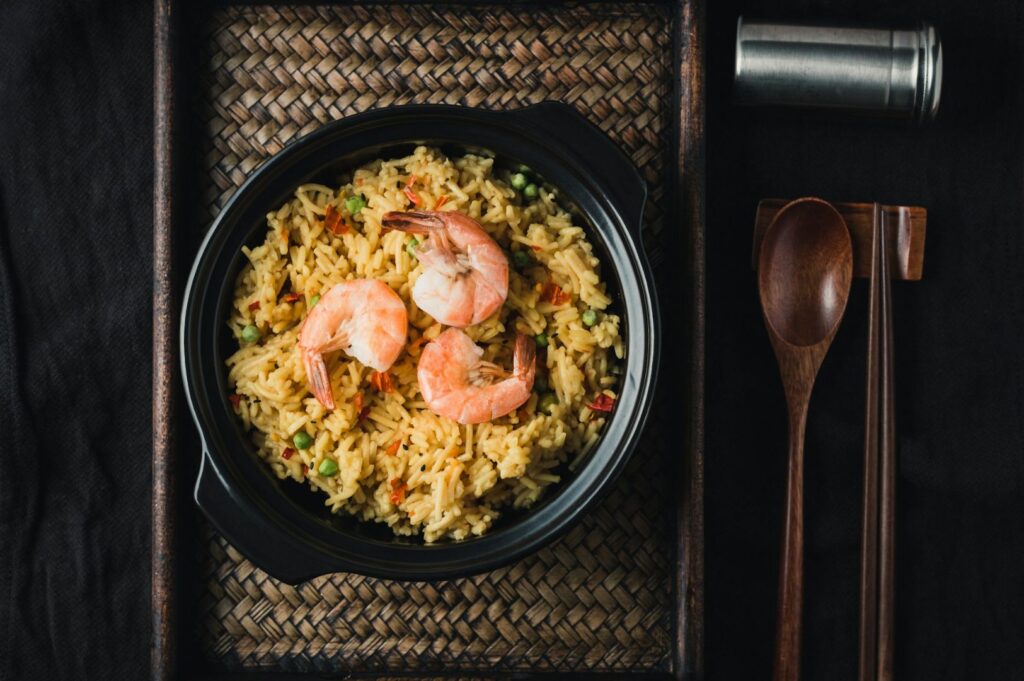
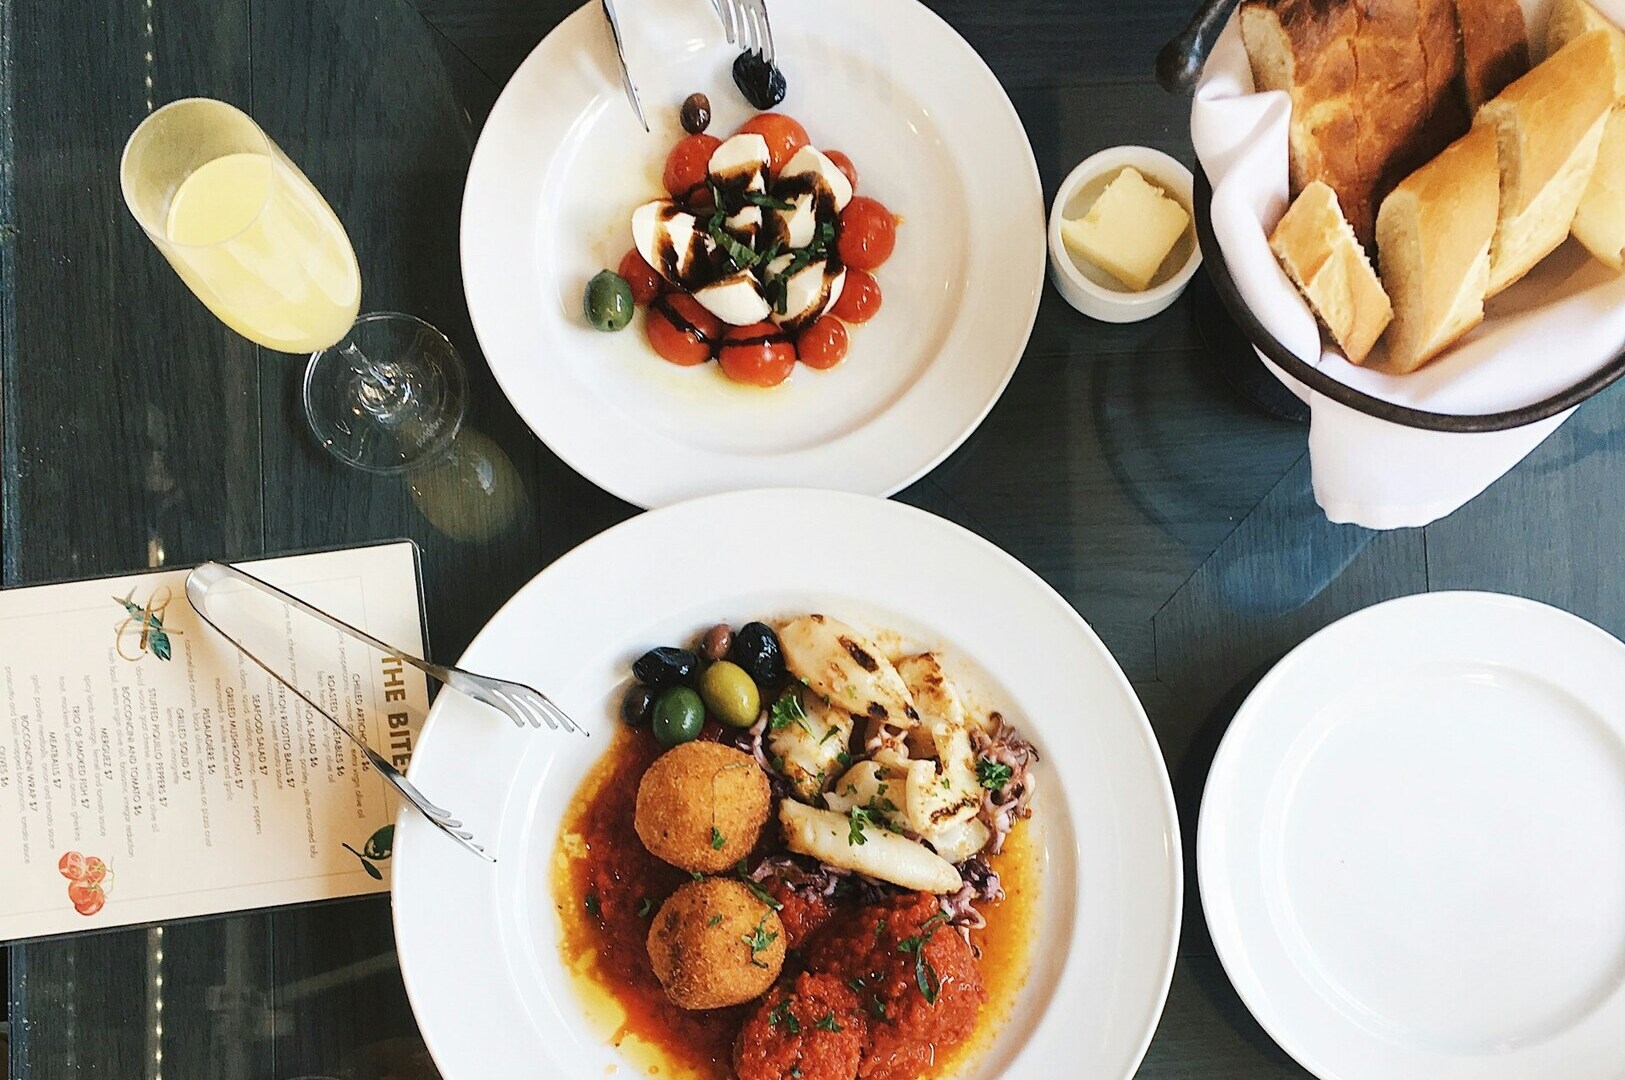
Choosing the right camera angle is crucial. The overhead shot (90 degrees) showcases food well, especially for dishes like Yu Sheng platters, bento boxes, or dim sum spreads. This angle highlights geometry and color for strong visual appeal and removes depth issues.
Use negative space to let the eye breathe and avoid crowding the main subject. Add food styling props like chopsticks or traditional spoons to tell a story. Authentic items such as banana leaves or Peranakan tiles connect to Singapore’s food culture.
For sharp overhead shots, stabilize your smartphone with both hands or a makeshift tripod (e.g., stacked books). Enable the grid feature to keep lines straight. Avoid this angle for tall foods like burgers or layered drinks as it flattens them. Try different angles but the flat lay often works best.
Idea 3: The 45-Degree Camera Angle with Shallow Depth of Field
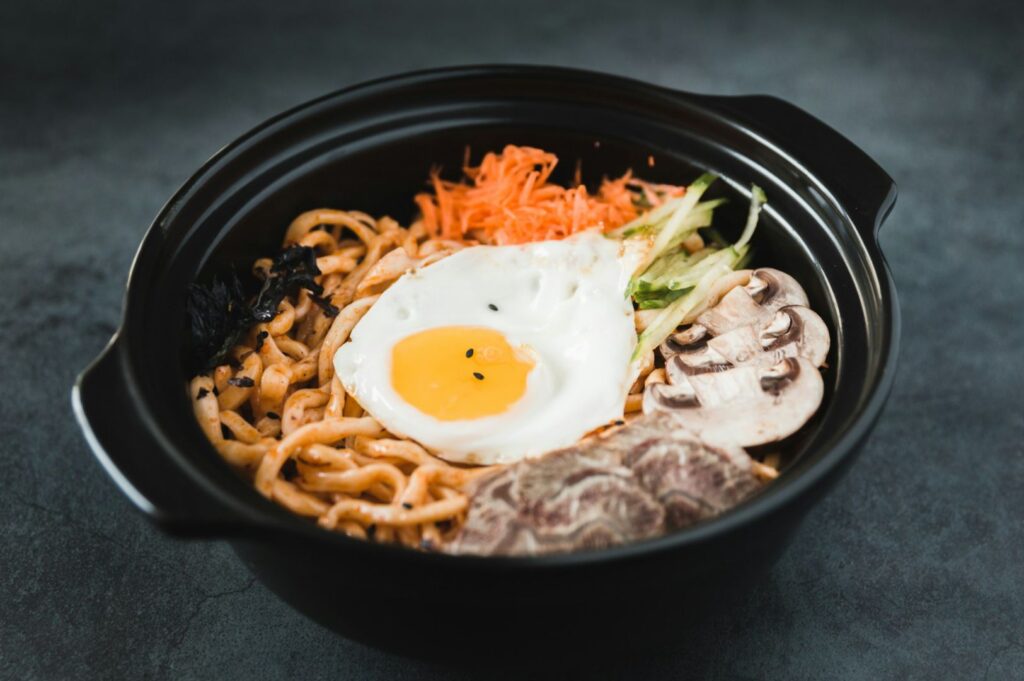
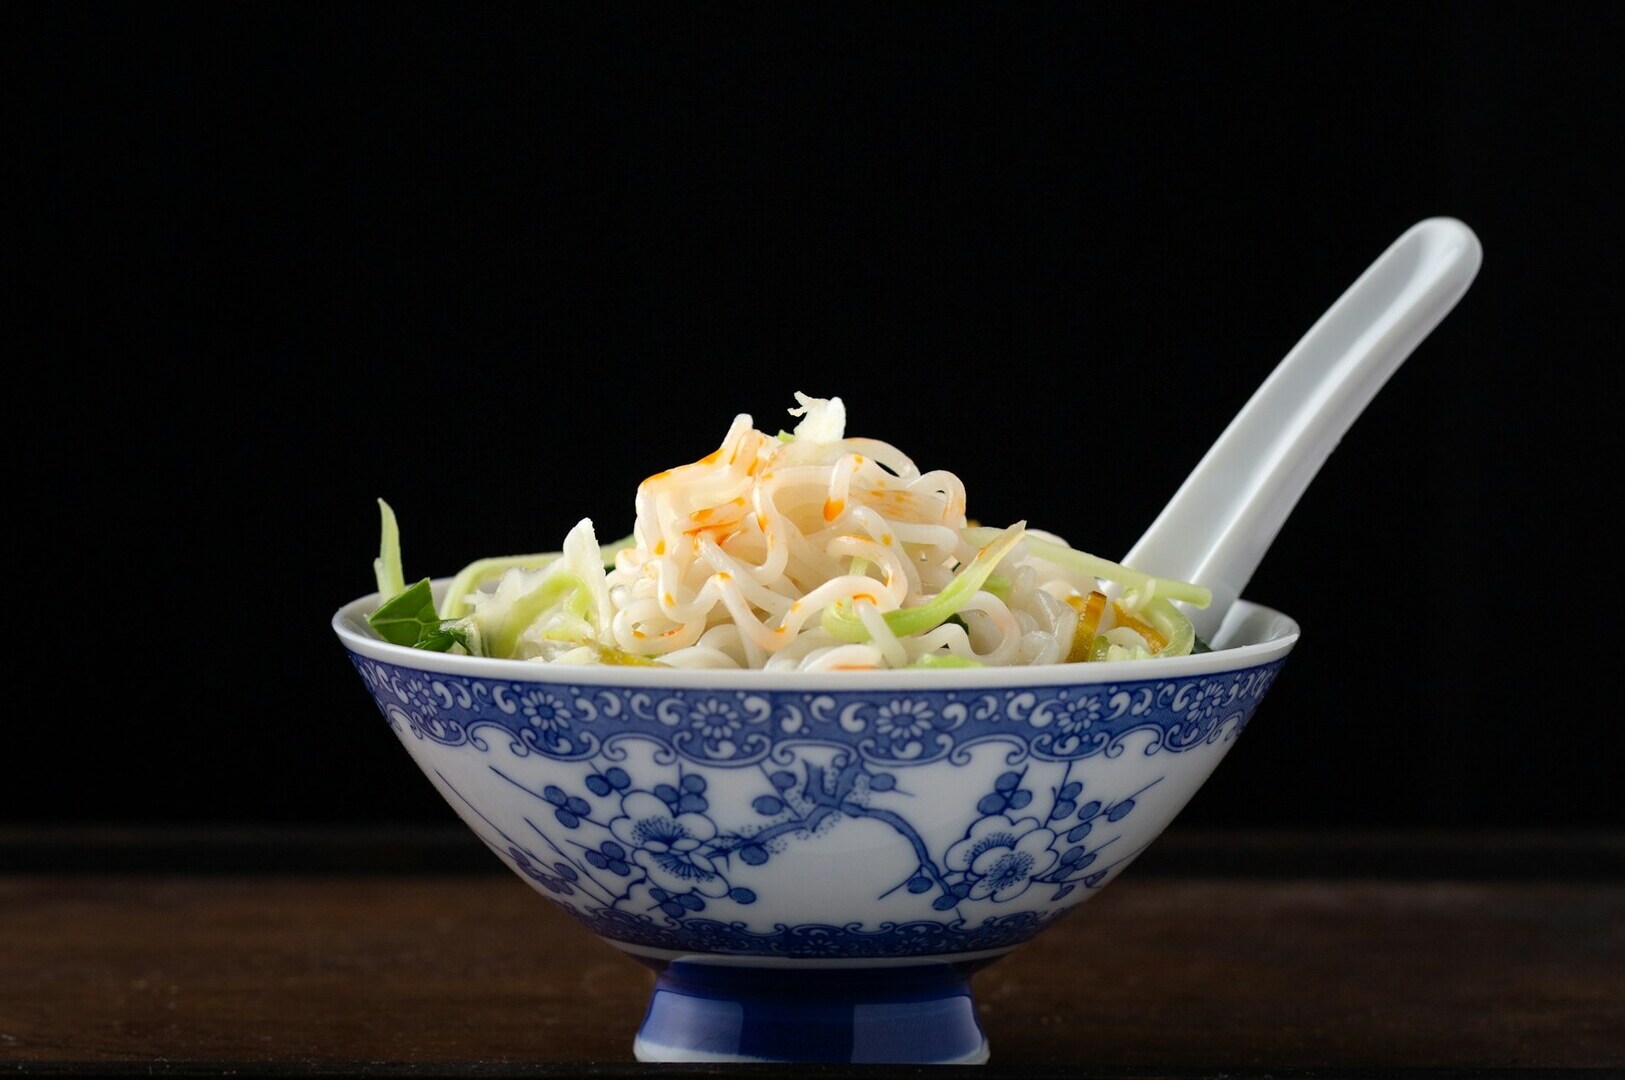
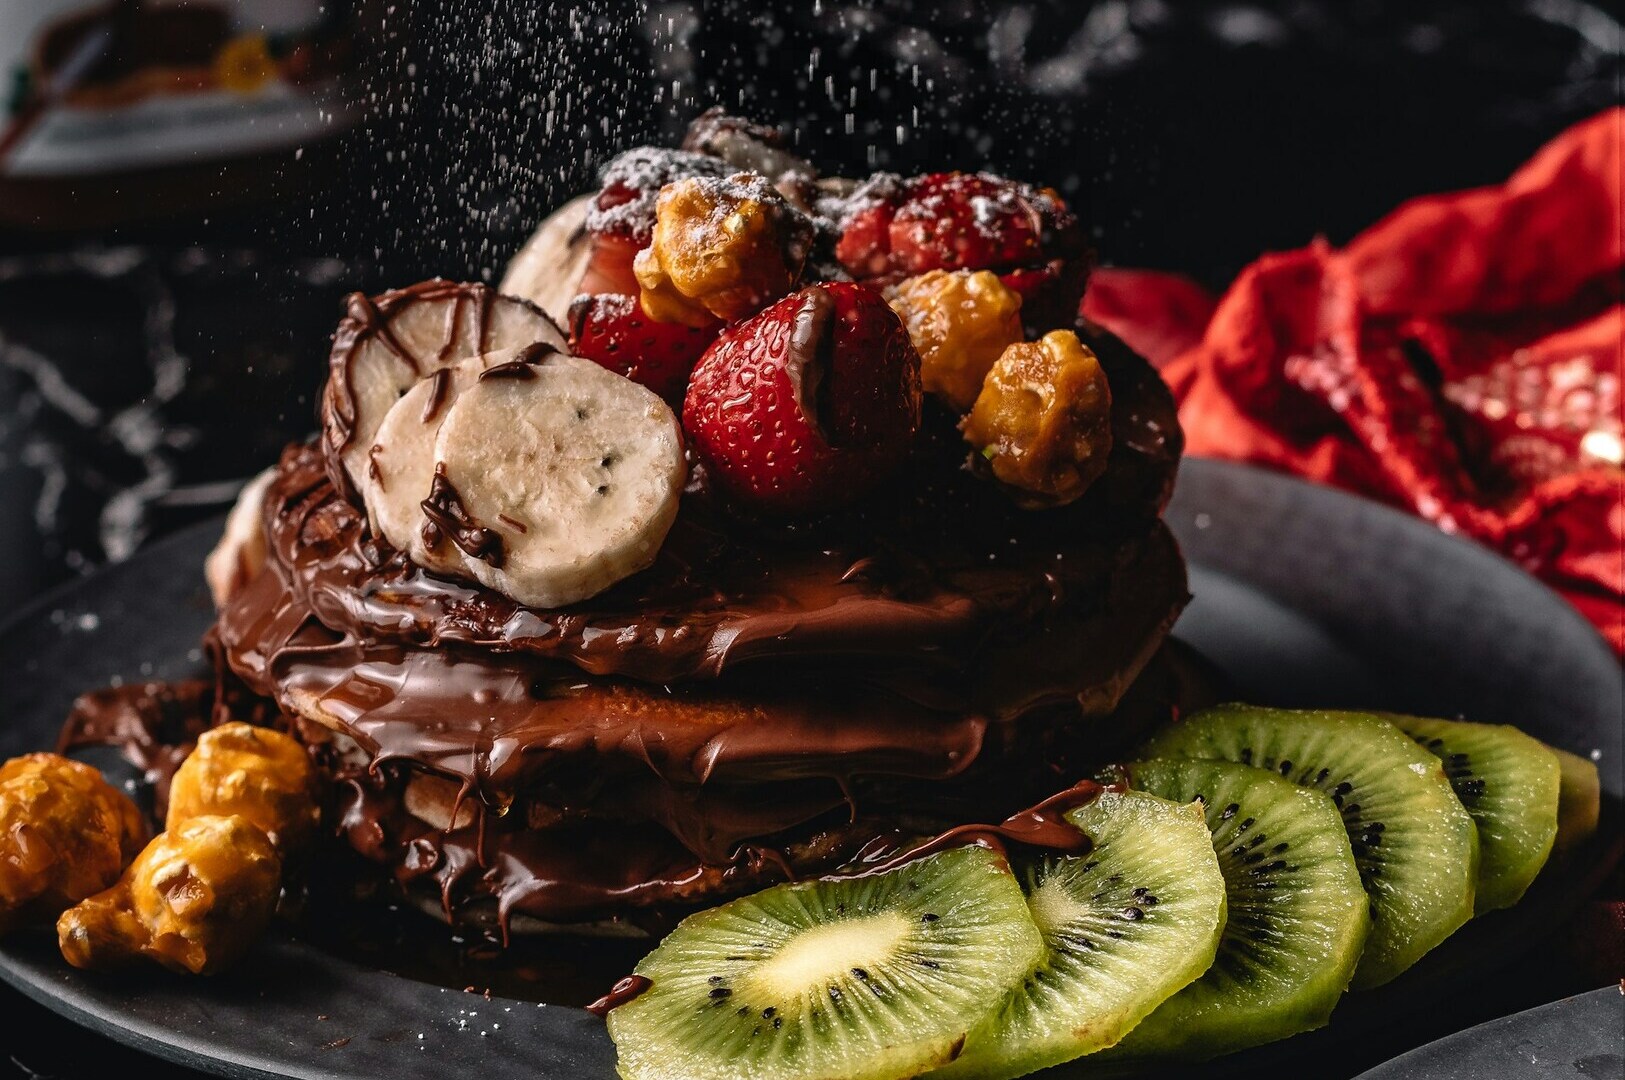
The 45-degree angle is the most appetizing way to showcase individual dishes, mimicking how we see food at a table. It’s perfect for showing depth and layers, like Laksa, towering burgers, or kueh lapis.
This angle lets you create shallow depth of field or background blur, highlighting the front of the dish and making the food pop. Most modern smartphones’ Portrait Mode makes this easy, producing beautiful imagery.
When shooting at 45 degrees, consider the background—wooden boards, textured linens, or a blurred restaurant interior add warmth and context. Rustic surfaces suit Singaporean cuisine better than sterile white ones. Take a few shots from slightly different heights to find your best perspective. This “hero shot” stops customers scrolling and starts orders.
Idea 4: The Action Element and Human Element
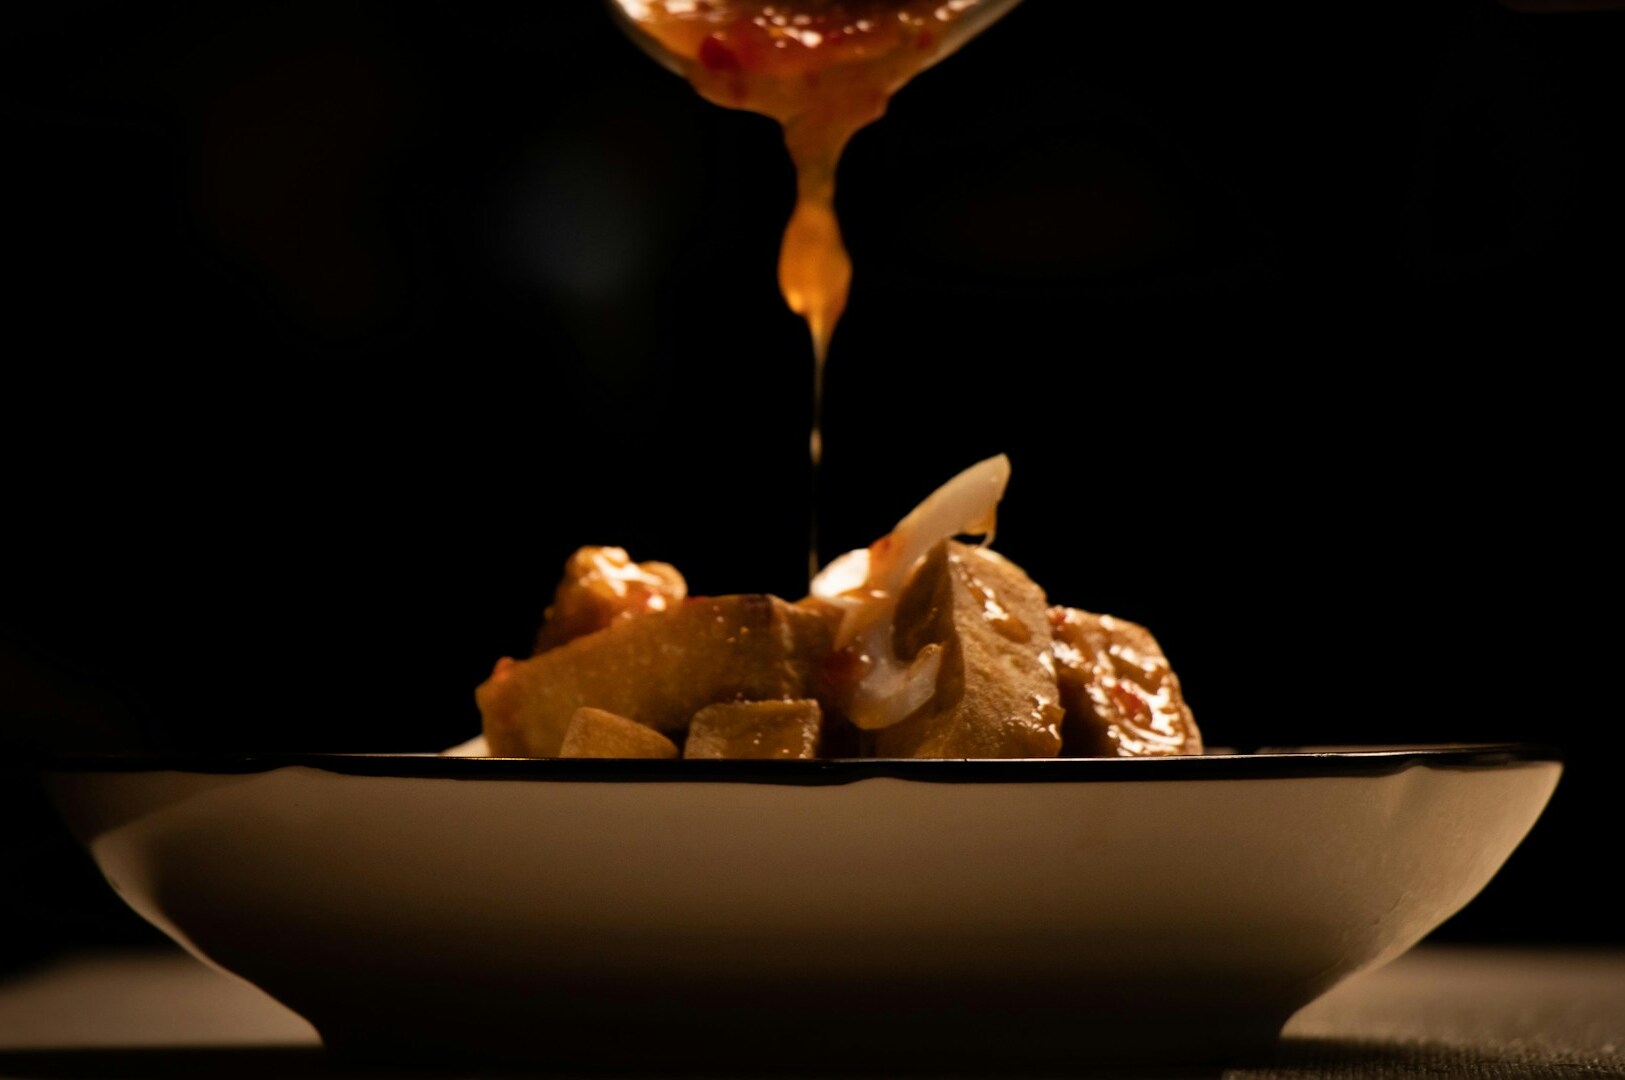
Food is dynamic, not static. Adding action brings life to your food photos such as a pour of teh tarik, gula melaka drizzle, or steam rising from a claypot adds movement and excitement. These action shots trigger sensory responses, making viewers imagine the dish’s smell and taste.
Capturing steam requires backlighting (ensure light is behind the steam to make it visible) and quick shooting. Use burst mode on your iPhone camera or Android to catch the perfect moment.
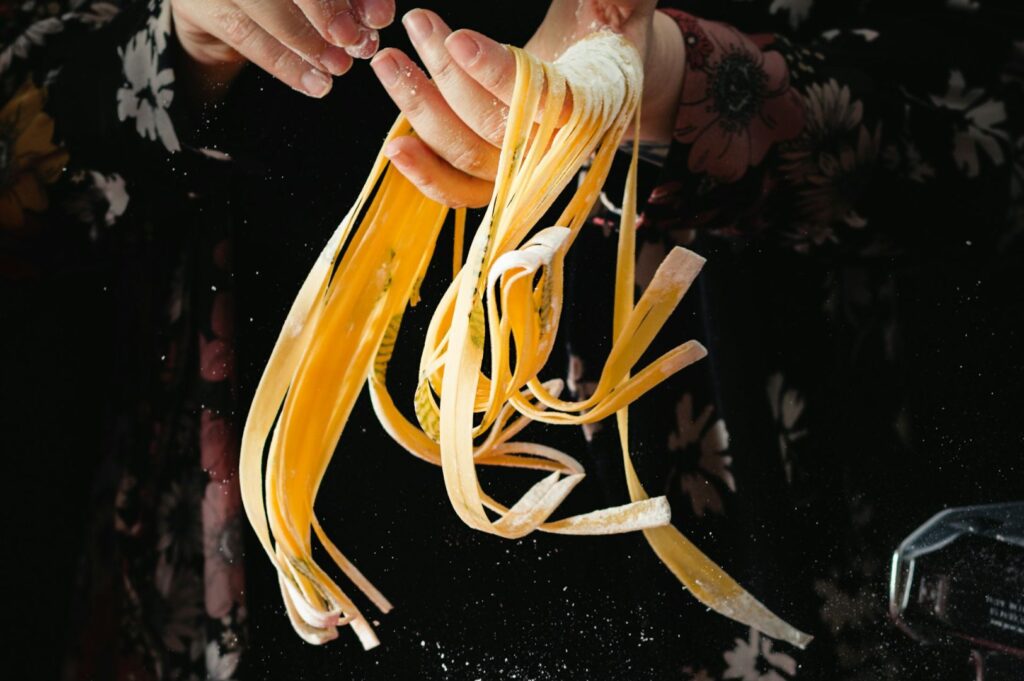
Adding a human element is powerful. A hand reaching for kaya toast, chopsticks lifting noodles, or holding coffee adds scale and storytelling. This human element adding authenticity connects viewers to the meal. Even solo shooters can use a timer or tripod to include their hand, turning static images into shared experiences.
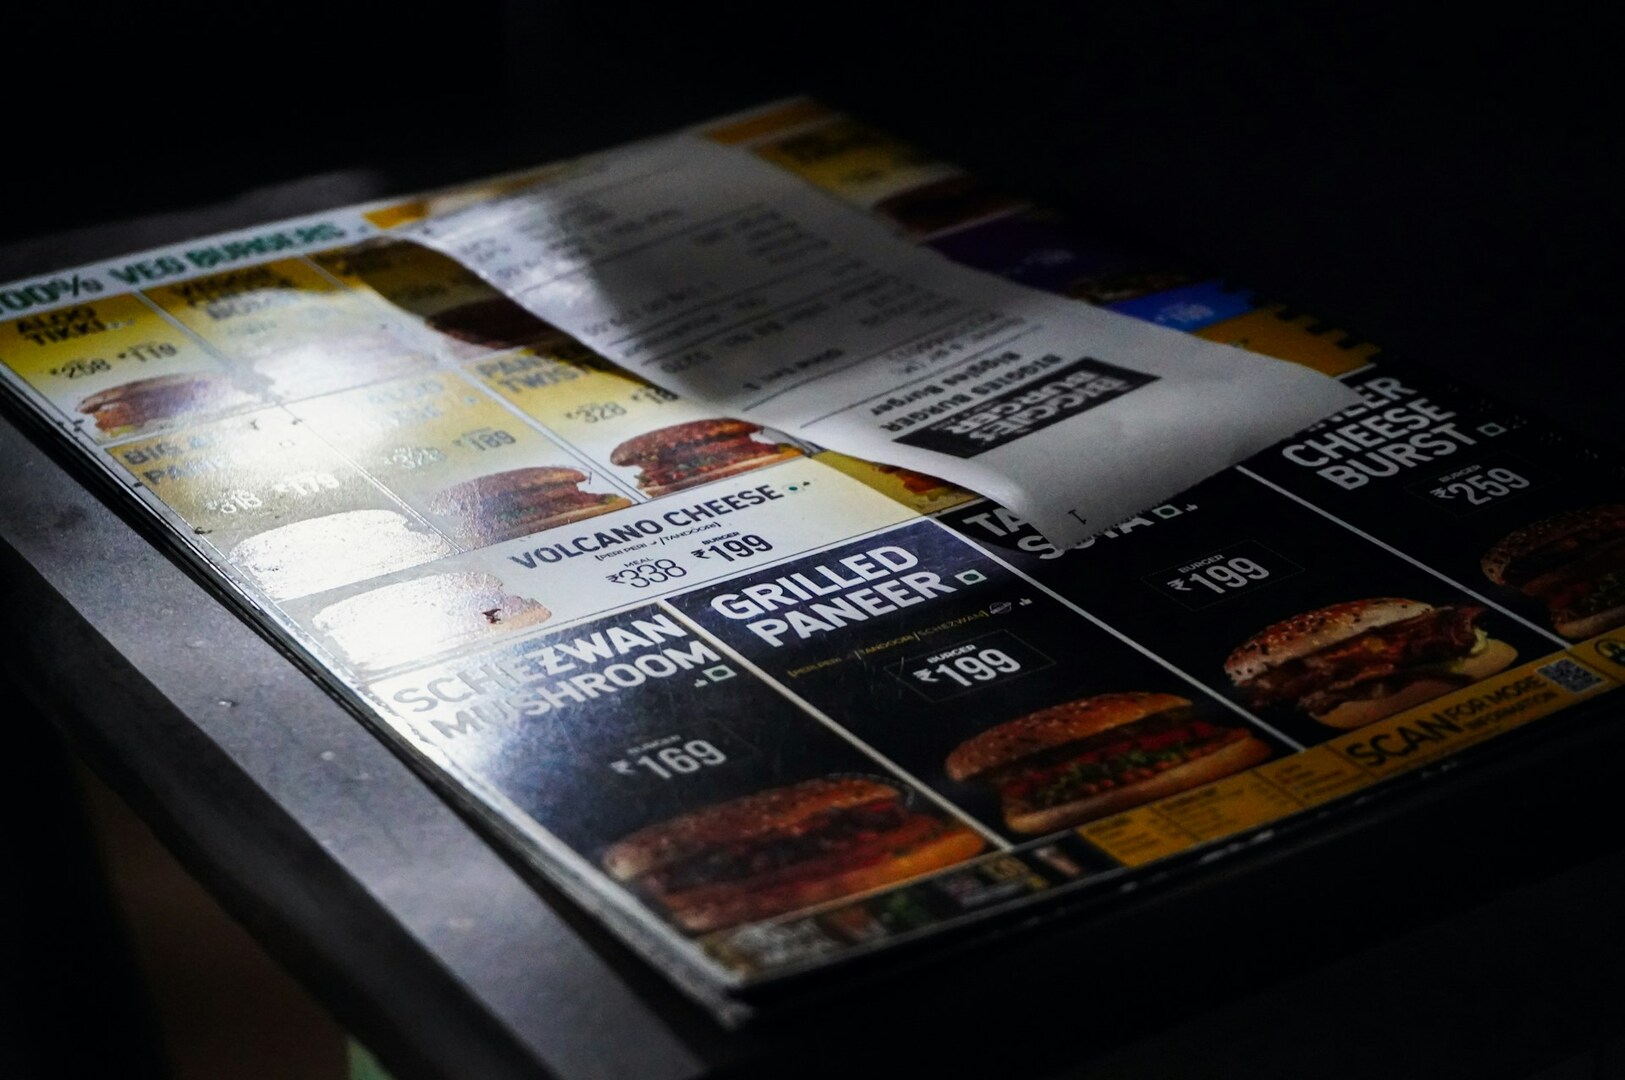
Idea 5: The Context Shot for Atmosphere

Your food is part of a larger experience, so capturing the restaurant’s atmosphere adds depth to your food photography. Context shots tell the story beyond the plate: how the kitchen steam and bustling hawker stall or a cozy café table with coffee and cake by shophouse windows.
Use food photography props that complement the scene without cluttering it. Items like vintage menus, chili sauce bottles, or textured tabletops add authenticity and help strengthen your brand identity.
Balance the focus carefully between the food and its environment while the food remains the star, the context supports the narrative. This approach to restaurant photography not only enhances your food photos but also helps your business stand out in a competitive market by telling a compelling visual story.
Idea 6: The Monochrome Moment for Texture
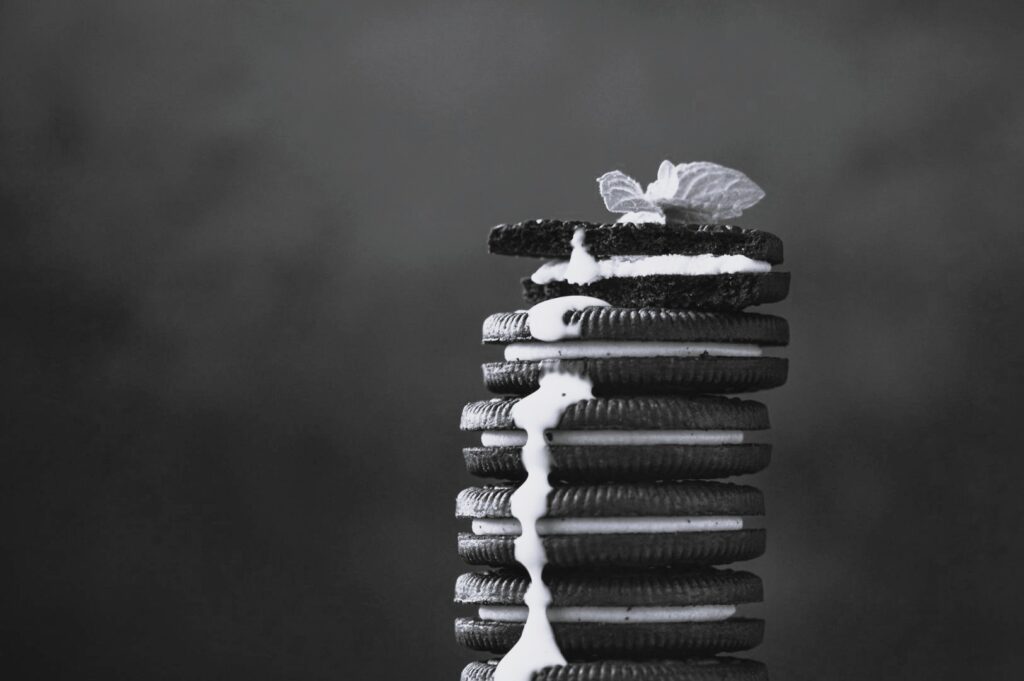
While colorful food is generally more appetizing, sometimes stripping away color can create a stunning artistic impact. Black and white food images emphasize texture, shape, and contrast. This works particularly well for rustic items like crusty breads, coffee art, or dramatic plating where the form is more important than the color.
In the context of Singapore’s hawker culture, monochrome can add a gritty, documentary feel to behind-the-scenes shots or portraits of chefs at work. It creates interesting textures and highlights the raw materials of the trade. However, use this technique sparingly. It is not suitable for dishes that rely on vibrant colors for appeal, like a fresh salad or a colorful dessert.
Converting color images to black and white is easy with photo editing software. Look for high-contrast scenes where light and shadow play a significant role. This adds artistic variety to your portfolio and can stop the scroll simply because it looks different from the usual saturation-heavy food content.
Idea 7: The Ingredient Story and Authenticity
Consumers today care more than ever about where their food comes from. The “market-to-table” narrative is strong in Singapore. Use photography to tell this ingredient story. Take before and after shots showing raw ingredients next to the finished dish. A basket of fresh chilies next to a bowl of sambal, or raw coconuts beside a finished curry, builds transparency and trust.
These shots are easy to set up using market bags, cutting boards, or prep areas. They highlight the freshness and quality of your inputs. It connects the customer to your sourcing story and the effort that goes into each dish. This type of content is highly engaging and educational, positioning you as an expert in your craft.
You don’t need a complex setup. A simple arrangement of ingredients on a clean surface with natural light is often enough. It’s a great way to create content when you don’t have a finished dish ready to shoot. It reinforces the authenticity of your brand and celebrates the raw beauty of food.
Idea 8: The Smartphone Editing Formula For Food Photos
Taking the shot is only half the battle. Post production is where good photos become great. You don’t need expensive subscriptions; many photo editing software options are extremely user friendly. Free apps like Lightroom Mobile, Snapseed, and VSCO can transform your smartphone editing workflow.
Follow a simple three-step process: adjust exposure to brighten without blowing highlights, enhance color by correcting white balance for natural tones, and add sharpening to make textures pop.
Make minor adjustments instead of heavy filters. Aim for the perfect shot that looks natural and edible. Developing your unique style in editing is key—whether bright and airy or dark and moody. Compare two photos side by side for a better idea and batch edit to keep your feed consistent.
When to Upgrade to a Professional Food Photographer
While these DIY tips are excellent for everyday social media updates and low cost content creation, there comes a moment when investing in a professional food photographer becomes essential. If you’re launching a new menu, creating large-format posters, or running a major food blog campaign, professional photography will elevate your brand.
A great photographer offers expertise in lighting, styling, and composition that surpasses what a smartphone or basic camera can deliver. They use advanced equipment, including different lenses, to handle complex lighting and styling challenges, ensuring consistent, eye catching results across all your food images.
Investing in professional food photography for your hero dishes or key marketing assets guarantees images in raw format that allow for high-quality post production edits. These polished images build customer trust and perceived value, helping you command higher prices and stand out in a competitive market. Having a solid understanding of basic techniques from DIY practice will make collaborating with professionals more effective, as you’ll have a clearer vision of your desired style and personal preference.
Conclusion: Your Next Steps to Better Food Photography
Improving your food photography doesn’t happen overnight, but these easy food photography ideas provide Singapore F&B businesses with practical tools to start their food shoot immediately. You don’t need a studio or expensive gear to shoot food that captivates. By mastering natural light, controlling your shutter speed, and understanding the best camera angle, along with simple food styling tips, you can significantly enhance your brand’s image.
Begin with one or two techniques. Maybe tomorrow you try the window light trick to get more light, and next week you experiment with an overhead flat lay. Consistent practice helps you develop your own style and avoid blurry images caused by camera shake. Remember, the important aspect is to showcase your food in the most appetizing way possible.
These principles form the foundation. Professional photographers at Food Photographer Studio have perfected them, plus many other techniques. If you need a complete visual strategy that drives real business results, consider professional help. But for now, grab your camera, whether a smartphone or a DSLR with a fixed focal length or zoom lens, find the light, and start creating your final image with great photos.