Most restaurant teams do not fail at food photography because they “don’t have taste”. They fail because they are rushing between prep, service, staff issues, and customers.
That is normal. The problem is what happens next: the photo gets edited like an afterthought. Auto filter. Random brightness. Heavy sharpening. Then the dish looks worse than it did on the table.
If you want a routine that actually fits restaurant life, here it is. This is a 10-minute editing workflow designed for Singapore F&B teams who need speed, consistency, and a result that still looks like real food.
If you want the full, deeper framework behind this approach, we break it down in our main guide on editing food images without making them look fake.
Minute 0 To 1: Choose The Right Photo Before You Edit
This sounds obvious, but it saves the most time.
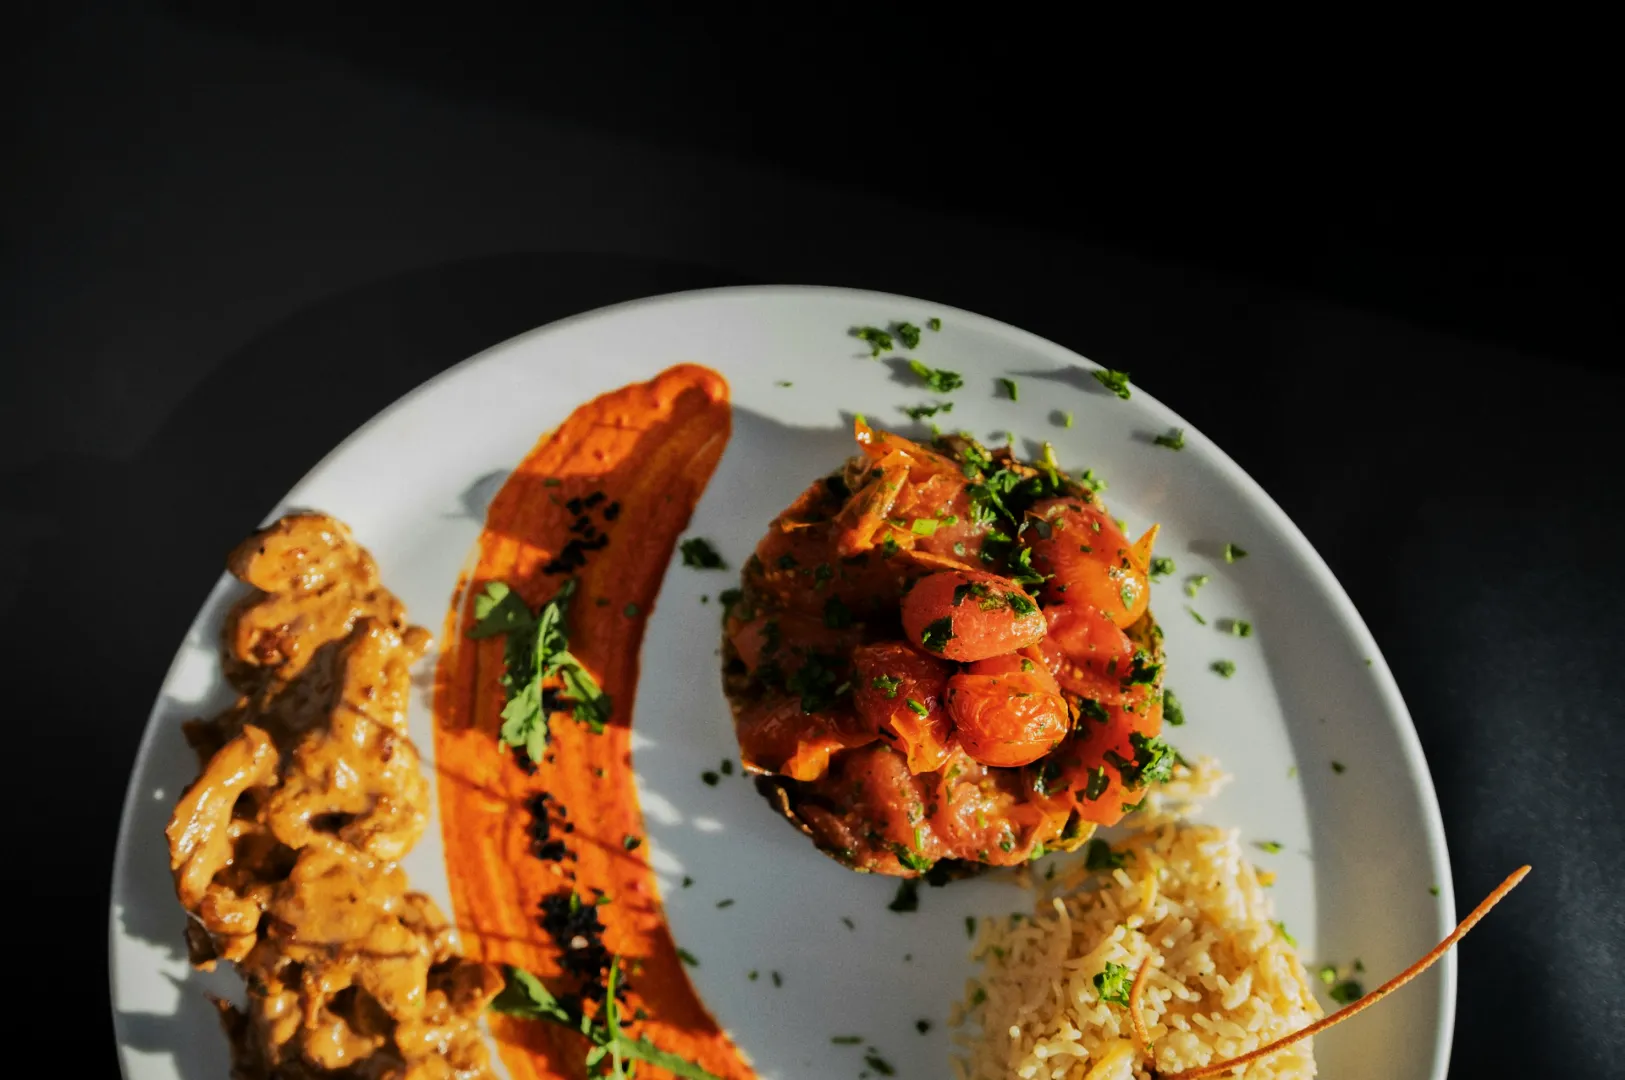
Pick the photo where:
- the dish looks freshest
- the plate looks clean
- the main subject is sharp
Do not pick the darkest image thinking you can “fix it later”. You will waste minutes fighting noise and colour shifts.
Minute 1 To 3: Crop For The Platform First
Decide where this photo is going:
- Instagram feed: 4:5
- Story or Reel cover: 9:16
- Google listing: wider, with context
- Delivery menu: tighter, ingredient-forward
Cropping early prevents you from editing corners you will delete.
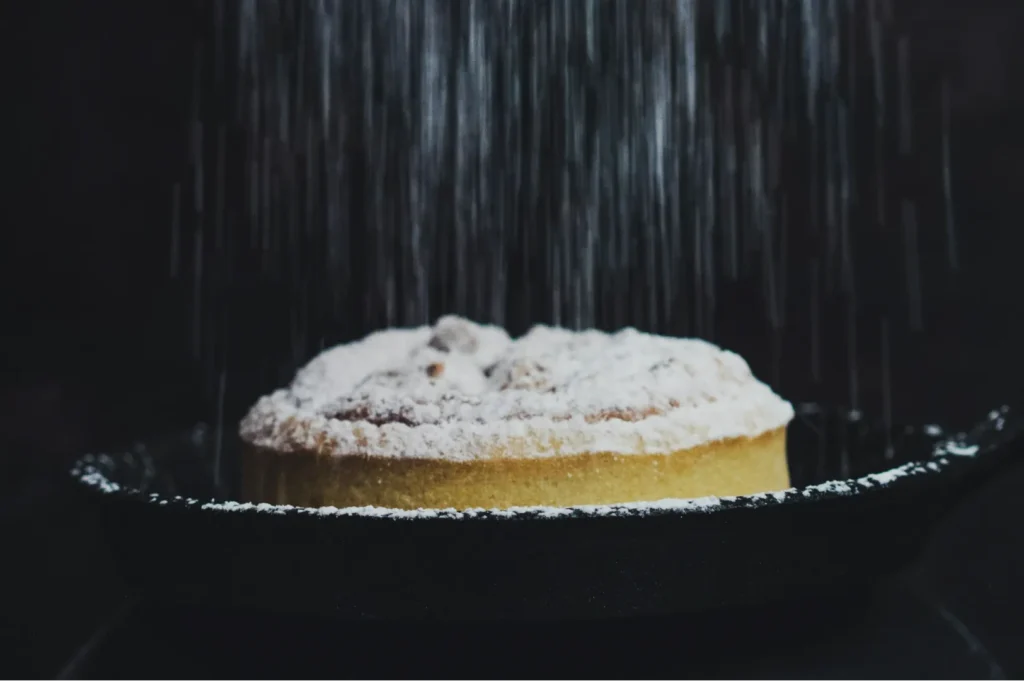
Minute 3 To 5: White Balance, Then Exposure
If you only do two edits, do these.
White Balance
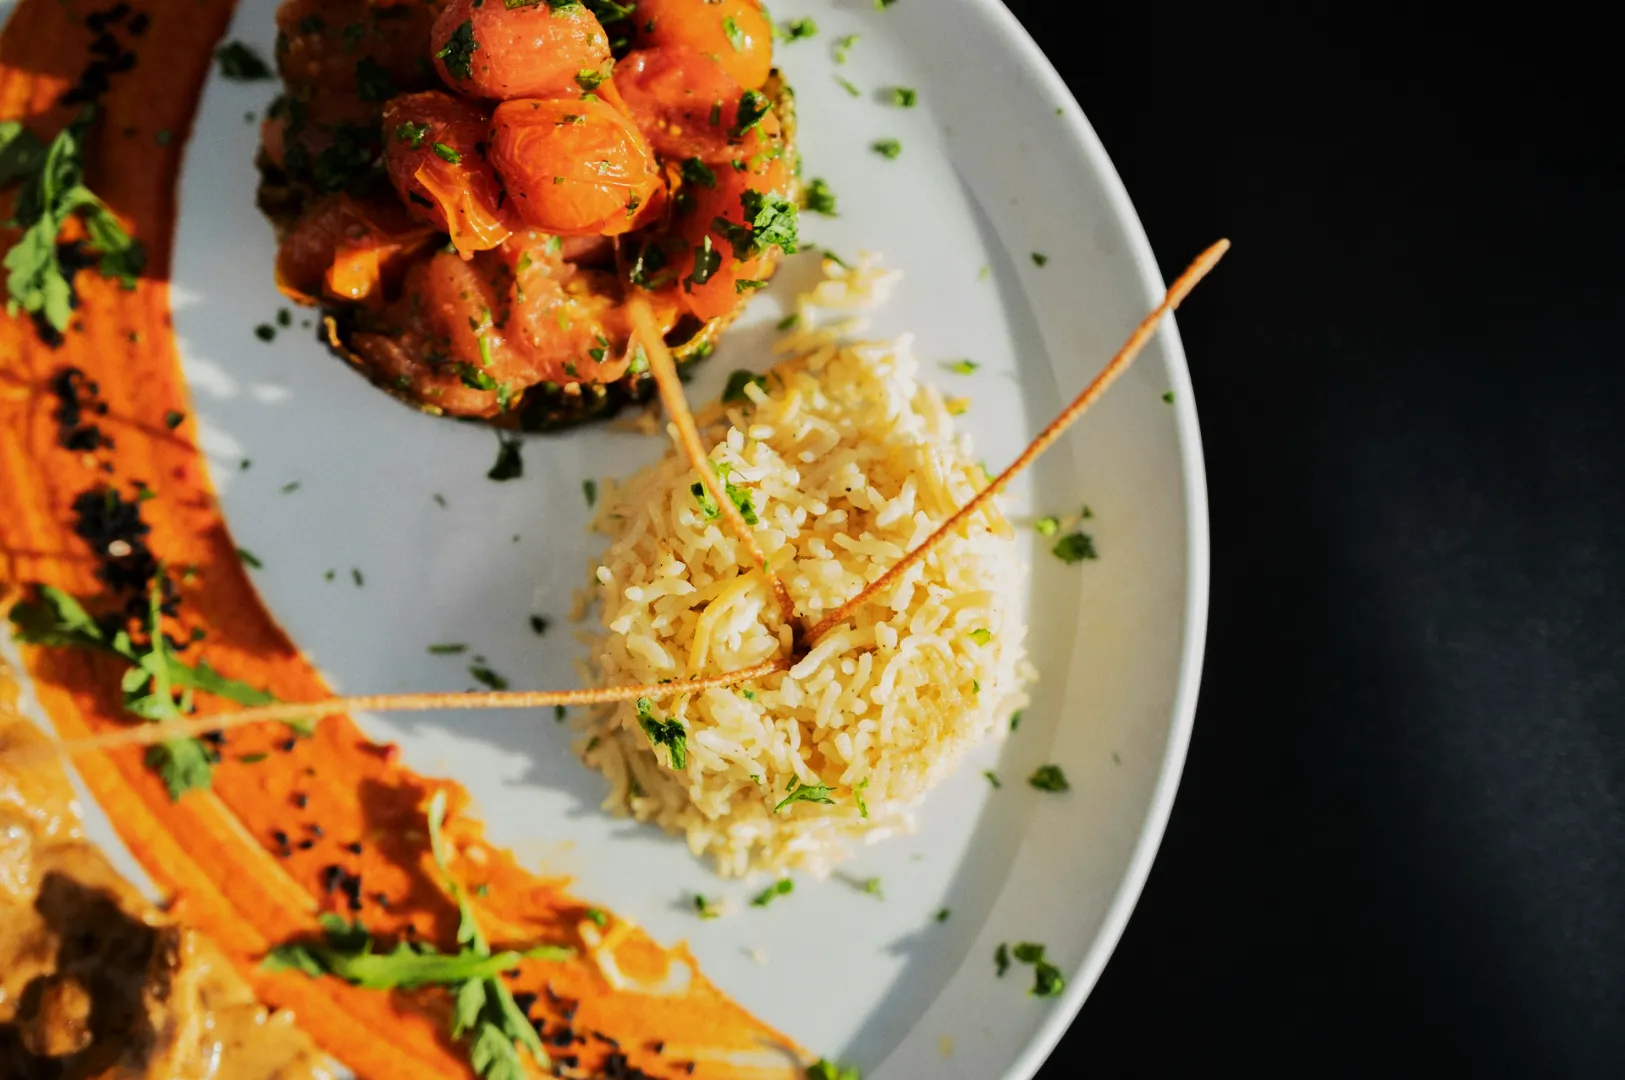
Singapore restaurant lighting is often warm. Your rice turns yellow, your fish turns grey, your greens look tired.
Adjust temperature until whites look neutral. Then correct tint if the image looks greenish.
Exposure
Lift exposure slightly until the dish looks readable.
Pull highlights down if plates are blowing out.
Lift shadows gently if ingredients disappear.
Stop early. Over-bright food looks fake fast.
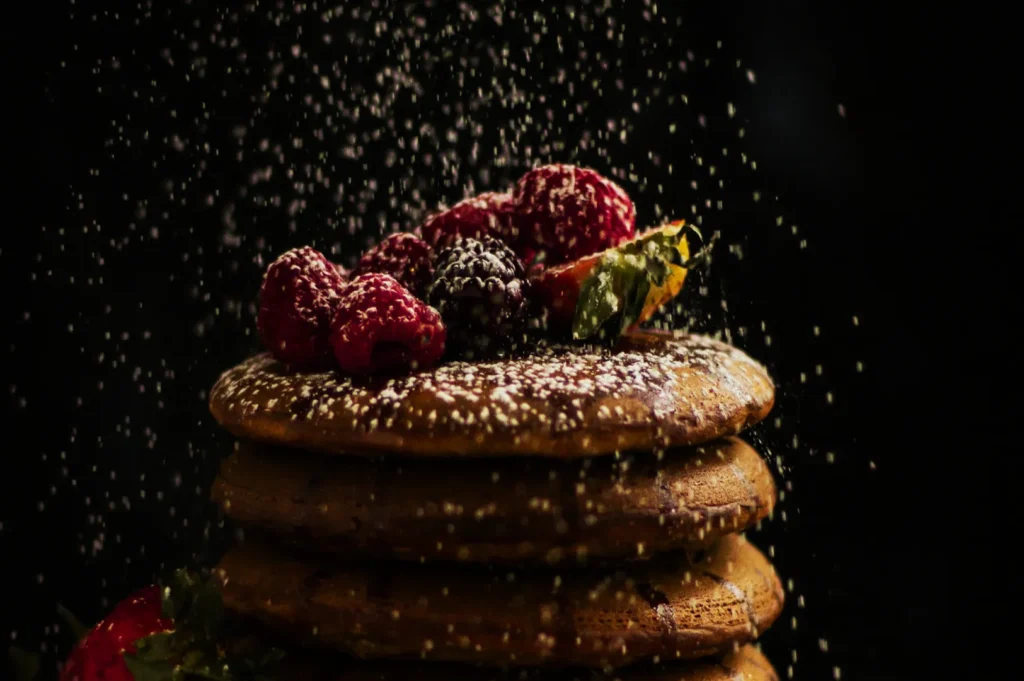
Minute 5 To 7: Add Contrast And Texture Carefully

This is where “fast edits” usually go wrong.
- Add a little contrast to give shape back to the dish.
- Add texture or clarity lightly to bring out crispness and garnish detail.
If you push texture too hard, sauce turns grainy and meat looks dry. That is the “over-edited” look diners notice instantly.
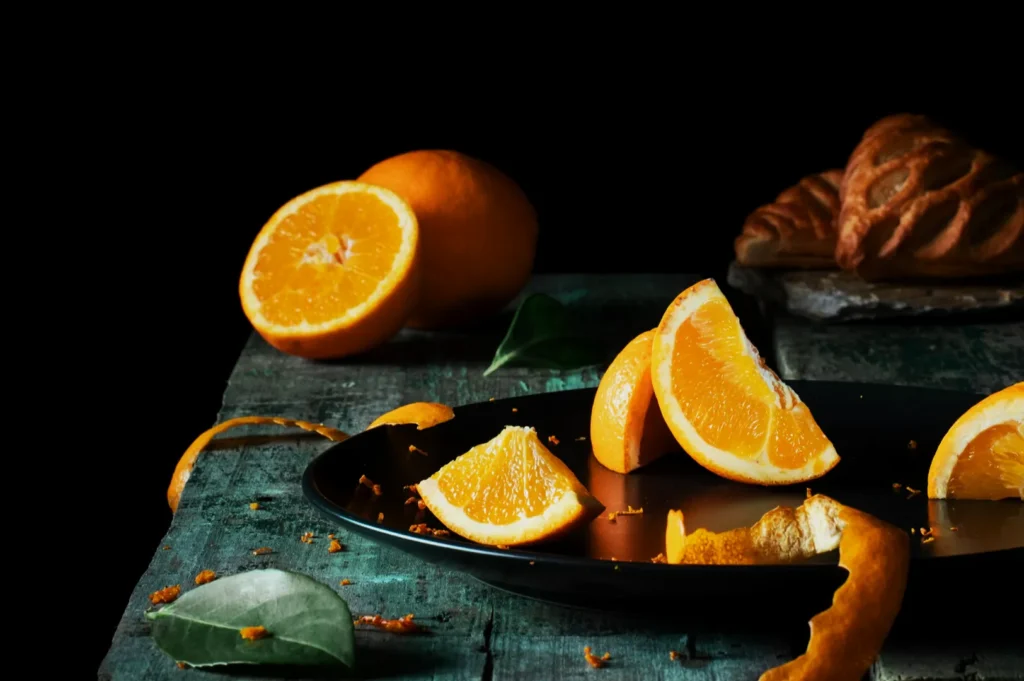
Minute 7 To 9: Clean Distractions, Not Personality
Use healing tools only for things that pull attention away:
- crumbs that do not belong
- drips on the plate rim
- random reflections
Do not clean everything. A little mess can look human. A completely sterile frame can feel like stock photography.
Minute 9 To 10: Export Properly So It Doesn’t Turn Blurry

A common pain point: your edited photo looks great, then Instagram or your website makes it look soft.
Basic export habits:
- export high quality, not “small file”
- avoid resizing multiple times across different apps
- keep one saved original edit in case you need a different crop later
If you are uploading to a website, you want clean quality without huge file weight.
Make This Routine Work In A Real Restaurant
The teams who succeed do one thing differently: they make editing repeatable.
Assign roles:
- one person shoots
- one person edits
- one person approves before posting
And keep a simple brand rule:
- one colour temperature style
- one crop style for menu dishes
- no random filters
Once you lock those in, even phone photos start looking professional.
When This 10-Minute Edit Is Not Enough
This workflow is perfect for daily content and quick updates.
But if you are doing:
- a full menu refresh
- a rebrand
- delivery platform hero images
- website banners
…then speed is not the goal. Consistency is. That is when professional menu photography and editing workflows save time overall, because you get a complete set that matches.
If you want to build that level of consistency, Food Photographer Studio can help you set a clear visual standard and deliver a full suite of menu-ready images.