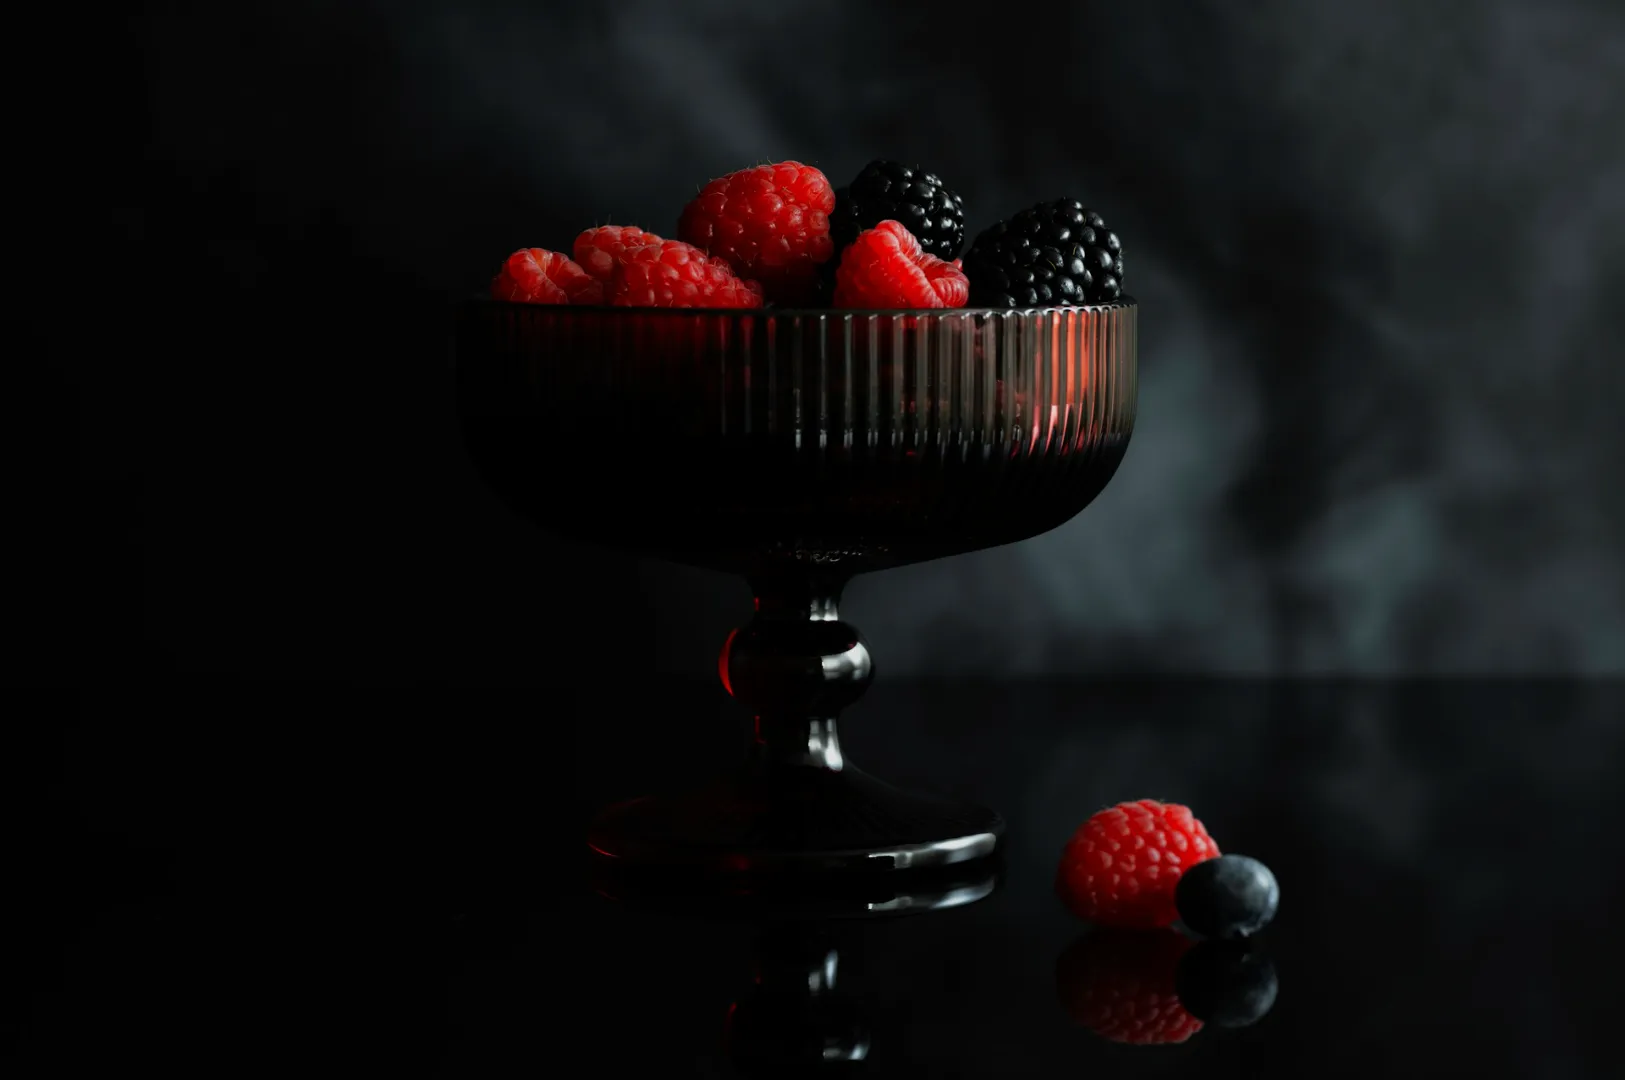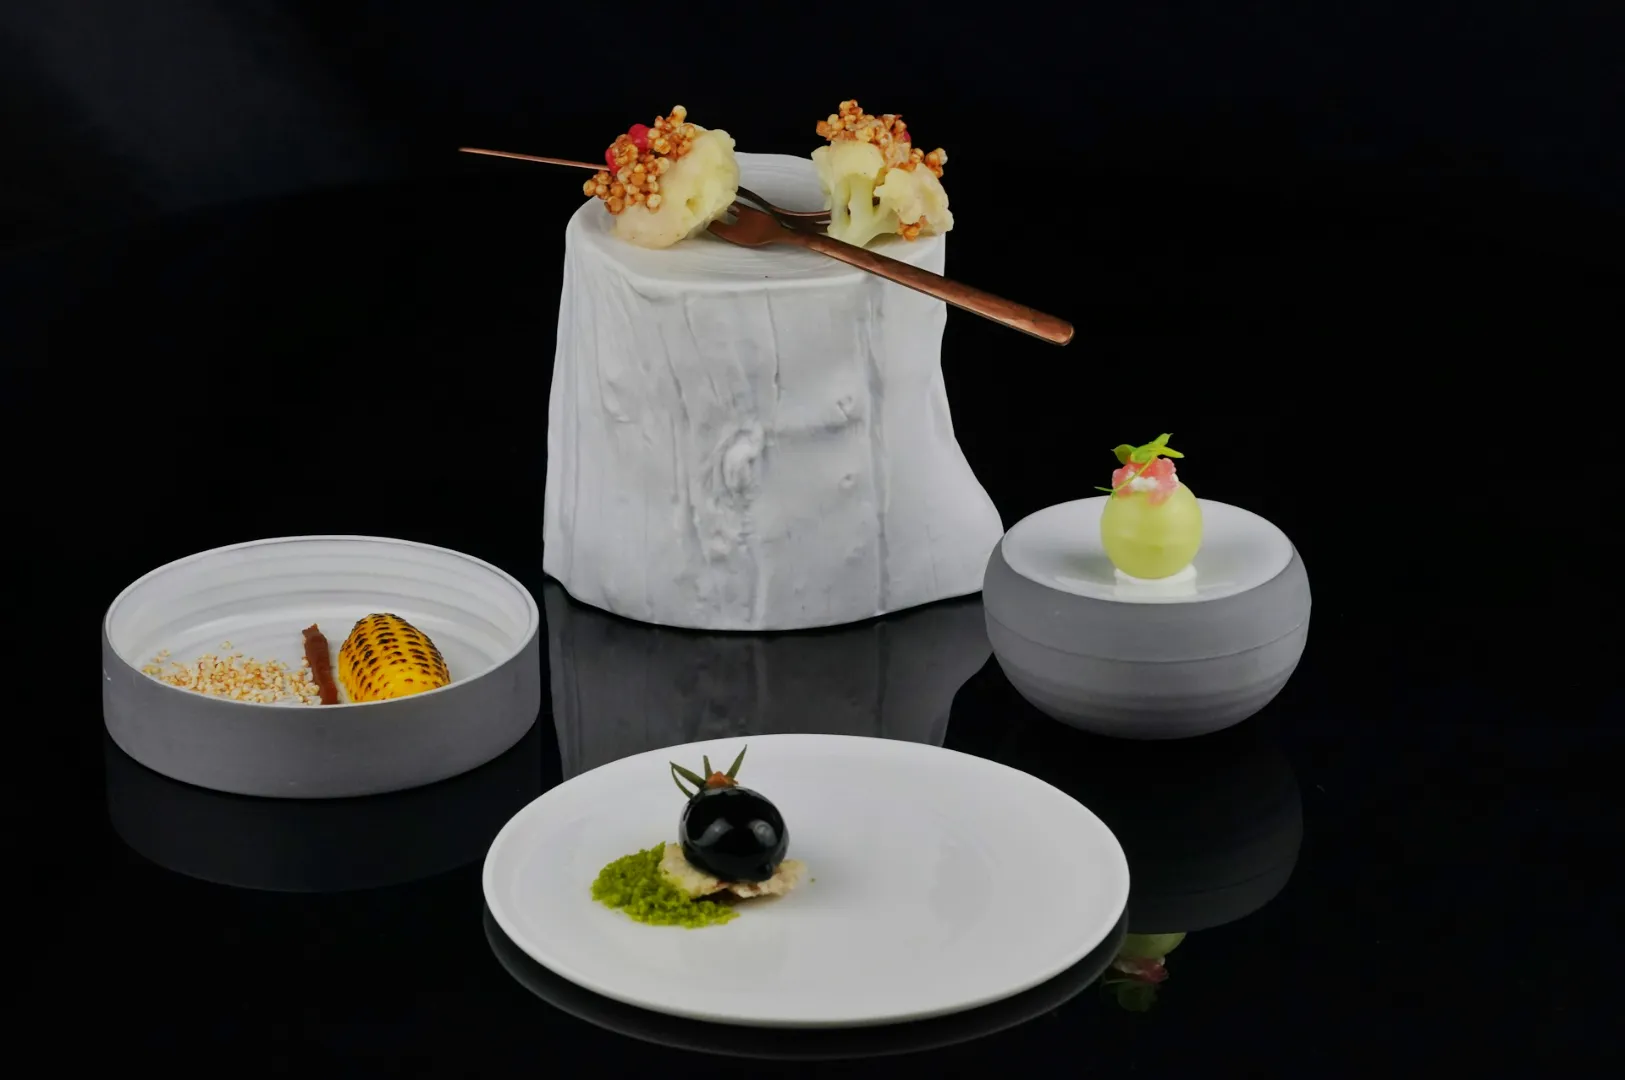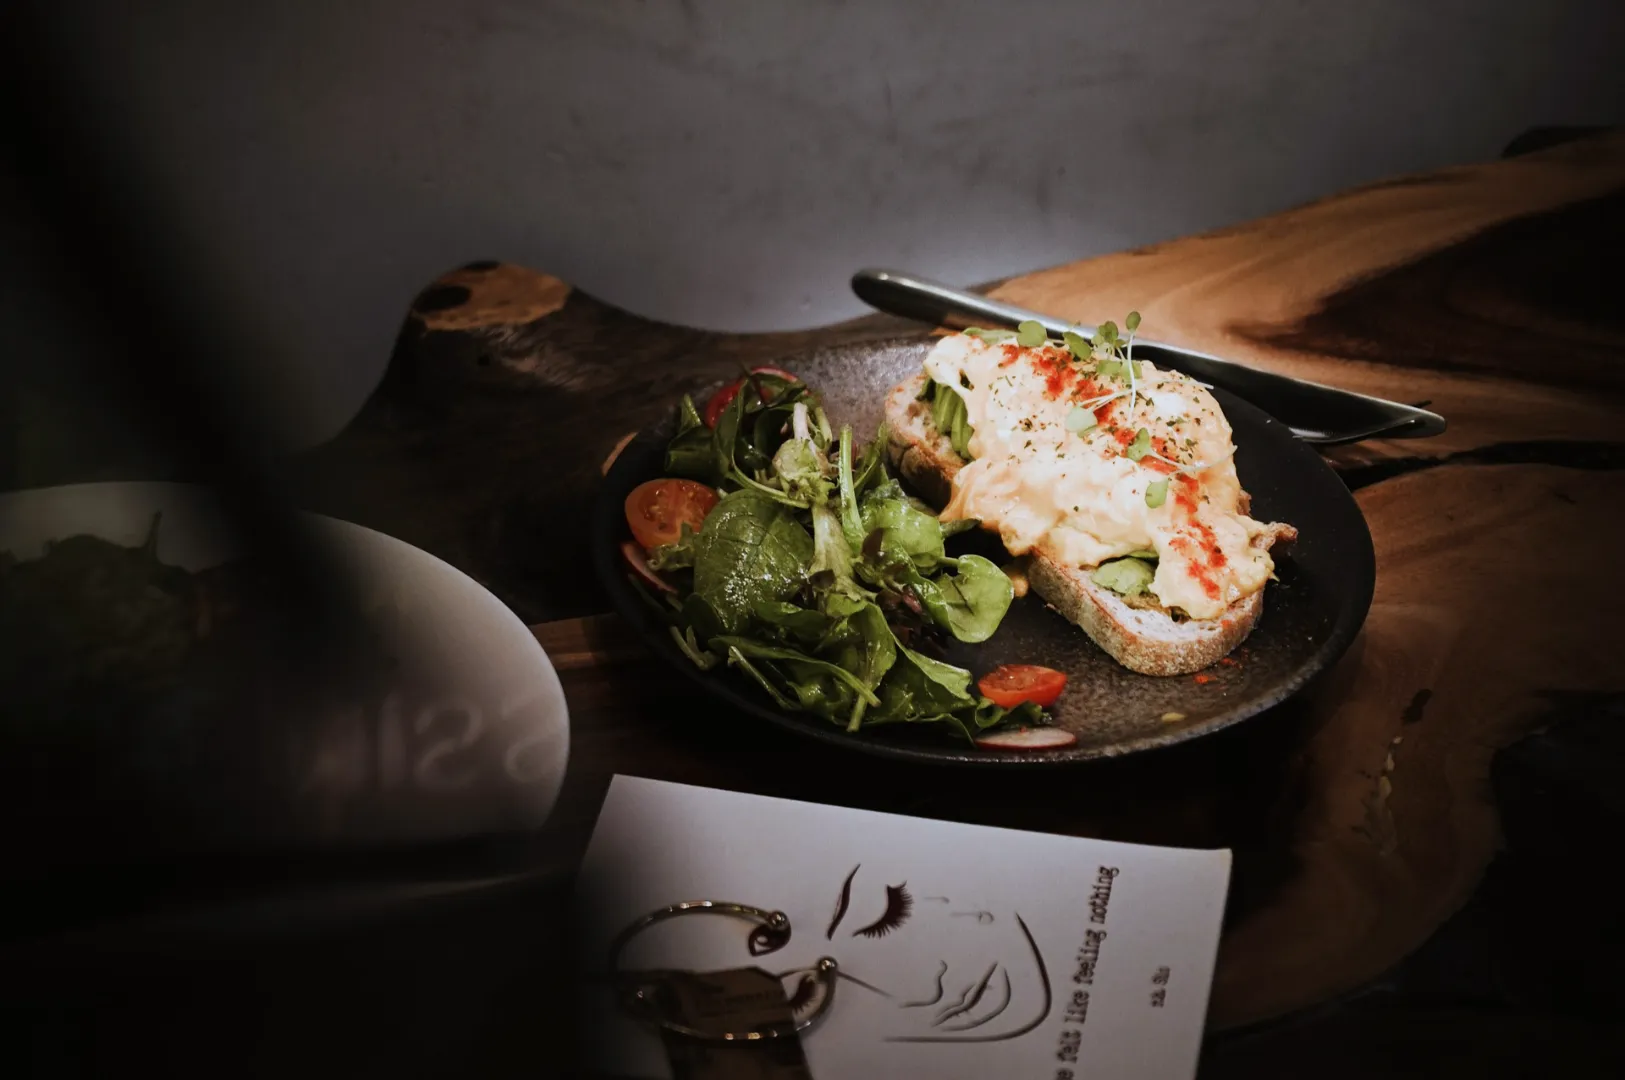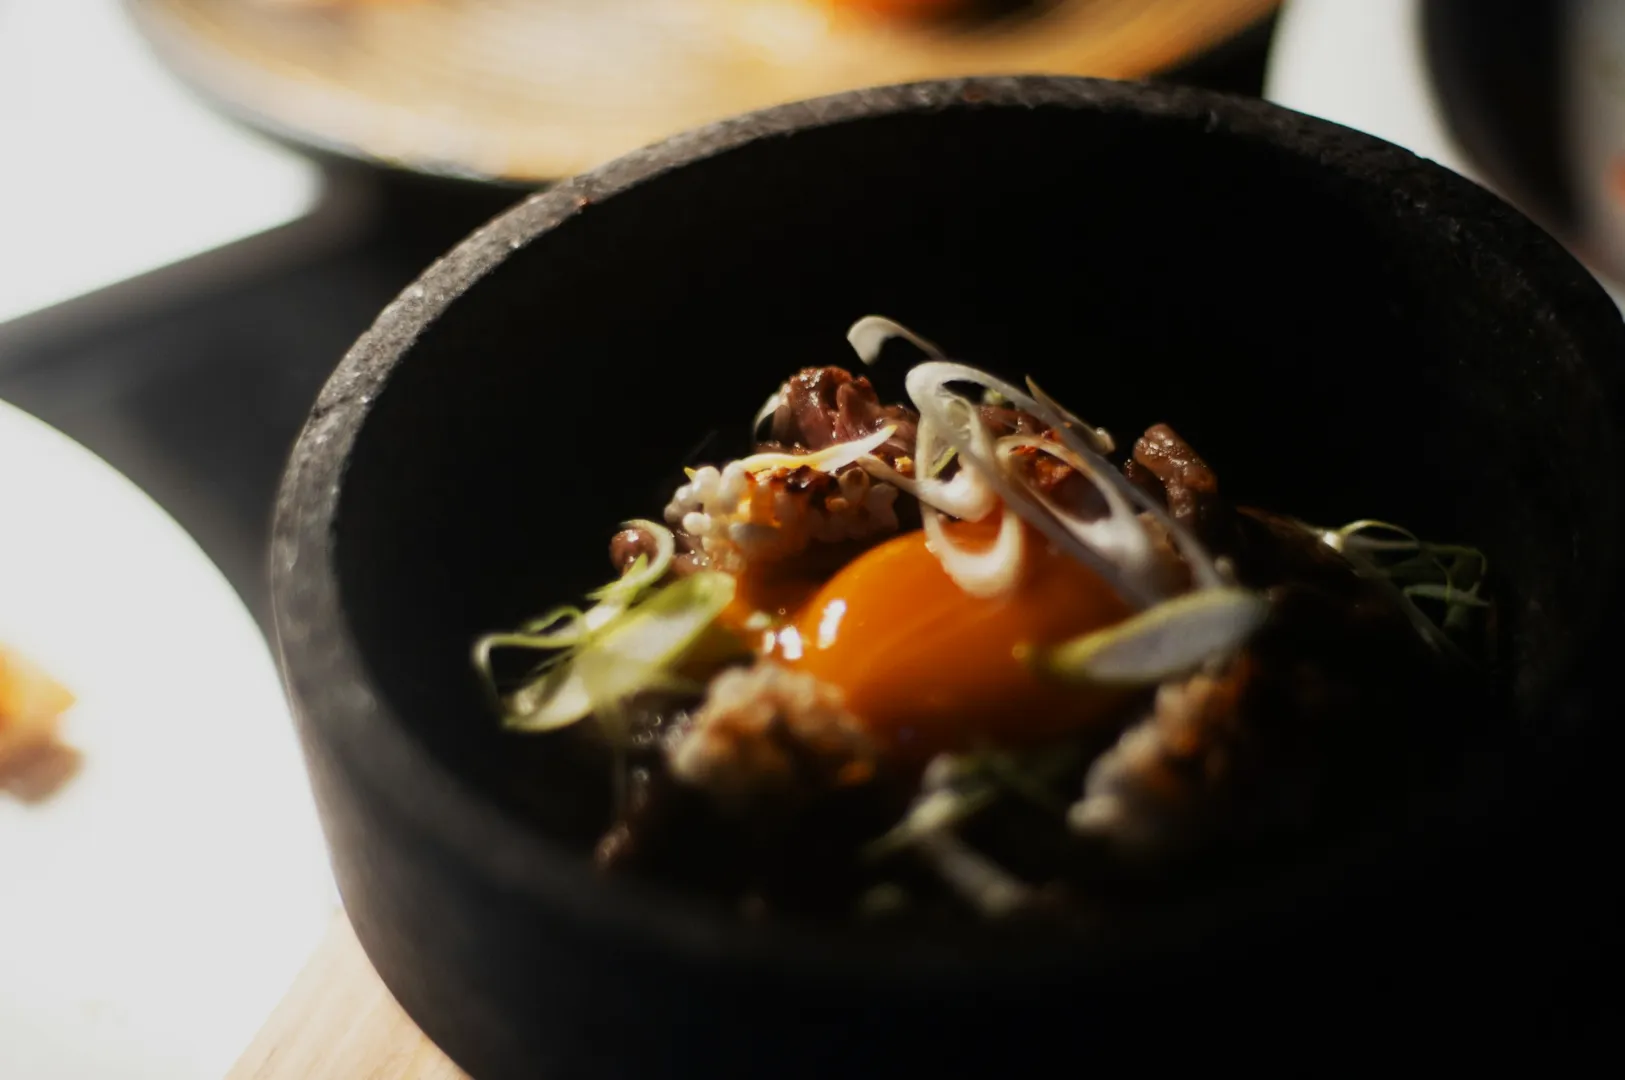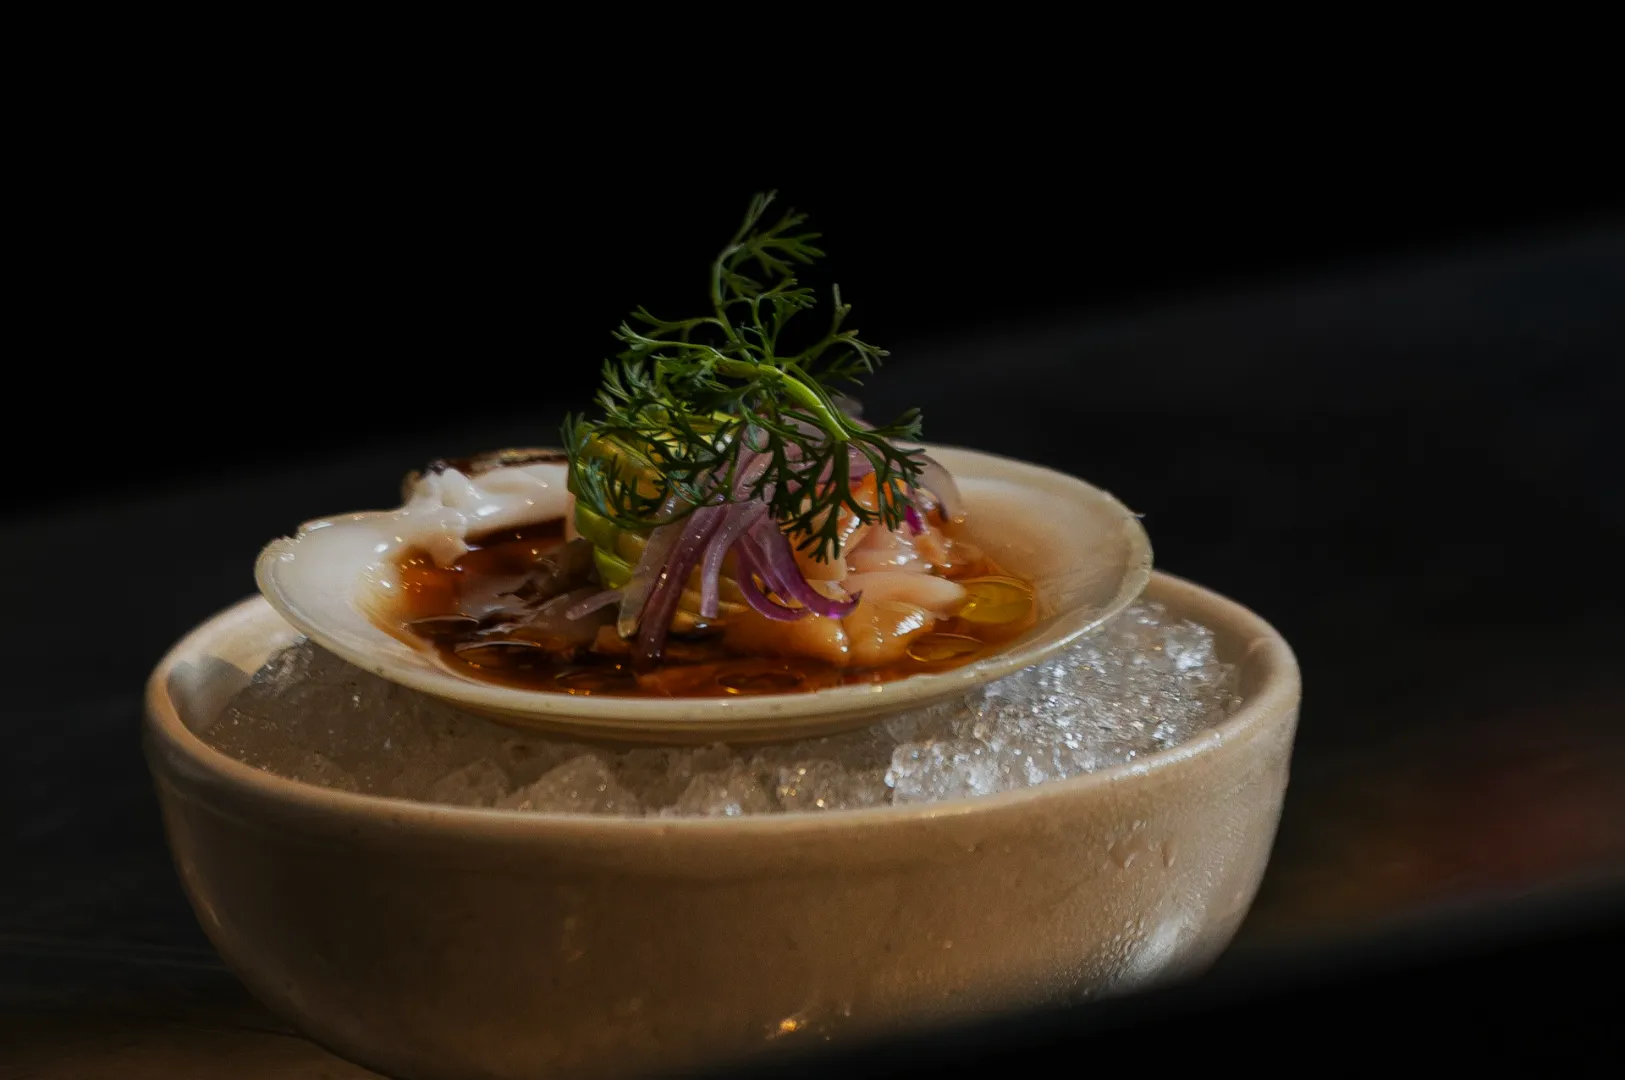
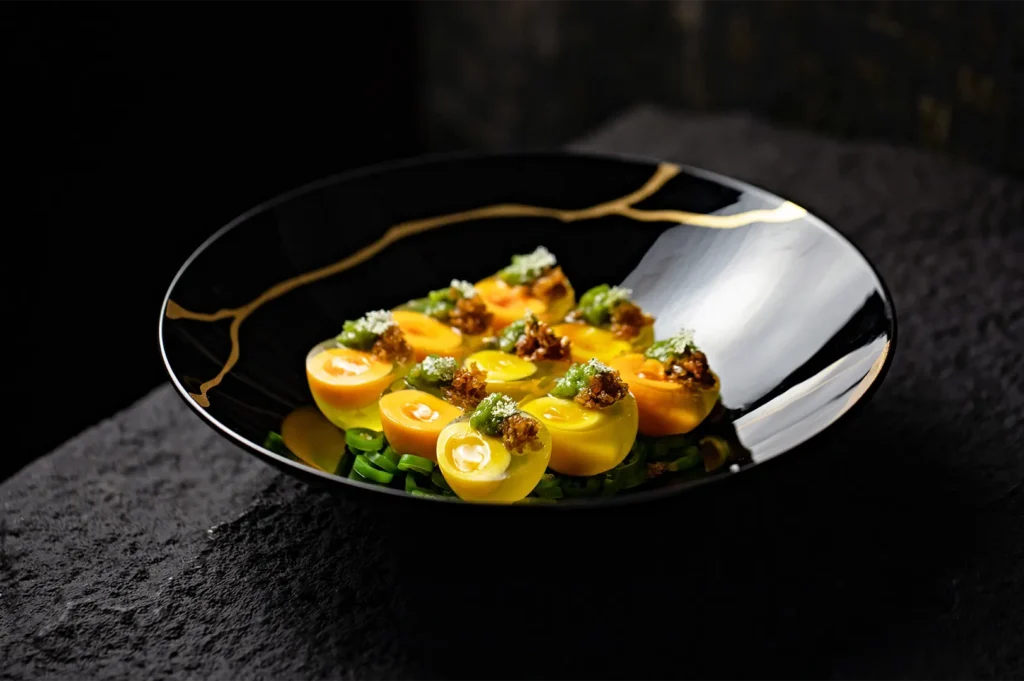
If your food looks great on the pass but “off” on camera, it is usually not your plating. It is colour.
Singapore restaurants are especially vulnerable because we shoot under mixed light all the time. Warm downlights in the dining area. Cool kitchen LEDs from the back. Window light bouncing off glass. A neon sign reflecting onto a glossy plate. Your eyes adapt instantly. Your camera does not.
That is why white balance becomes the silent killer. One small colour cast can turn chicken rice grey, soups muddy, and greens tired. Worse, it makes your food look inconsistent across a menu, which quietly reduces trust.
This article is a practical “colour truth” routine. It is designed for real service conditions. You will learn what to turn off, what to keep, where to stand, and how to lock white balance on both phone and camera so food looks like itself, only better.
Before you start, here is the main principle: your camera will always guess colour. Your job is to stop it guessing.
What White Balance Actually Controls
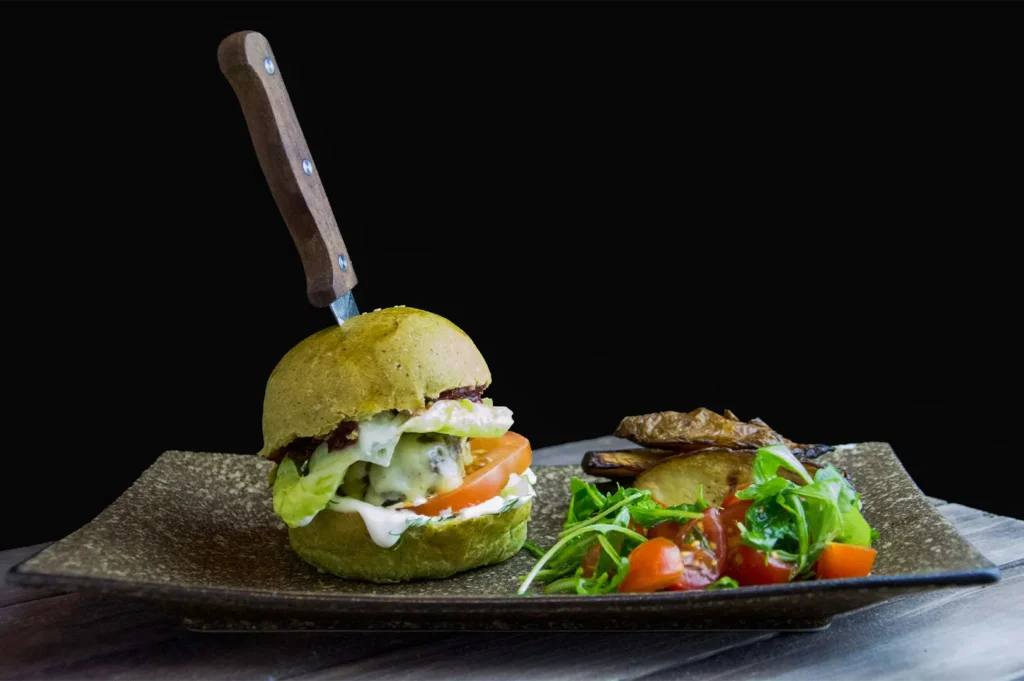
White balance is your camera’s decision about what “neutral” looks like under a light source. If the camera thinks the scene is too warm, it cools it down. If it thinks the scene is too cool, it warms it up.
That guessing becomes a problem in restaurants because:
- Mixed light confuses the camera (warm + cool in one frame).
- Reflective surfaces pick up colour from walls, signs, and table tops.
- Auto white balance changes shot to shot, even if your food did not.
Your goal is not “perfect colour science”. Your goal is repeatable colour that looks edible and believable.
Step 1: Pick One Light Source and Commit
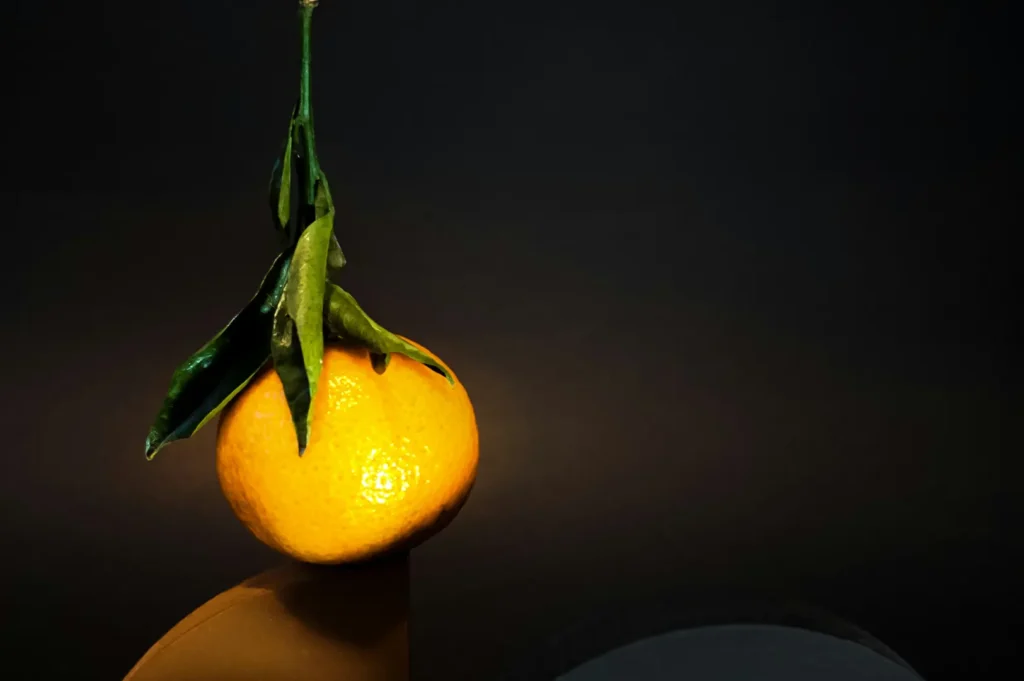
This is the fastest fix most teams skip.
Stand where you are shooting and ask: what is the dominant light?
- If you are near a window, use window light as your main light.
- If you are in a dim dining room, use one controlled light (a small LED or a fixed spot you always shoot in).
- If you are stuck under downlights, reduce the “light soup” by turning off what you can.
A simple habit: shoot from the same side of the table every time. If you move around, your food starts reflecting different colours and your “neutral” shifts.
Step 2: Turn Off the Lights That Ruin Food
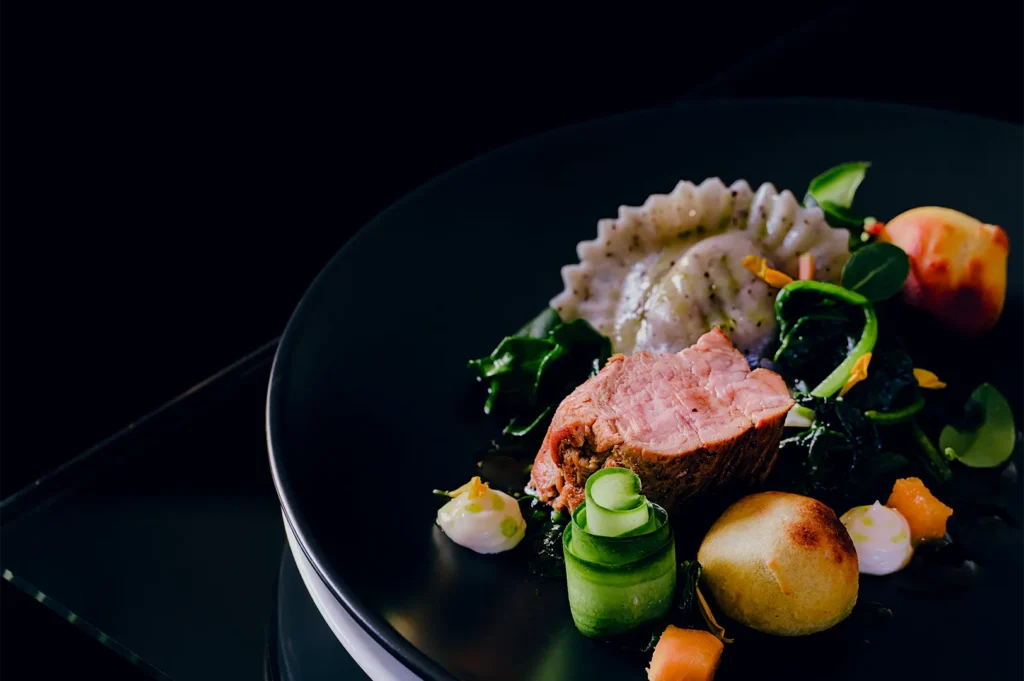
In Singapore, the biggest offenders are warm downlights, coloured feature lighting, and mixed kitchen spill.
Quick wins:
- Turn off nearby downlights around your shooting table, if possible.
- Move away from coloured lights (pink signs, blue LEDs, decorative strips).
- If you cannot turn lights off, change position so the dish is lit mainly by one source.
This matters because colour casts often come from the “secondary” lights you are not thinking about.
Step 3: Where to Stand So Food Looks Neutral
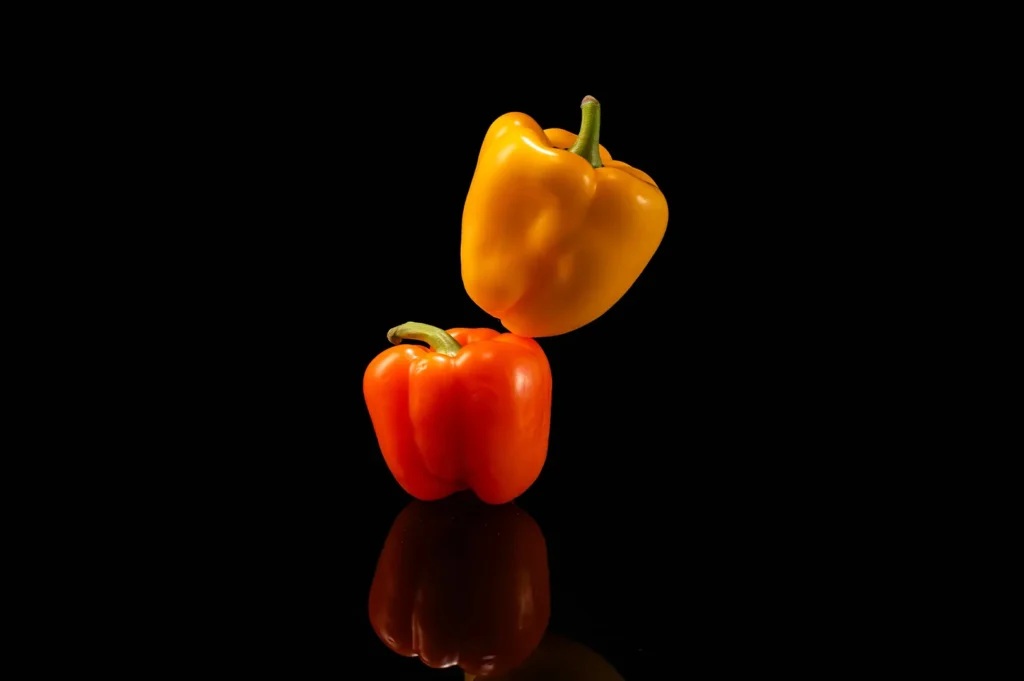
Your position matters more than people think.
- If you stand with window light behind you, your camera sees a bright source and often underexposes. Colour gets weird fast.
- If you stand so the window is to your side, colour looks cleaner and textures read better.
- If you stand with overhead lights reflecting straight into the plate, you get glare and colour contamination in one go.
Try this: rotate the plate slowly. If you see a warm blob moving across the sauce, that is a reflection. Step aside and it often disappears.
Step 4: Lock White Balance on a Phone (Fast, Reliable)
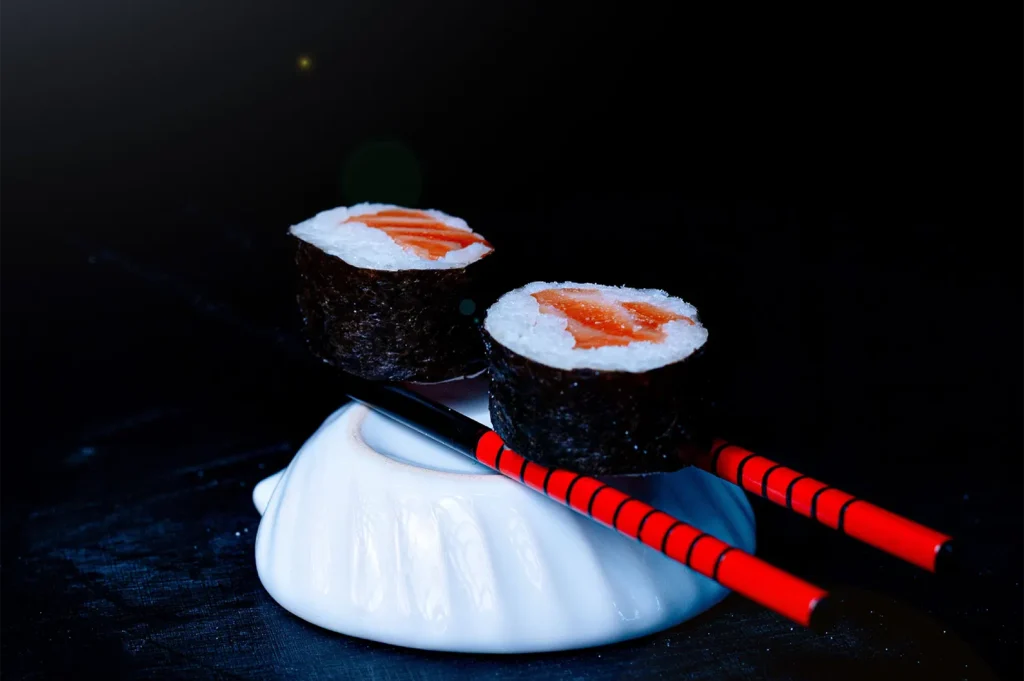
Phones are powerful, but auto white balance is jumpy. The fix is to lock your exposure and colour decision.
iPhone Routine (Works in 10 seconds)
- Go to your shooting spot.
- Tap and hold on the main dish until you see AE/AF LOCK.
- Slide exposure slightly down if highlights blow out.
- Keep your framing consistent so the lock holds.
If you use Lightroom Mobile, shoot in the app (or edit inside it) because you can correct colour with more control.
Android Routine (Varies by model)
Most Android camera apps allow a Pro mode:
- Set WB manually (often shown as Kelvin or presets like “incandescent”, “fluorescent”, “daylight”).
- Start with “daylight” near a window.
- Start with “fluorescent” under cool LEDs.
- Avoid auto if your lights are mixed.
If your phone has a “WB” slider, use it once and keep it consistent for the whole session.
Step 5: Lock White Balance on a Camera (The Cleanest Way)
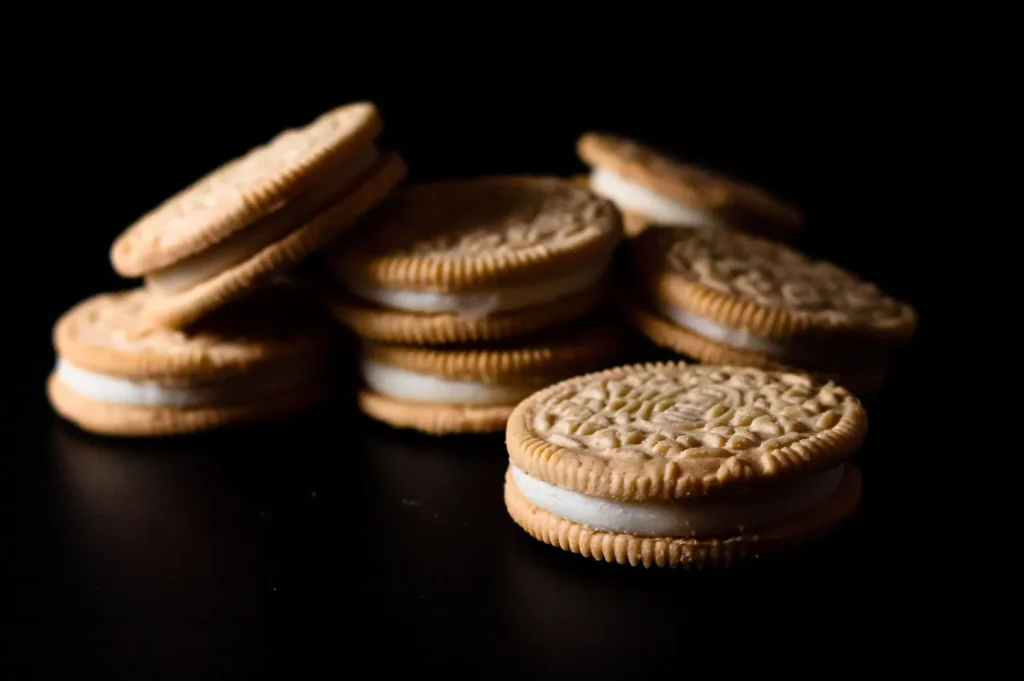
If you shoot with a camera, white balance control is one of the biggest reasons your work looks “professional”.
Option A: Set Kelvin Manually
- For window daylight: try 5200K to 6000K
- For warm downlights: try 3000K to 3800K
- For cool LEDs: try 4200K to 5000K
Do not obsess over the number. The win is consistency.
Option B: Custom White Balance (Most Accurate)
Use a grey card or a clean white napkin as a reference:
- Place the grey card where the dish will sit.
- Fill the frame with it under your actual light.
- Set custom WB in camera settings.
Now your camera stops guessing.
Option C: Shoot RAW for Colour Rescue Later
RAW gives you flexibility. If your team shoots fast and corrects later, RAW is your safety net. Just do not rely on it as an excuse to ignore bad light. Fixing colour is easier when the lighting is already clean.
If you want the full workflow we use to keep edits realistic, see our Singapore food photography tips playbook which covers the “capture clean, edit light” approach in detail.
Step 6: The “Colour Truth” Check Before You Post
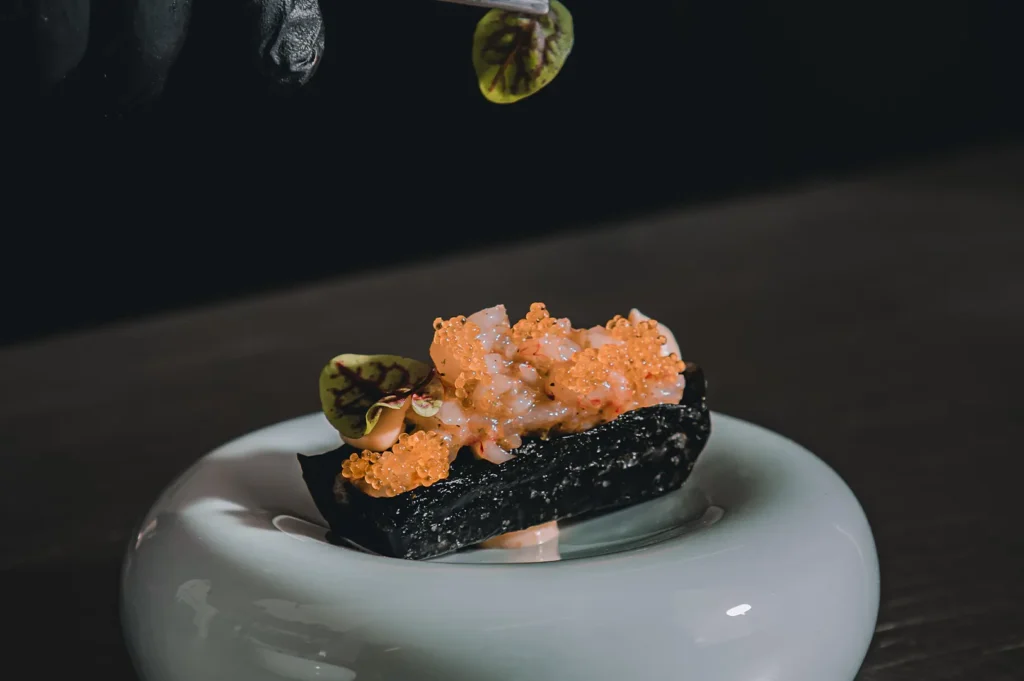
Before publishing, look for these red flags:
- Whites: is rice white, or yellow-grey?
- Greens: do herbs look alive, or murky?
- Skin tones: if hands appear, do they look normal?
- Sauces: do browns look rich, or muddy?
A quick trick: compare your edited image to a neutral object in the shot (a white plate, a napkin). If that neutral looks tinted, your food will look tinted too.
Colour Consistency Builds Trust
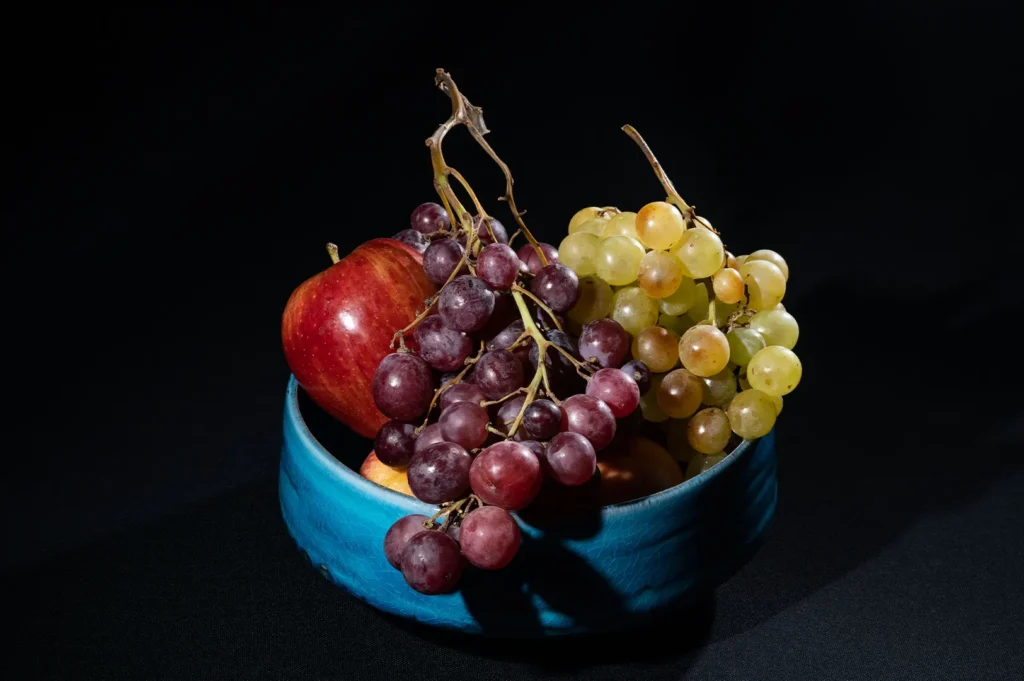
White balance is one of those things that seems minor until you need 30 dishes to match across a menu, a delivery platform, and a website. That consistency is hard to achieve during service without a repeatable setup and controlled lighting.
At Food Photographer Studio, we build that consistency on purpose, so your food looks like your food, not like a different restaurant depending on the time of day.
Food does not need to look “filtered”. It needs to look believable, appetising, and consistent. When you stop your camera from guessing colour, you stop sabotaging your own best dishes.