
You do not take bad food photos because you “can’t shoot”. You take bad food photos because service is loud, time is short, and your dish is losing steam while you are still deciding where to stand.
If you run a restaurant in Singapore, you already know the real enemy is not your camera. It is the chaos between plating and pass. That is why the only routine that works is one your team can repeat during an actual shift.
This is a five-minute system we teach clients because it respects reality. It tells you where to stand, what to shoot, and what to skip, so you can get usable content without delaying service. If you want the bigger framework behind it, link this routine to our pillar guide on food photography tips for busy restaurant teams.
The Point of This Routine
A “good” service photo is not a portfolio photo. It is a photo that makes someone pause, understand the dish fast, and feel confident ordering it.
That means your priorities are simple:
- Readable food (no weird colour casts, no muddy shadows)
- One clear hero (the dish, not the whole table)
- Speed (because the kitchen comes first)
If you can do those three things, you can take food photos fast and still look professional.
Minute 0 to 1: Lock Down Your Standing Spot
Most teams waste time walking around looking for a “nice corner”. Pick one spot and make it yours.
Choose a location that is:
- One step from the pass, not across the restaurant
- Near a single strong light source (window is ideal, otherwise one consistent light)
- Away from the mess (no sink, no POS screen glow, no “random staff bag” in the background)
If you have window light, stand side-on to it. The dish should get light from the left or right, not from straight behind you. Side light gives you shape and texture quickly. It is the easiest win in food photography.
If you do not have good natural light, do not fight your dining room downlights. Pick one small area and add one stable light there. Even a simple LED panel aimed through diffusion is enough to create consistency.
Minute 1 to 2: The “No-Drama” Set
This is where a lot of “quick food photography tips” go wrong. People start styling. They start hunting for props. They start rearranging cutlery like it is a magazine shoot.
In service, you want a clean base, not a scene.
Your base should be:
- A neutral surface (wood, matte stone, plain tabletop)
- Or a single board you keep near the pass
Then do the fastest clean-up you will ever do:
- wipe one visible smear
- remove one distracting item
- turn the plate so the best side faces camera
That is it. No extra garnish hunts. No “let’s add a drink”. No emotional support napkins.
Minute 2 to 4: Three Shots That Cover 90% of Needs
If your team only remembers one thing, make it this: take three shots, then stop. This keeps you fast and prevents the “20 photos of the same angle” problem.
Shot 1: The Safe Seller (45 Degrees)
Stand where a diner would sit. This angle shows both surface and height. It works for most dishes, especially mains.
Aim for:
- the best side of the dish
- a tight frame with minimal background
- one clear focal point (usually the protein or the key texture)
Shot 2: The Clarity Shot (Overhead)
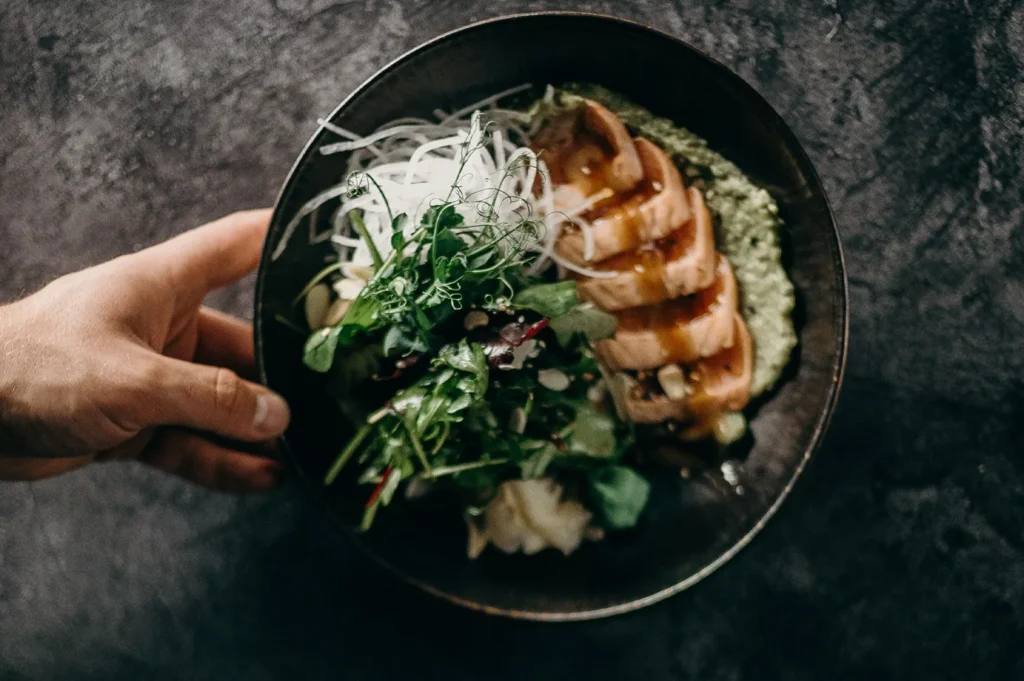
This is for dishes that need explanation: bowls, sets, spreads, sharing plates. Overhead makes components obvious. It is also great when your background is messy because you can crop tighter.
If your arms are short, do not suffer. Step back and zoom slightly, or use a small stool. Just keep the phone stable.
Shot 3: The Texture Close-Up
This is what makes people hungry. Pick one detail: crispy skin, sauce sheen, melted cheese, char, steam.
Get close. Fill the frame. Let the background fall away. This is where your “take food photos fast” routine starts feeling premium, even if the shot took ten seconds.
Minute 4 to 5: A 30-Second Edit That Keeps Food Looking Real
Do not over-edit during service. You are not colour grading a film.
Your edit sequence should be:
- Exposure: brighten slightly if needed
- White balance: remove yellow/green casts from mixed lighting
- Contrast: just enough to separate texture from shadow
If you do only that, your photos will look cleaner without looking fake.
A quick rule: if your sauce turns neon, your rice turns blue, or your plate looks radioactive, you went too far.
What to Skip During Service
This is how you stay consistent. These are the things that steal time and rarely improve the result:
- The full table lifestyle shot, unless you have time and a clean setup
- Heavy prop styling (it slows you down and confuses the hero)
- Direct flash from the phone (it makes food oily and flat)
- Ten variations of the same angle (take the three shots and move on)
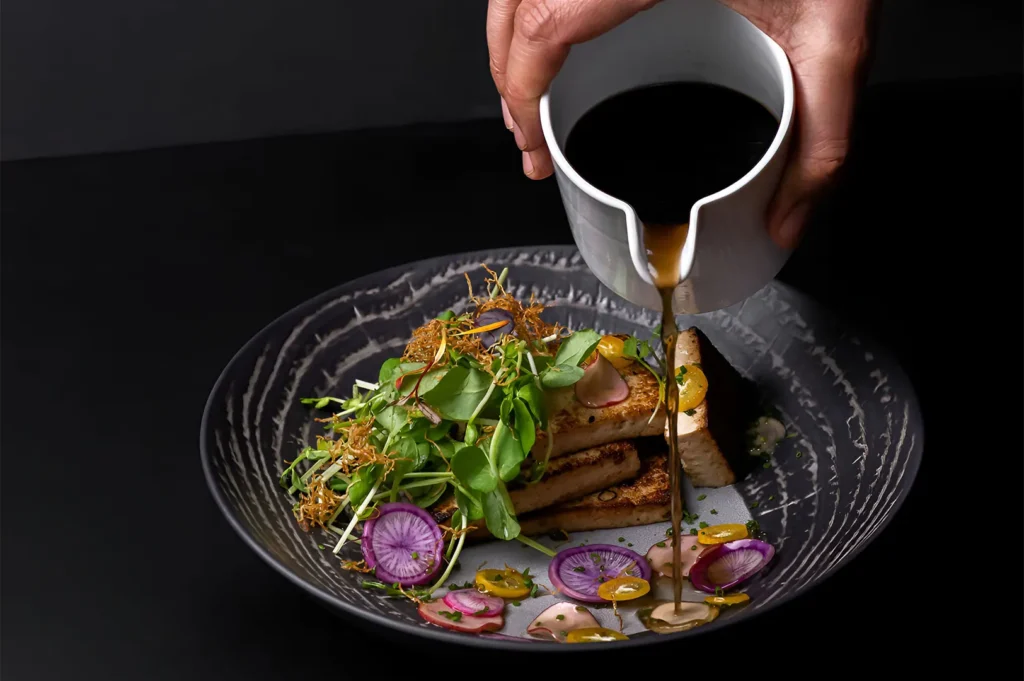
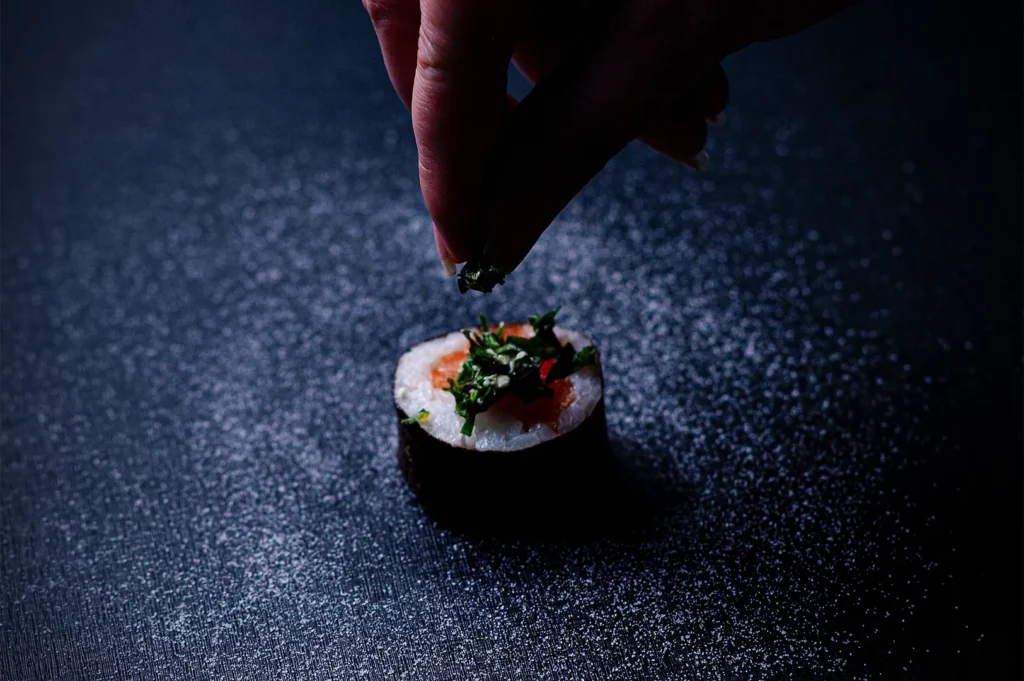
If you want content with hands, pours, and action, plan it outside peak service. Doing it mid-rush usually looks forced and slows the kitchen.
Make It Work as a Team, Not a One-Person Burden
The best restaurants do not rely on one exhausted manager to shoot everything.
A simple workflow:
- Chef calls “photo ready” when plating is clean
- One staff member shoots the three shots
- Another staff member clears the dish back to pass
That division keeps it moving and makes the habit sustainable.
At Food Photographer Studio, we often help restaurants set up this exact routine because it reduces friction. Your team stops arguing about aesthetics and starts following a repeatable system.
A Routine Your Team Can Actually Keep
The best routine is the one you will repeat next week.
Pick one standing spot. Keep one clean base. Take three shots. Do a light edit. Then go back to service.
That is how busy Singapore kitchens get better food photos without turning photography into another stressful job.


