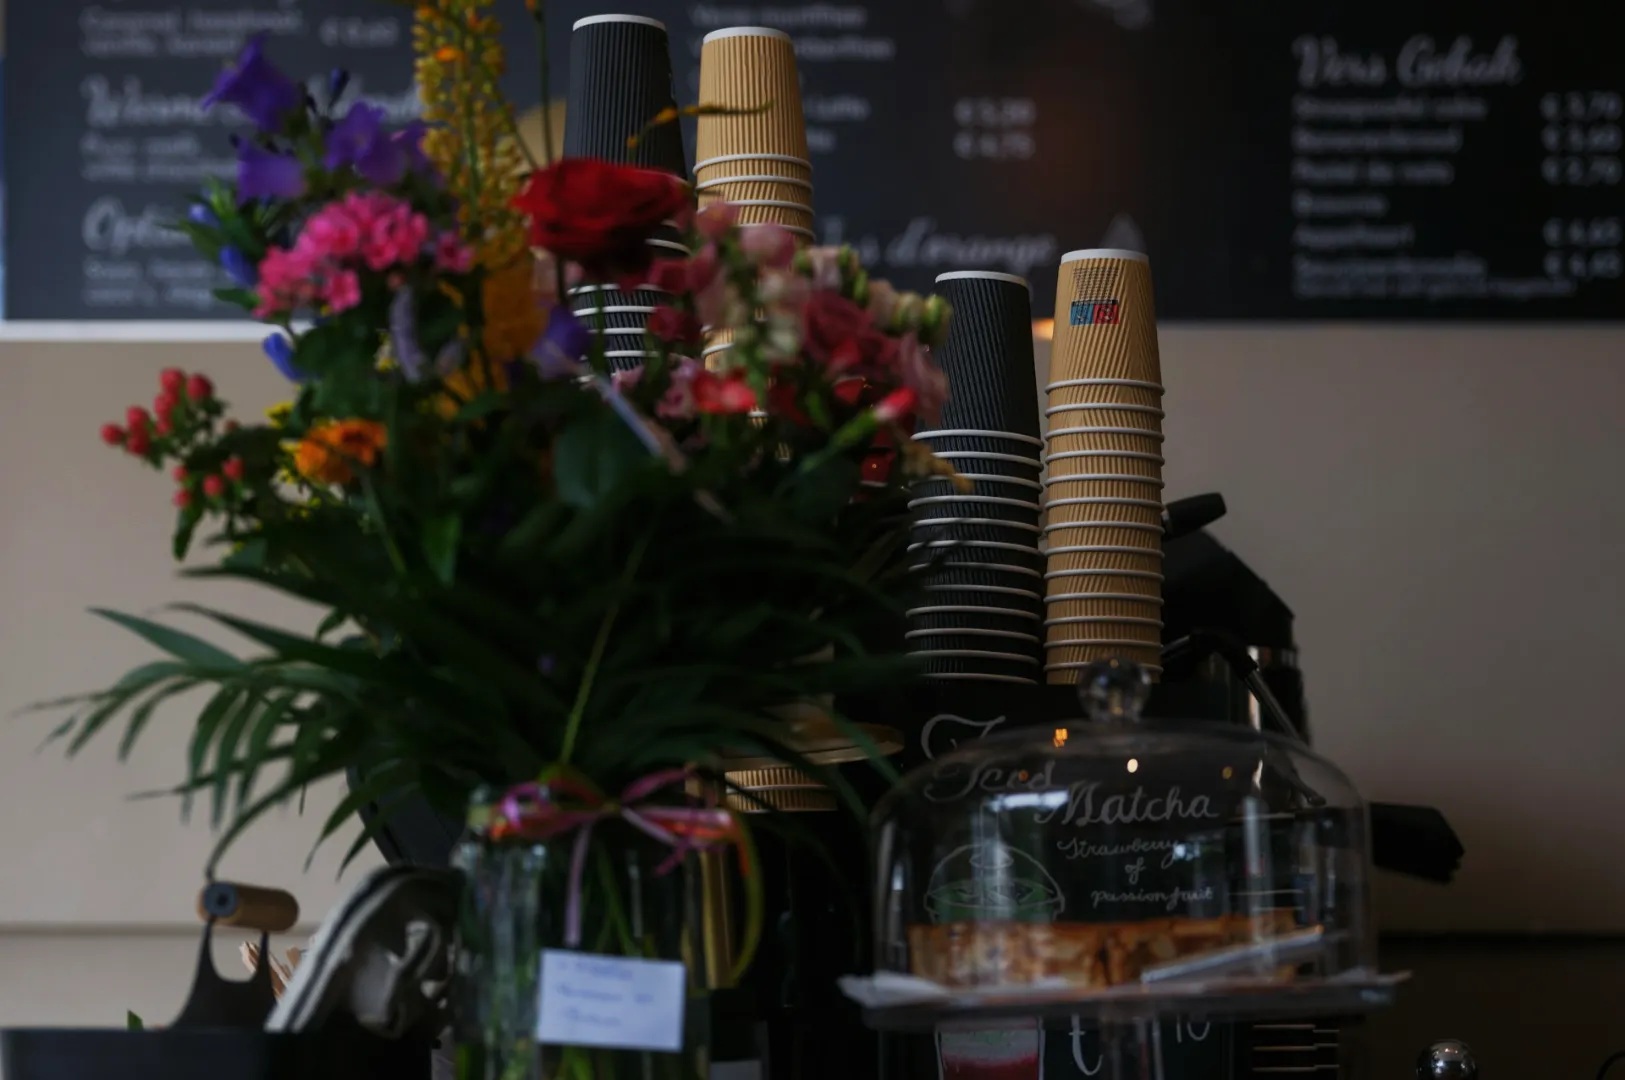
If you have ever tried photographing a beautiful dish under warm pendant lights at a shophouse restaurant, you already know the frustration. In real life, the room feels cosy and premium. In the photo, the curry turns muddy, the whites look yellow, and the image comes out soft even when your hands felt steady.
This is the reality of low light restaurant photography. Singapore restaurants love mood. Dim dining rooms, tungsten bulbs, neon signage, mixed lighting from kitchens and bar counters. It is great for ambience, but it is hard on cameras and even harder on staff who are trying to “just take a quick photo” between service tasks.
The good news is that you do not need a full studio setup to solve this. You need a repeatable approach to restaurant photography lighting that fits how restaurants actually operate here.
If you want the broader system for building consistent visuals beyond lighting alone, this guide is a useful anchor point: how to build a consistent restaurant photo system in Singapore.
Why Low Light Restaurant Photography Fails Even When the Food Is Great
Low light does three things that quietly ruin food photos:
- It forces your camera to “work harder.” To compensate, the camera slows the shutter, boosts ISO or both. That is where blur and grain come from.
- It exaggerates colour problems. Most restaurants have mixed light sources. Warm tungsten near tables, cool fluorescents in the kitchen, daylight spill from the entrance, sometimes a blue signboard glow. Your camera tries to guess white balance, and it often guesses wrong.
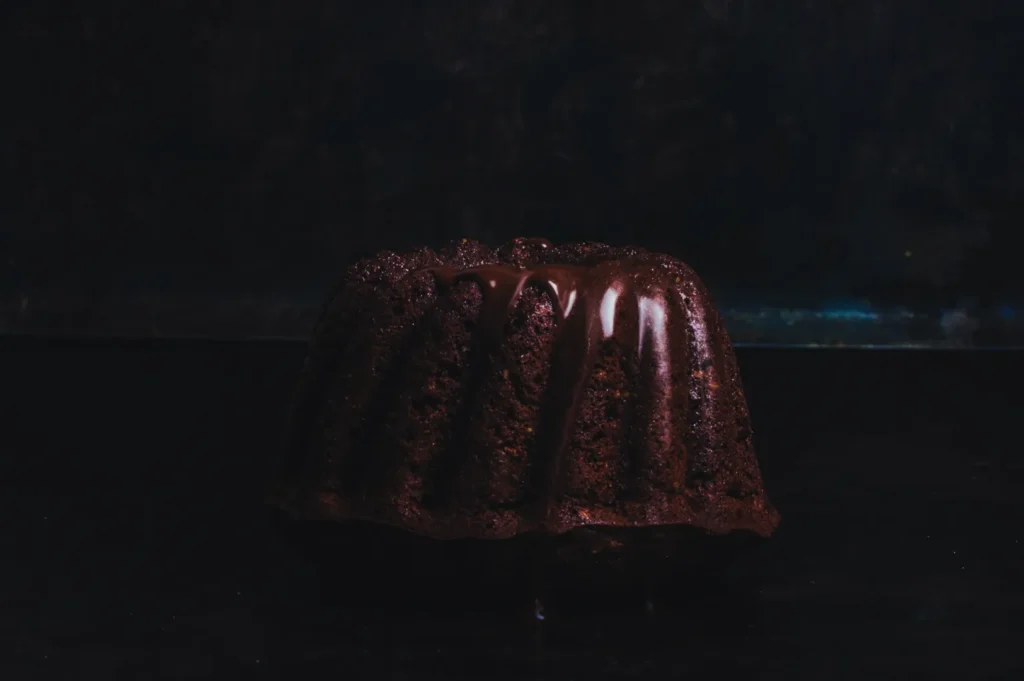
- It flattens texture. Dim overhead lighting makes food look less dimensional. Crispy edges do not pop. Sauces do not shine in the right places. The dish can look tired even when it was plated perfectly.
So when owners tell us, “The food looks better in person,” we believe you. The issue is not the food. The issue is how the light is being recorded.
Restaurant Photography Lighting Starts With One Decision: Pick Your “Hero” Light Source
The fastest way to improve low light photos is to stop mixing light.
In most Singapore restaurants, you will have at least two competing sources. Ceiling downlights plus warm pendant lights. Kitchen spill plus bar lighting. If you let them all hit the plate, your colours fight each other.
A simple rule that works in almost every case is this: choose one main light source for the dish, then reduce or block everything else.
If you are shooting near a window in the afternoon, let that be the hero. Turn off the nearest overhead lights if you can. If you are shooting at night, let one LED panel be the hero instead of relying on three different warm bulbs around the table.
This is where restaurant photography lighting becomes practical. It is less about buying gear, more about controlling what is already there.
The “Singapore Lighting Mix” Problem and How to Handle It
Warm tungsten makes food look cosy, but it can make colours wrong
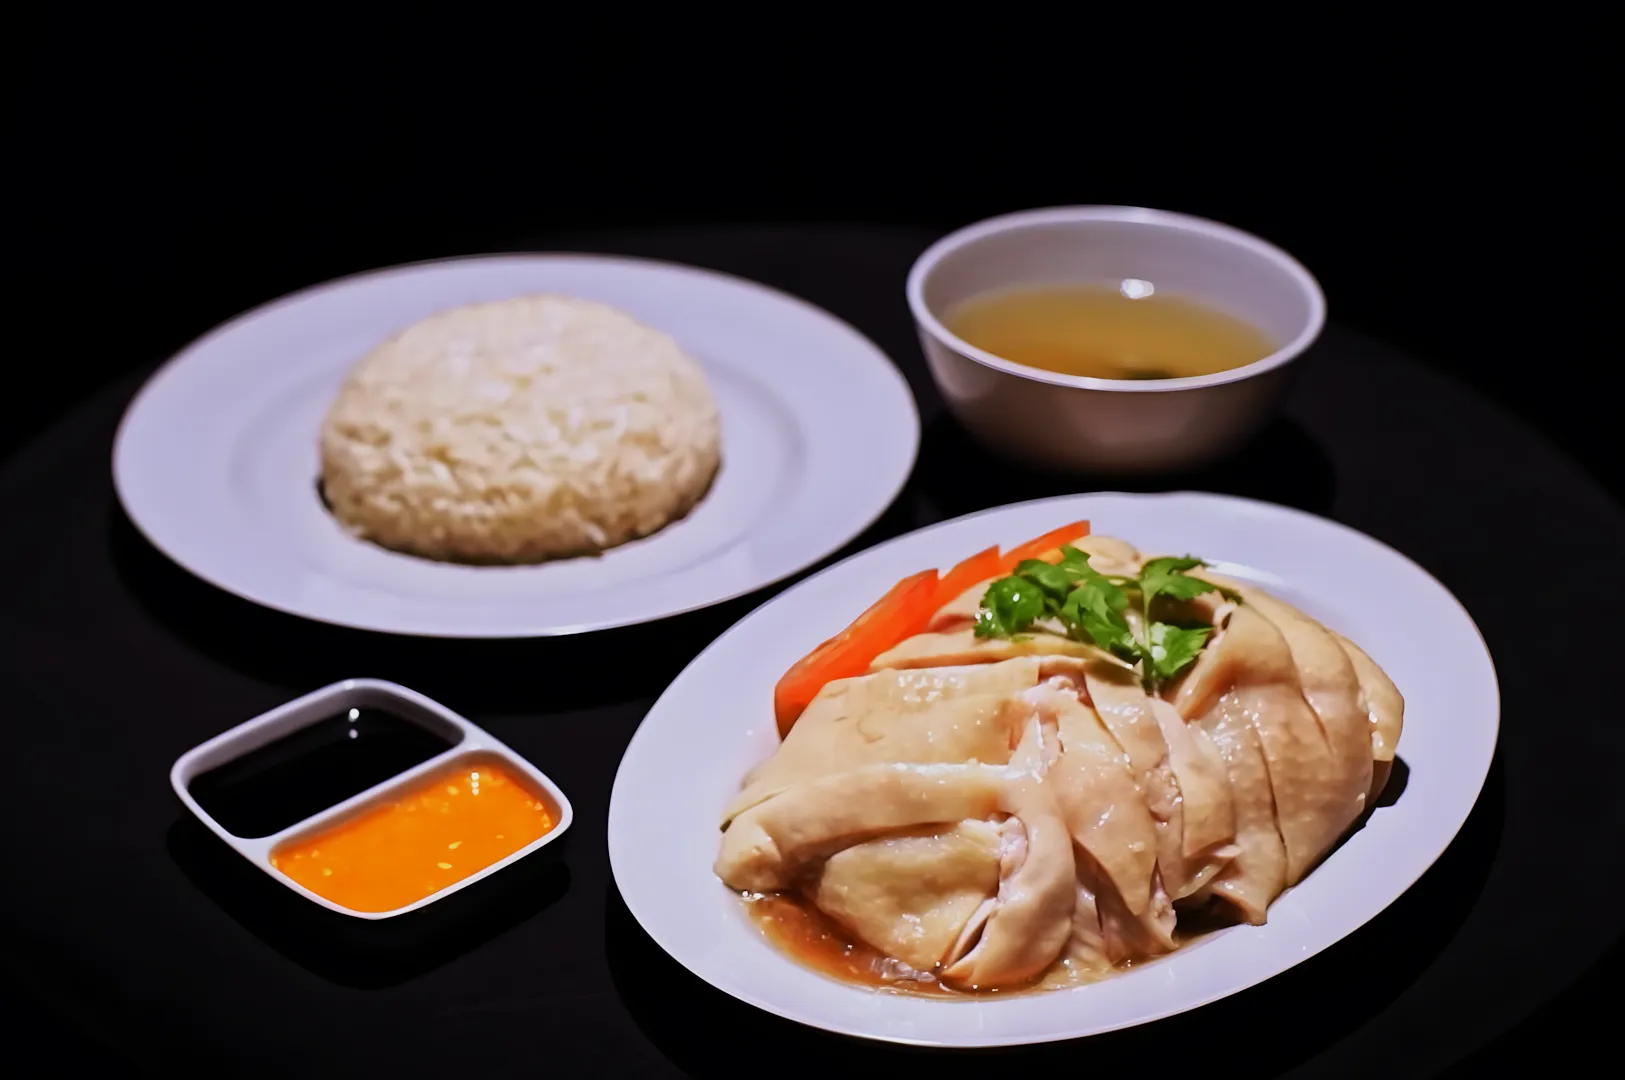
Tungsten light is flattering for faces and rooms. For food, it often pushes whites into yellow, and greens into dull olive. Chicken rice can look sickly. Salads can look tired.
Fluorescent light can make food look clinical
If your dish is being shot near kitchen lighting, your photo can turn greenish. Skin tones look off. Sauces look strange.
Neon and signage add colour casts you do not notice until you edit
This is common in nightlife areas like Clarke Quay or Keong Saik, and it shows up as blue or magenta patches across plates and glassware.
The fix is not complicated. You want fewer light sources touching the food, and you want your main light to be clean and predictable.
If you only do one thing, do this: move the plate to a spot with one dominant light source, even if it is just one step away from the kitchen spill.
Two Lighting Setups That Work in Real Restaurants
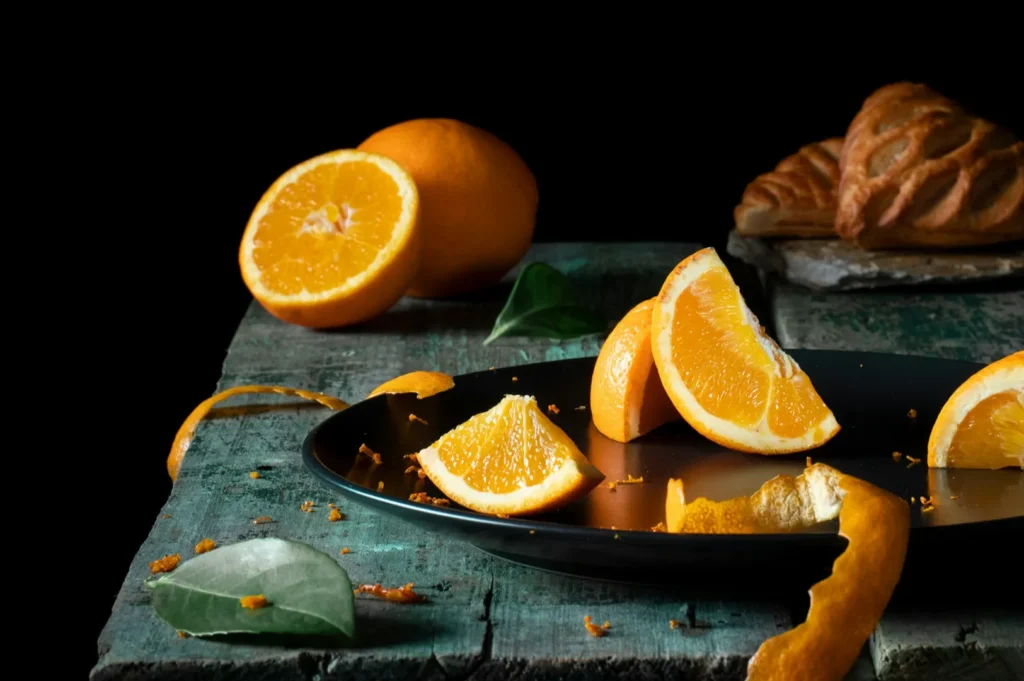
1) Window Light Setup for Day Service
This is the most forgiving setup for low light restaurant photography, especially in cafés and lunch concepts.
- Place the dish near a window with indirect light.
- Turn the plate so the light comes from the side, not straight from the front.
- Use a simple white card, a menu board, or even a clean white plate as a reflector on the opposite side to lift shadows.
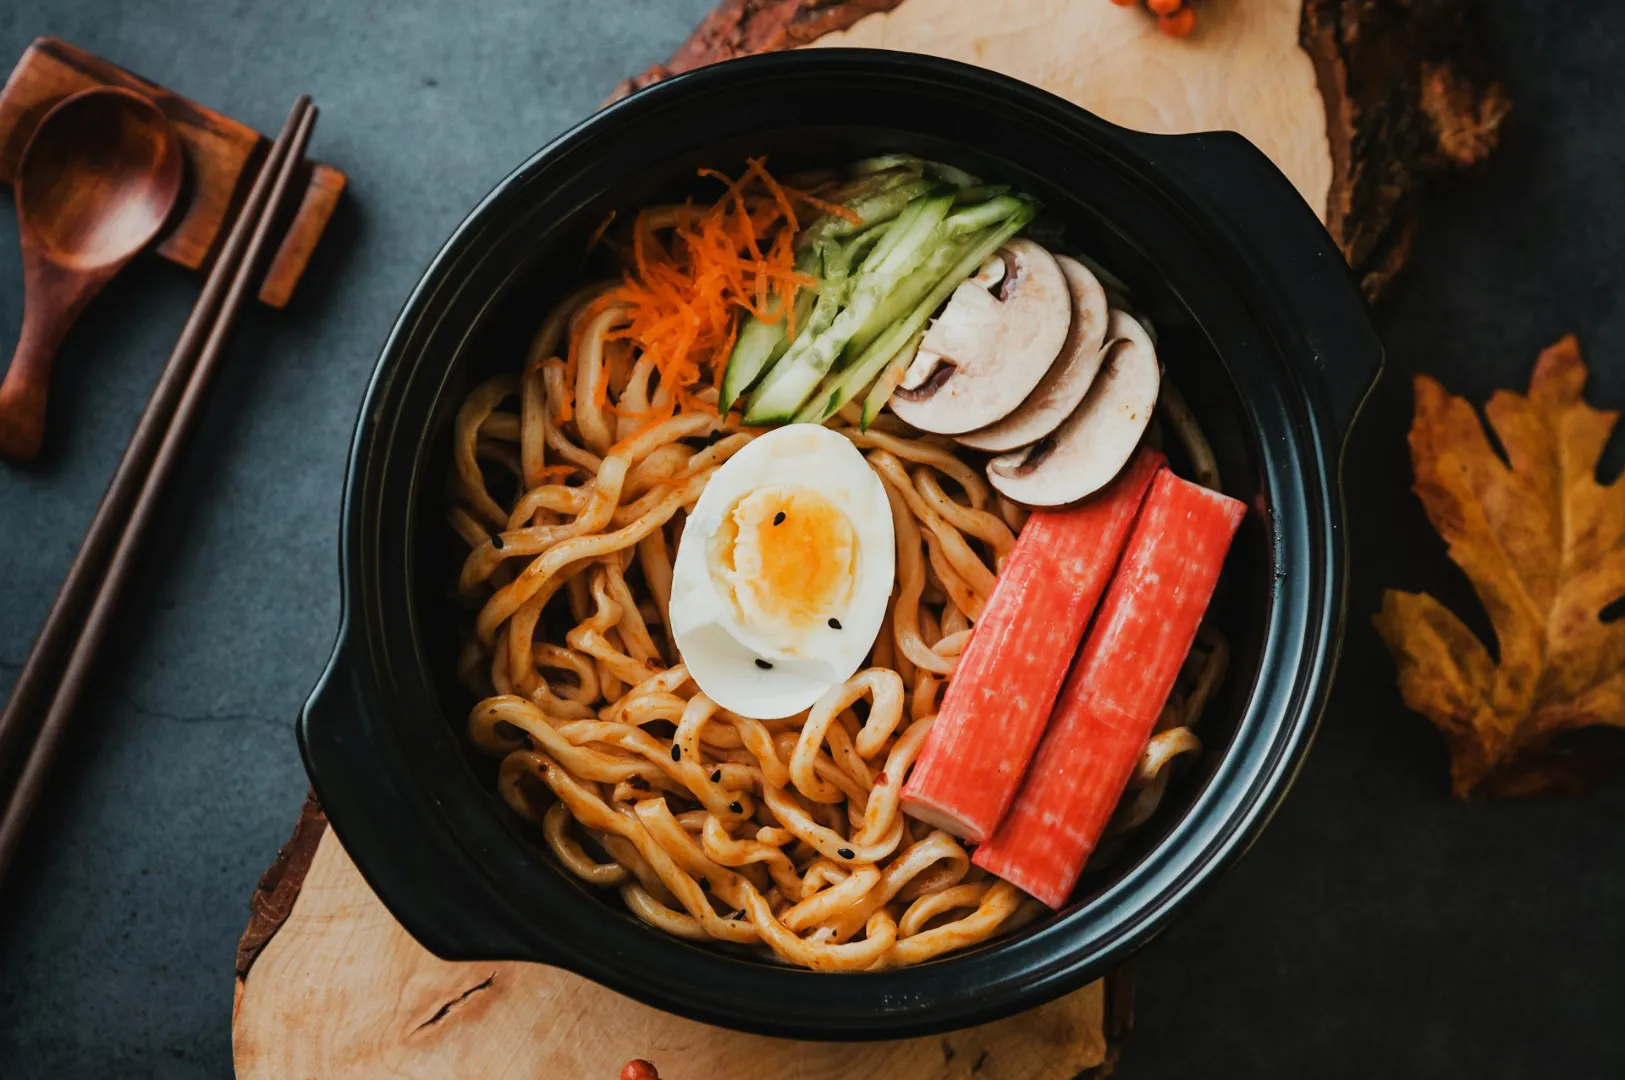
Side light is what brings texture back. It makes glossy sauces look appetising and gives fried food definition.
2) Single LED Setup for Dinner Service
For dinner, many restaurants have no usable window light. This is where one small LED can save you.
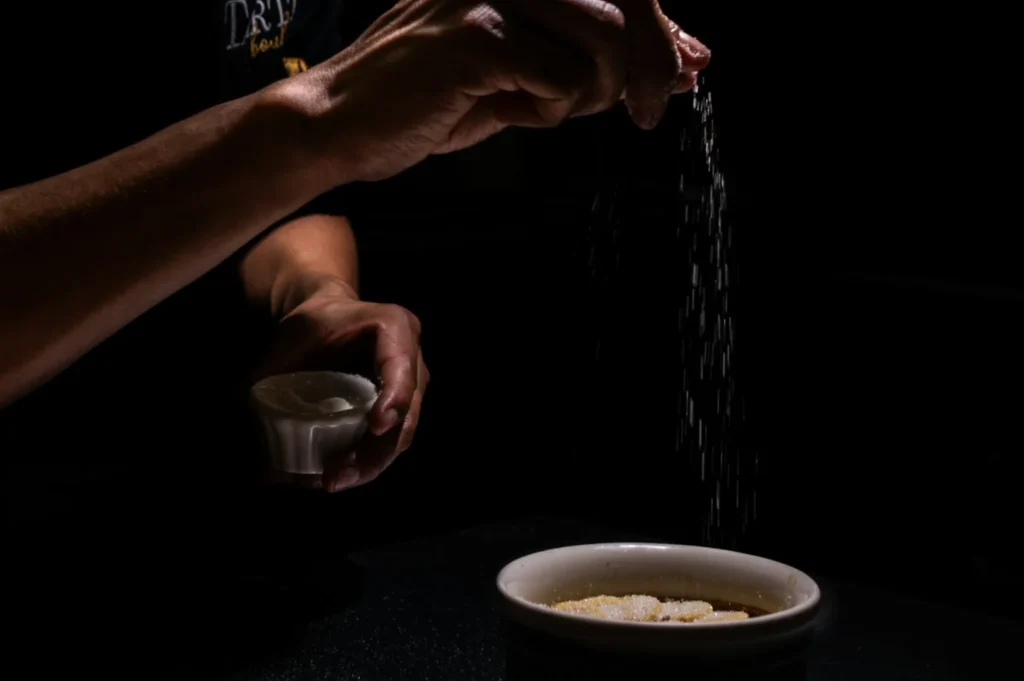
What matters is not brightness. It is softness and direction.
- Use one LED as your “main light.”
- Diffuse it. A softbox is ideal, but even diffusion paper or a thin white cloth can help.
- Place it at a 45-degree angle to the dish, slightly above plate height.
This setup gives you consistent colour and consistent texture, which is exactly what restaurant photos need for menus and platforms.
Low Light Shooting Without the Technical Headache
You do not need to become a full-time photographer to get usable results, but you do need to understand what low light forces your camera to do.
Shutter speed is the hidden culprit behind blur
In dim rooms, phones and cameras slow the shutter. Your hands feel steady, but the camera is still recording movement.
If your photo looks soft, it is often not focus. It is motion blur.
Quick fixes:
- Brace your elbows on the table.
- Exhale slowly as you shoot.
- Use a small tripod if your team is taking menu photos regularly.
ISO is the hidden culprit behind “grainy” images
Higher ISO makes the sensor more sensitive, but it introduces noise. Phones are especially aggressive here.
This is why better lighting often beats better cameras. Give the camera more light, and it does not need to push ISO so hard.
White balance matters more than people think
In mixed lighting, your food can look different from shot to shot, even if the dish is identical.
If you are photographing a series of menu items, consistency is part of brand trust. Customers notice when the same curry looks orange in one photo and brown in the next.
What “Good” Low Light Looks Like for Different Restaurant Needs
Not every photo has the same job. In Singapore, most restaurants need three categories of visuals, and each category needs different lighting decisions.
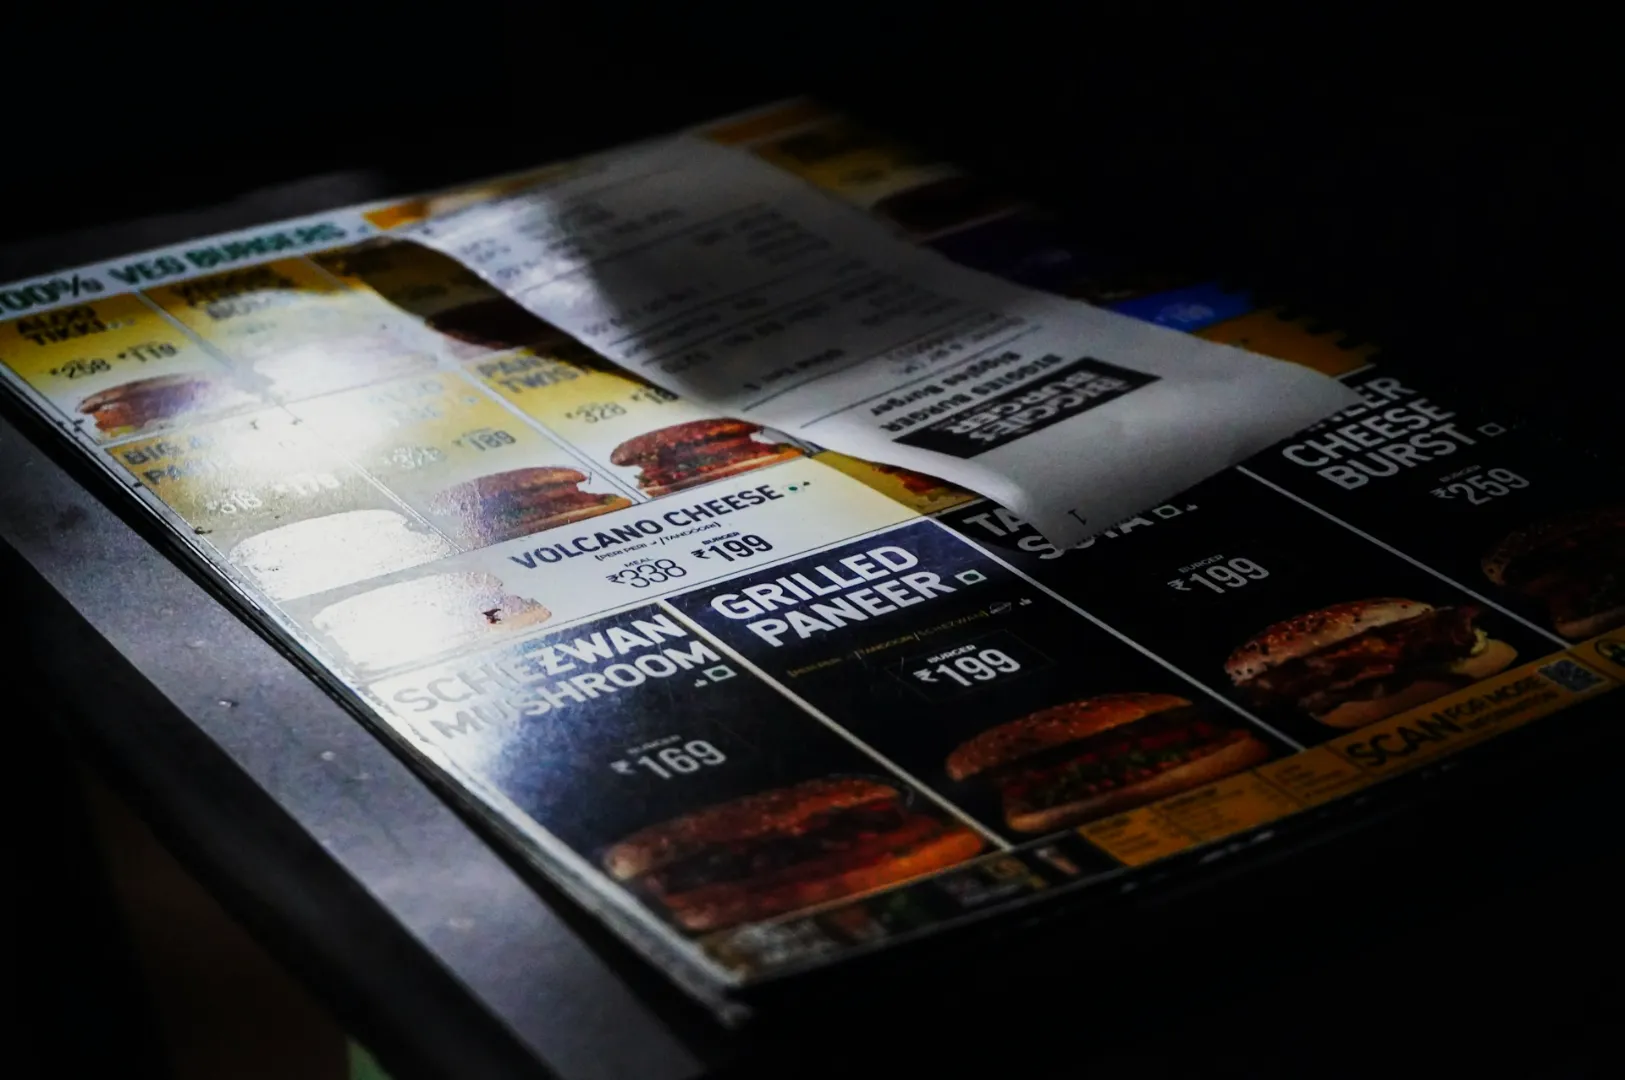
1) Menu and delivery platform photos
Clarity wins. The lighting should show ingredients clearly and keep colours honest. This usually means less mood and more control.
2) Social media photos
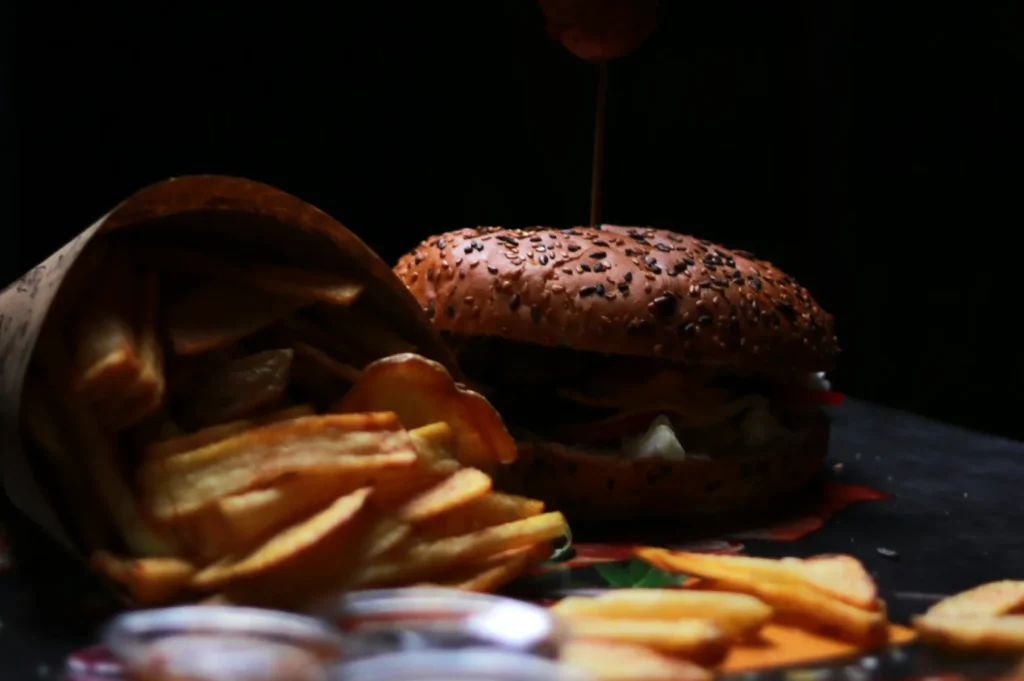
Here, mood can work, but only if the food still looks edible and clear. The most common mistake is making the room look beautiful while the dish disappears into shadow.
3) Interior and ambience photos
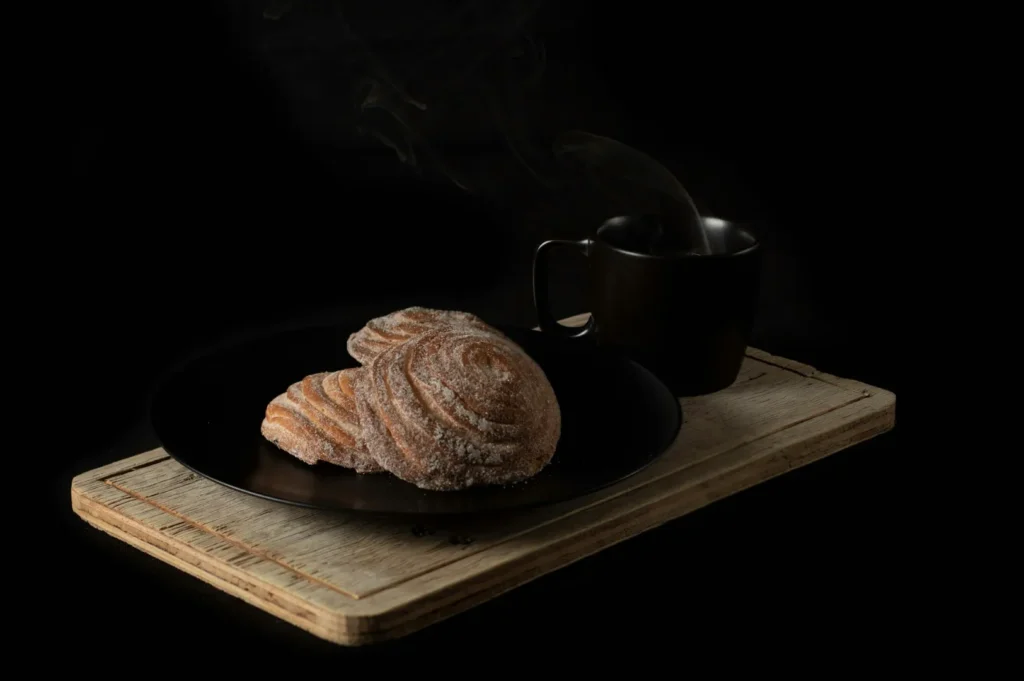
For interiors, low light is often an advantage. You want atmosphere. You want the glow. But you still need a few “anchor” frames that look clean and not overly dark, especially for Google listings.
This is the balance we aim for when we shoot restaurants professionally. We keep the room’s character, but we do not let the food suffer.
Common Lighting Mistakes We See in Singapore Restaurants
- Leaving every light on because “it looks nice”: It may look nice in person, but on camera it creates messy colour casts. Pick one hero light instead.
- Shooting under downlights directly above the plate: Downlights create harsh shadows under herbs, protein edges, and bowls. Move the dish slightly away from the hotspot and use side light.
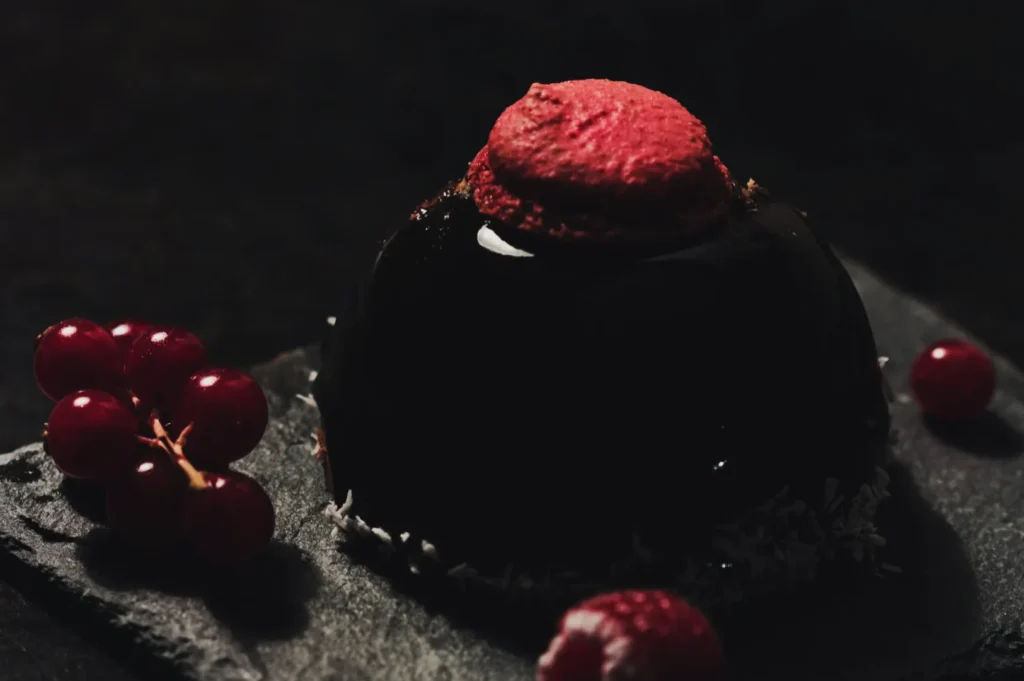
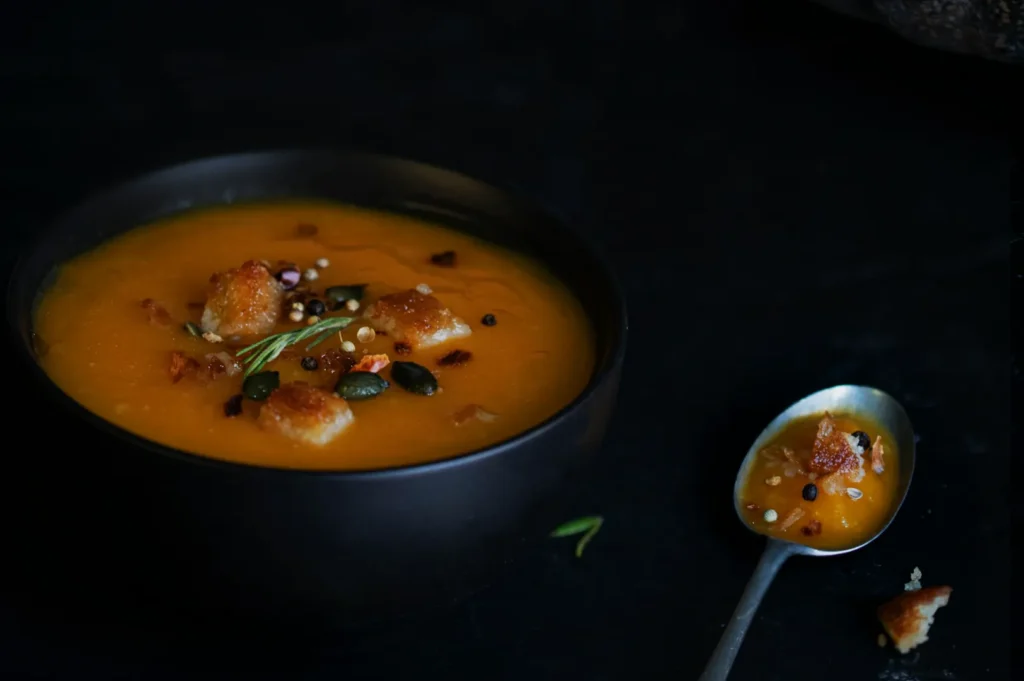
- Treating “dark and moody” as an excuse for unclear food: Moody does not mean muddy. You can keep a dark background while still lighting the dish properly.
- Editing your way out of bad light: Editing can refine a good photo. It cannot fully rescue colour accuracy when the lighting was mixed and inconsistent.
A Calm Way to Get Better Results Without Overthinking It
If you are a busy operator, here is the simplest approach that improves results quickly:
- Identify one reliable shoot spot in your space (window by day, LED corner by night).
- Standardise one main angle for your menu items.
- Shoot your top 10 sellers first, then build from there.
- Keep lighting consistent across the set.
This is exactly how you reduce the ongoing stress of “we need photos” into something manageable.
Low Light Should Feel Like Atmosphere, Not a Problem
Singapore restaurants are built on mood. Dim rooms, warm tones, intimate corners, that is part of why diners choose you. The goal of low light restaurant photography is not to turn your space into a bright studio. The goal is to make sure the food still looks fresh, clear, and worth ordering inside the lighting you actually use.
If you want to keep your restaurant’s ambience while getting reliable results, the fastest improvement usually comes from better restaurant photography lighting choices, not from chasing camera upgrades. And when you need a full set of consistent menu images, interior frames, and social assets without trial-and-error, professional food photography services exist for a reason.
At Food Photographer Studio, we shoot in real Singapore restaurants all the time, including the tricky ones. We know how to keep the mood, fix the colour, and make the food look like it deserves to be ordered.