A restaurant photoshoot usually fails for one boring reason: nobody planned the boring parts.
Not lighting. Not lenses. Not the “best camera”. It fails because the kitchen is mid-service, the hero dish is plated too early, the table is cluttered, and everyone is making decisions on the spot. That is how you end up with 60 random images and still no clear photos for your menu, delivery platforms, or Google listing.
A solid restaurant photoshoot checklist is what keeps a shoot calm, fast, and usable. It turns “let’s take some pictures” into a set of assets that actually helps your business. This guide shares the exact food photoshoot planning approach we use with Singapore F&B teams, whether you run a hawker-style concept, a café in a shophouse, or a restaurant in a mall where lighting is unpredictable.
If you want the bigger picture on building a complete visual system, start with our main guide on restaurant photography Singapore for F&B owners who need results.
Why A Restaurant Photoshoot Checklist Matters More Than Your Camera
When a shoot runs late, food suffers first.
Ice melts, greens wilt, sauces skin over, and hot dishes stop looking alive. Then the team tries to “fix it in editing”, which rarely works. A proper restaurant photoshoot checklist prevents that by doing three things:
- Protects food quality on camera (freshness, steam, texture, shine).
- Keeps your team focused (clear roles, clear order of shooting).
- Ensures every image has a job (menu, delivery apps, website, ads).
Good food photoshoot planning is not complicated. It is just specific.
Food Photoshoot Planning: A Simple Timeline That Works In Singapore
Most restaurants do better with a short timeline than a long one. Here is a practical schedule that fits real operations.
5–7 Days Before
- Confirm where photos will be used: website, menu, delivery platforms, Google Business Profile, paid ads.
- Finalise the dish list and tag the “must shoot” items (your best sellers and highest-margin dishes).
- Decide the visual direction: bright and clean, dark and moody, lifestyle, minimal, or a mix.
2–3 Days Before
- Lock in plating standards and portion consistency. If you have two chefs plating the same dish, align early.
- Prep or source props if needed (plates, glassware, cutlery, linen). Keep it brand-appropriate.
- Do a quick venue light check at the shoot time. Mall lighting and mixed colour temperatures can change the look of everything.
1 Day Before
- Print the shot list and the order of shooting.
- Confirm manpower: who is plating, who is wiping plates, who is running dishes.
- Prep backup ingredients for hero dishes. In Singapore’s humidity, garnish and greens can fade fast.
Shoot Day
- Set a clear start and end time.
- Run the shoot like service, but quieter.
Build A Shot List That Matches Where The Photos Will Live
This is where most “DIY shoots” waste time. They shoot a bunch of angles, then realise they still do not have a proper menu hero image, or a clean delivery thumbnail.
A strong food photoshoot planning approach starts with deliverables.
Delivery Platforms (GrabFood, Foodpanda, Oddle Eats)
- Clear, readable dish shots.
- Simple backgrounds.
- Consistent angles, usually overhead or 45 degrees.
- Minimal props.
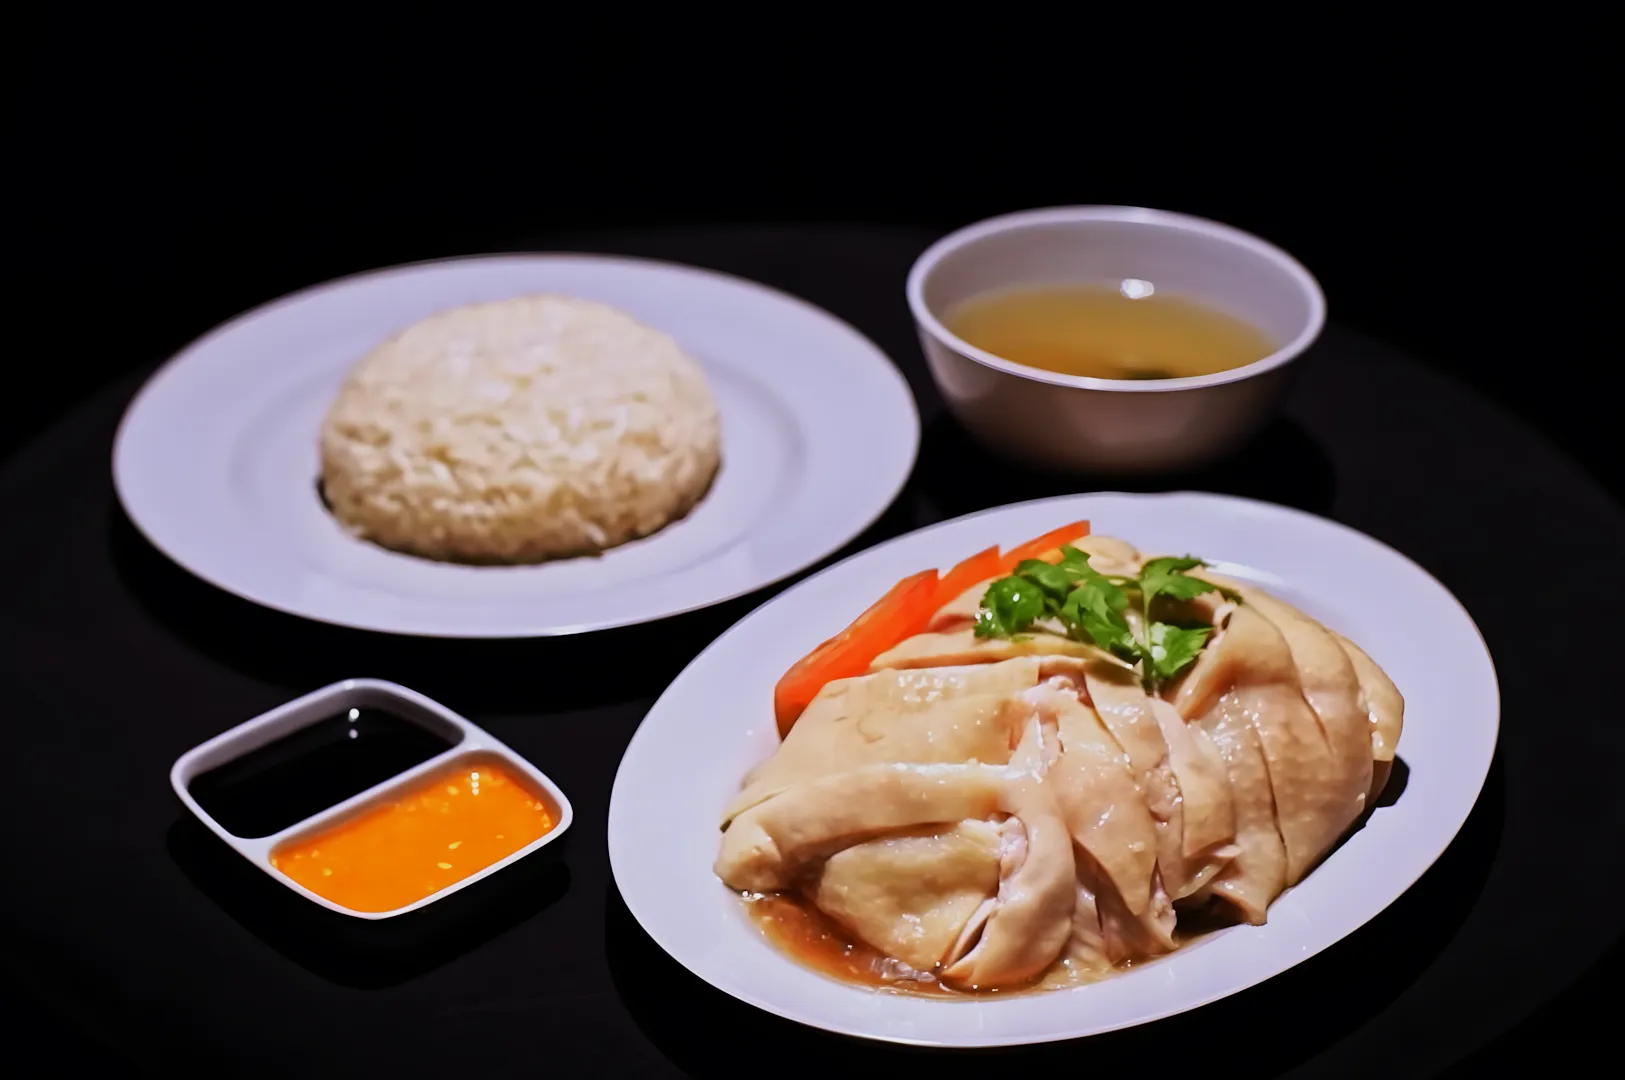
Website
- A few hero images that feel premium.
- Detail shots that show texture.
- Optional lifestyle and ambience images if your concept sells experience.
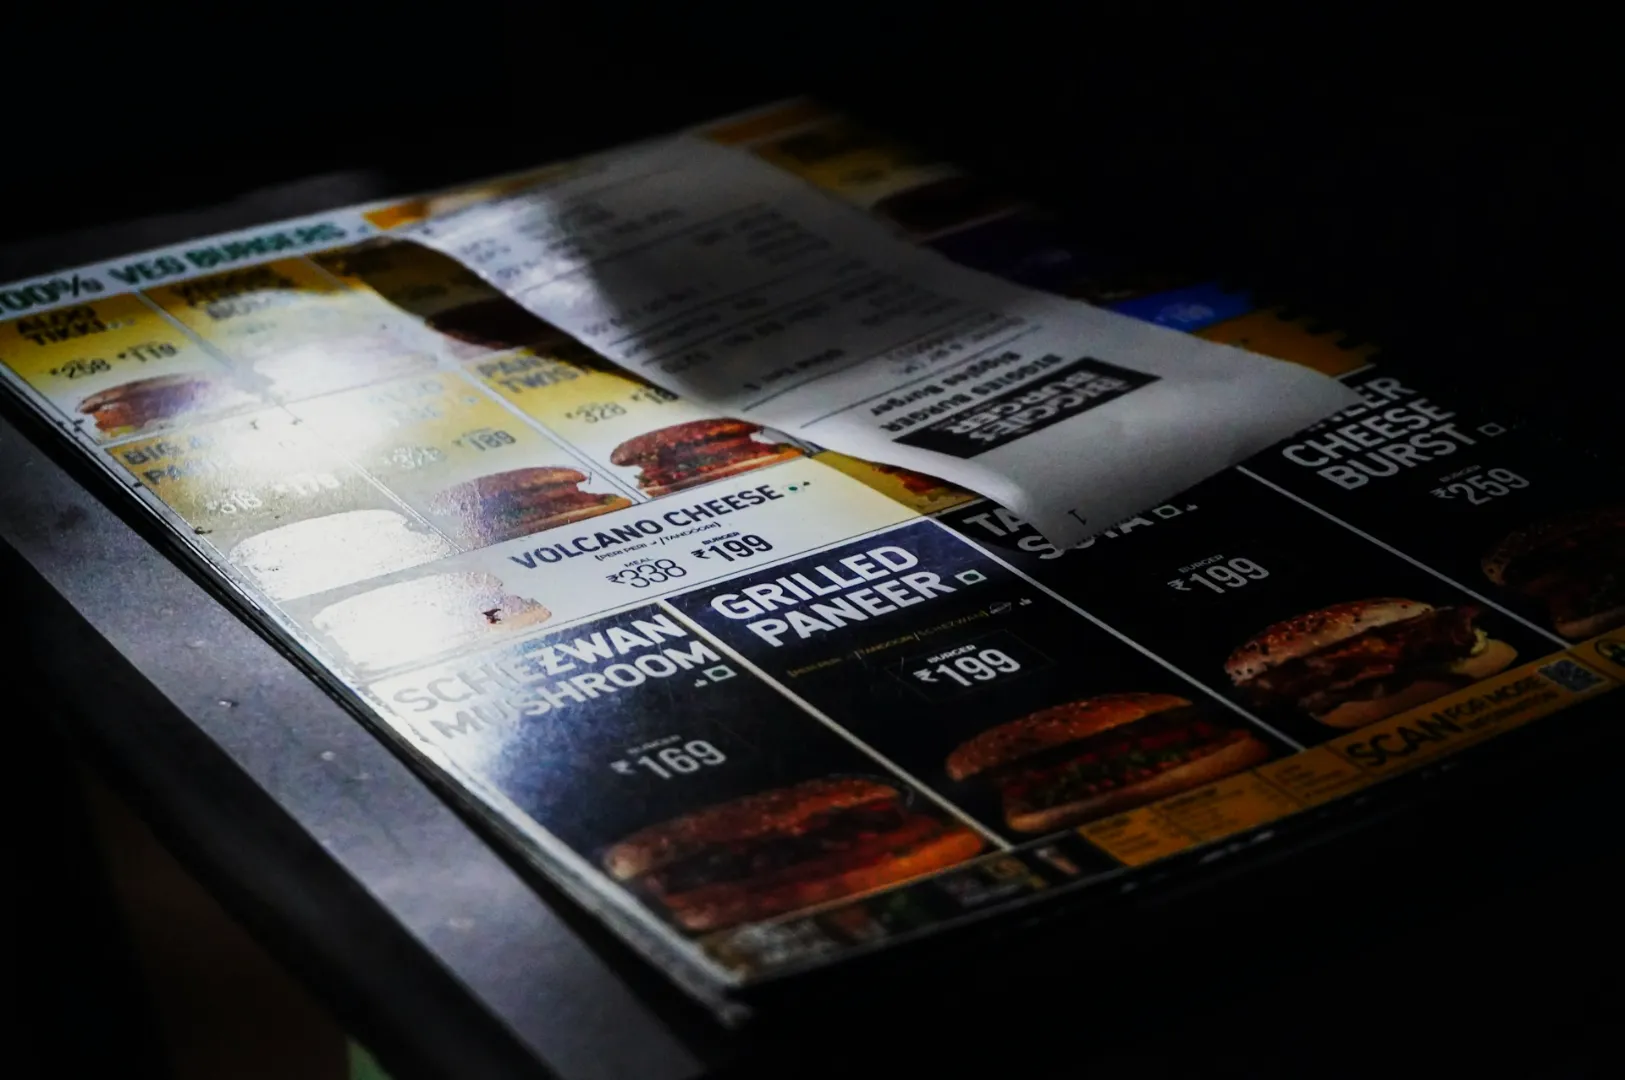
Menu (Print or Digital)
- Consistency matters more than creativity.
- Similar cropping and framing across categories.
- Enough “breathing space” so layout does not feel cramped.
Google Business Profile
- Exterior and entrance (so people can find you).
- Interior seating (so they know what to expect).
- A small set of your strongest food photos.
The Kitchen Prep That Makes Or Breaks Your Final Images

The best camera cannot rescue food that is tired.
Here is the kitchen-side section of a reliable restaurant photoshoot checklist.
1) Prioritise “Hero Dishes” First
Pick 8–12 dishes that do the heavy lifting:
- top sellers
- signature items
- high-margin add-ons or set meals
- dishes that define your cuisine
2) Prepare Backup Portions
For each hero dish, plan at least:
- 1 “test” plate (for lighting and framing)
- 1 “final” plate (for the actual shoot)
For melts and wilts (ice cream, shaved ice, leafy salads), plan extra.
3) Build A Small Garnish Kit
Keep it simple:
- fresh herbs
- toasted sesame
- chilli oil
- citrus wedges
- microgreens if it fits your brand
Do not overdo it. Garnish should support the dish, not rewrite it.
4) Plate Like Service, But Cleaner
Wipe rims. Remove stray drips. Align key elements so they face the camera. This is not fake styling, it is just disciplined presentation.
Set Up The Space Like A Mini Studio, Even If You Are Shooting On Site
A restaurant is not a studio. That is fine. You just need one controlled corner.
Choose One Consistent Shooting Zone
- Near a window if you are using natural light.
- Away from mixed lighting if possible (warm downlights plus daylight is a common problem).
- Enough room to place and remove dishes quickly.
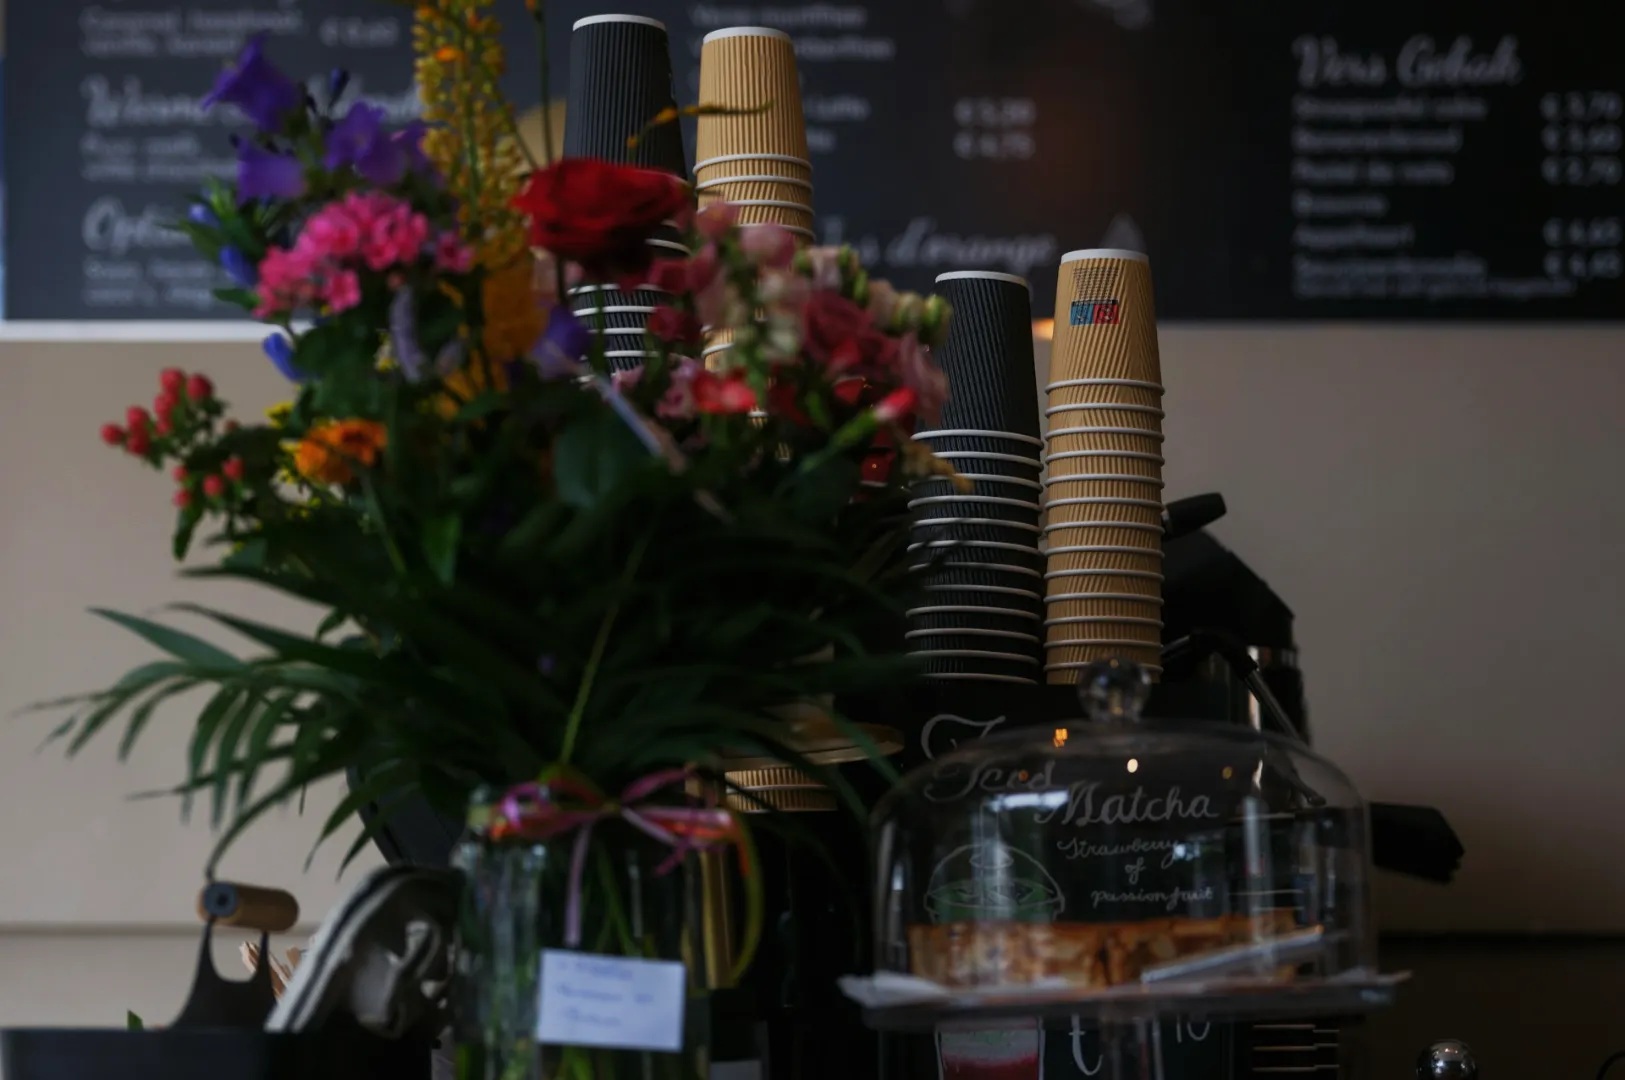
Clear The Background
One cluttered background ruins an otherwise great dish shot. Move receipts, tissue boxes, staff water bottles, and random props off frame.
Assign Roles So Your Chefs Can Cook
A good restaurant photoshoot checklist includes people, not just dishes.
Suggested roles:
- Chef: cooks and approves plating.
- Runner: moves dishes in and out fast.
- Wiper: cleans rims, resets cutlery, fixes smears.
- Decision maker: one person who can say “yes” and move on.
This is how you prevent five people debating parsley placement for ten minutes.
The Shoot-Day Workflow That Keeps You On Time
This is the “flow” section of food photoshoot planning that saves hours.
Shoot In This Order
- Cold items (salads, desserts that hold, drinks without ice)
- Room temp items (cakes, pastries, baked goods)
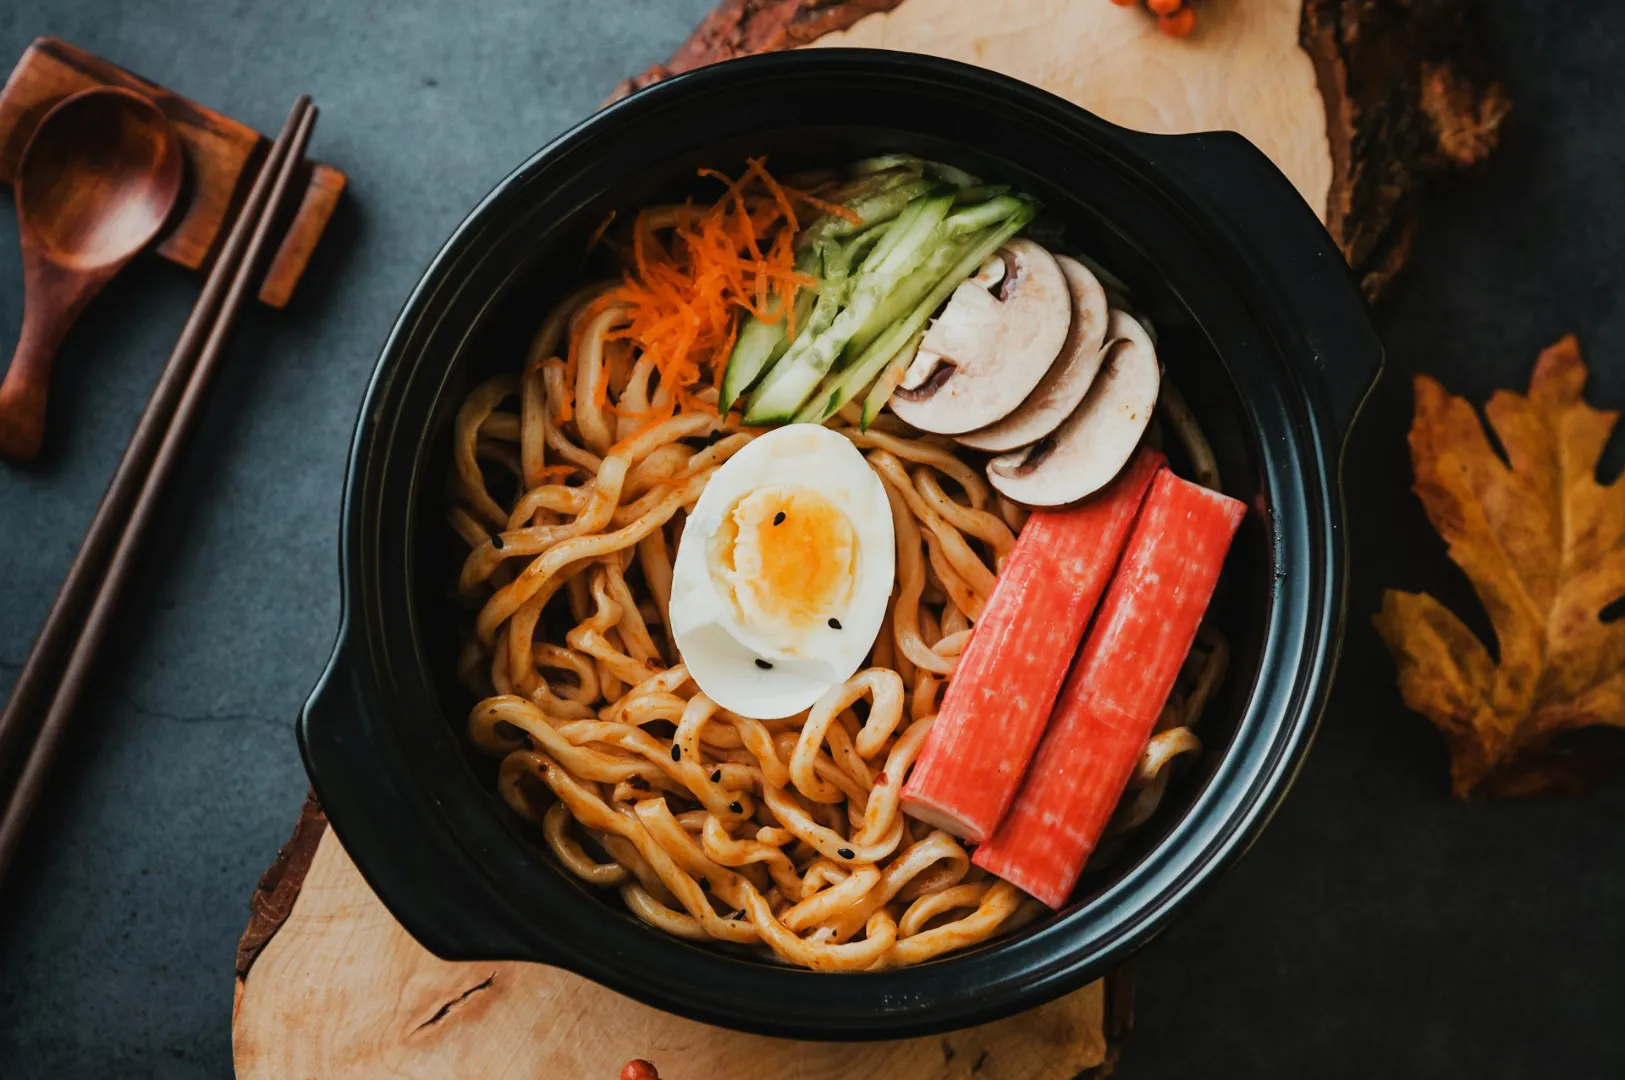
- Hot items (noodles, soups, grills, fried food)
Hot food should be plated last, then shot immediately.
Capture A Consistent Angle Set
For each dish, aim for:
- one main hero angle (usually 45 degrees or overhead)
- one detail close-up (texture, garnish, sauce)
- one alternate angle if it adds value (height, layers, pour)
Do not collect angles for the sake of it. Every angle should have a purpose.
Do Quick Checks Before Moving On
- Is the hero dish sharp?
- Are whites neutral, not yellow or blue?
- Is anything distracting in the corners?
- Does the portion look honest?
After The Shoot: Ask For Deliverables You Can Actually Use
A lot of restaurants receive “nice photos” that are hard to deploy because sizes and crops do not fit platforms.
If you are working with a studio, confirm:
- file format (high-res JPG, plus optional web-optimised versions)
- consistent naming (DishName_01, DishName_02)
- key crops (delivery thumbnail crop, website banner crop if needed)
- turnaround expectations
- usage scope (menu, web, ads)
We also recommend keeping a simple folder structure by platform. It makes future updates faster.
A Short Restaurant Photoshoot Checklist You Can Copy
Use this as your quick reference:
- Confirm platforms and deliverables
- Finalise dish list and hero priorities
- Lock plating standards
- Prep backup portions for hero dishes
- Build a small garnish kit
- Choose one shooting zone and clear clutter
- Assign roles (chef, runner, wiper, decision maker)
- Shoot cold to hot
- Capture hero, detail, and one alternate angle
- Check sharpness, colour, and distractions
- Export and organise files by platform
Planning Is What Makes Photos Look Expensive
The most reliable way to get better photos is not to buy a new lens. It is to run a cleaner process.
A strong restaurant photoshoot checklist protects the food, protects your team’s time, and protects your brand consistency. Once your food photoshoot planning is solid, everything else becomes easier, including shooting, editing, and updating platforms without stress.
If you want results without the learning curve, professional food photography services exist for a reason. A good studio does not just take photos. We build a system that produces usable assets across menus, delivery platforms, Google, and campaigns, with consistency that holds up over time.