
If aesthetic photography is the look, lighting is the engine. Not gear. Not presets. Light.
In Singapore, lighting is also the most misunderstood part of food photography because our venues are built for diners, not cameras. Warm downlights. Cool kitchen LEDs. Neon signage. Window light bouncing off glass tables. It is normal to have three colour temperatures fighting each other in one frame.
So when a restaurant team tells us, “We just need brighter photos,” we usually say: you do not need brighter. You need cleaner. You need a lighting approach you can repeat.
Why Restaurant Lighting Breaks Aesthetic Photography
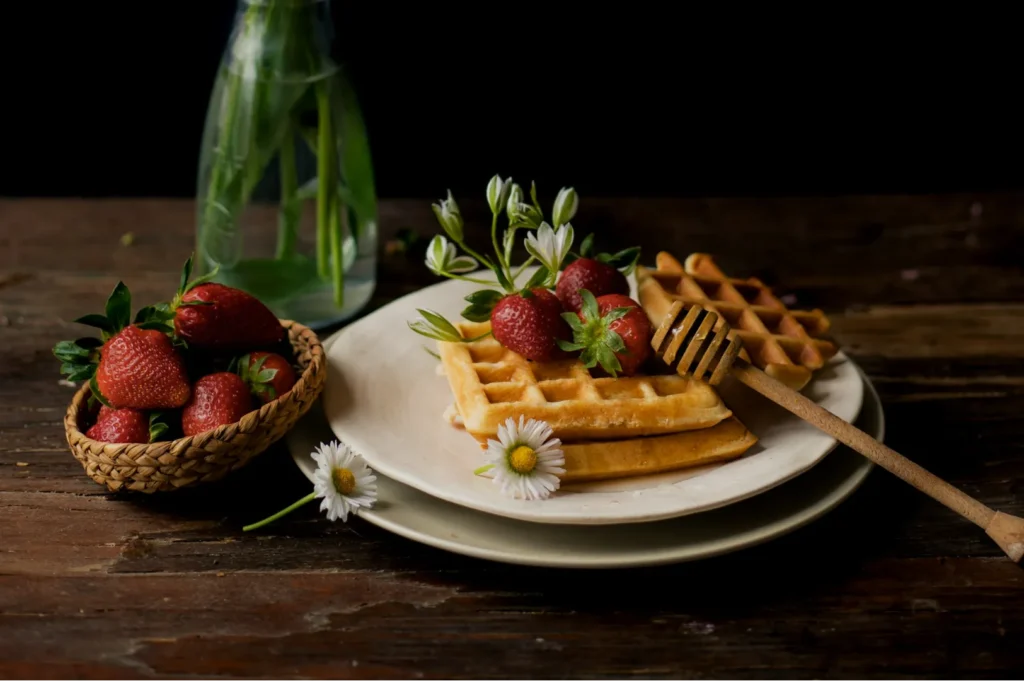
Aesthetic photography relies on consistency. Mixed lighting destroys consistency because it changes:
- food colour
- shadow shape
- shine and glare
- mood
That is why one dish looks rich and warm, and the next looks grey and cold, even if the recipe is perfect.
The Two Lighting Choices That Work In Real Restaurants
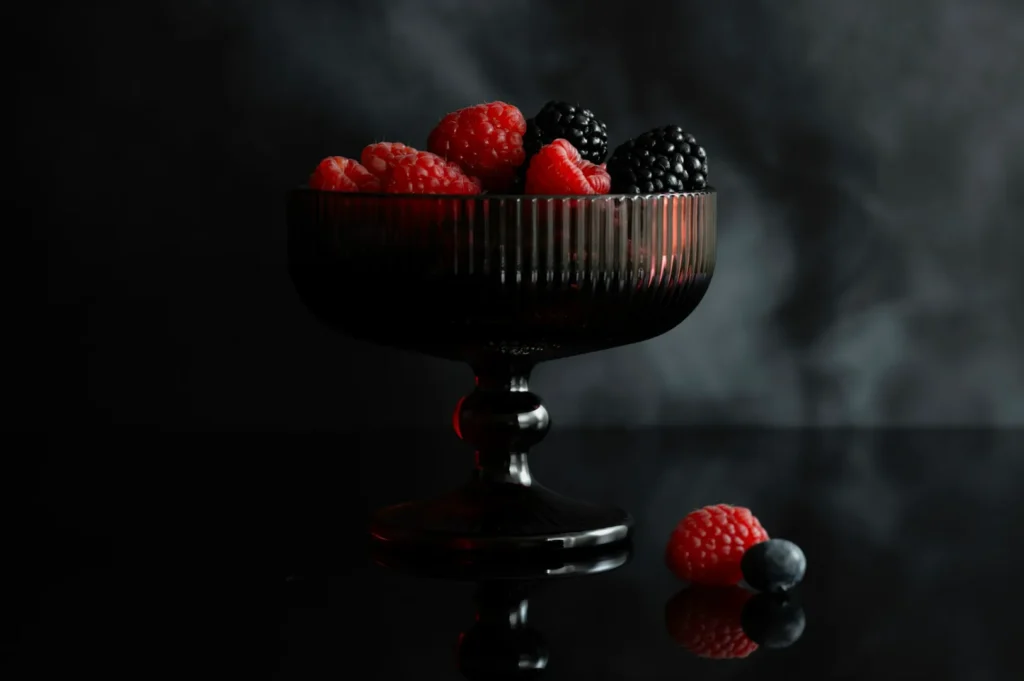
Most restaurant photography ends up using one of two paths.
1) Window Light, Controlled
Window light is still the easiest “aesthetic” light if you can control it.
What works in Singapore:
- indirect daylight (not direct sun)
- side light for texture
- diffusion (sheer curtain, or a diffuser panel)
What breaks it:
- direct sunlight at midday
- window behind the camera (flat, reflective)
- mixed overhead lights still switched on
If you only do one thing: turn off the overhead lights near your shooting area. Overhead light creates the ugliest reflections on soups, sauces, and glossy plates.
2) One Artificial Light, Controlled
If your venue is dark, or you need consistent output across day and night, artificial light becomes your best friend.
The simplest aesthetic setup is:
- one LED or strobe
- diffusion (softbox or umbrella)
- placed as side light
One light, one direction, repeatable results. That is what keeps a feed consistent.
Direction Matters More Than Brightness
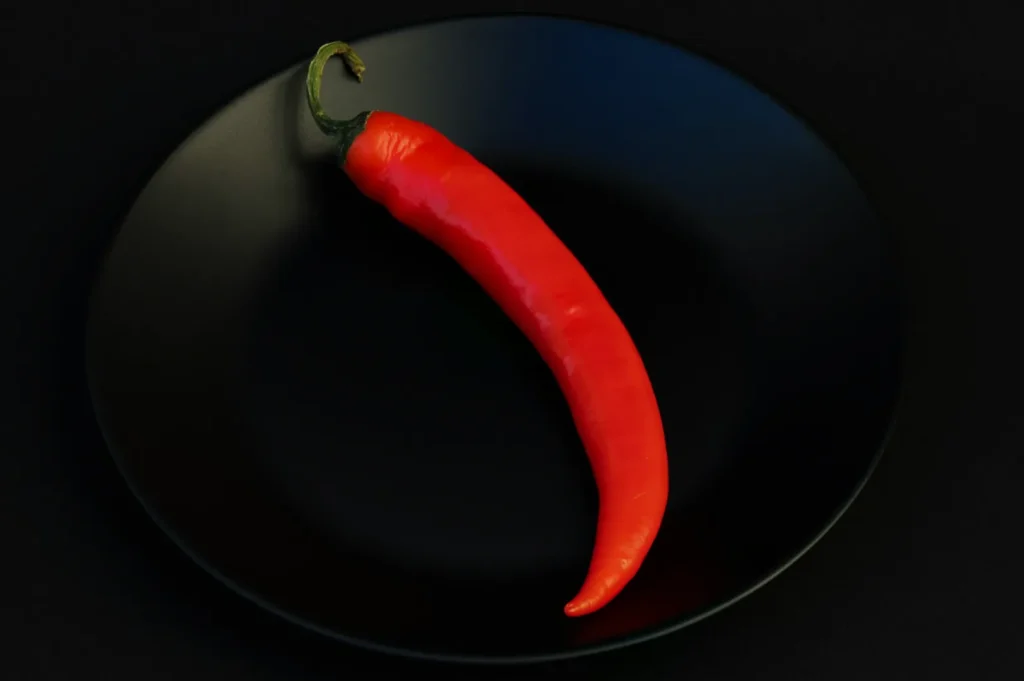
When we talk about “good lighting,” we are mostly talking about direction.
Side Light: The Default That Flatters Most Food
Side light creates:
- texture (crispy edges, grilled marks, flaky pastry)
- depth
- natural-looking shadows
This is why we default to it for most menu work.
Back Light: For Steam, Drinks, And Shine
Back light makes steam visible and gives drinks that fresh, cold feeling. It also increases reflections, so it needs diffusion and sometimes a dark flag to control glare.
Top Light: Use Carefully
Top light can look clean for overhead sets, but it is also the fastest way to get ugly hot spots. If your food is glossy, top light demands more control.
Colour Temperature: The Quiet Killer
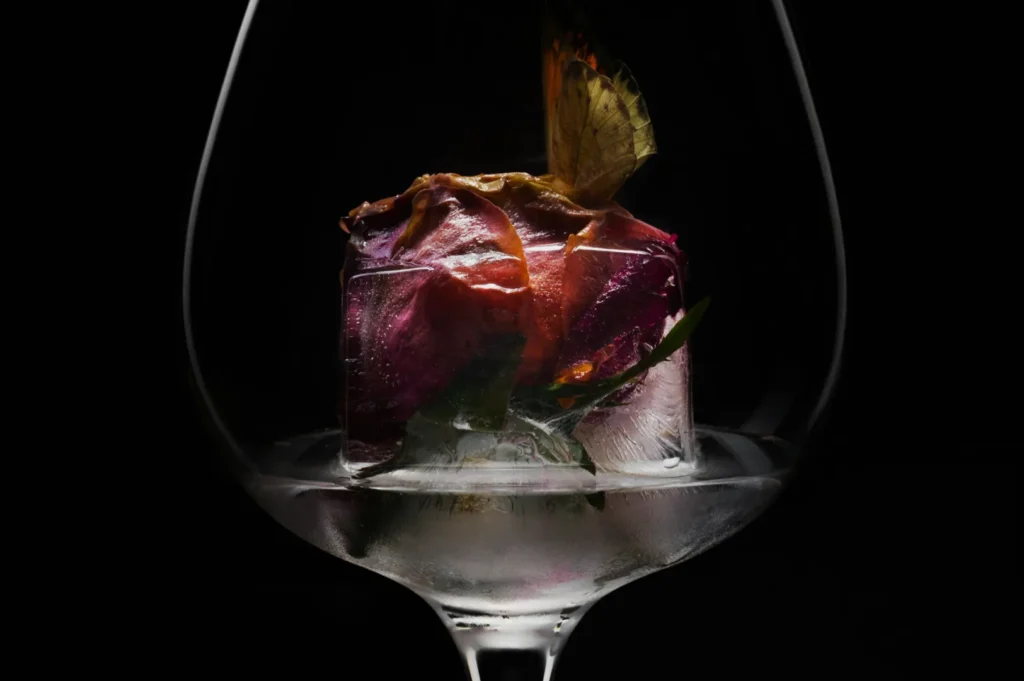
Mixed colour temperature is what makes food look “off.”
If you shoot under warm downlights, whites go yellow. If you shoot under cool LEDs, food can look blue. If you mix both, you get weird skin tones, weird rice, weird soup.
Fix it by committing:
- If you use window light, turn off warm overheads.
- If you use artificial light, match it consistently and block ambient spill.
Editing can correct some of this, but it is always easier to solve it in lighting.
The Fast Restaurant Setup We Recommend
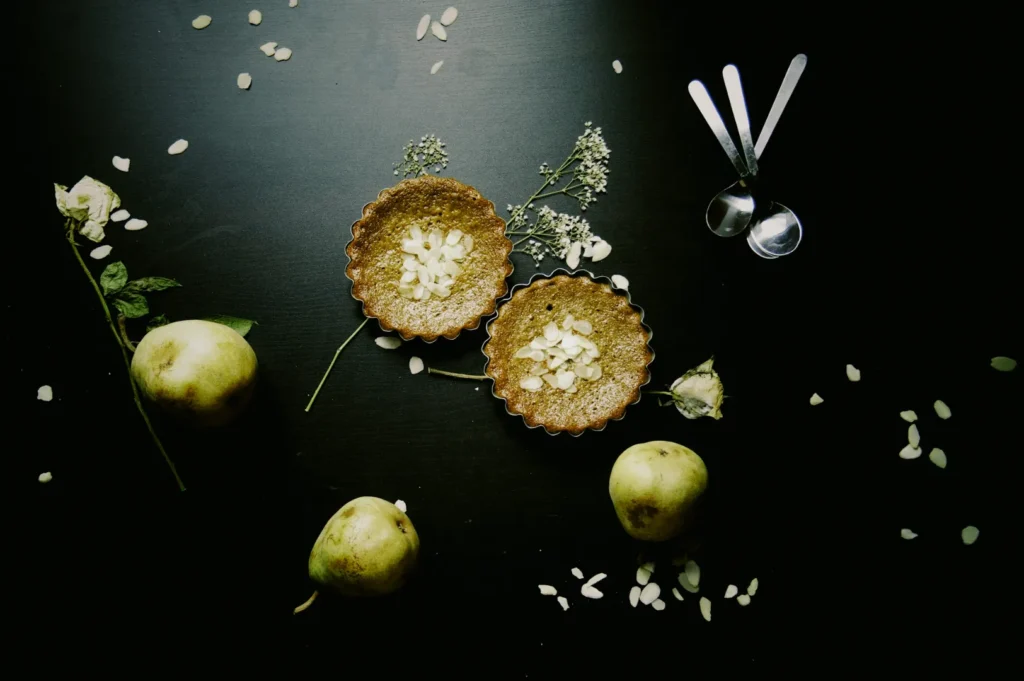
If you want a repeatable system your staff can actually use:
- Pick one table near a window.
- Turn off overhead lights around that table.
- Place the dish so window light hits from the side.
- Use a white board opposite the window to lift shadows.
- Shoot.
This is not a studio. It is a routine. Routines create consistency.
When Your Venue Is Dark: What To Do Without Overbuilding
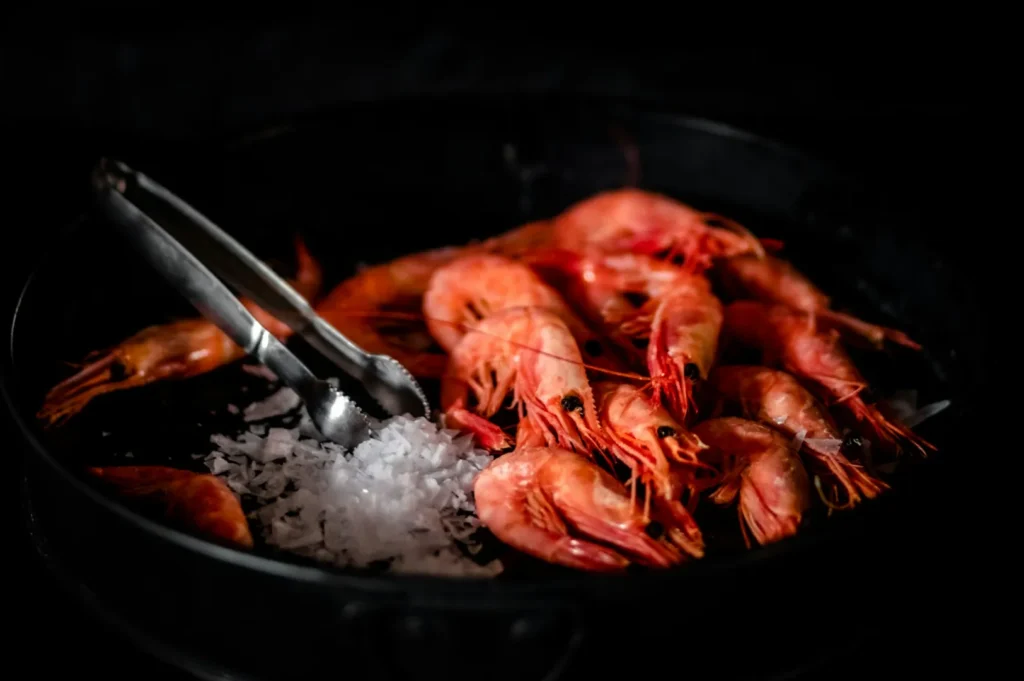
Some restaurants cannot rely on daylight. Night service, bar concepts, deep interiors.
In those cases:
- use one diffused artificial light as the main source
- keep it off to the side
- control reflections with a dark card if needed
- avoid mixing light sources unless you know how
If you want your photos to look like “aesthetic photography” and not like random phone shots, this is the simplest path.
Lighting Is How You Make Aesthetic Photography Repeatable
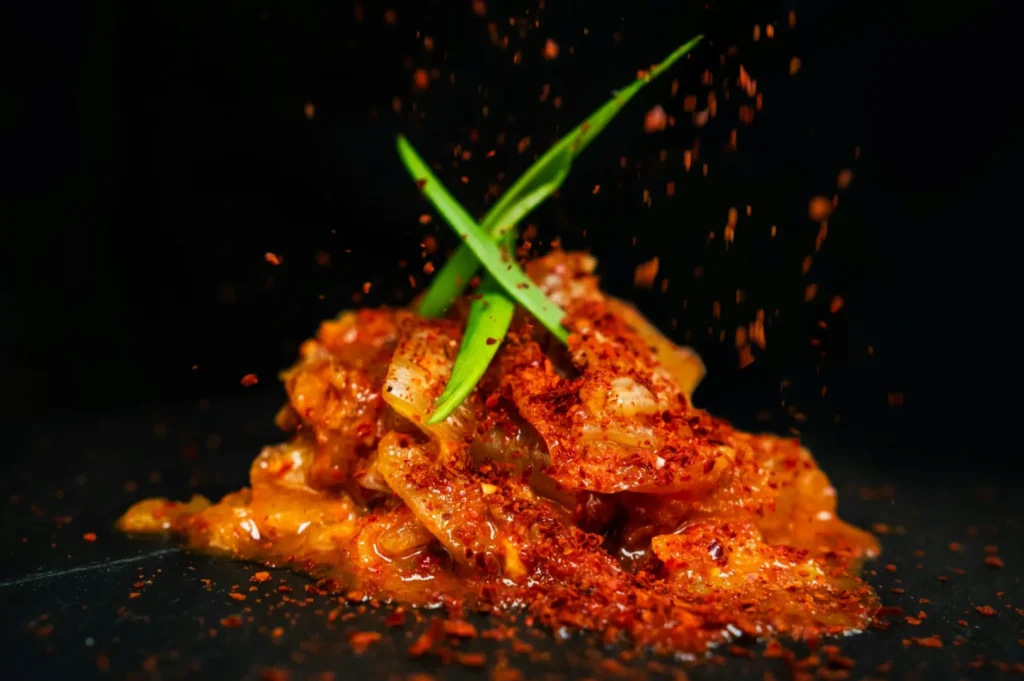
The difference between a nice photo and a consistent brand look is usually lighting discipline. Pick one direction. Control the spill. Keep the food colour honest.
If you want the full system that ties lighting to colour, props, framing, and editing, start here: our aesthetic photography system for F&B brands. And when you need a full set of menu assets built with consistent lighting across every dish, our team at Food Photographer Studio does this work daily, quietly and reliably.
Batch Editing Is Not About Speed, It Is About Trust
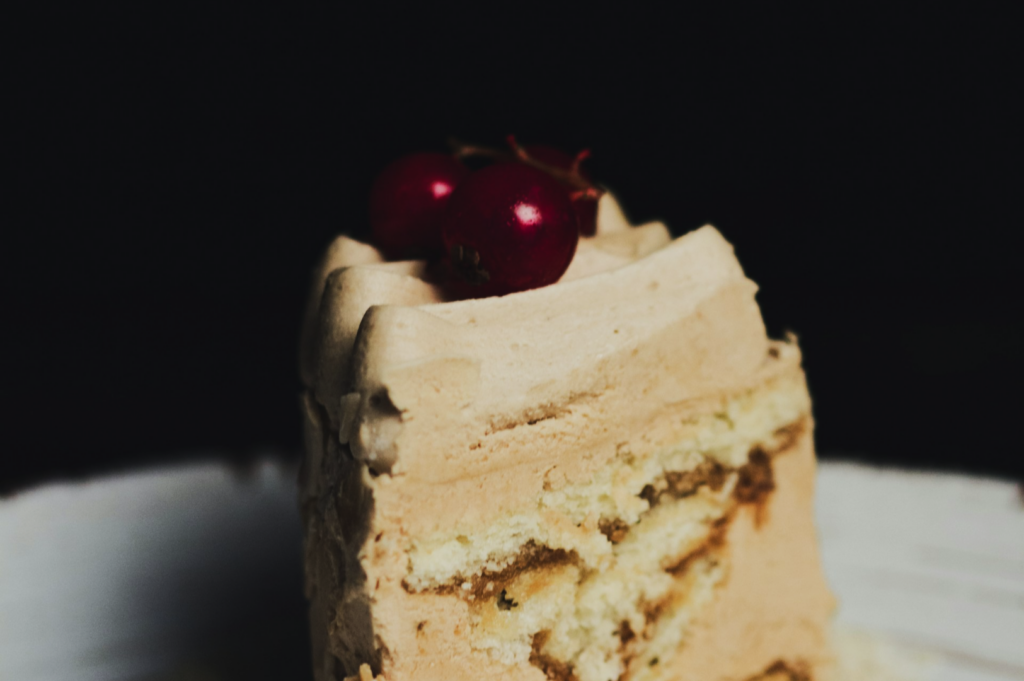
Yes, batch editing saves time. But the real payoff is trust. When your menu looks consistent, customers feel safer ordering. When it feels safer, they order more confidently.
If you are doing this in-house, start with one reference image and keep your edits tight. If you are updating a large menu set and need everything to look cohesive without burning staff hours, this is the kind of workflow we build daily at Food Photographer Studio. Consistency at scale is one of the most valuable things professional menu photography can deliver.


